Server cloning is a useful tool, for example, for creating new web servers behind your load balancer. It is also useful if you just need to set up a server similar to what you already have and wish to skip the hassle of configuring a new server from scratch.
There are three ways to clone a server: cloning, custom images, and backup cloning. Depending on your desired use, you might want to use one method over the others.
Cloning is the easiest and most straightforward way of replicating an existing cloud server and all its storage devices. Note that the process requires the server to be shut down while in operation which takes time depending on the size of your storage devices.
Custom images are carbon copy templates of the system storage device on your server. They are an ideal way to horizontally scale your services as your usage grows. The initial imaging process does require the server to be shut down, but afterwards, you can deploy new servers without interruptions using the custom image.
Backup cloning allows you to duplicate your storage devices even while in use with zero downtime. Any backup of your server, scheduled or manual, can be cloned onto a new storage device. The cloned storage can then be attached to any existing server while powered down.
Before cloning
Before cloning a server, you should check your server to make sure everything is working as expected. For servers running CentOS 6.7 or older and Ubuntu 12.04 or older, will need you to rename the current MAC address reference file to avoid extra reboots.
sudo mv /etc/udev/rules.d/70-persistent-net.rules /etc/udev/rules.d/70-persistent-net.rules.old
The system will generate a new file again on the next reboot.
Other servers with OSs different from those mentioned above, such as any newer Linux distribution or Windows Servers, do not need any special preparations for cloning.
Cloning cloud servers
Note that the server being cloned must be shut down during the process.
Alternatively, you can take a backup of the origin server and clone the backup.
To start cloning a cloud server, log into your UpCloud Control Panel and shut down the original server.
Then in the server Overview, click the down arrow on the right and select Clone.
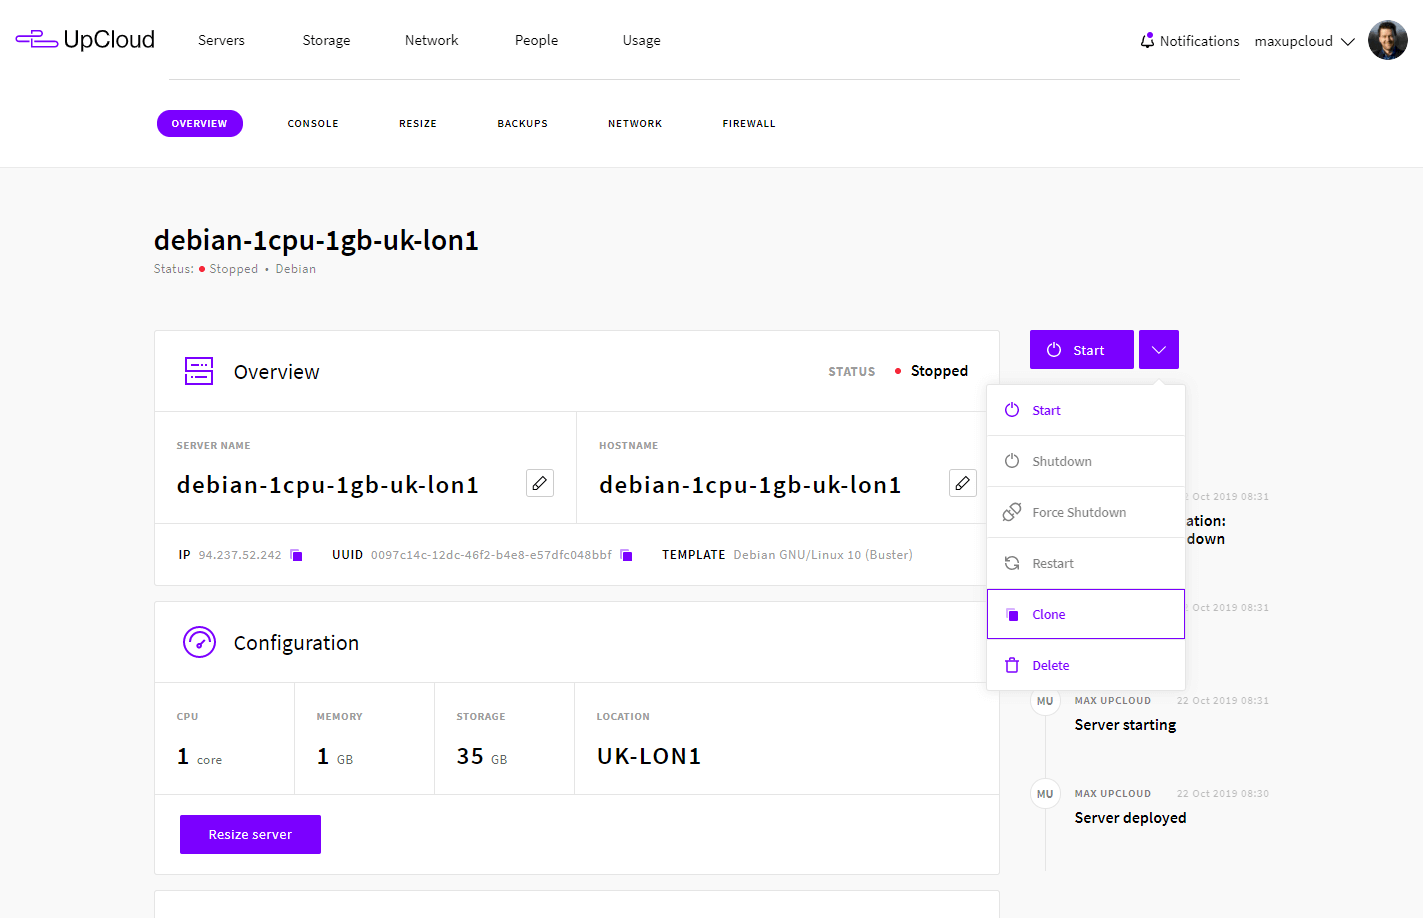
This will open a new server cloning view with some options available for customisation before cloning.
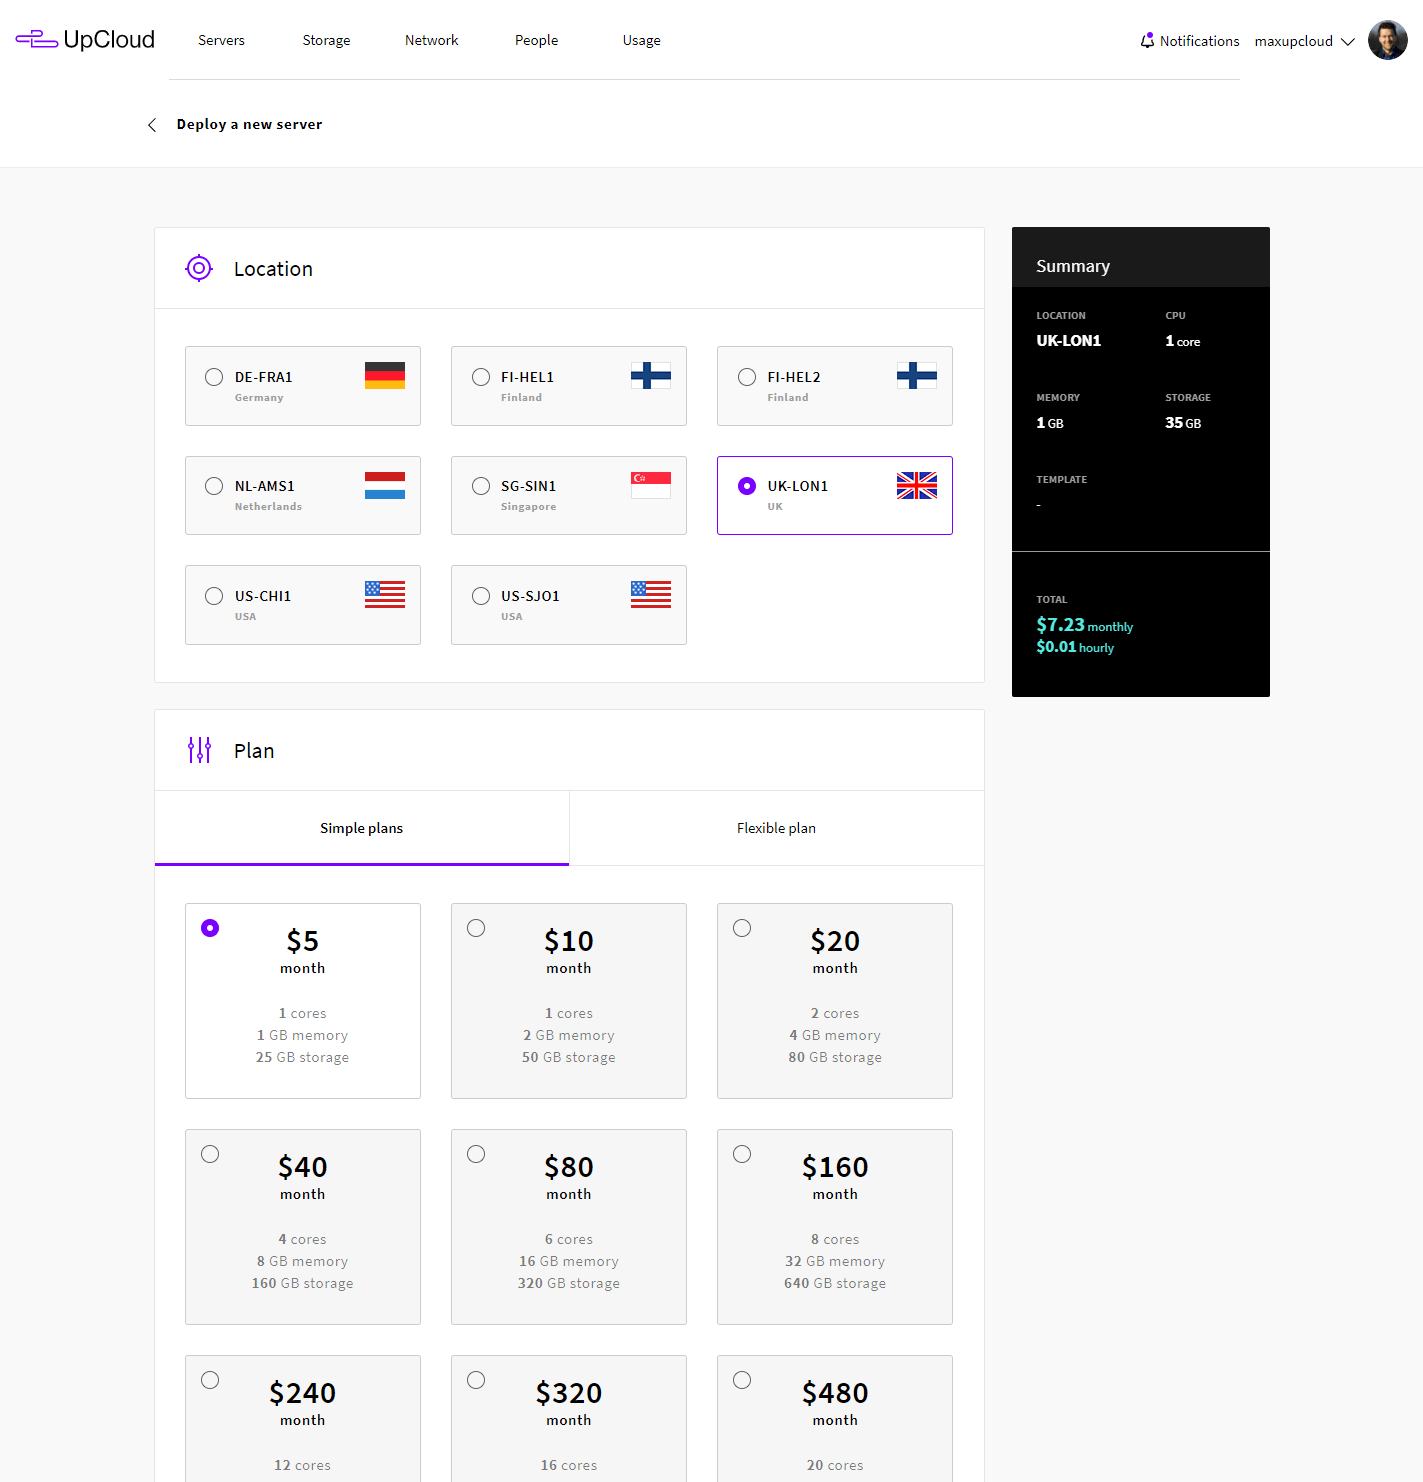
- Select the location for the clone, it’s possible to clone the server to a new location but the operation will be slower than within a zone
- Pick the server configuration plan or set resources freely using the Flexible plan options.
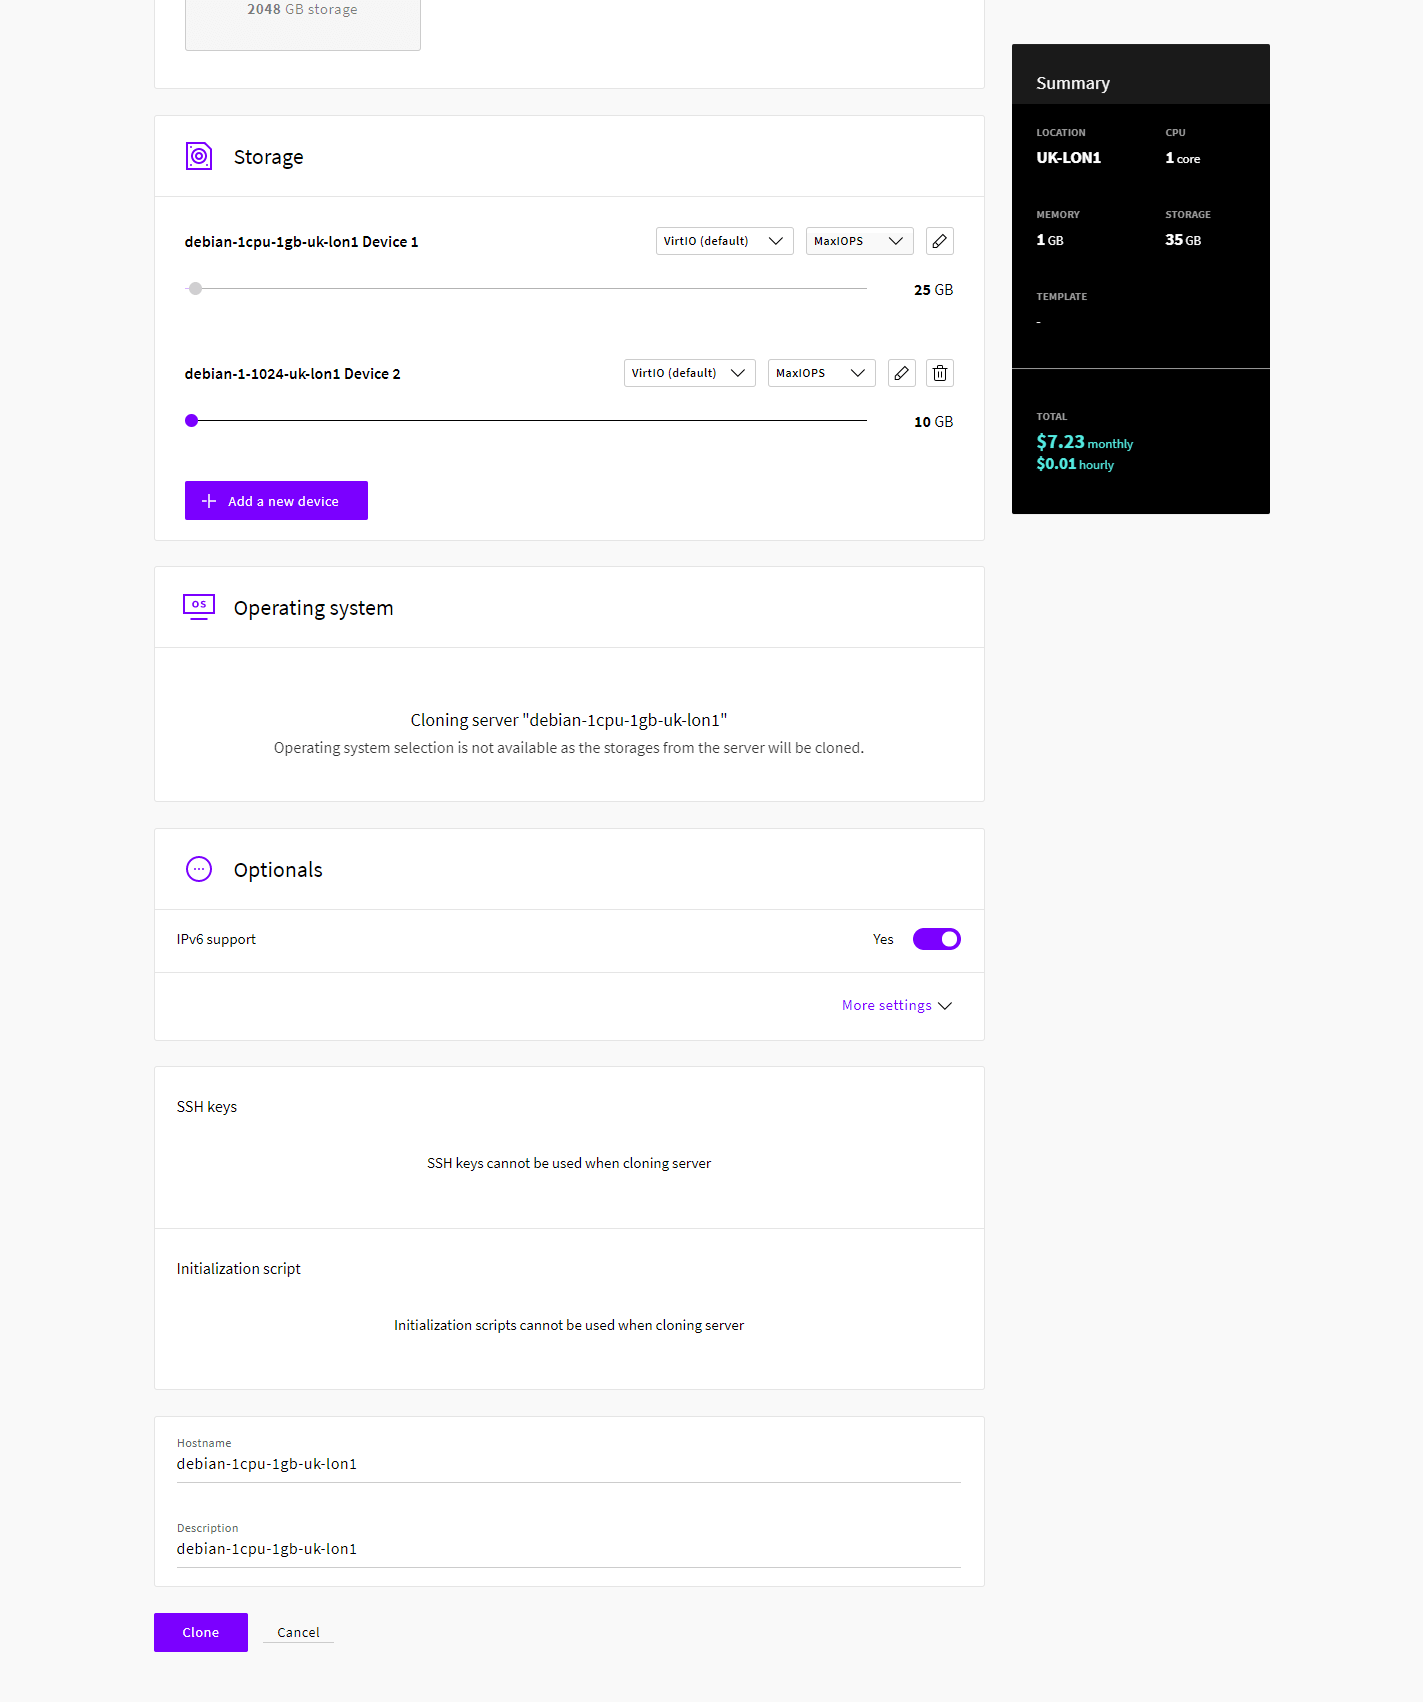
- A cloned server will have identical storage devices as the original host but you can add new devices as needed
- The OS, SSH keys and Initialisation scripts will use the same values as the original cloud server
- Lastly, name the cloned cloud server as you wish
Once done, click the Clone button to begin the process.
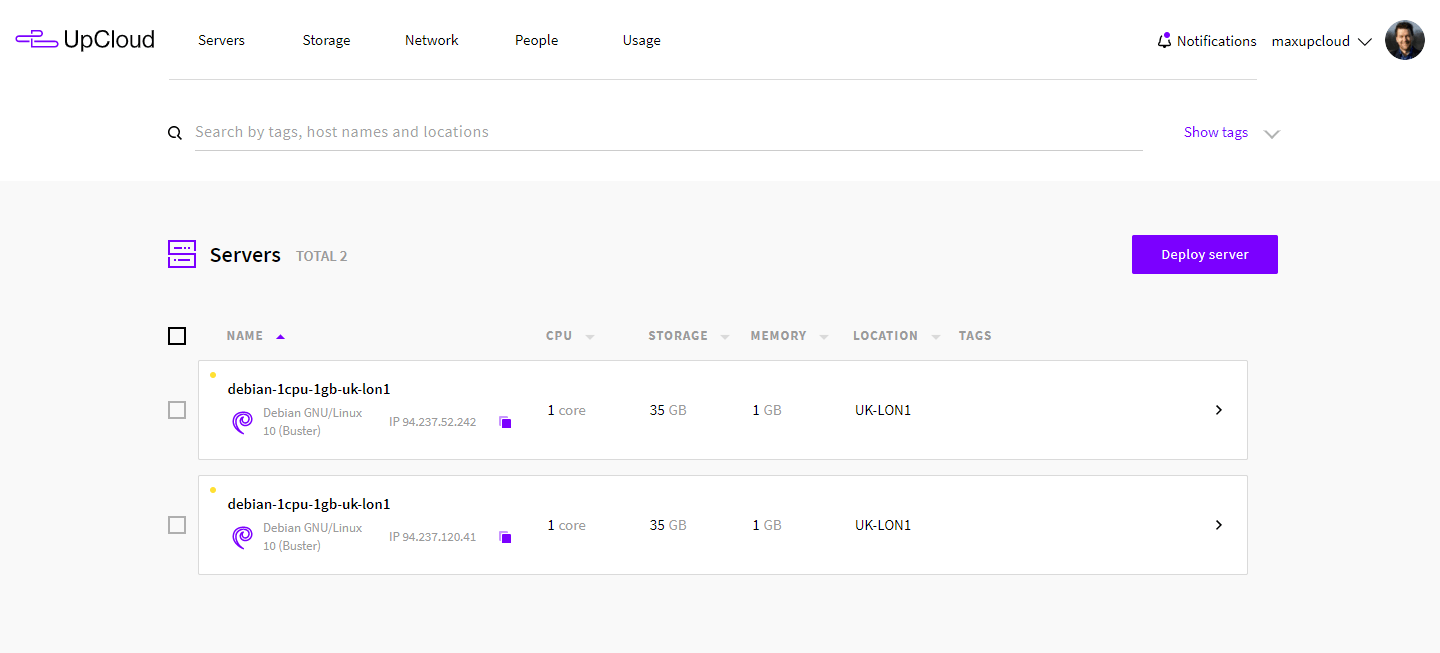
You will then see a new cloud server appear at your UpCloud control panel with the name and configuration you selected at the cloning options. While the cloning process is underway, both the origin and cloned servers will be in maintenance mode and unavailable.
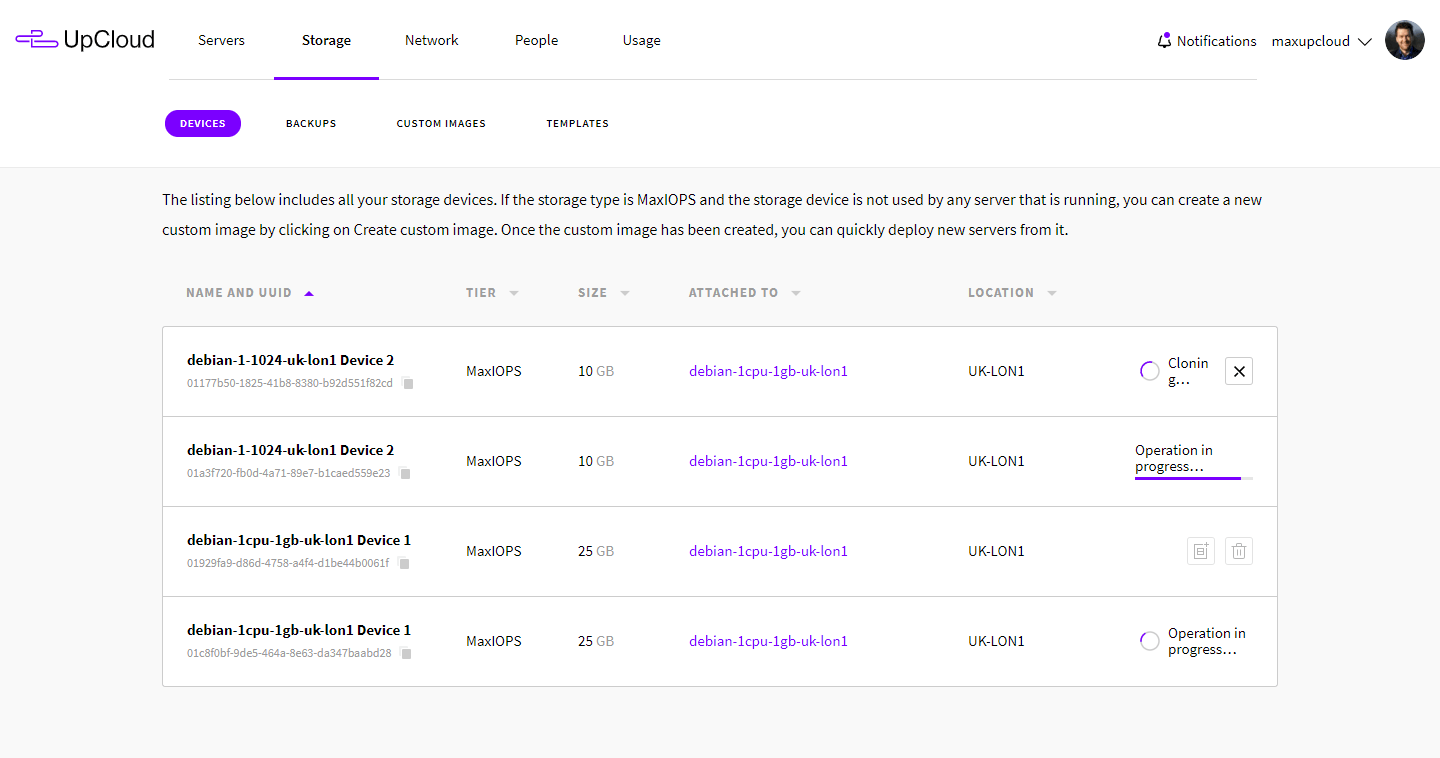
The cloning process will take time depending on the size and fill rate of your storage devices. You can follow the progress of the cloning process at your UpCloud control panel under the Storage Devices.
Once the process is finished, you can start the servers again and begin using your cloned cloud server.
Cloning system device using custom images
Note that the server being cloned must be shut down during the imaging process.
To start cloning a server, log into your UpCloud Control Panel and shut down the original server.
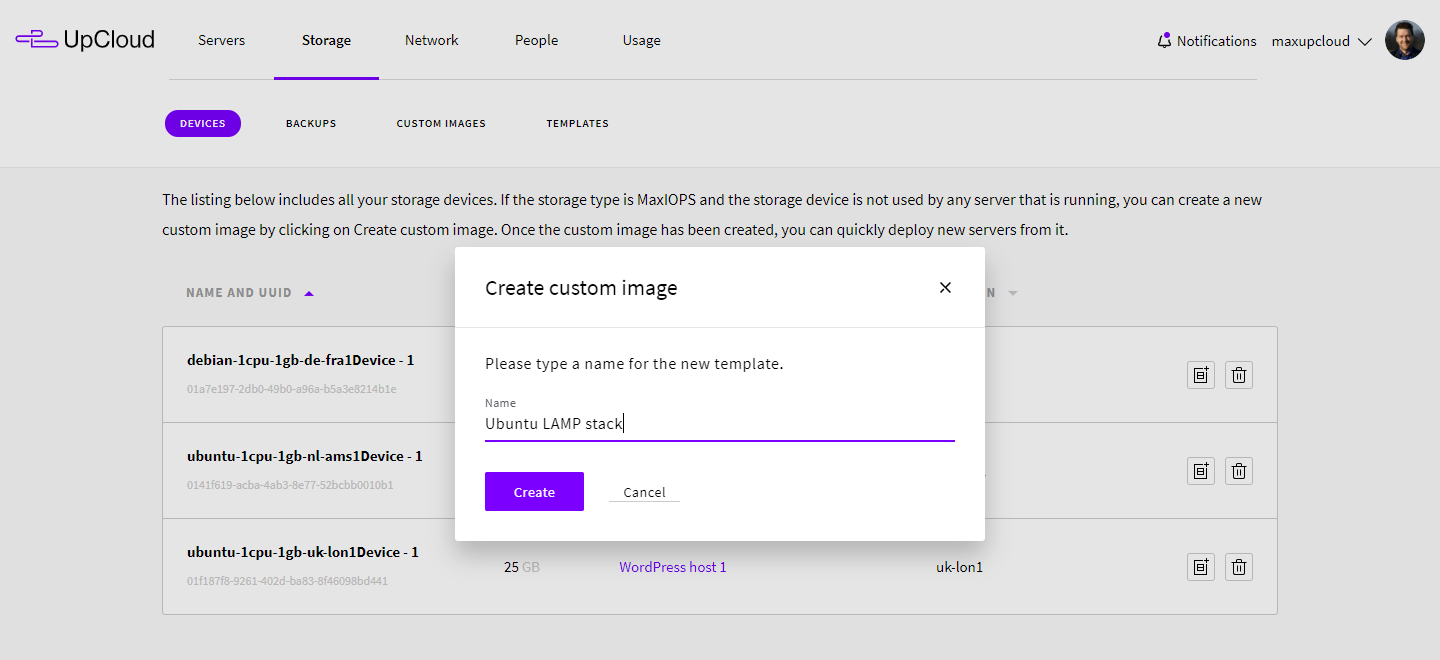
Then open the Storage devices list and find the system disk attached to your source server. Click the copy icon to create a custom image of the system disk.
Name the custom image as you wish, then click the Create button to confirm.
The imaging process will take but a moment depending on the size of the source storage. Your server state will show in maintenance until the operation has been completed. Once the server is again in the stopped state, the custom image is ready and you can power up the server.
Next, go to your Custom images list and click the Deploy button.
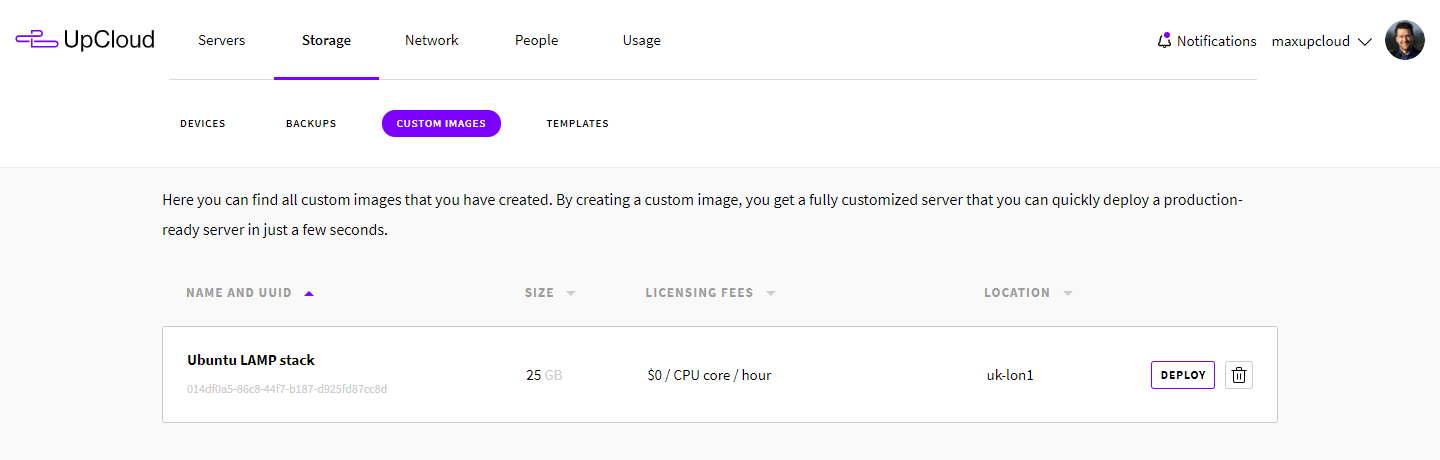
This will open the new server configuration view with the custom image preselected.
You can then choose the server plan, add new storage devices, and name the server. The only restrictions are that the system storage on the new server must be the same size as the original server and that is deployed to the same location.
Any SSH keys you had configured on the source server will be usable on the clone as well.
When you are done with the selections, click the Deploy button to get going.
Cloning storage device backups
Cloning a backup onto a new storage device is useful if you wish to access only specific files on the backup or want to duplicate the content for a new host. The time and date of when the backup was taken pose no restrictions on cloning the data.
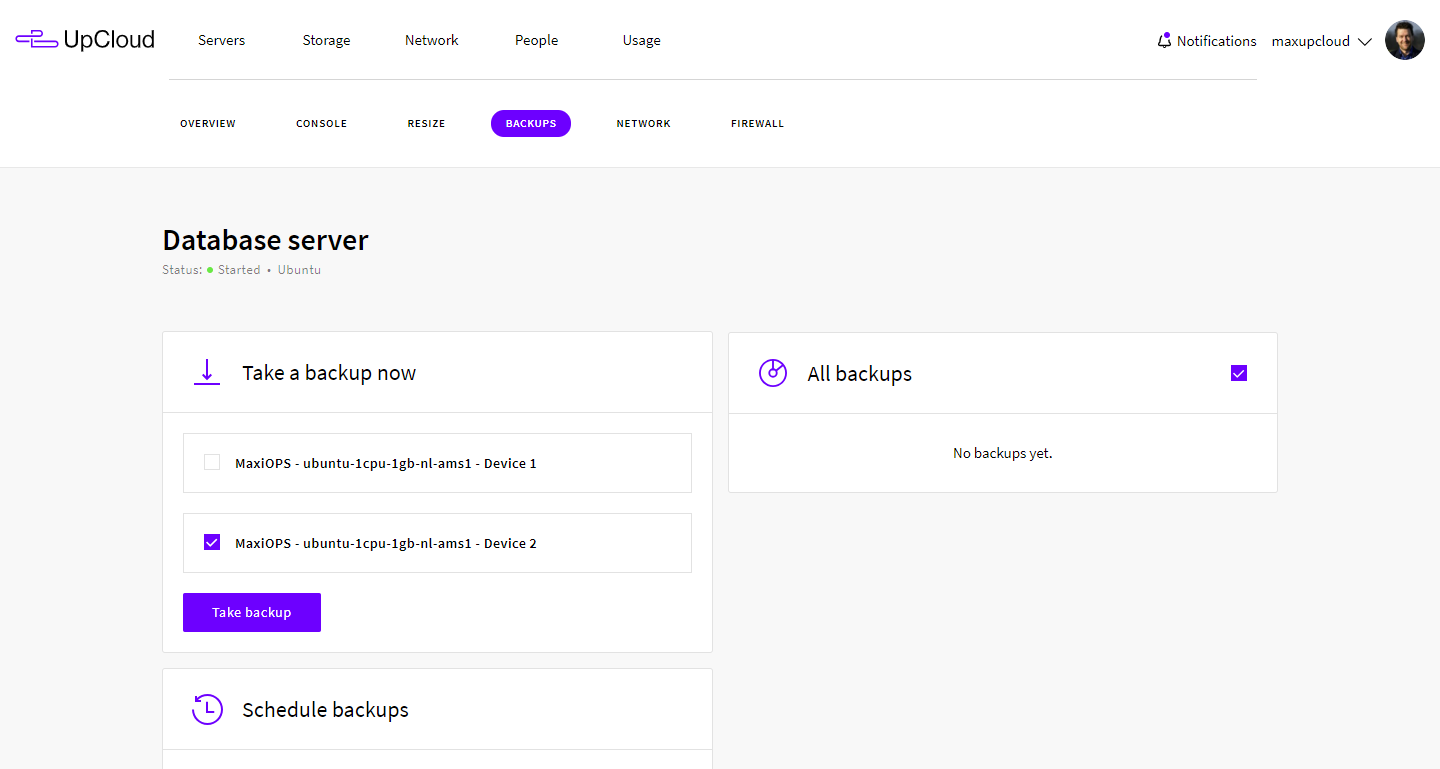
Depending on your backup schedule, you may wish to create a new manual backup for cloning. Go to your UpCloud Control Panel and the backups tab under server settings. Select the storage devices you wish to backup and click the Take backup button.
The backup snapshots are a quick and easy way to save the state of your storage devices. We recommend always taking backups before performing critical operations on your cloud servers.
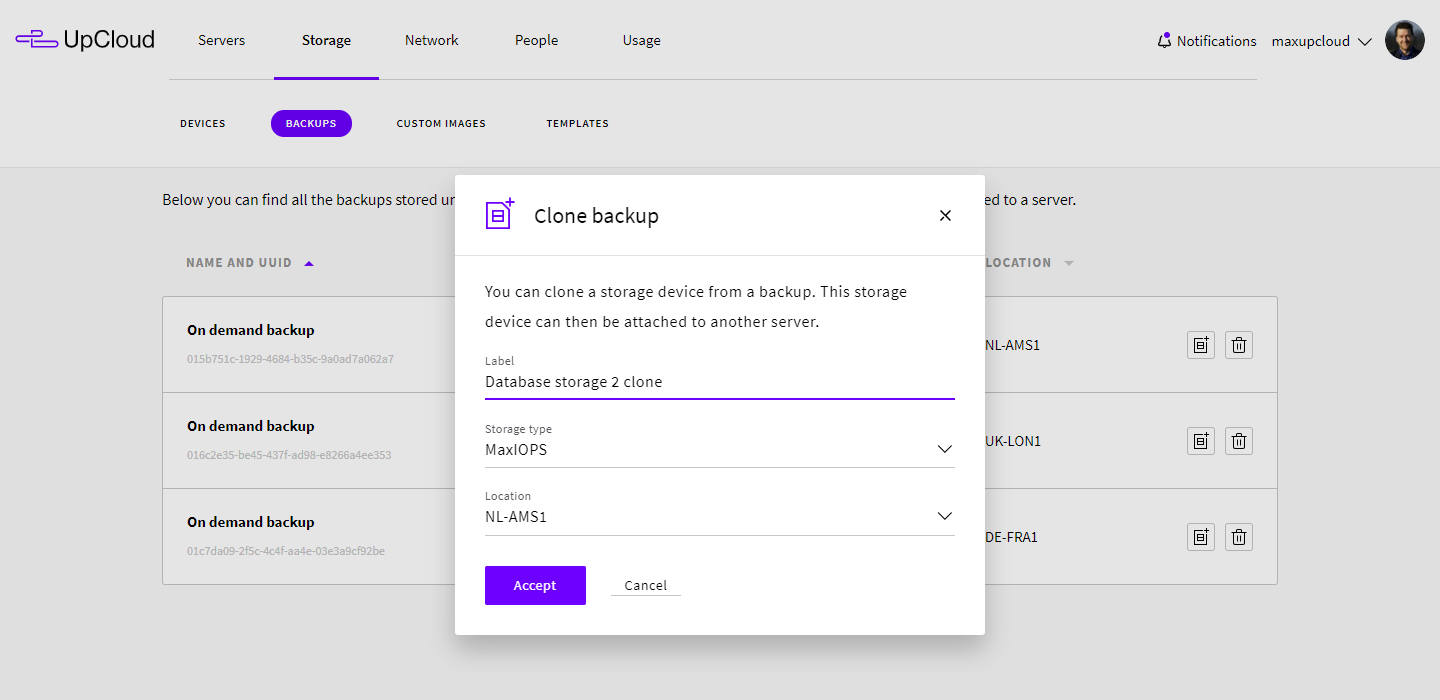
Next, go to your Storage backups list and find the latest snapshot of the storage you want to clone. Click the copy icon to clone the backup.

Give the clone a name you’ll recognise later and finally click Accept to confirm.
The cloning process will take a moment depending on the size of the source device. Once completed, you can find the new cloned disk unattached on the list of your Storage devices.
After cloning
Cloning your cloud server means that the data is copied from one disk to another as is. All of the OS-level configurations will be exactly the same. This includes your usernames, passwords, and any SSH keys you might have added to your original server so that you may log in to the new cloned system just as to the original. However, once logged in, you might need to make some changes to the new server’s configuration such as updating the hostname.
On Ubuntu and other Debian-based distributions, open the hostname file for editing.
sudo nano /etc/hostname
CentOS and other Red Hat variants have the same hostname file.
sudo vi /etc/hostname
But the HOSTNAME="example.upcloud.com" is also in another file so you should
sudo vi /etc/sysconfig/network
Replace the old hostname with a new one, save the file and exit. Afterwards, reboot the server to apply the name change.
sudo reboot
If you cloned one of the older CentOS or Ubuntu distributions mentioned above and run into networking problems, try removing references to any old MAC addresses in the file /etc/udev/rules.d/70-persistent-net.rules and reboot to apply the changes. If the issues persist, check out our guide for troubleshooting networking on Linux servers.
Windows servers should work as is straight out of cloning. If you find issues with network connectivity, check that your network interfaces are turned on and working.