
How to manage floating IP addresses
Our SDN enables a transferable IP address called a floating IP that can be used to build advanced availability and redundancy. Floating IP is a static public IPv4 address that can be attached to your cloud server. It directs traffic to one server at a time and can be moved between multiple servers in a blink of an eye. A floating IP can only be moved between servers in the same location.
Floating IPs can be helpful in multiple ways, for example, you could perform upgrades to a copy of your production server without interrupting the service, and then transfer the floating IP to the new server when everything is ready and working. Floating IPs can also be used for redundancy in case of a system fault on your main server, or for automated failover between multiple cloud hosts.
Attaching new floating IP
Head over to your UpCloud Control Panel to get started.
Then go to Floating IPs under Network.
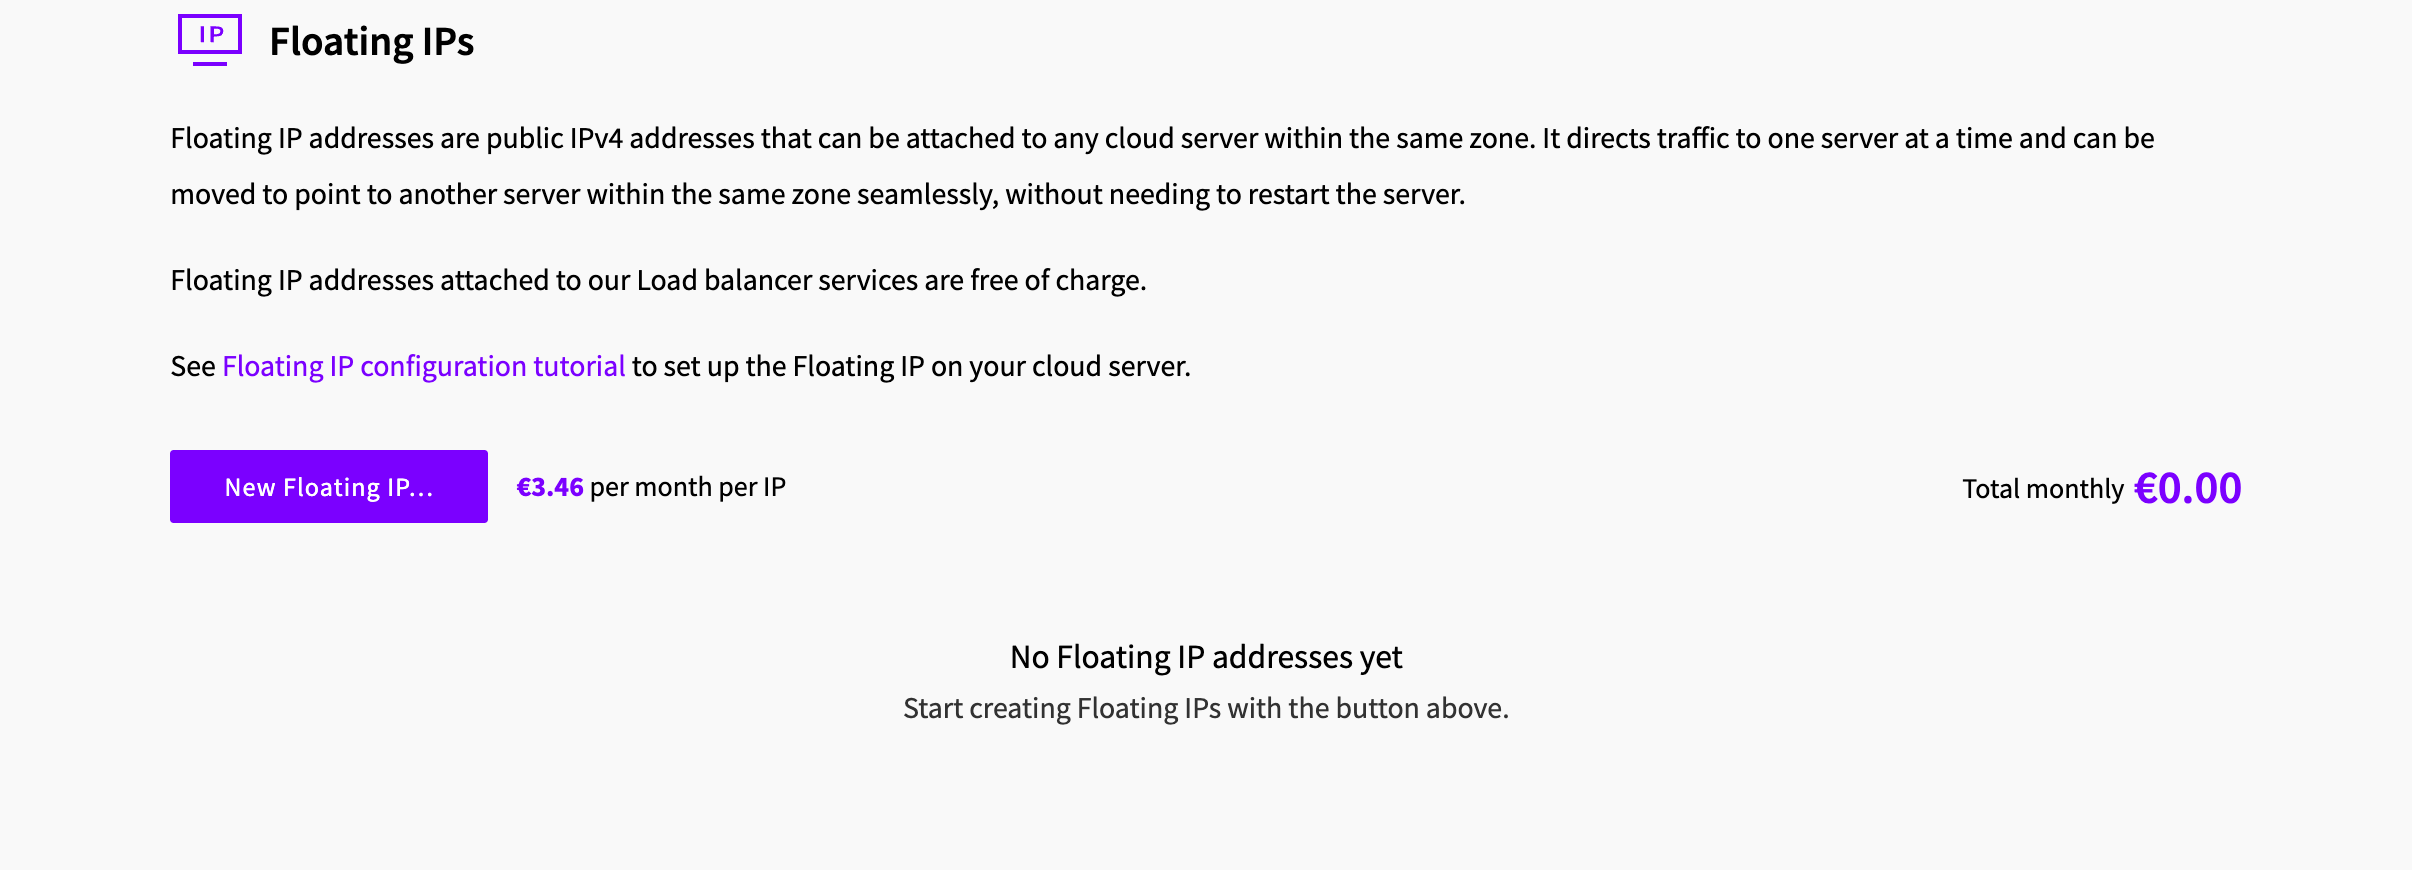
To continue, click New Floating IP…. This opens the New Floating IP Address dialog.
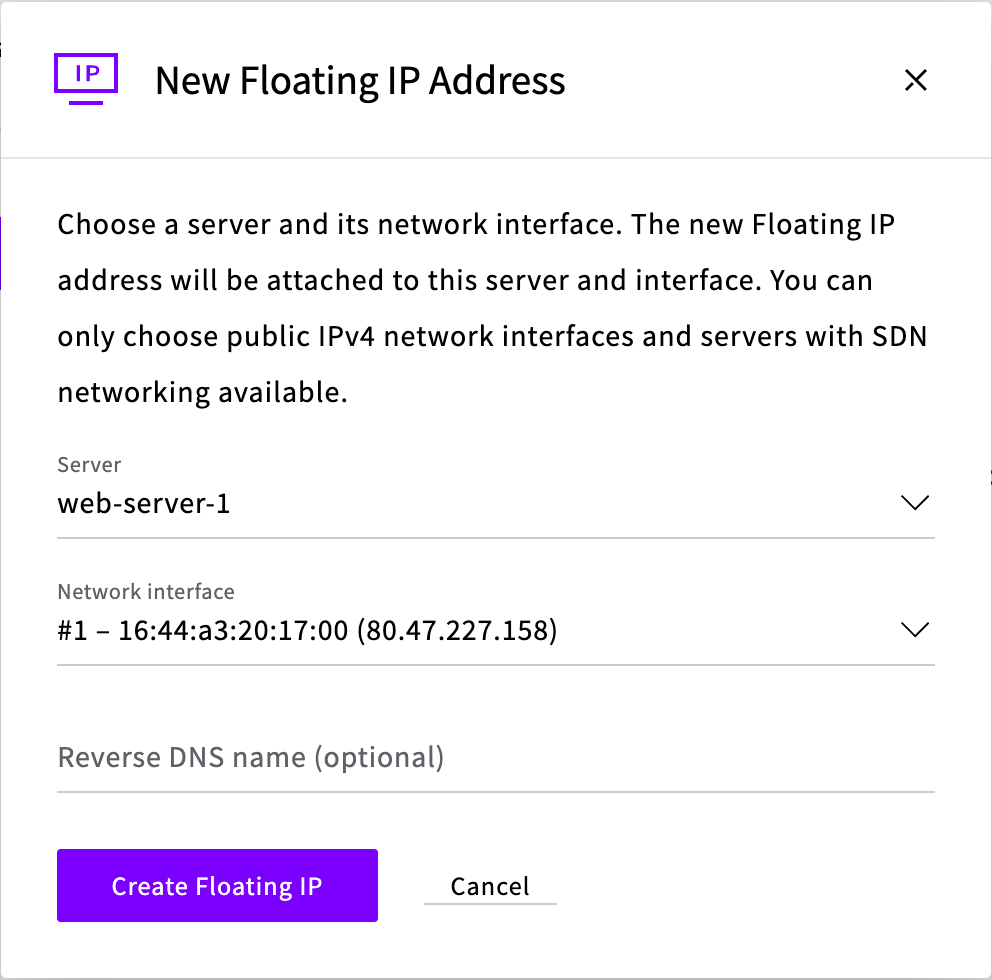
Choose the initial cloud server and its network interface with a public IP address, then click Create Floating IP to confirm. The floating IP is created in the same location as the server you choose.
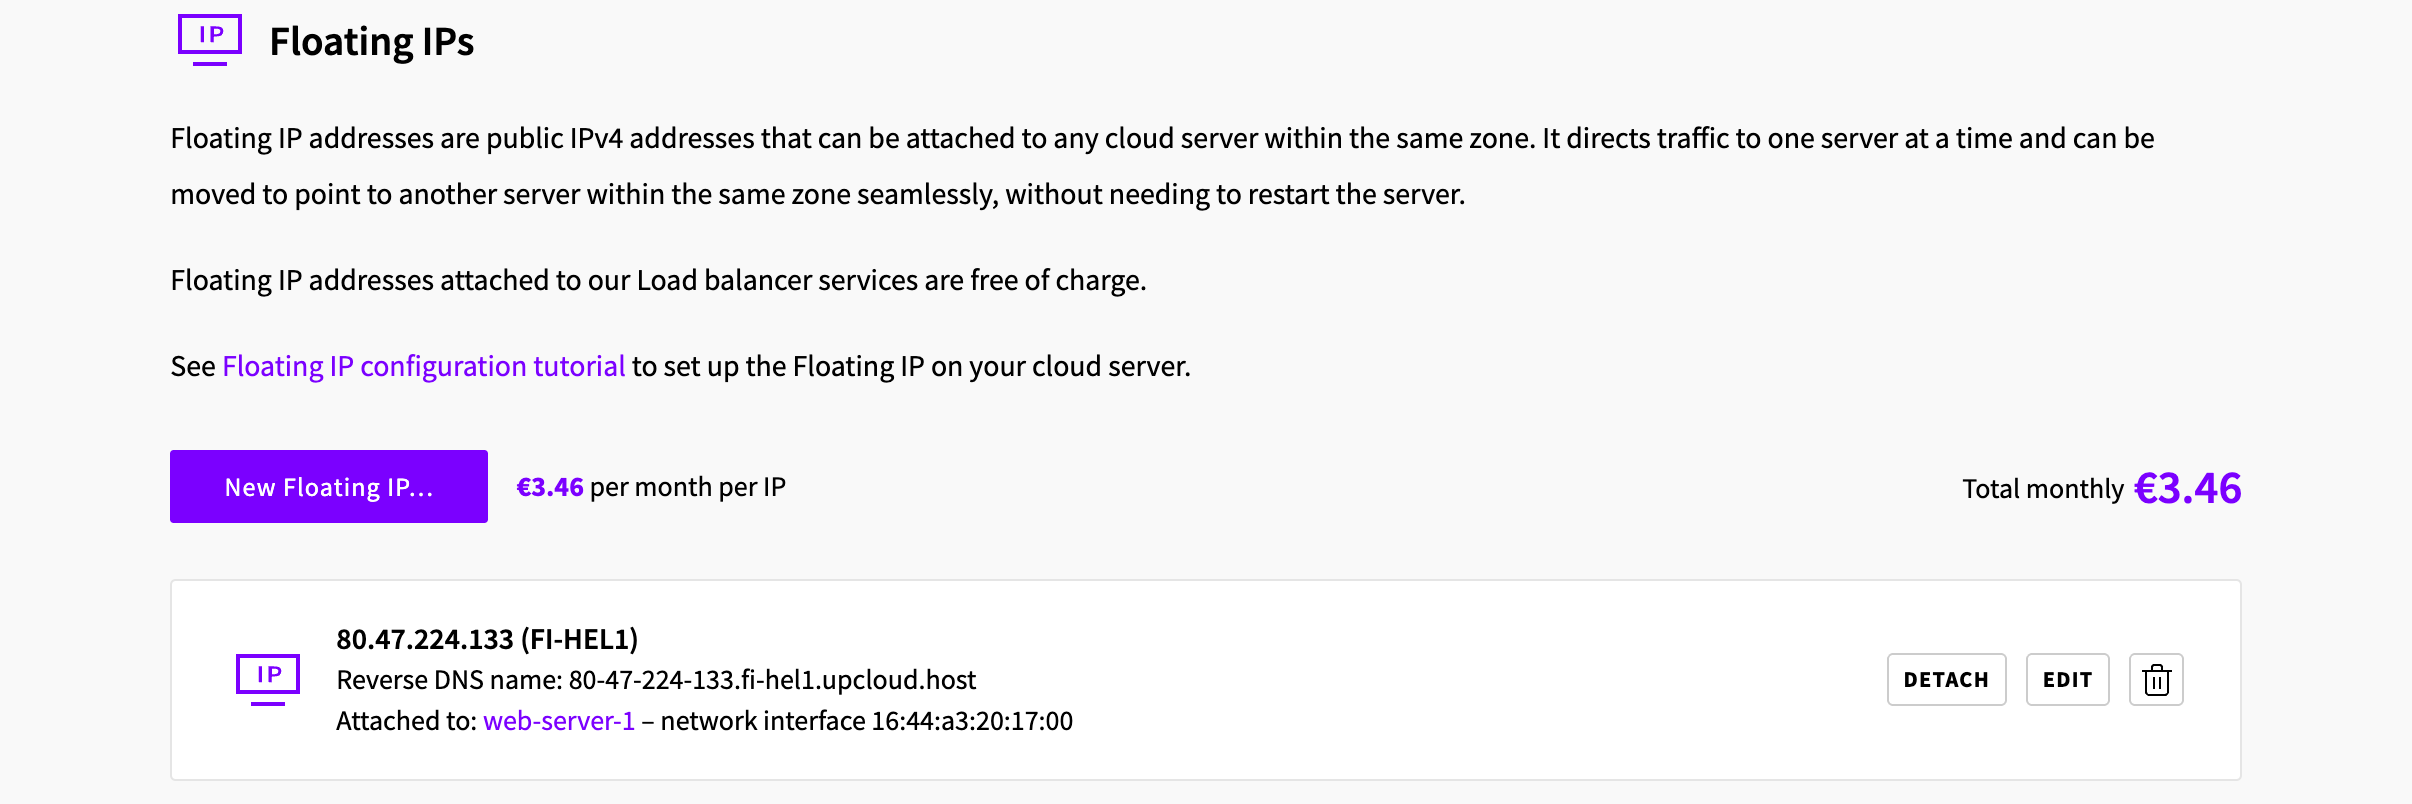
You can then see the new floating IP address attached to your cloud server.
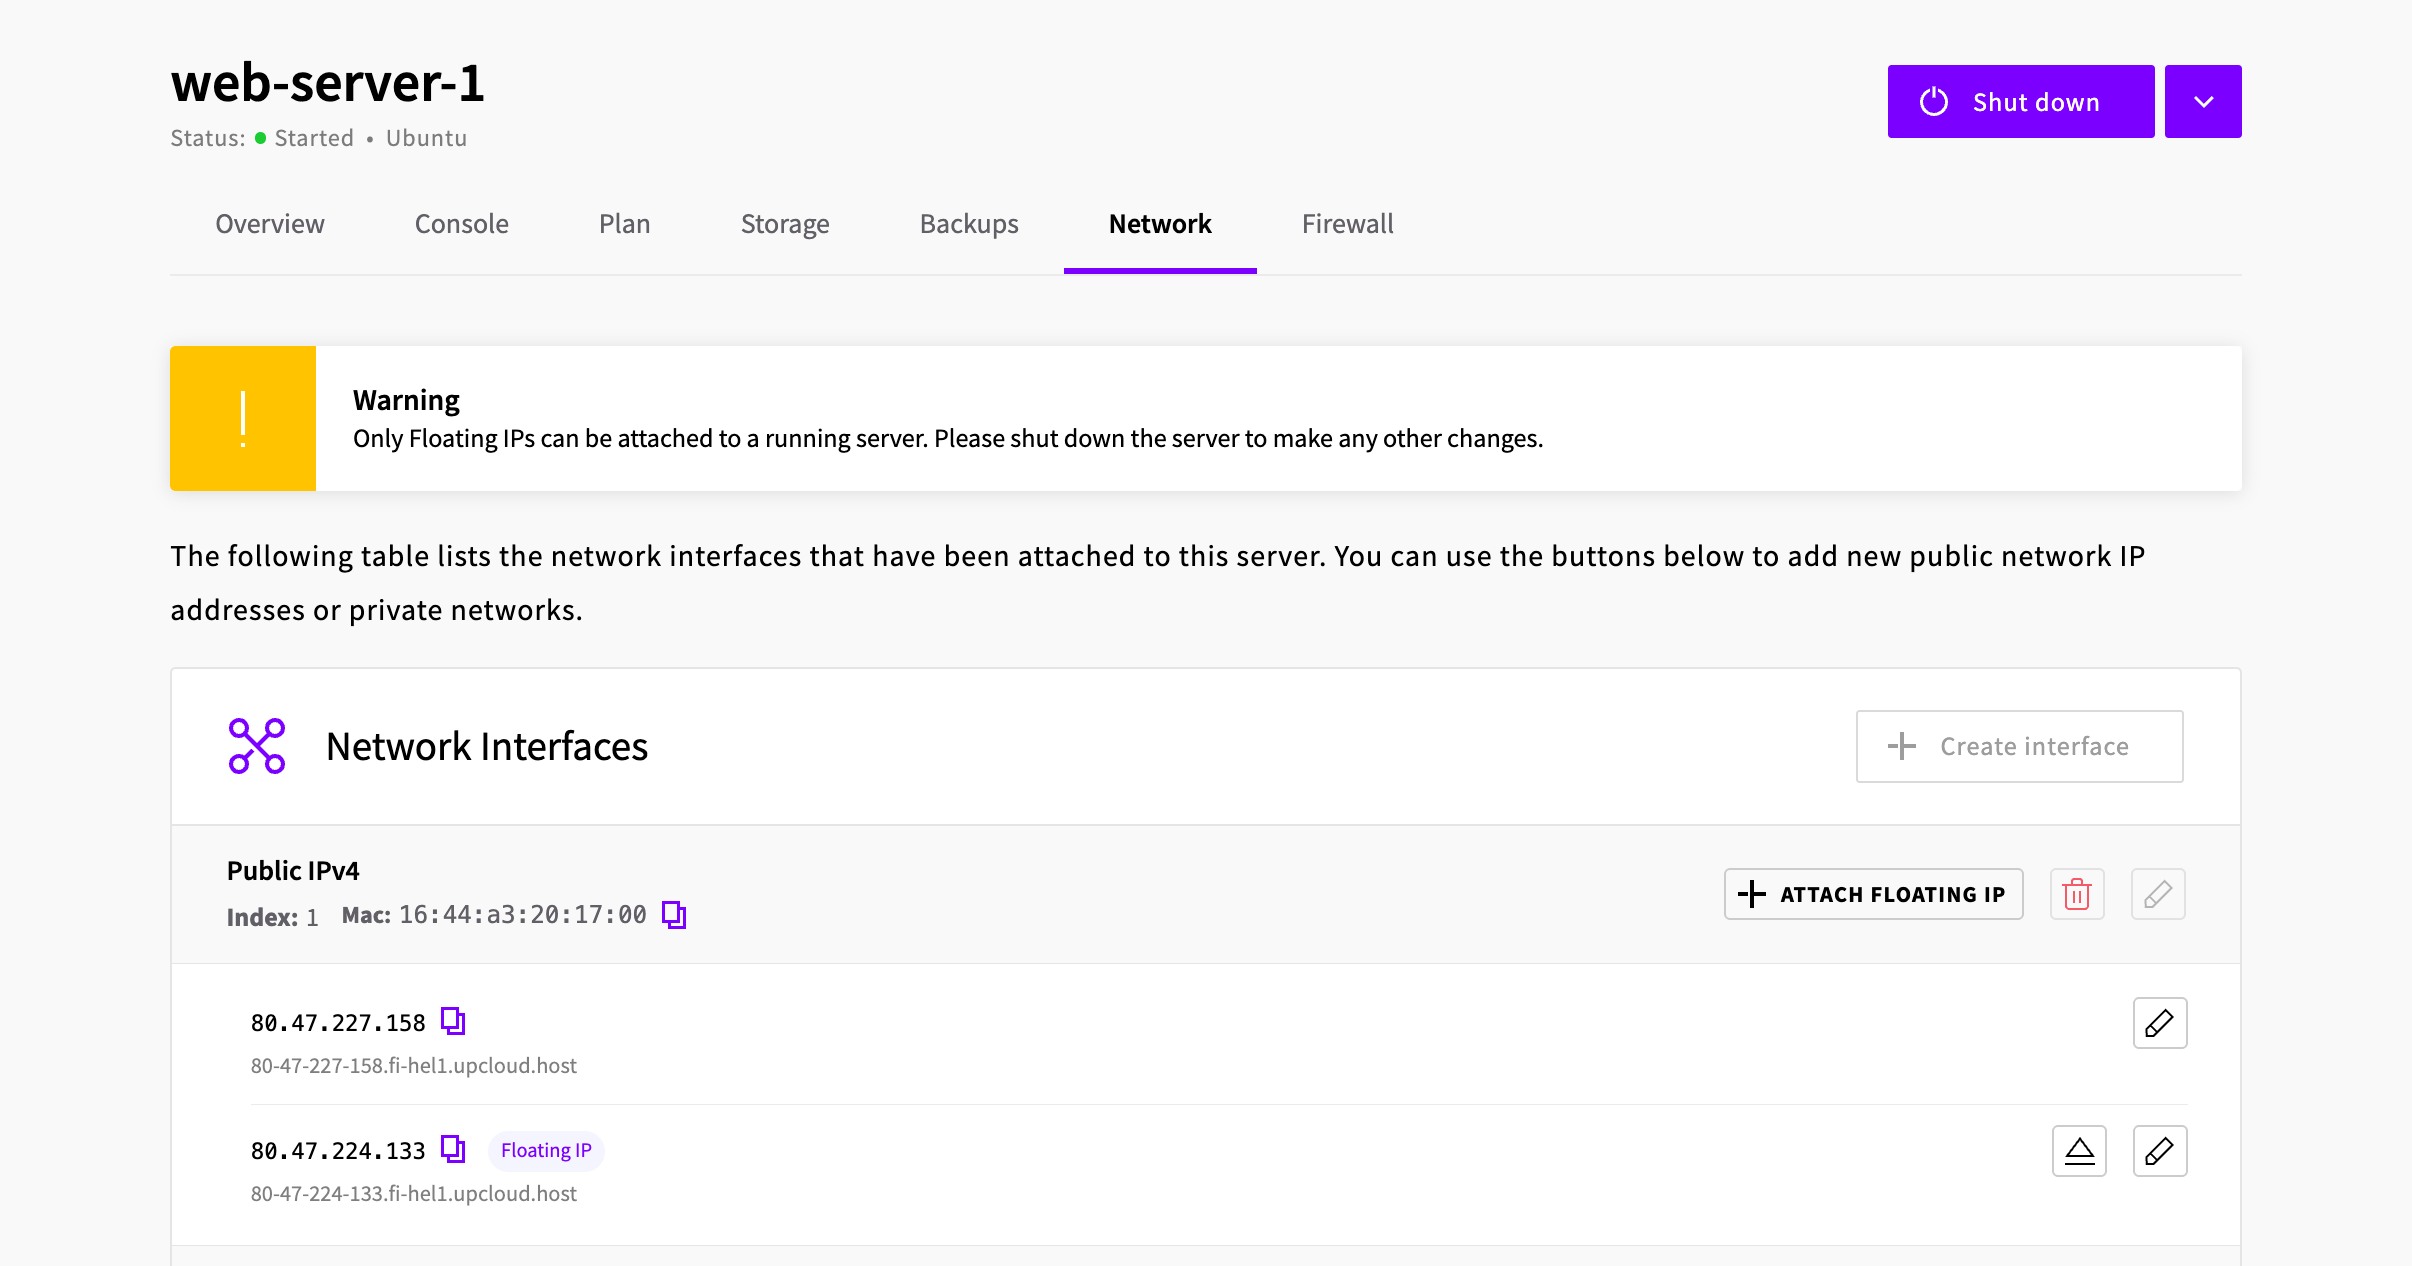
The new floating IP will also show in the server's Network tab, under the public IPv4 network interface it's attached to.
Configure the new floating IP address on your server at the operating system level. Continue on with our guides for AlmaLinux 9, CentOS, Debian, Ubuntu or Windows on how to configure the floating IP on your servers.
Transferring floating IP
The advantage of a floating IP over regular IP addresses is the ability to transfer the IP from one server to another instantaneously. Depending on your use case, you might wish to move the floating IP address between servers at the time of your choosing. This can be easily done manually at your UpCloud Control Panel or by using the API.
Go to your UpCloud Control Panel and Floating IPs under Network.
Click EDIT on the floating IP address you wish to point to a different cloud server.

In the Re-attach Floating IP Address dialog, select the new Server, then pick a Network interface to attach to. Then click Submit to confirm.
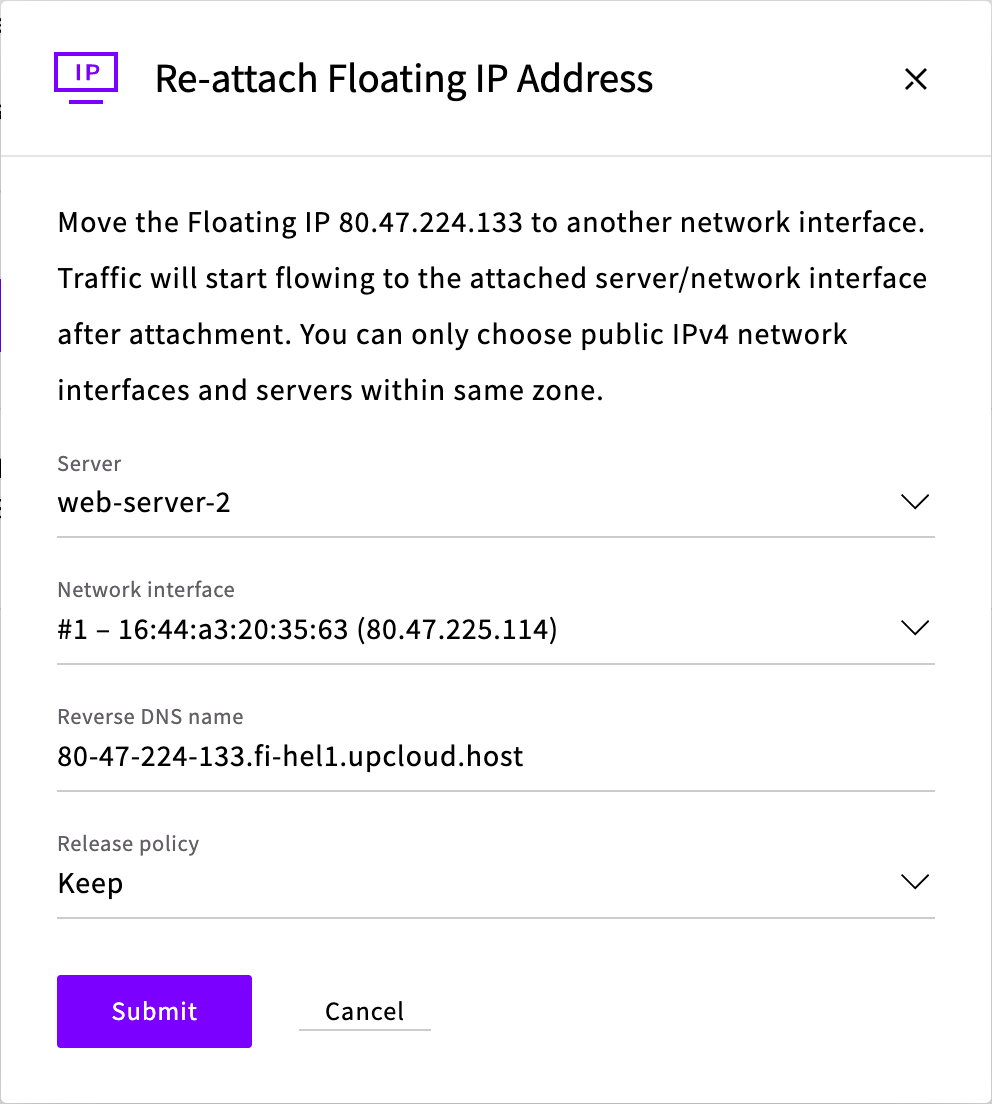
The floating IP will then immediately begin pointing to the cloud server and interface you just selected.
You can only move a floating IP to a server in the same location, so the list of servers only shows servers in the floating IP's location.
If you haven’t used the floating IP on the new server before, you’ll need to perform a one-time configuration to enable traffic for AlmaLinux 9, CentOS, Debian, Ubuntu or Windows.
Detaching floating IP
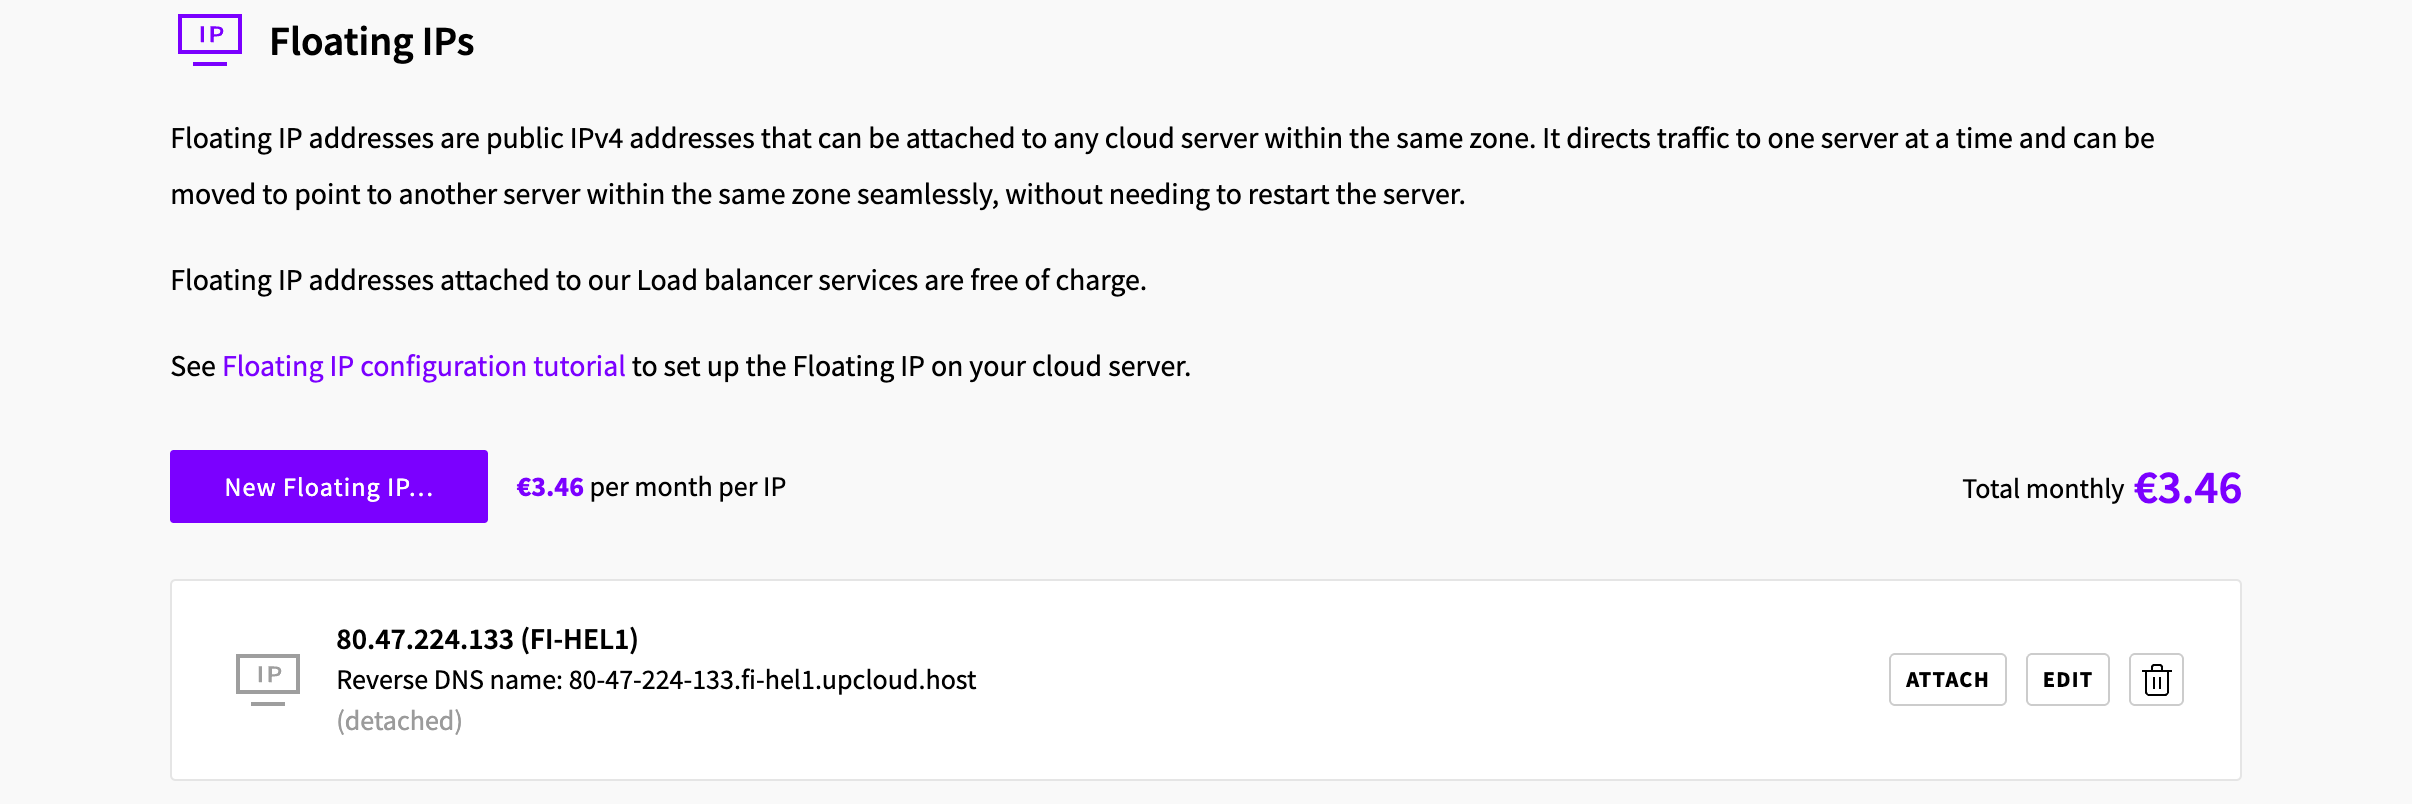
If you want to keep a floating IP without pointing it to any server, you can detach it. Click DETACH on the floating IP address, and confirm with Detach.
The floating IP stays in your account and shows as (detached). You can point it to a server again later with ATTACH. A detached floating IP is still billed, so delete it if you no longer need it.
Deleting floating IP
If you no longer have a need for a specific floating IP, you can delete it. Note that like with any other IP address, deleting one is permanent and cannot be undone. Should you wish to retain the same IP address, you should keep the floating IP without deleting it.
To start, go to your UpCloud Control Panel and Floating IPs under Network.
Find the floating IP address you wish to delete and click the delete icon on that IP.
You will then be asked to confirm the deletion, and continue by clicking the Delete button.
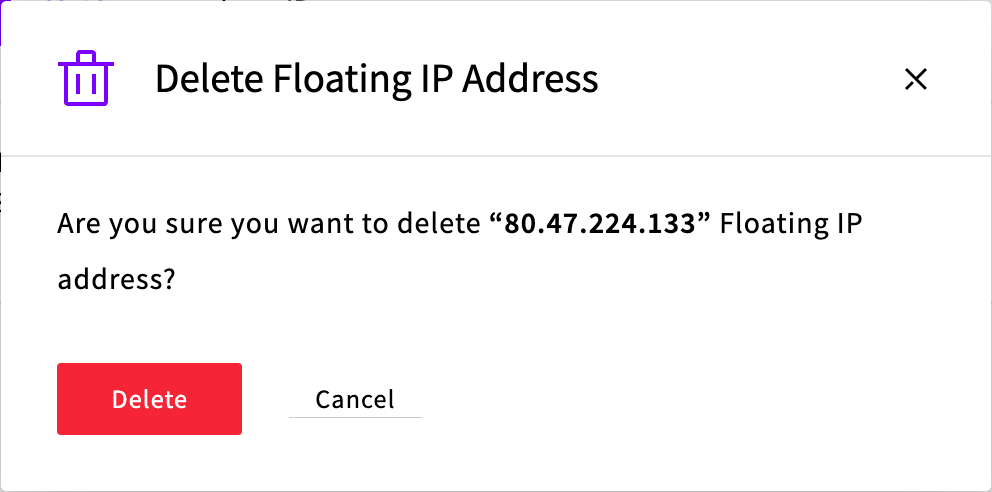
The floating IP is then removed from the server it was pointed to. However, any network interfaces configured at the OS level need to be cleared manually.
Related tasks
- To turn a server's current IP address into a floating IP, see Converting a server IP address to a floating IP address.
- To make a floating IP your server's main IP address, see Replacing a server's main IP address with a floating IP.