
Managing SSH keys
SSH keys are a generated pair of long and practically impossible-to-break codes that allow automated user authentication. SSH key pairs work in two halves; the public key which acts as a lock, and the private key which can be used to open the lock. The public key can be safely passed to your Cloud Servers while the private key should be kept securely stored on your own computer.
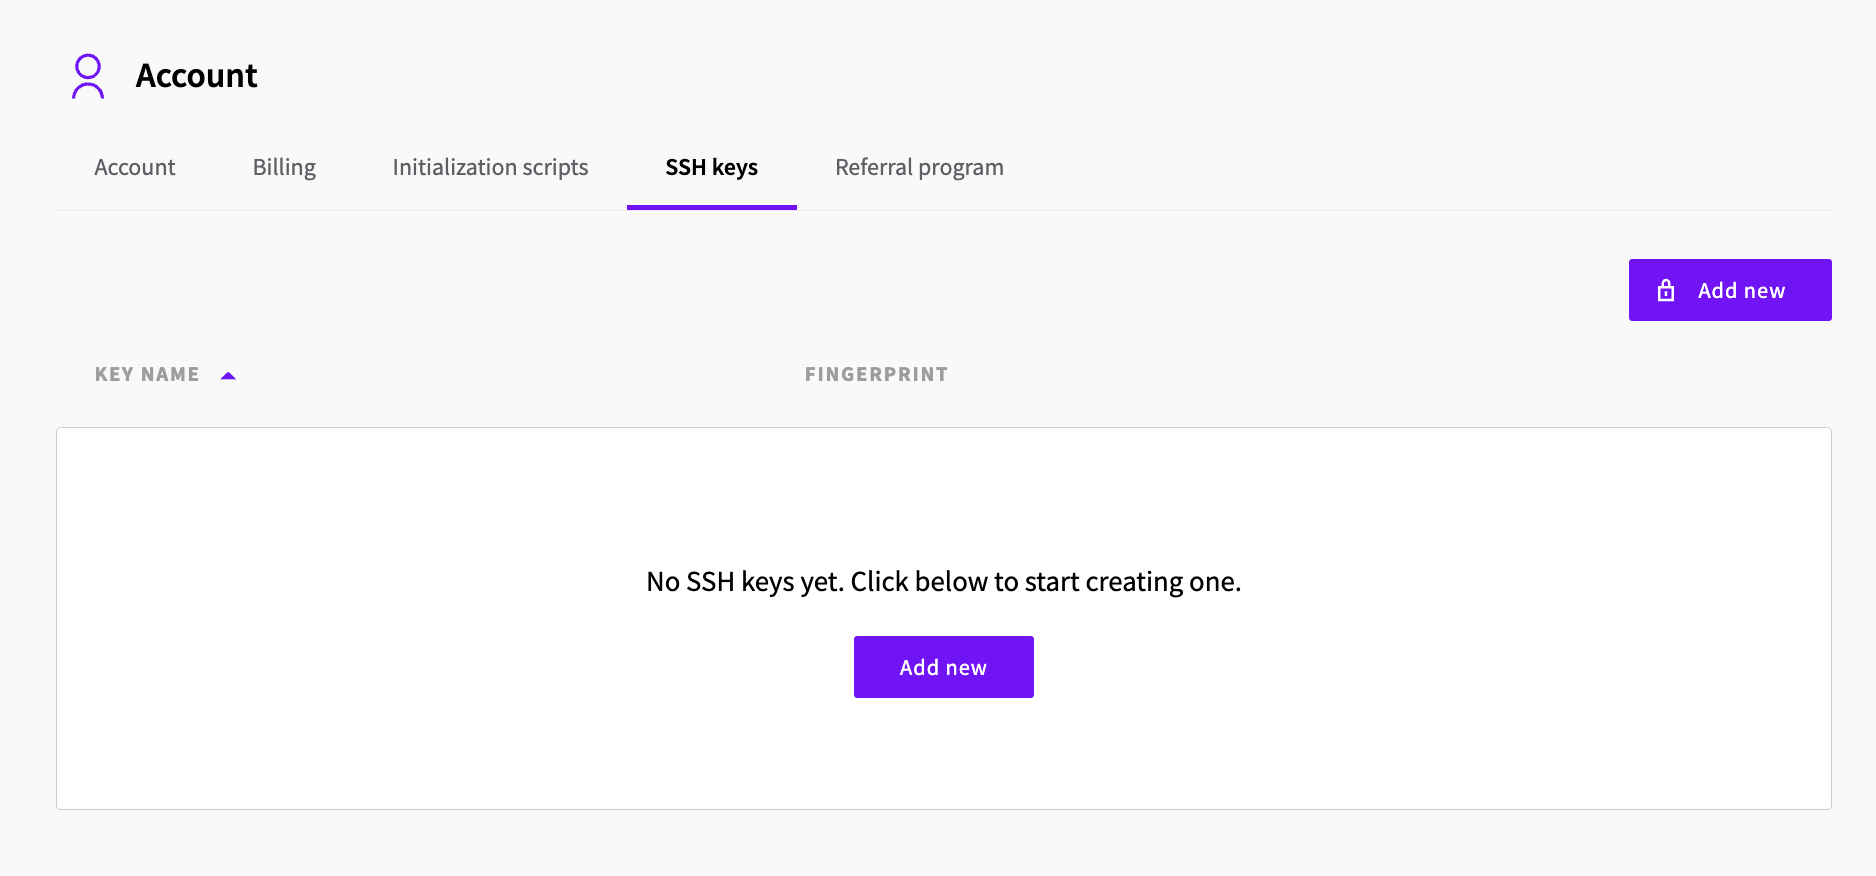
The SSH keys feature at your UpCloud Control Panel provides easy public key management that allows you to quickly apply the authentication method to any new Cloud Server.
Adding keys
To add new keys to your list, go to the SSH Keys section under your Account section. Click the Add new button at the top of the page to import a new SSH key. This opens an empty SSH key editing window. Copy your public key to the SSH key text box, the name field is automatically filled with the key name, but you can also assign the name as you wish.
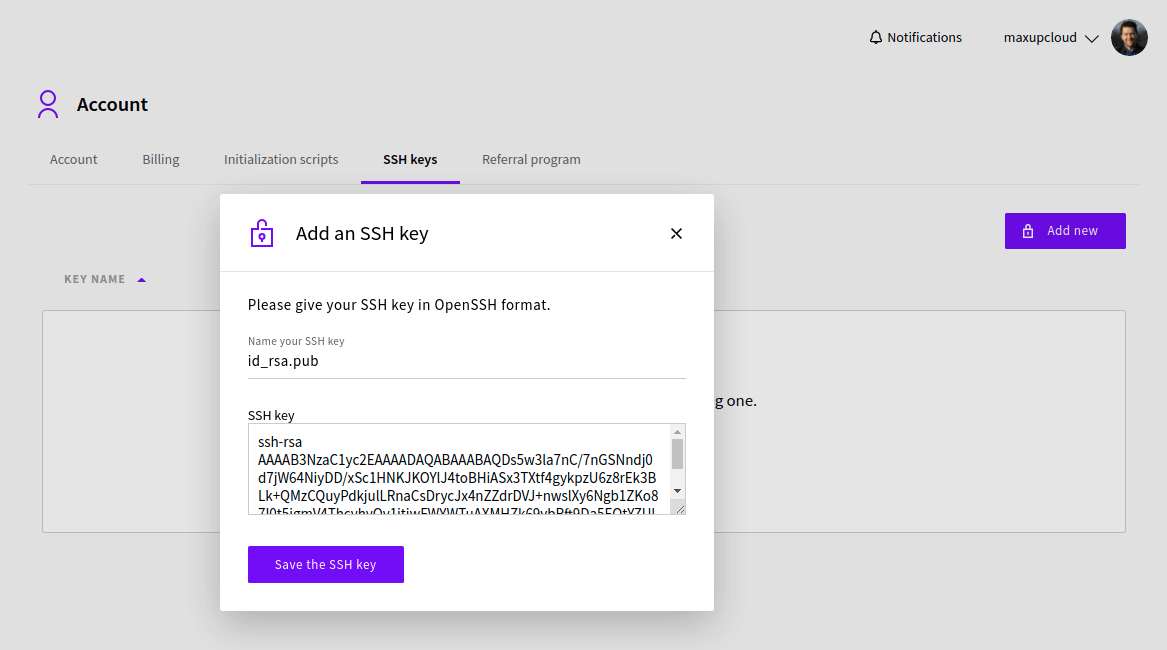
With the key set and named, click the Save the SSH key button at the bottom to confirm the changes.
Each key you add to the control panel will appear on the SSH keys list. Each key available to your account can then be added to Cloud Servers at deployment.
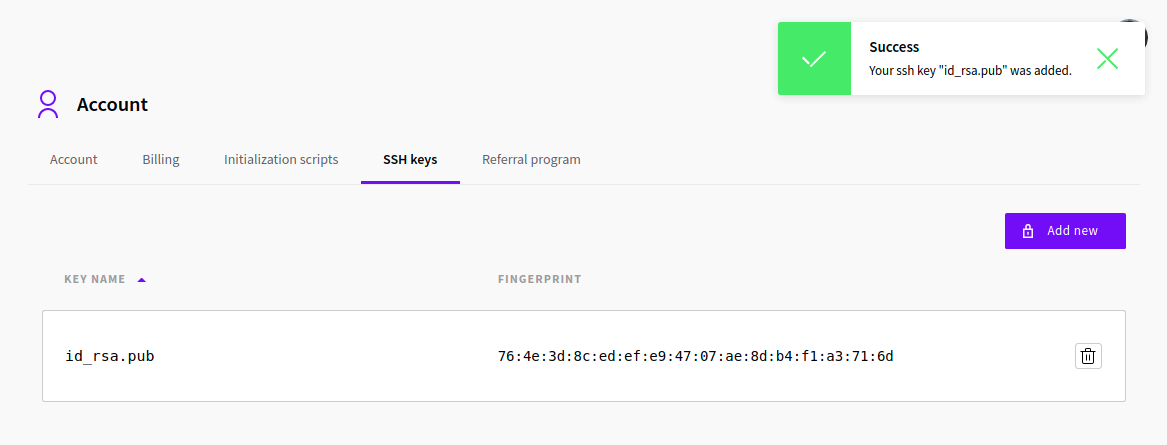
If you want to rename or change the public keys, click the delete icon to remove the keys and add new ones as above.
Choosing login methods You can choose to allow authentication to the server using either SSH keys or a one-time password. This is selected in sectioning the preferred option at the Login method. Adding an SSH key and disabling password login for the root account are recommended steps for securing your Linux server.
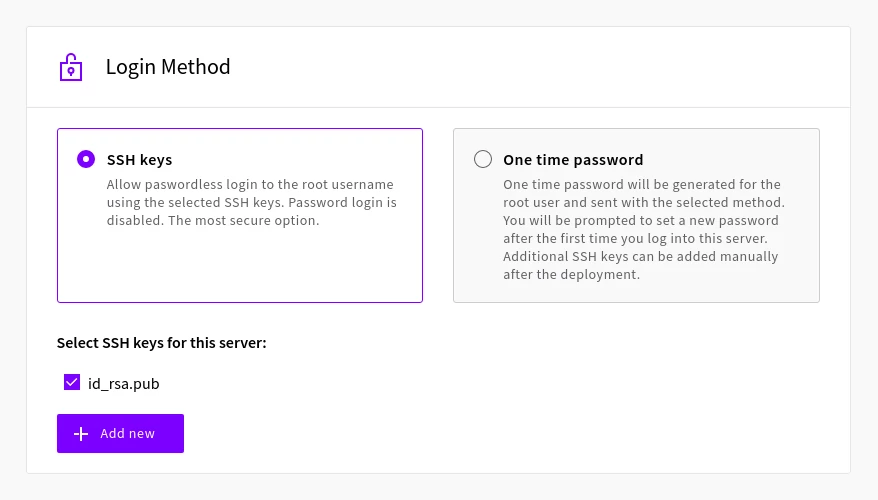
Public keys that are stored at your control panel can be directly applied to Cloud Servers at deployment. With the SSH keys or SSH keys and password login method selected, click the key names to select the keys you wish to use on the new server.
You can also click the Add new button to import your keys right at the deployment without losing your server setup selections. This opens the key editing window, copy in your public key and click the Save the SSH key.
The SSH keys selected at deployment are added to the default root account and allow you to harden the server security right from the get-go. If you wish to add SSH keys to other user accounts, check out our Initialization script feature to automatically create new usernames, update the system, and perform other setup tasks at the first boot-up.
If you have not generated SSH key pairs before, you can find additional instructions for how to use SSH keys on your Cloud Server about adding SSH keys after deployment.