The account settings at your UpCloud Control Panel provide advanced access control opportunities for teams. You as the account owner can create and manage additional subaccounts with individual access rights. Your team members get their own account names and passwords, with access to specific services that you can assign freely.
New team members can use an email address already attached to another UpCloud account. There are no limits on the number of accounts or how many workspaces a member can belong to.
Adding and managing members
Your UpCloud account can have multiple additional workspace members that log in with their own usernames and passwords. Adding members can be extremely useful for collaborative work, many kinds of group projects, or just temporarily giving someone access to your server management without sharing your login details.
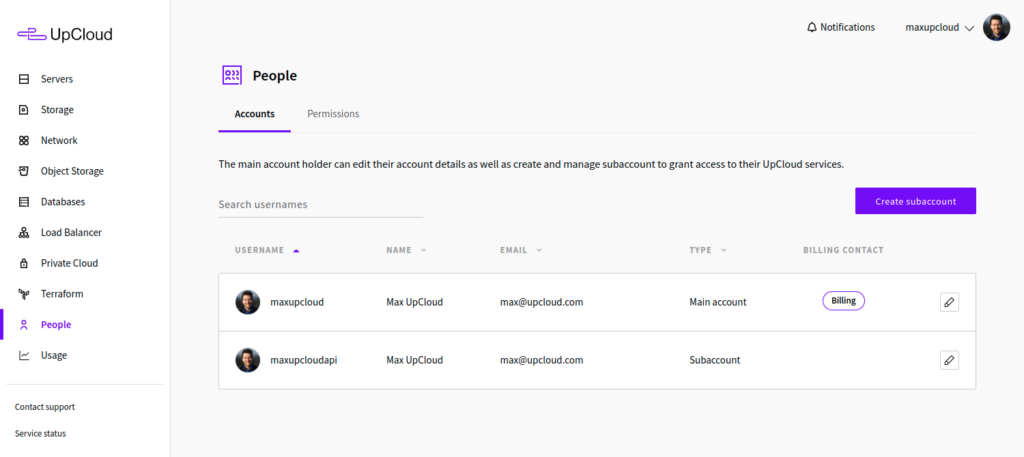
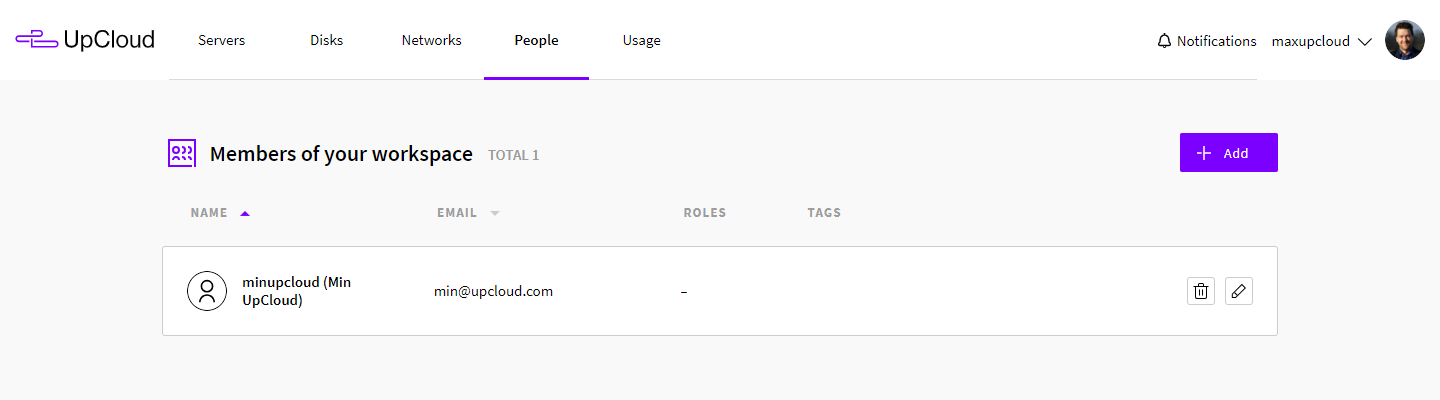
To start with sharing your account, log into your UpCloud Control Panel and open the People tab. In this view, you can create new accounts to share your workspace. Click the Add button at the top right of the list, this will open a new user profile form.
Enter the following minimum information to create a new user:
- Username
- Password
- First name
- Last name
- Email address
- Phone number
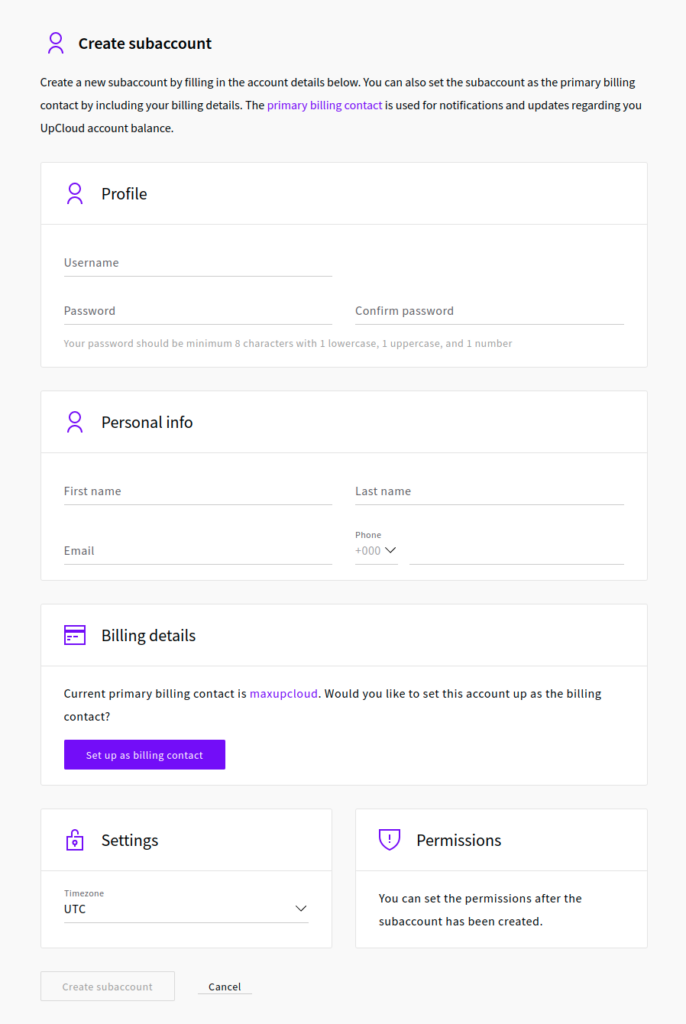
After filling in the user details, click the Create account button at the bottom of the page to confirm creating a new member.
The new account will show up on the same People list with an edit button, which takes you back to the account details and permissions page, and a bin button for removing accounts that are no longer needed.
With the new user account created, open the account details and take a look at the access permissions. Here you have granular control over the Cloud Servers and managed services to which the new user has access.
Group account permissions
Access permissions can be assigned to each user account according to the following categories:
- Control Panel
- API connections
- Cloud Servers
- Storage devices
- Managed Databases
- Object Storages
- Load Balancers
- Private networks
- Routers
- Tags
In combination with access controls to your Cloud Servers and services, the group account permissions allow you to manage your team securely following a zero-trust approach.
Tags and Group accounts
The server tag system allows you to categorise and filter your server listing according to the tags. Each server can have multiple tags, which are simple single-word group names consisting of letters or numbers. You can, for example, tag your database servers with #mysql or development environments with #dev. It is all up to you to choose the tags which best describe your cloud servers.
The tags are not just for show either, you can use them together with your access control settings to specify who gets to modify each Cloud Server. Adding a tag to the subaccount access rights gives that user control over the servers indicated by the same tag. The tags together with the server and storage-specific access rights form a versatile but easy-to-manage user access control for your workspace members.
Tagging Cloud Servers
To get started with server tags, log in to your UpCloud Control Panel and open the settings page for the server you wish to tag. In the server overview, you will find the Tags section around the middle of the page. The tags assigned to your server will appear in that section, but for now, you will only see the Edit button, click it to add a new tag.

In the tag editing mode, you can simply type in the tag you would like to assign and press enter to create the tag. The tag can be any single group of alphabets and numbers up to a maximum of 32 characters, so you can get creative with your tags. If you have already tagged another server before, entering pre-existing tag names will auto-complete to the same appearance to help keep tag names consistent throughout your servers.
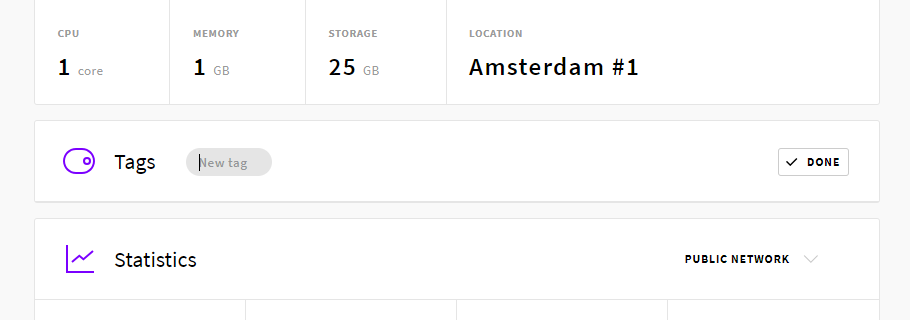
Once you are done adding new tags to that server, click Done to save the changes.
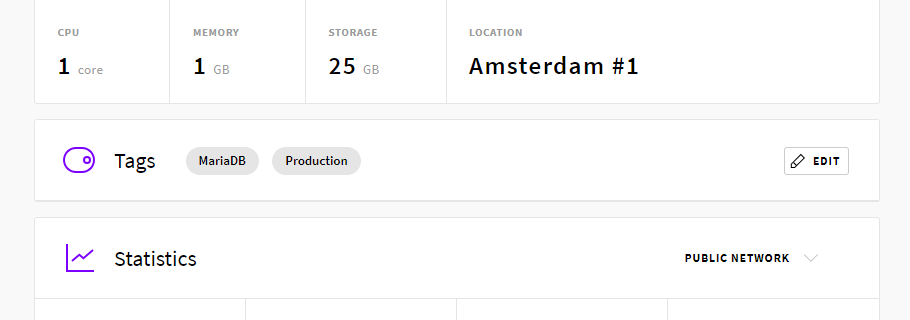
After adding new tags to your server, the tags will show up in the same Tags section in your server overview. But this is just a small part of the usage of the tags.
Next, go back to your Servers list. The same tags you just added now appear in your servers list under the Tags column.
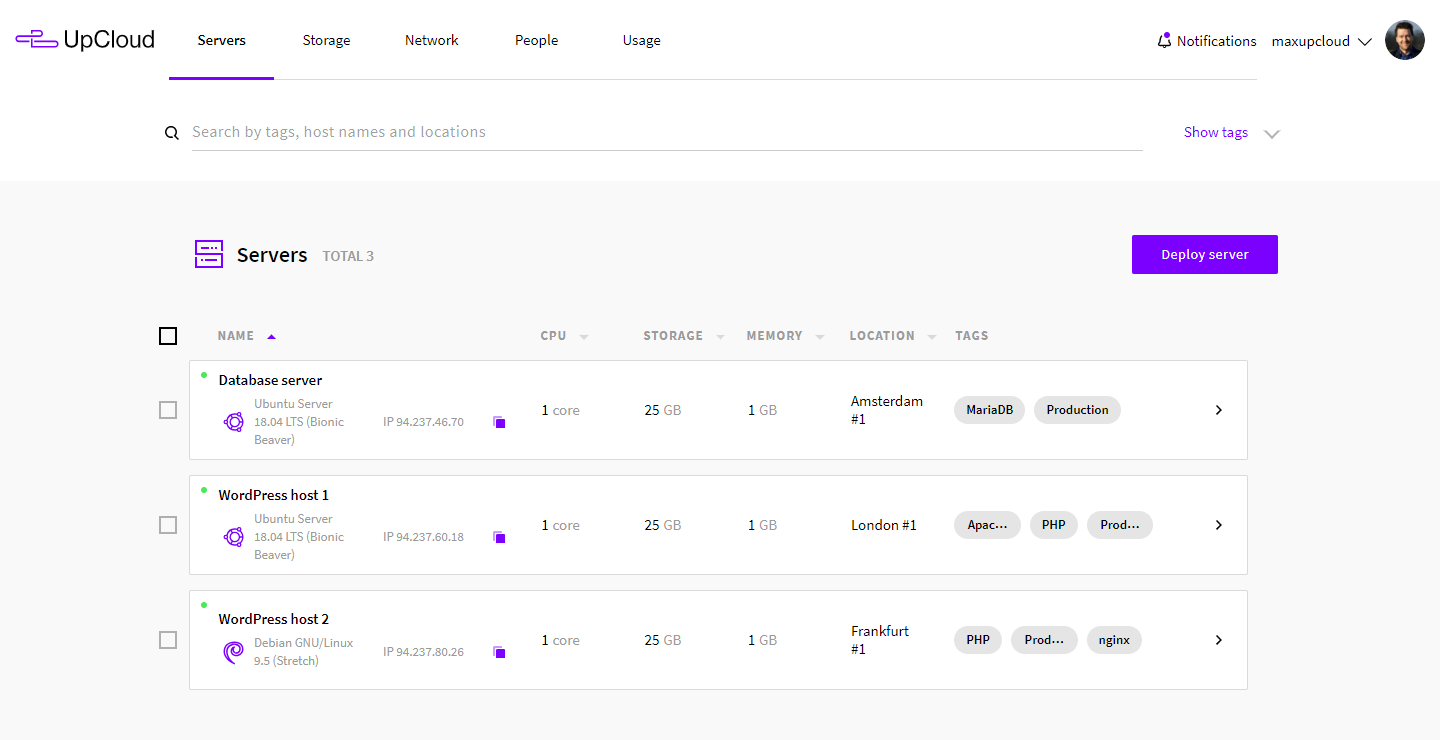
The tags allow you to filter the list of your servers to only show those with specific tags assigned to them. Try clicking one of the tags to see how the filtering works. Notice that you can select multiple tags at the same time to further narrow down your list. Selecting a tag to filter by will highlight all the same tags on each of the servers that have it, this way you can easily perform bulk action commands to certain types of servers. Click the selected tags again to clear filtering and show all of your servers.
Group account permissions
Access permissions can be assigned to each team member according to the following categories:
- Control Panel
- API connections
- Cloud Servers
- Storage devices
- Managed Databases
- Object Storages
- Load Balancers
- Private networks
- Routers
- Tags
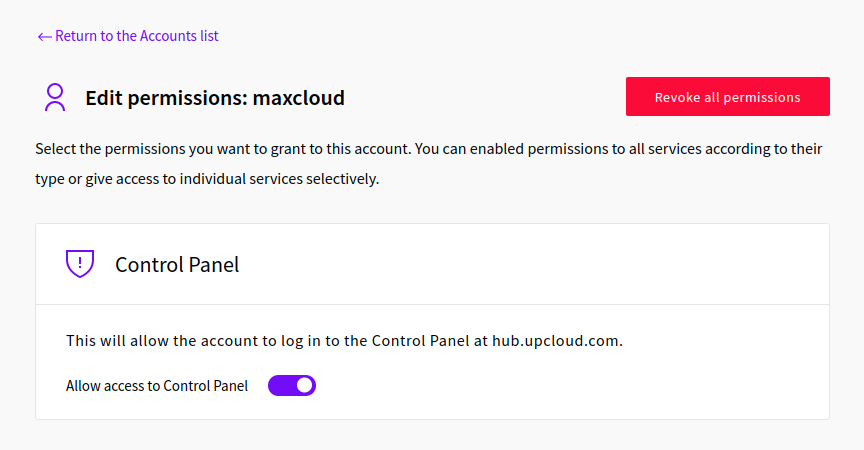
Control Panel
The first option in the account permissions controls the user’s access to the UpCloud Control Panel itself. For normal users, this should be left on but we recommend disabling Control Panel access for API accounts.
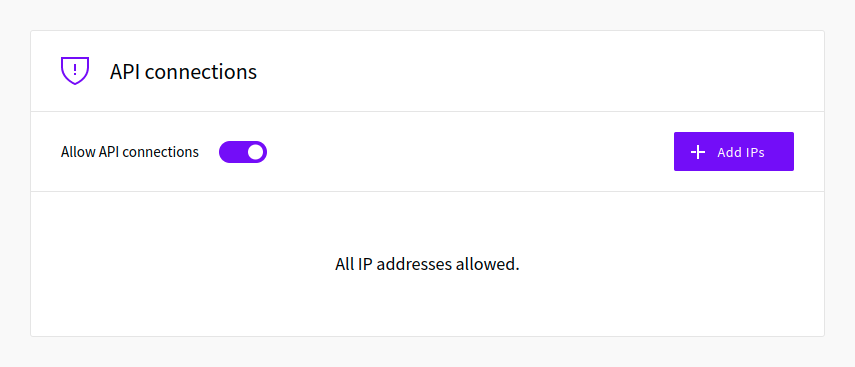
API connections
Each user account can have access to the API interface but we recommend setting up a separate API account for each use case. You can learn more about API access in our getting started tutorial.
Cloud Servers
Access control allows you to assign user rights to specific Cloud Servers. Select the desired server on the left Available servers list and move it to the Allowed list by clicking the Add button. If the user should be able to take backups, and attach and remove storage drives on the allowed servers, select the checkbox under the allowed servers list.
It is also possible to give the user access to all the servers on your Group account by selecting the checkbox above the servers list.

Storage devices
Storage options are a supplementary way to give access only to specific storage devices. This works in conjunction with the Server and Tag access control options. You can restrict user access to only specific storage devices attached to those servers to the subaccount otherwise has access to.
Like with the servers, you can give blanket permission to all storage disks by selecting the checkbox above the storage list.

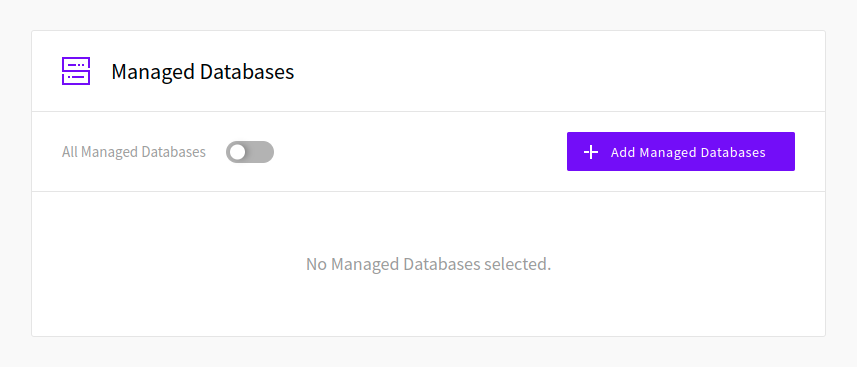
Managed Databases
Besides Cloud Server and their attached storage, users can also be given permission to access and manage other services. You can assign permissions to individual Managed Database clusters or allow access to all with the toggle.
Note that the access controls to each database within the cluster are handled separately. You can learn more about database security in our Managed Databases tutorial.
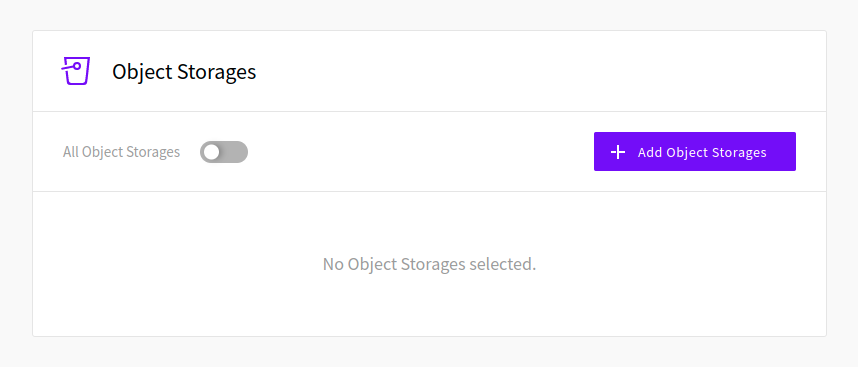
Object Storages
Granting access to individual Object Storage instances or all within the account allows the user to create and modify buckets as well as see and access the files stored.
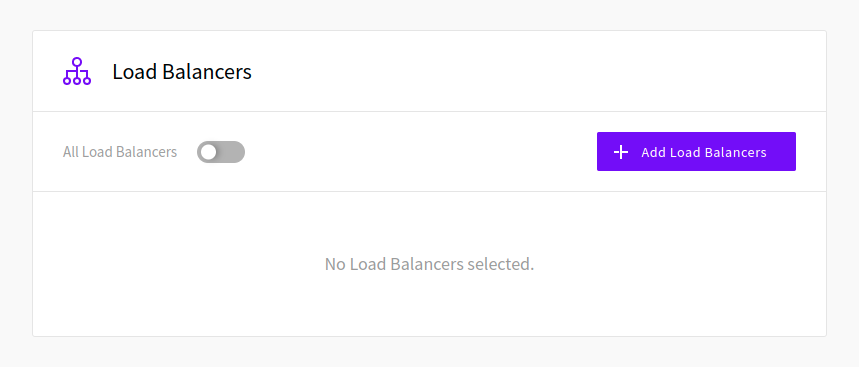
Load Balancers
Access permissions to Load Balancer services enable the user account to view and manage these services.
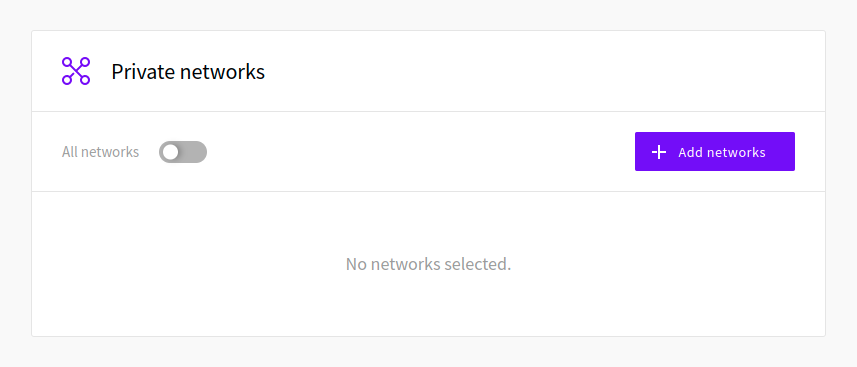
Private networks
Giving user accounts permissions to Private networks in turn allows them to manage the network options and settings.
Routers
Similarly to Private networks, account permissions to Routers let the user access and modify existing services on your account.

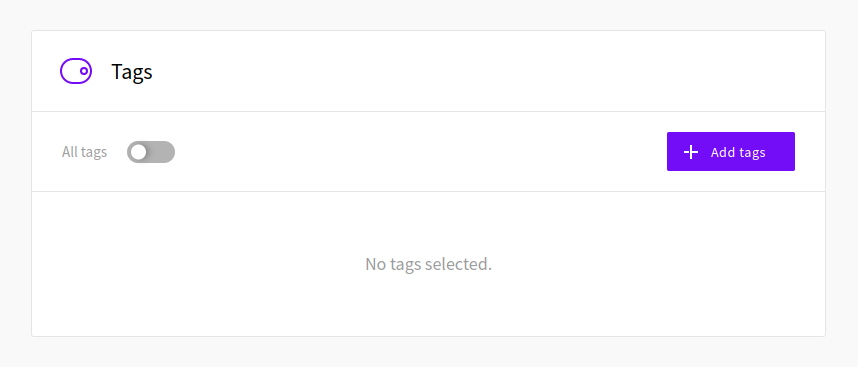
Tags
Tags are an alternative option to specify access control to Cloud Servers. Type in the tag names the user should be allowed access to and press enter. Attached to each tag, you will see a checkbox to also allow access to the storage devices attached to the servers with those tags.
User settings
When a new member logs in for the first time, it is advised they change the password you assigned at the account creation. Members can change their passwords on their account overview page.
On the account page, members can also update their contact information, enable two-factor authentication, and select the time zone setting.
Once done, simply click the Save changes button at the bottom of the page to confirm the changes.
UpCloud user accounts also support Gravatar profile pictures when you enter an email address with Gravatar configured to your contact details. If you do not have a profile picture set up yet, it is a simple process of signing up with an existing account or creating a new one. Then follow the instructions at Gravatar to set up a profile picture with any or all of your email addresses.