
Resources don't migrate automatically. If you used UpCloud before workspaces, signing up through the new login won't bring your old resources with you, and you may find them missing at first. Contact support - they'll set up your organization and migrate your existing resources into the workspace (see Current limitations).
Setting up Workspaces
Setting up a new workspace entails completing the following steps:
- Signup for workspaces
- Set up OIDC for organization, if relevant
- Adding users to workspace and adding users to organization
Coming from an older account?
Signup for workspaces
- Go to SSO signup
- Sign up with one of the given SSO providers: Google, GitHub, or Microsoft
- After authentication, you will be able to create your first workspace
Logging in
- Go to SSO login, where you should see a view like the one shown in the image below
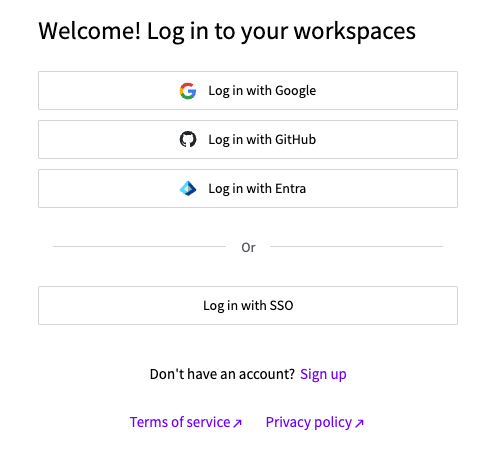
- Log in:
- To log in with Google, GitHub, or Microsoft, simply click the relevant button.
- If you have OIDC set up for the workspace, click the Log in with SSO button instead and enter your email on the following page.
Set up OIDC for the organization
Pre-requisites
Create an OIDC application and client with your Identity Provider (IdP).
Go to the organization authentication page
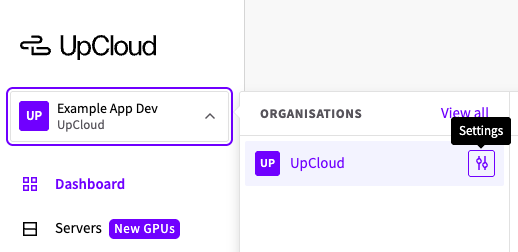
- Click the dropdown in the top left corner, just below the UpCloud logo.
- Clicking the dropdown opens a view of your organizations and workspaces. Please hover over the organization you want to set up OIDC for, and click the Settings button.
- Navigate to the Authentication page from the top menu.
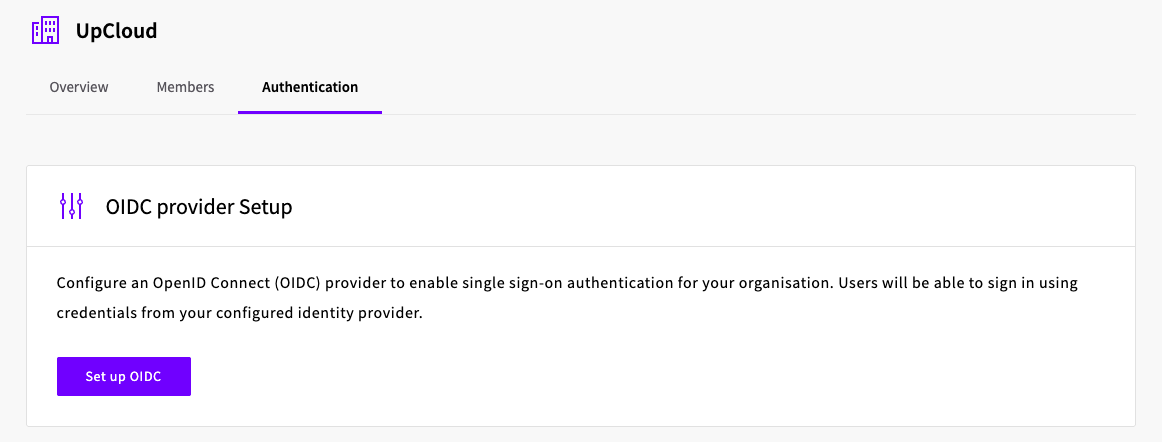
Set up the OIDC
- On the organization authentication page, first press the Set up OIDC button.
- Fill issuer URL, client ID, and client secret according to the details from your OIDC app/client in your IdP
- Type in allowed email domains (e.g., “mycompany.com”)
- Press Create OIDC provider. Afterward, you should see a page similar to the following image, but with your own client ID and callback URL:

- Copy the callback URL and set it up on your Identity Provider OIDC app/client.
- Contact UpCloud to verify your domain. After your domain has been verified, you can start using it for authentication (read more in Logging in).
Please note that existing users must add the new OIDC provider to their user profiles to use it for login.
Log in using additional SSO providers
You can add SSO providers to your user profile to enable login via multiple methods.
- Log in using one of your existing SSO providers
- Click the profile icon in the upper right corner and select My profile from the dropdown, or go directly to the profile overview
- You should see a listing similar to the one shown in the image below. If your organization has set up a custom OIDC (how to set up OIDC), it will appear in the list in place of “UpCloud”.
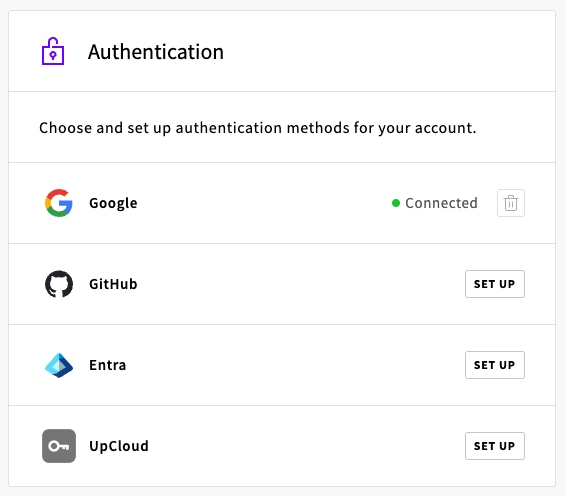
- To set up additional authentication methods for your user, simply click the Set up button next to the desired authentication method. After authenticating, you should be able to log in using the new method.
- Optionally, remove any unwanted authentication methods by clicking the trash can icon next to the method.