How to connect private networks using SDN Router
Using SDN Private Networks, you have a lot of freedom to configure secure connectivity between your cloud servers. With the introduction of SDN Routers, you can create a gateway between any number of SDN Private Networks in the same location.
SDN Routers are expanding the customization possibilities of SDN Private Networking.
Deploy new SDN Router
SDN Routers make it very simple to connect existing SDN Private Networks without added complexity or new IP addresses to configure.
Get started by deploying an SDN Router at your UpCloud Control Panel.
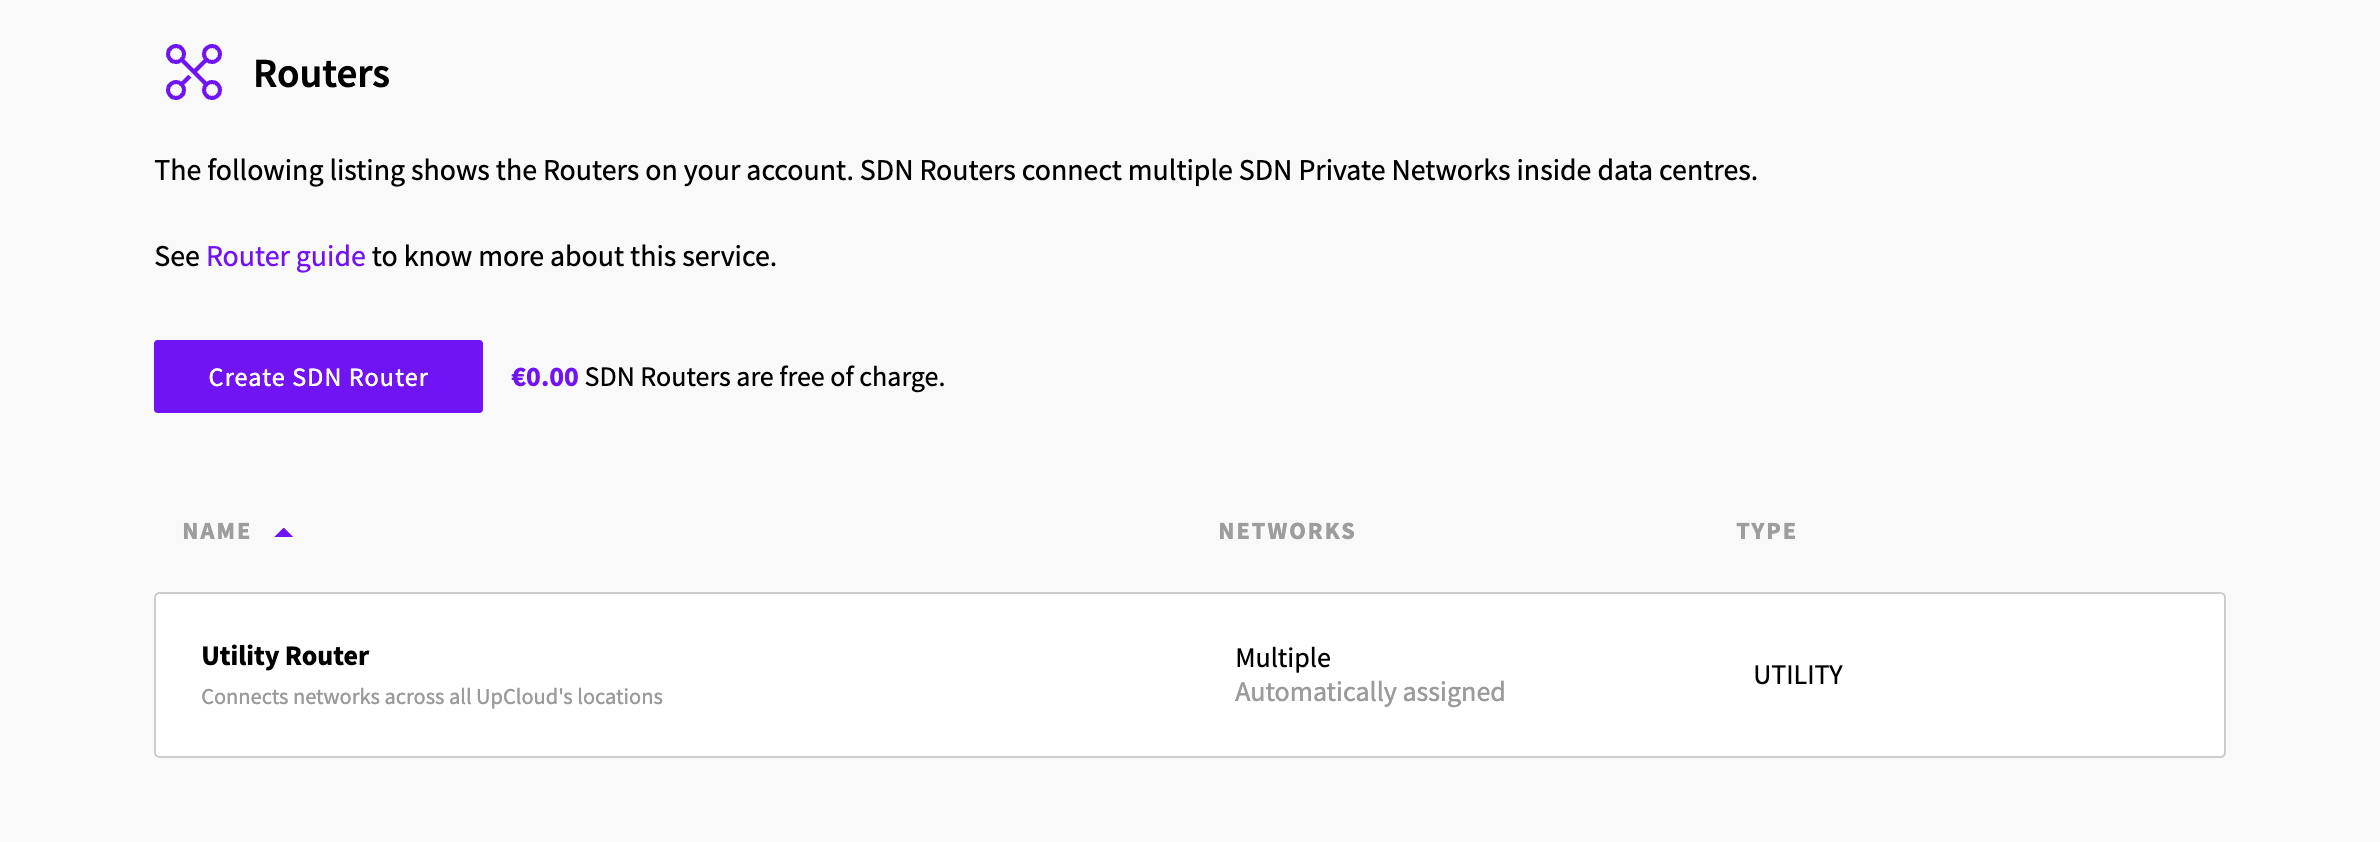
Go to the Routers section in the Network menu to find the view of your current SDN Routers. By default, you’ll only see the Utility Router connecting your cloud servers across your whole account.
Click the Create SDN Router button to begin.
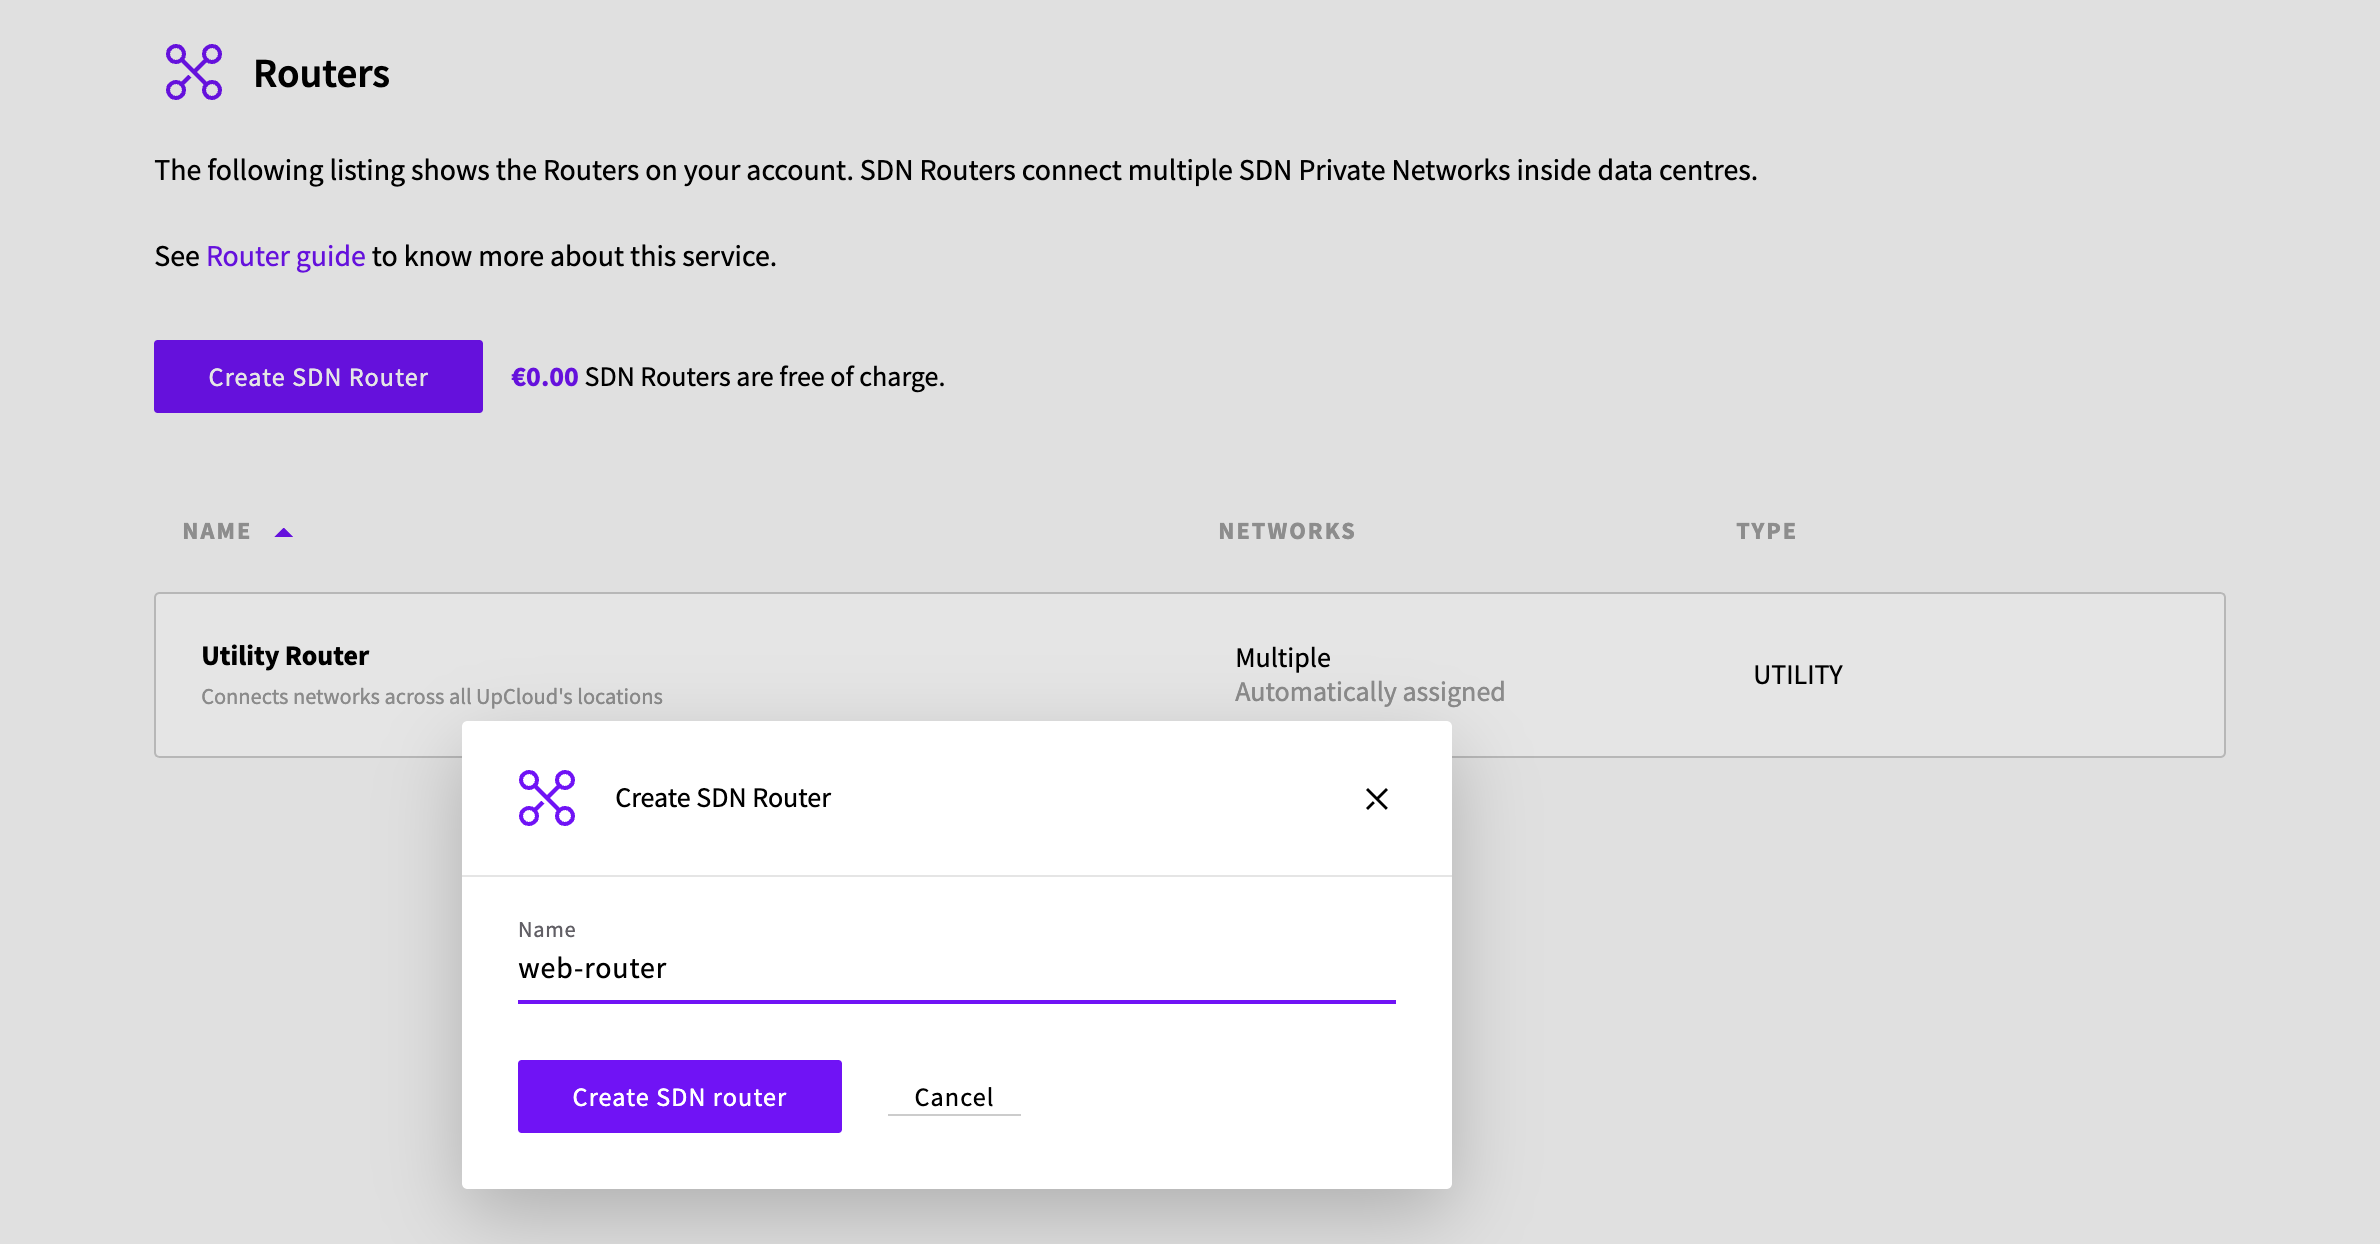
Then name your new router and click the Create SDN router button to confirm.
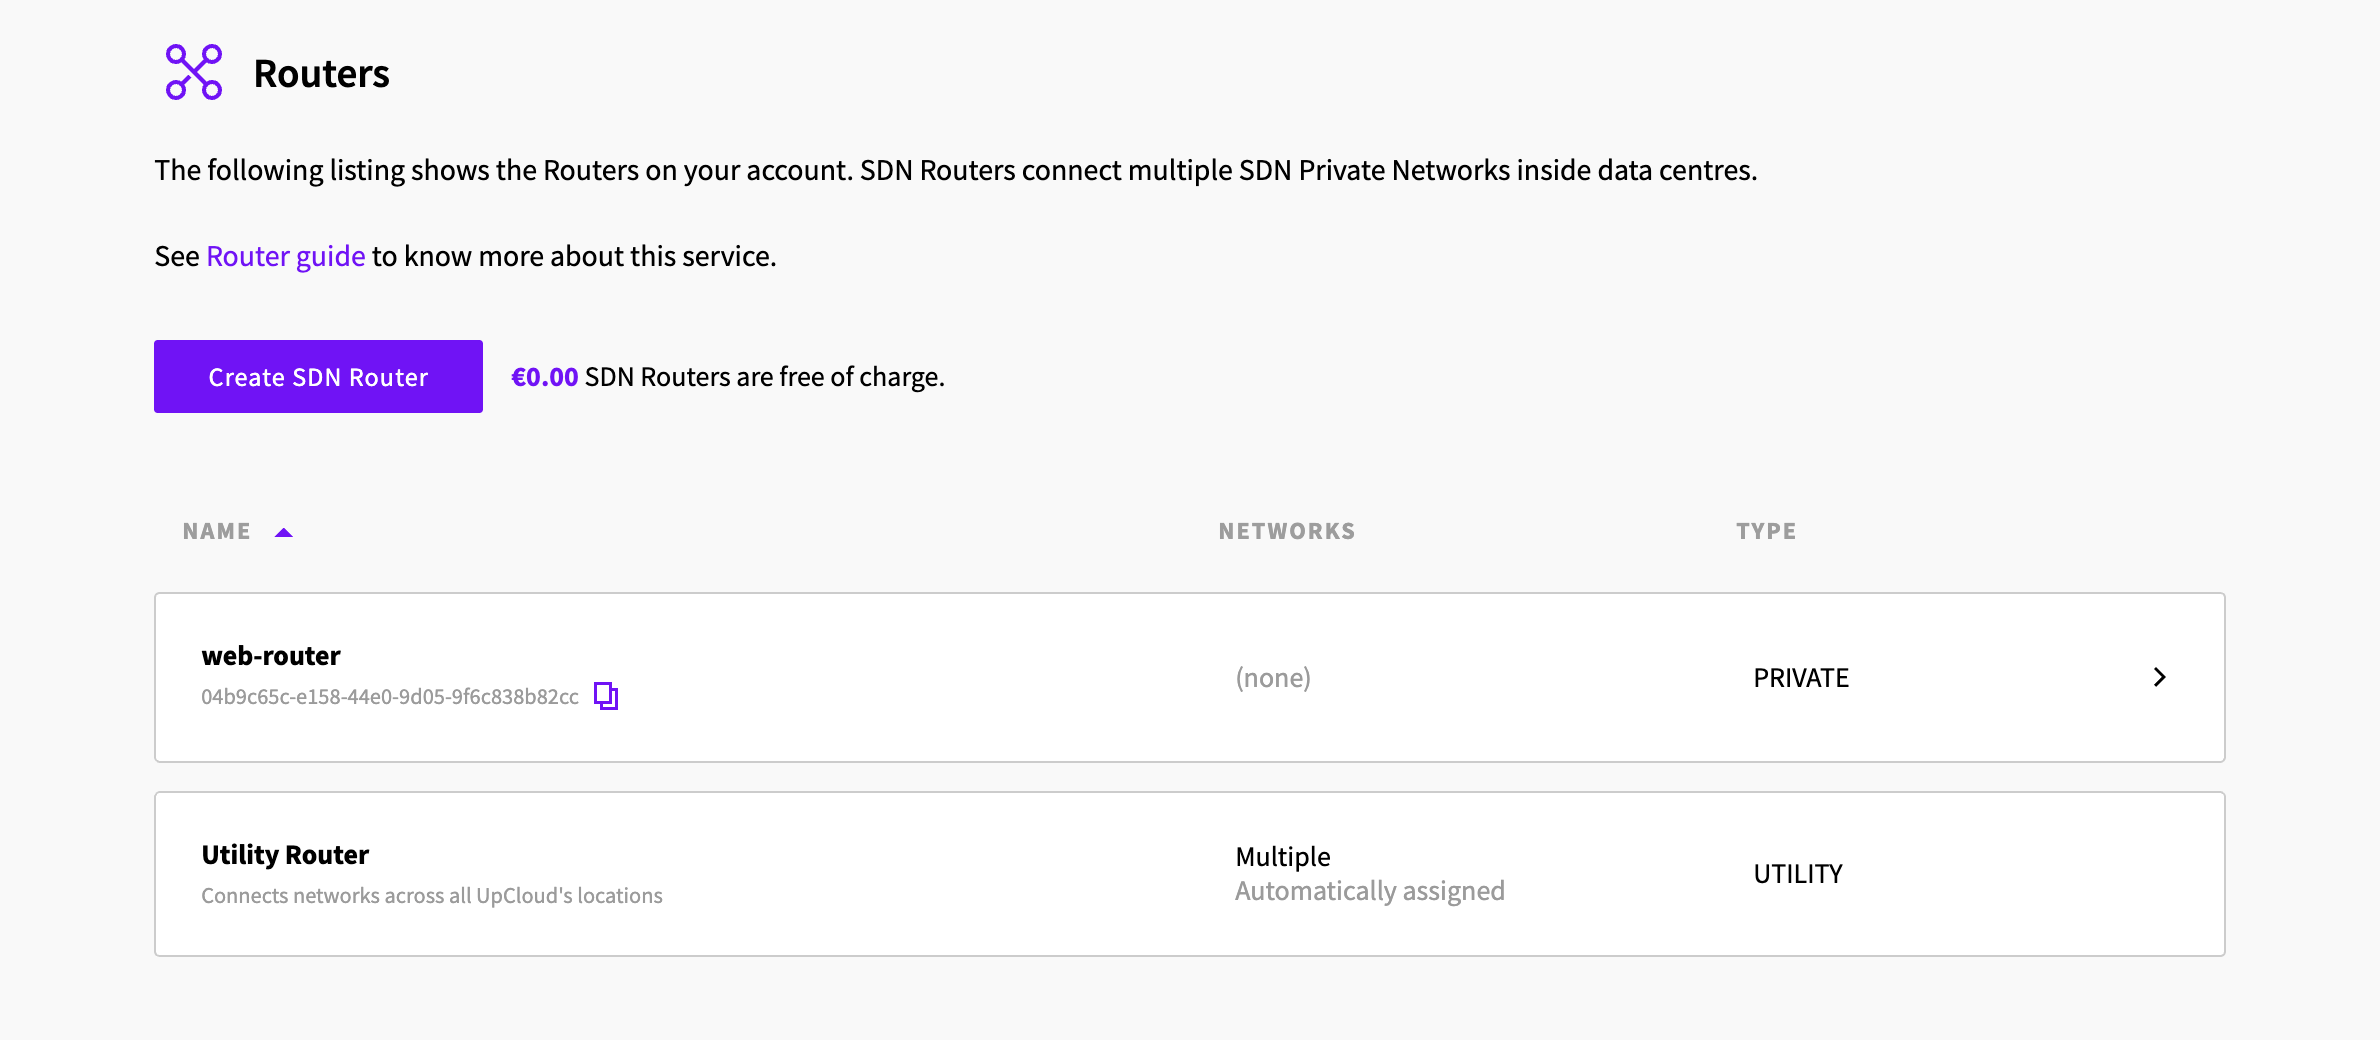
Your new router will then appear on the list.
Attaching networks
Once you’ve created your first SDN Router, you can begin attaching SDN Private Networks. If you haven’t yet configured any SDN Private Networks, check out our guide on how to get started.
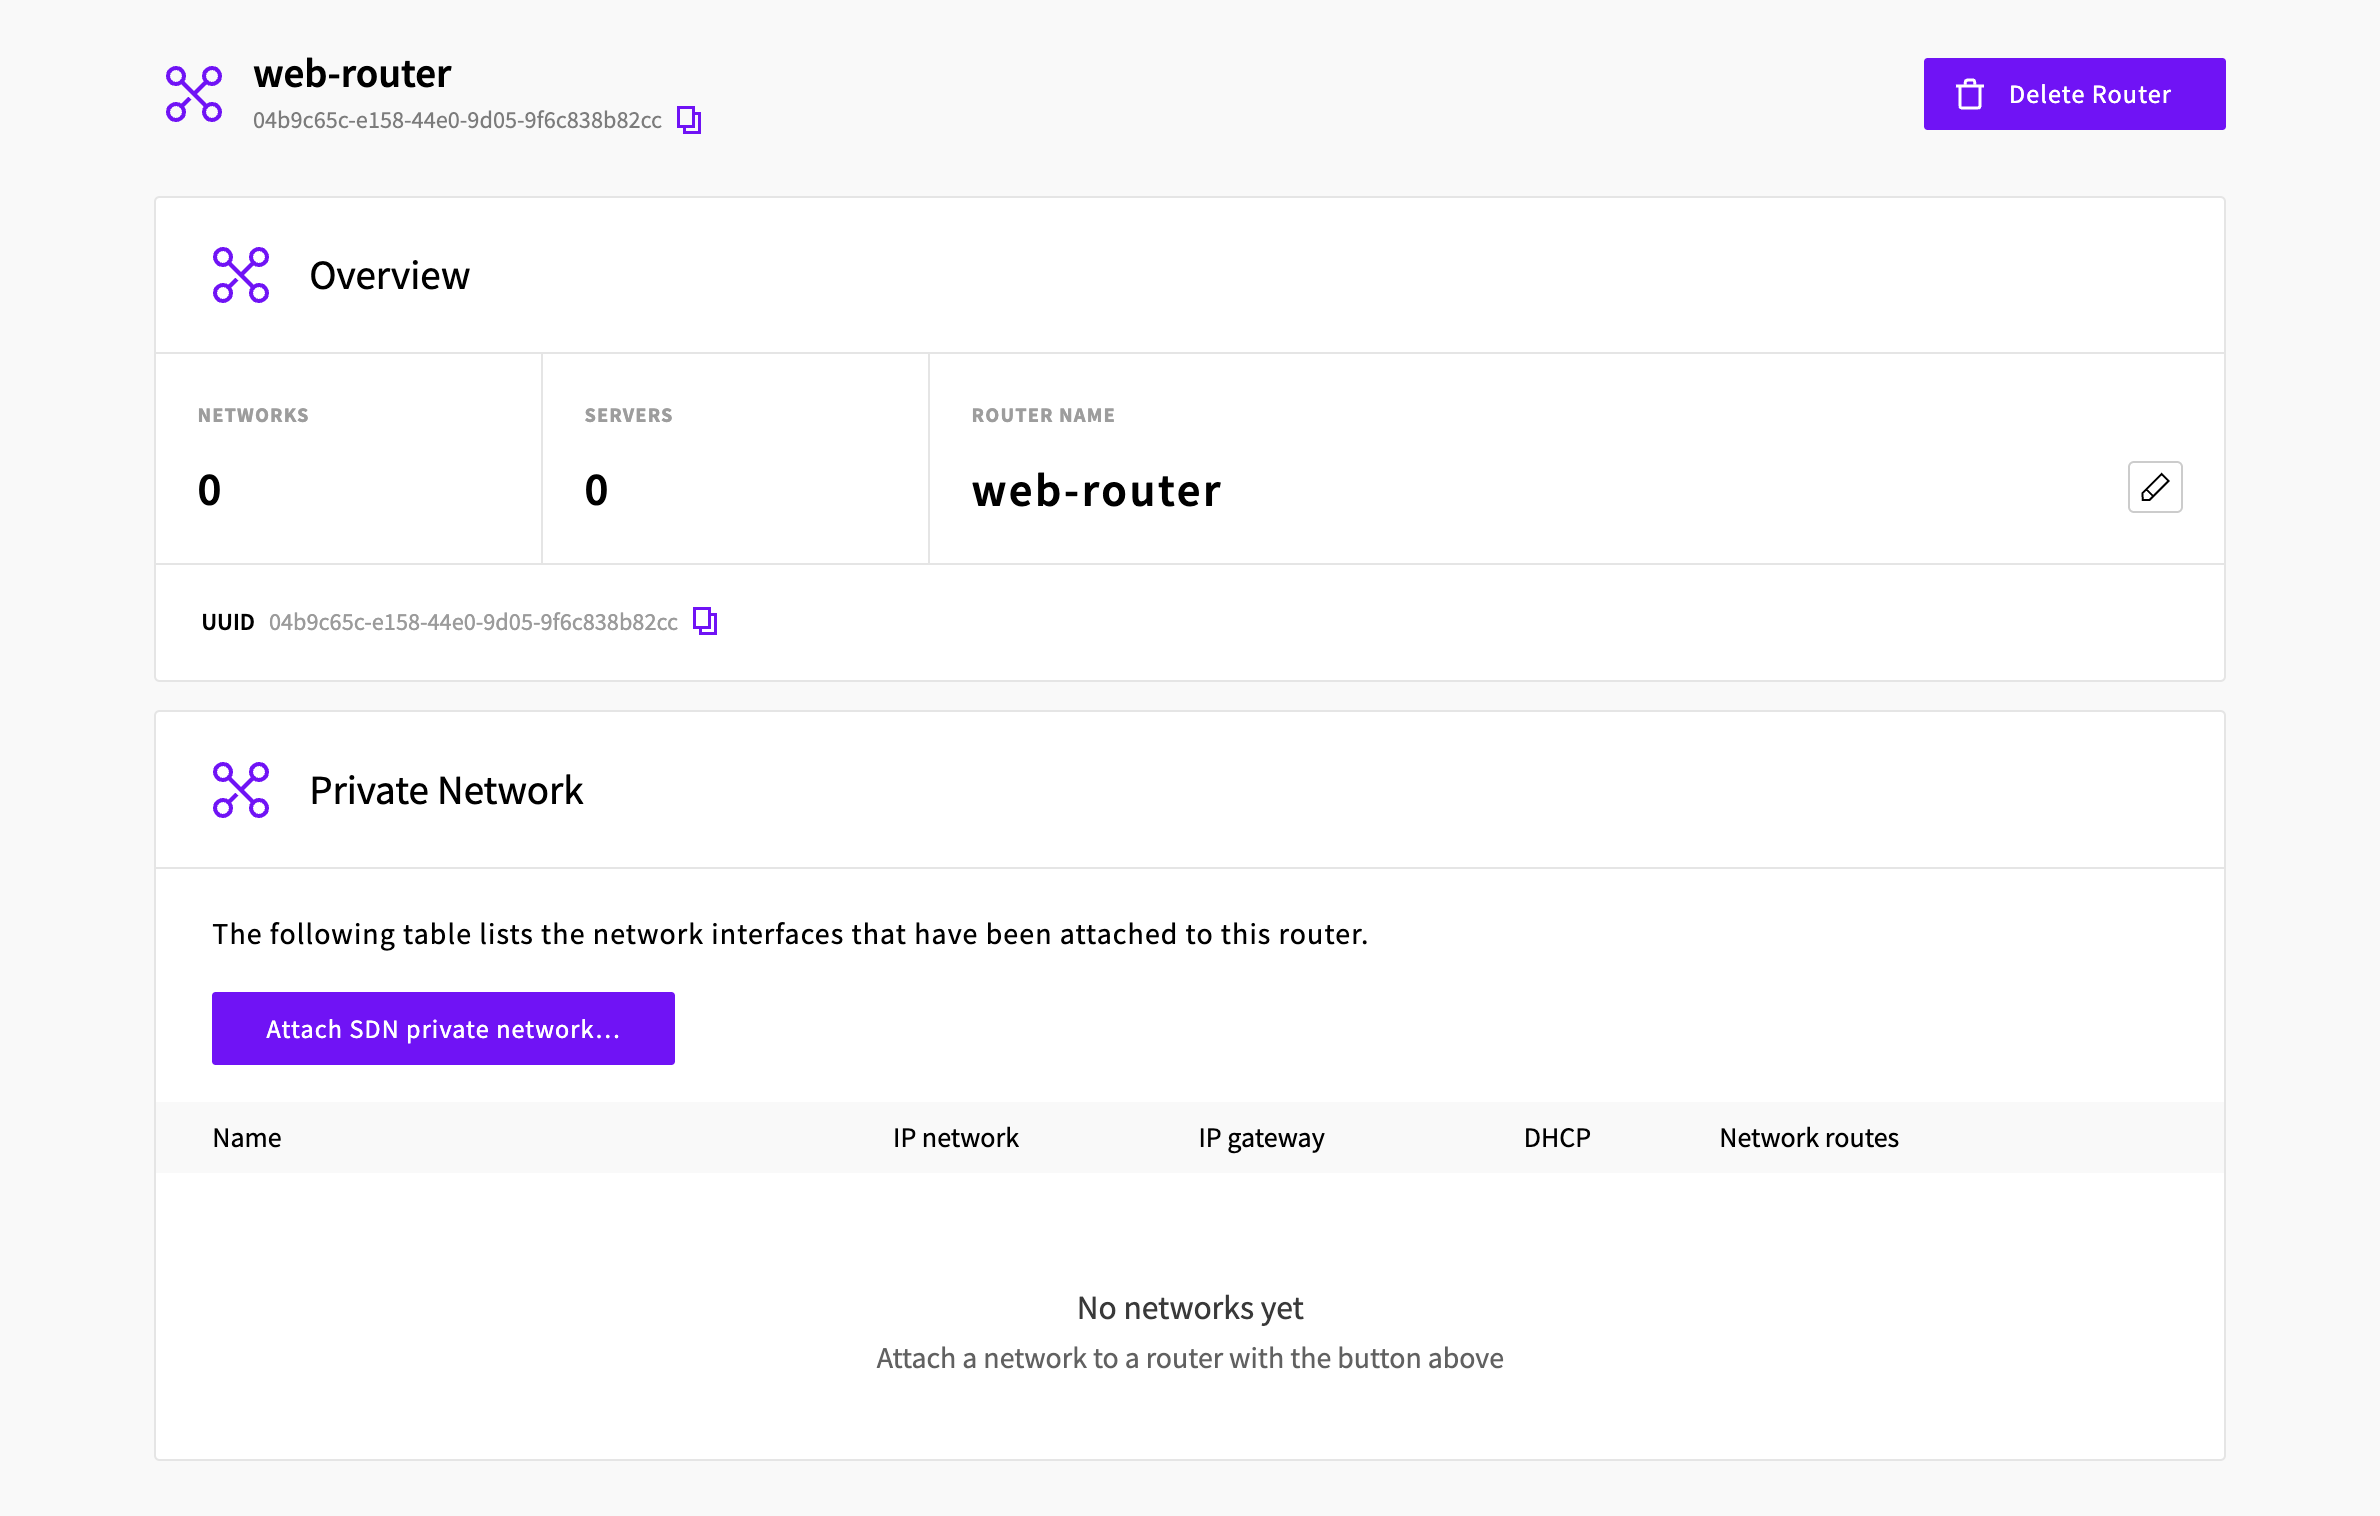
Click on the SDN Router you wish to use to connect your private networks.
In the SDN Router view, you can see a couple of details about your router, rename the router as well as attach and detach private networks.
Start connecting networks by clicking the Attach SDN Private Network button.
Then in the following view, select the location and pick the SDN Private Network from the list. The location of the first network you attach sets the location of the router, and all further networks must be in the same location.
The dialog also has two DHCP options:
- Enable DHCP routes auto-population: servers on this network get routes to the other networks attached to the router. Leave it on for each network you attach.
- Enable DHCP and add default route by DHCP: servers on this network get a default route through the router. Turn it off if the servers already have a default route through another interface, such as a public network interface. Leave it on if the servers use a NAT Gateway on the router for internet access.
Once all set, click the Attach network button to confirm.
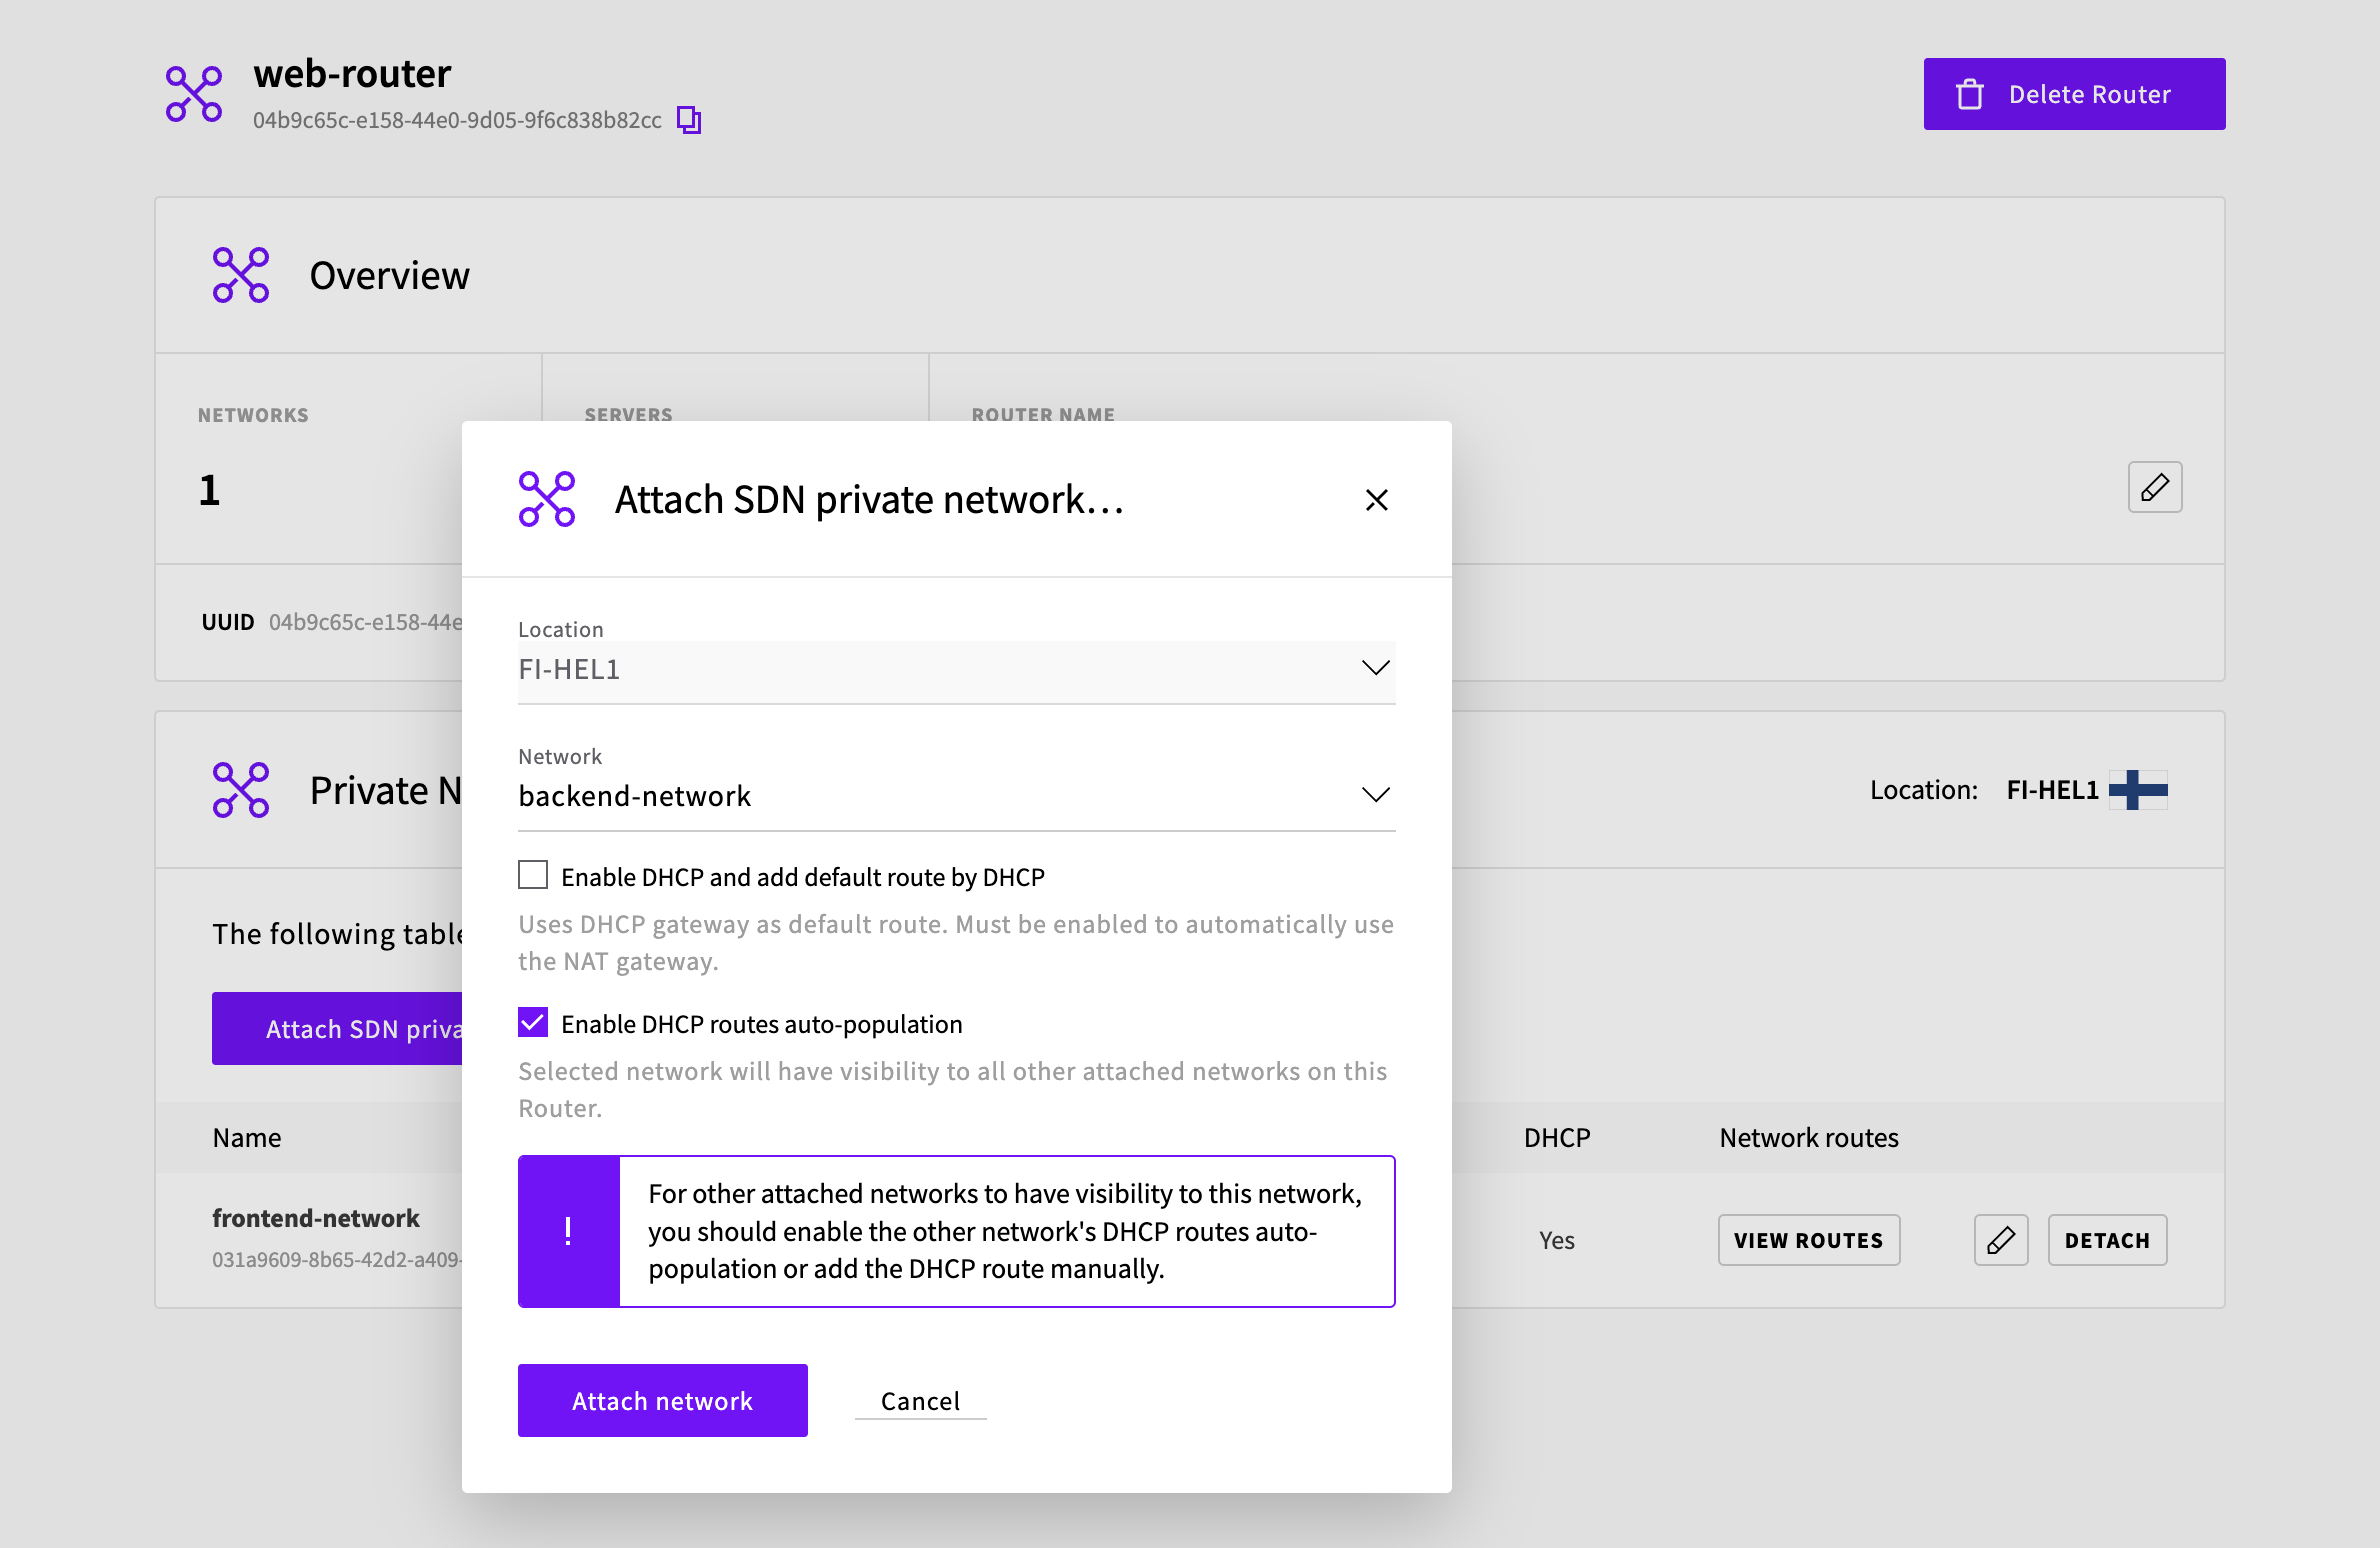
Repeat the same to attach any networks you wish to connect together.
The attached SDN Private Networks then appear on the list along with the relevant network information.
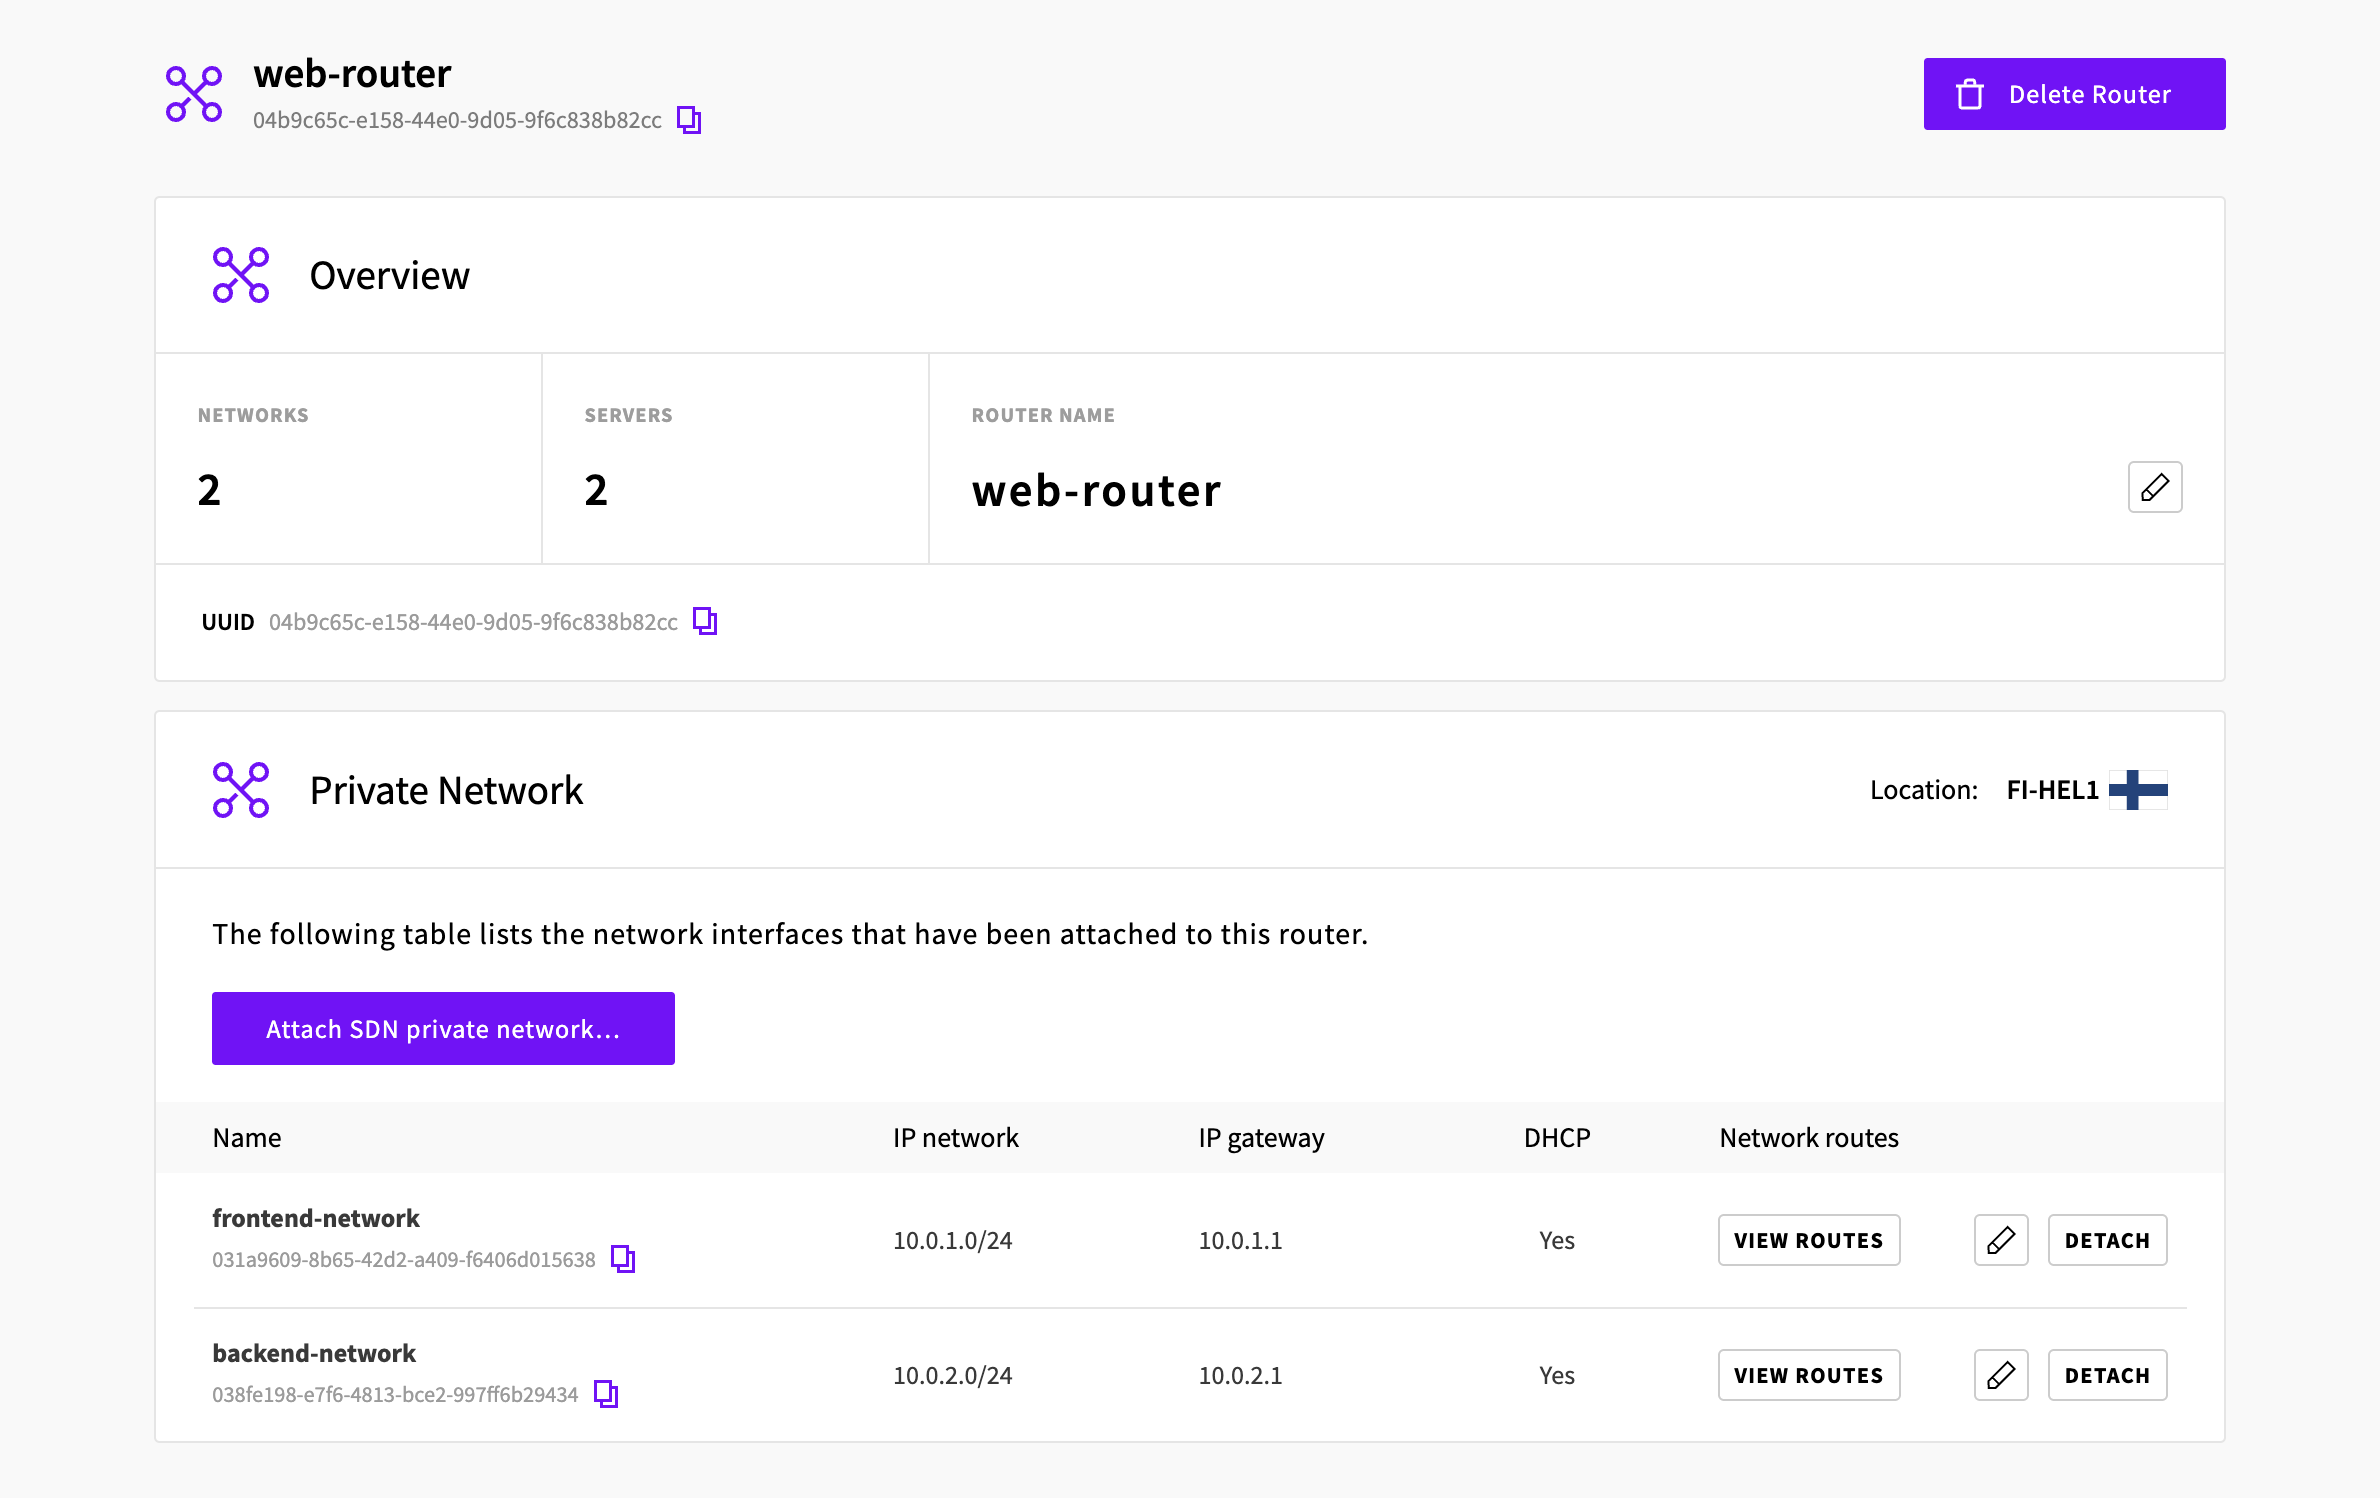
Once your private networks are connected via the router, the cloud servers on them need to renew their DHCP lease to get the new routes.
Log in to each attached cloud server and run the following command. Replace eth2 with the network interface of your SDN Private Network. The command works on servers that use systemd-networkd, such as Ubuntu.
sudo networkctl renew eth2Afterwards, if you run the command below, you should see a new route connecting to the other private network.
ip route...
10.0.1.0/24 dev eth2 proto kernel scope link src 10.0.1.2 metric 100
10.0.2.0/24 via 10.0.1.1 dev eth2 proto dhcp src 10.0.1.2 metric 100Repeat these commands on each cloud server you want to use between the private networks.
That’s it! Your cloud servers connected to either private network can now communicate via the router gateway.
Detaching networks
When you no longer need to connect a specific SDN Private Network, you can detach it from your router at any point.
To detach a network, go to the SDN Routers list in your UpCloud Control Panel and select your SDN Router.
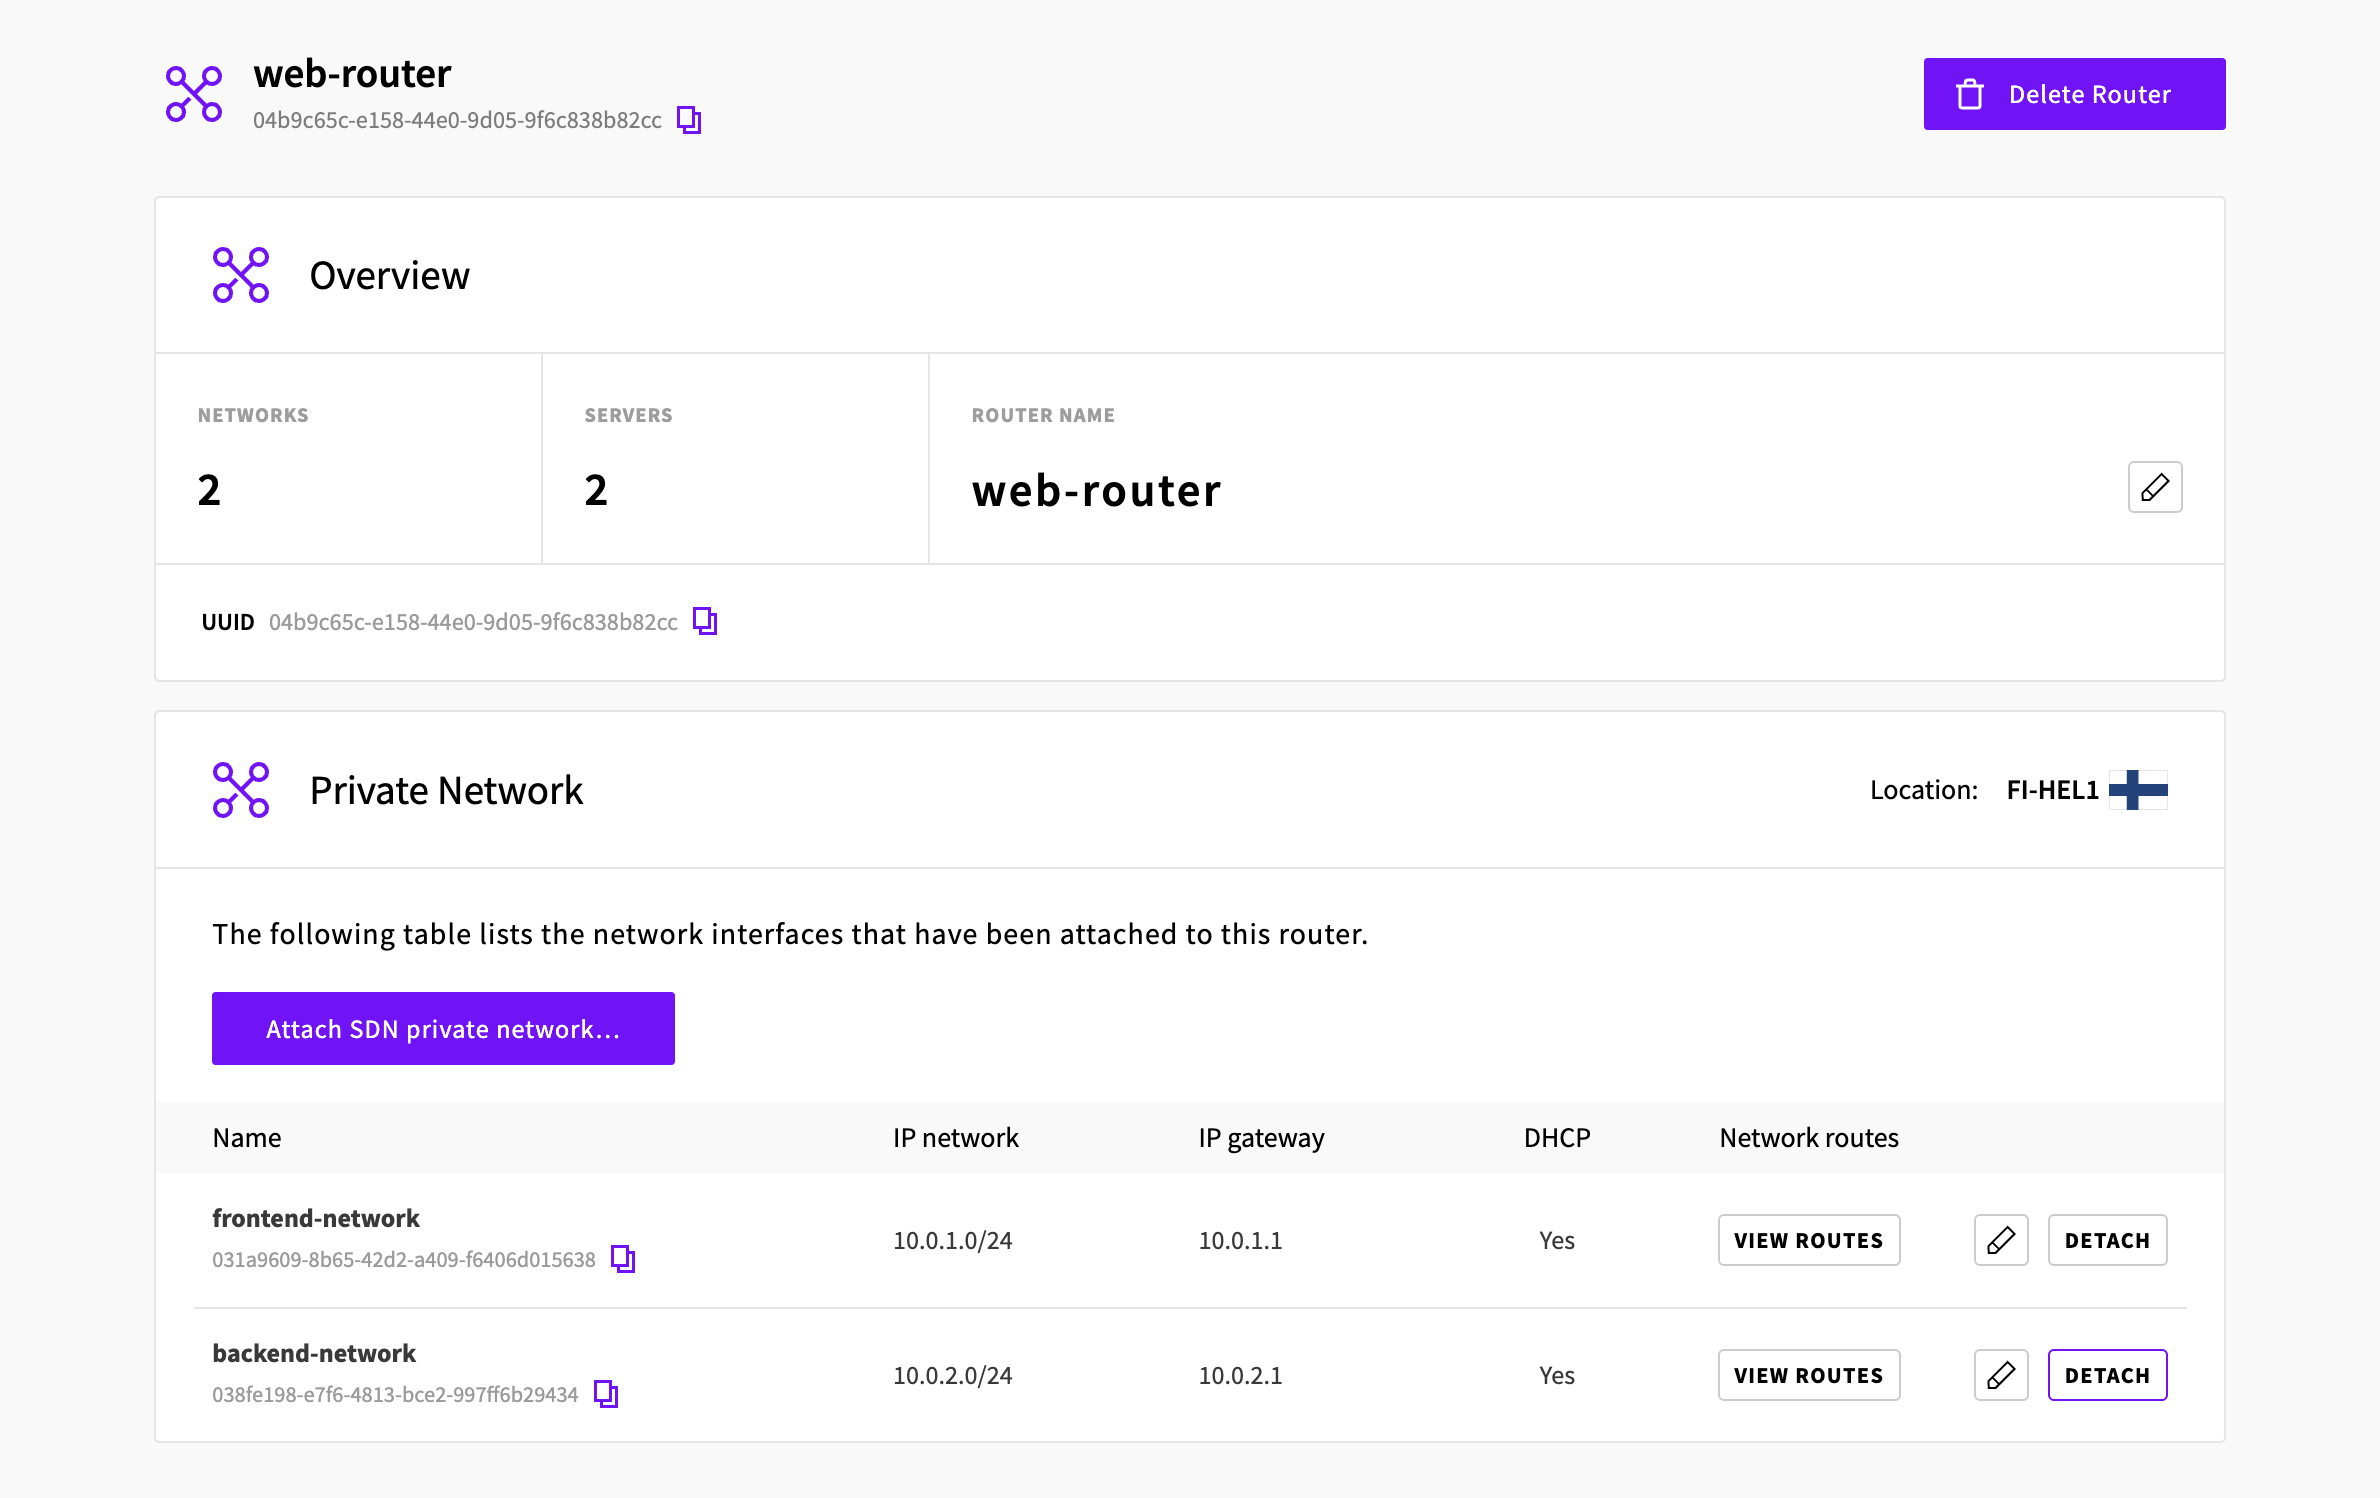
Click the Detach button on the SDN Private Network you wish to disconnect from the router.
Then click the Detach button in the following window to confirm.
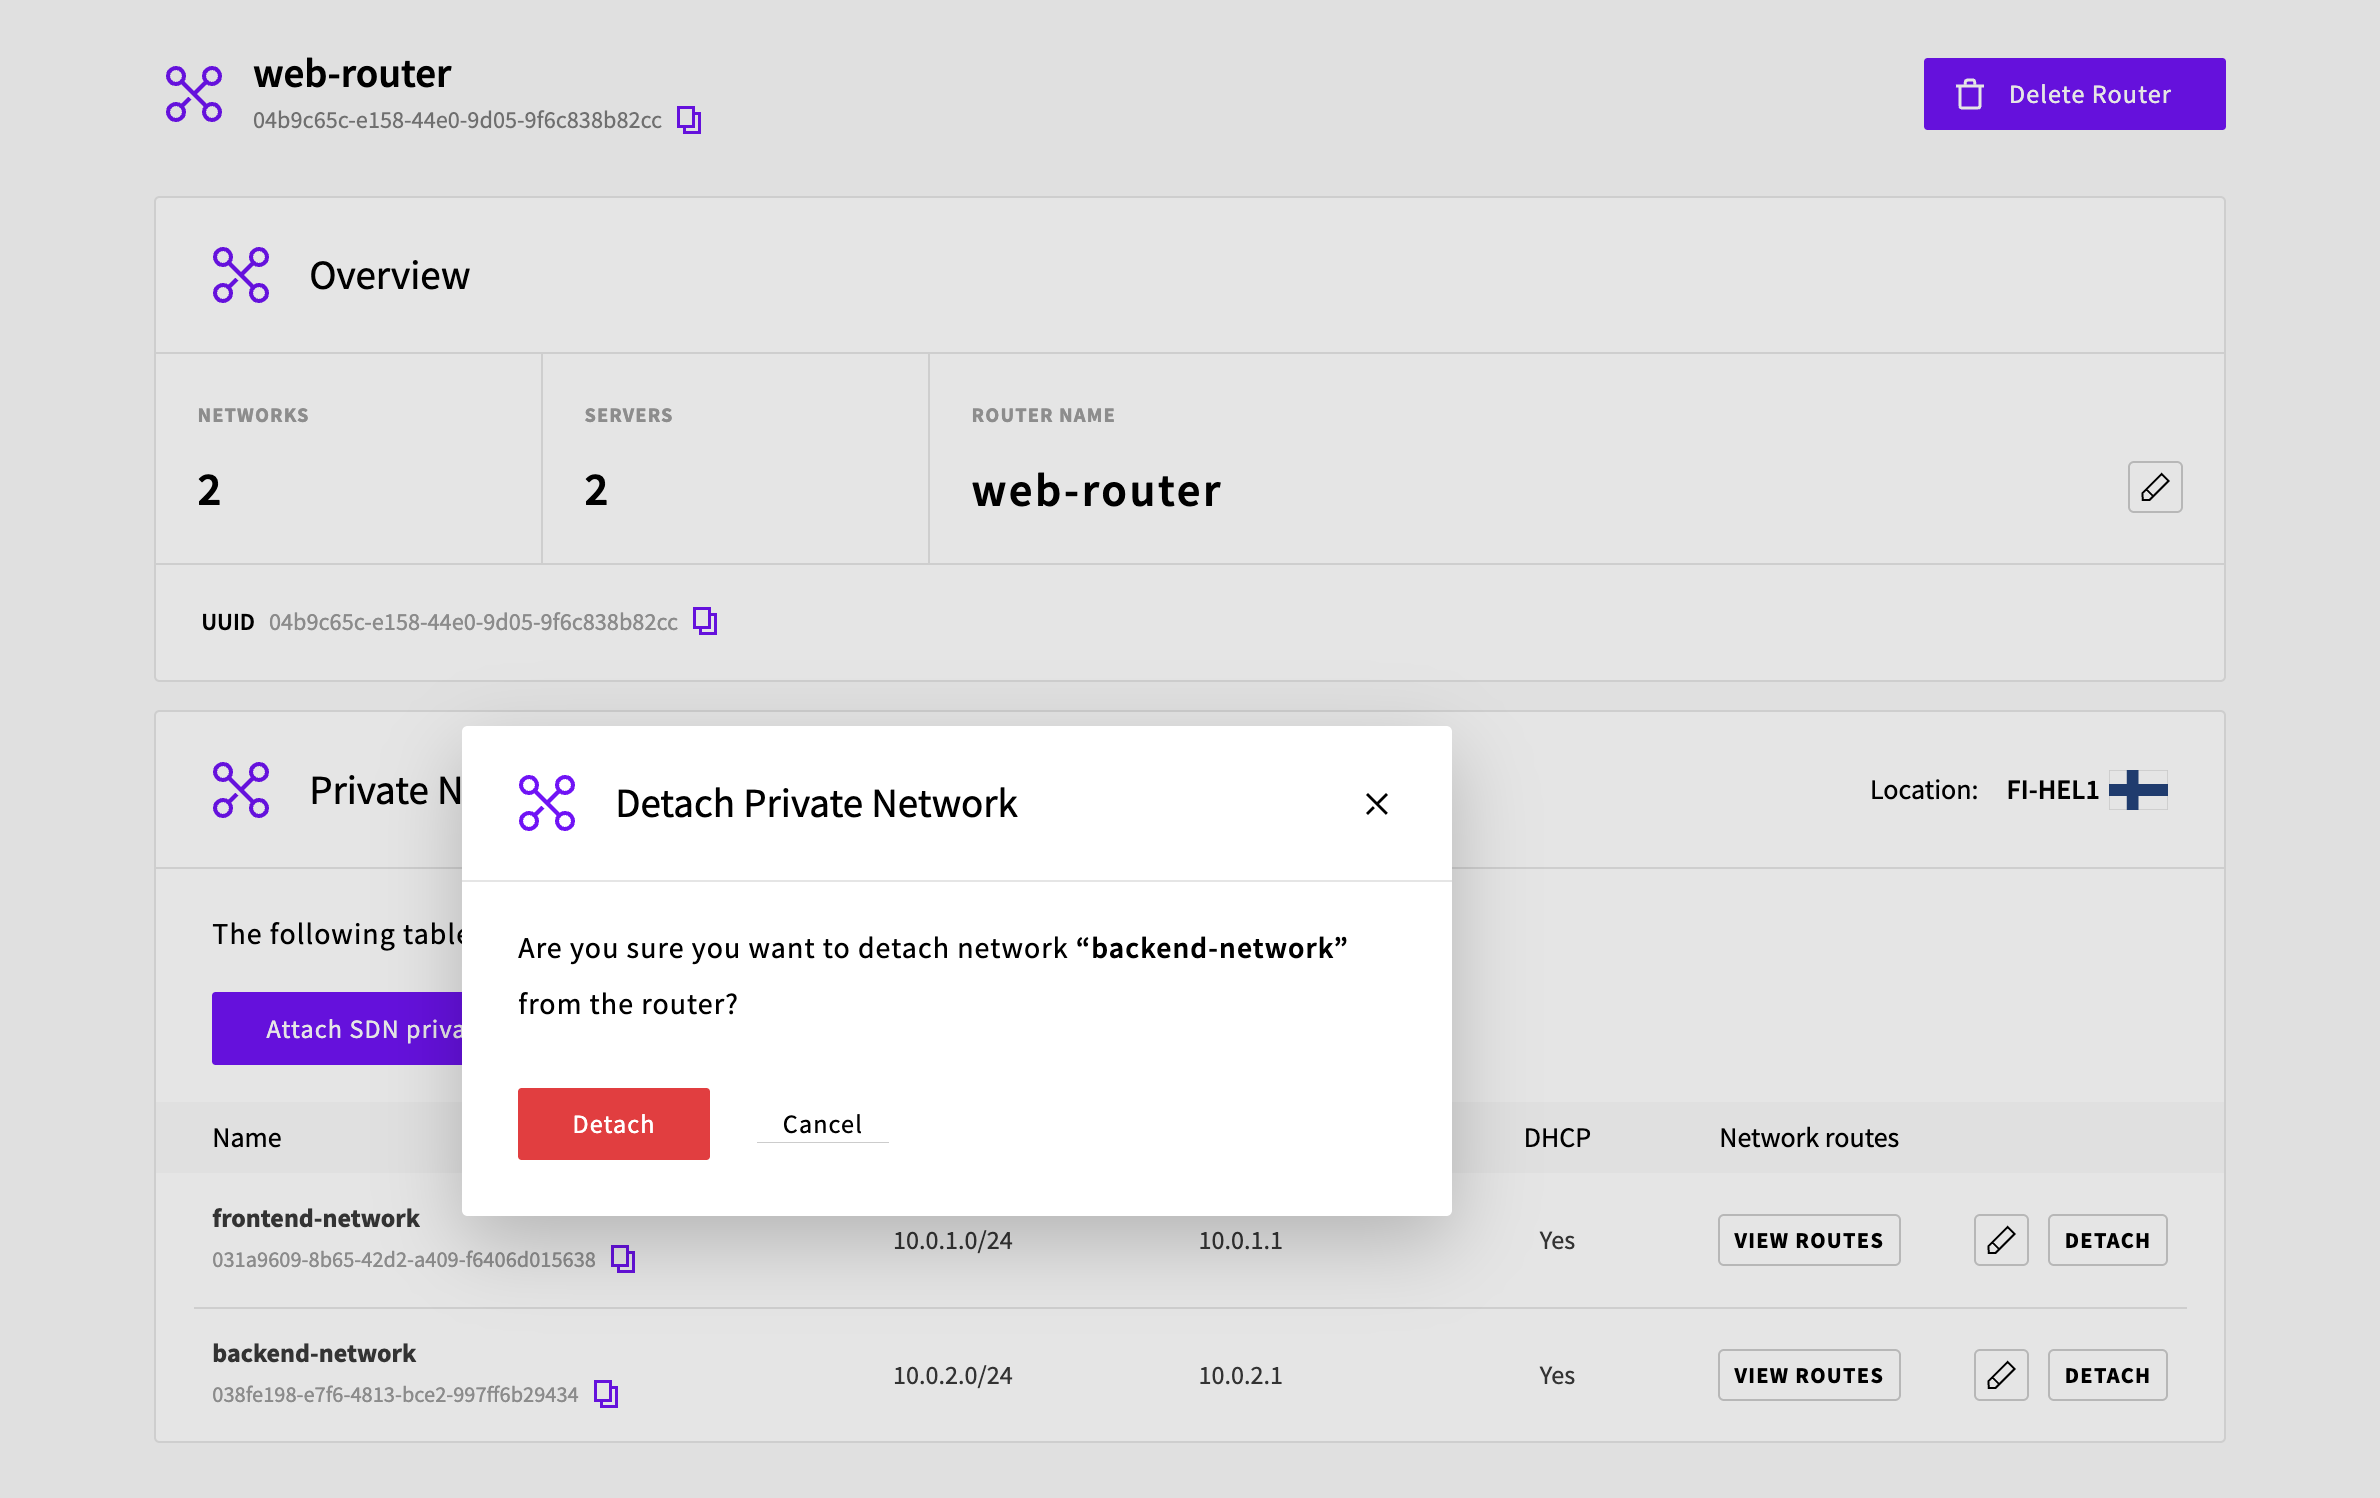
The selected network will then have been detached from your router.