Safely decreasing storage size on Windows Cloud Servers
In this guide, we'll show you how to decrease the storage size of your Windows Server using Hasleo Disk Clone software.
It is always important to back up your server before changing the size of the storage. There is a potential risk of permanent data loss.
This is what you will need to complete this guide
Your Windows Server

A new temporary Windows Server

Hasleo Disk Clone software installed on your server (
my-windows-server).
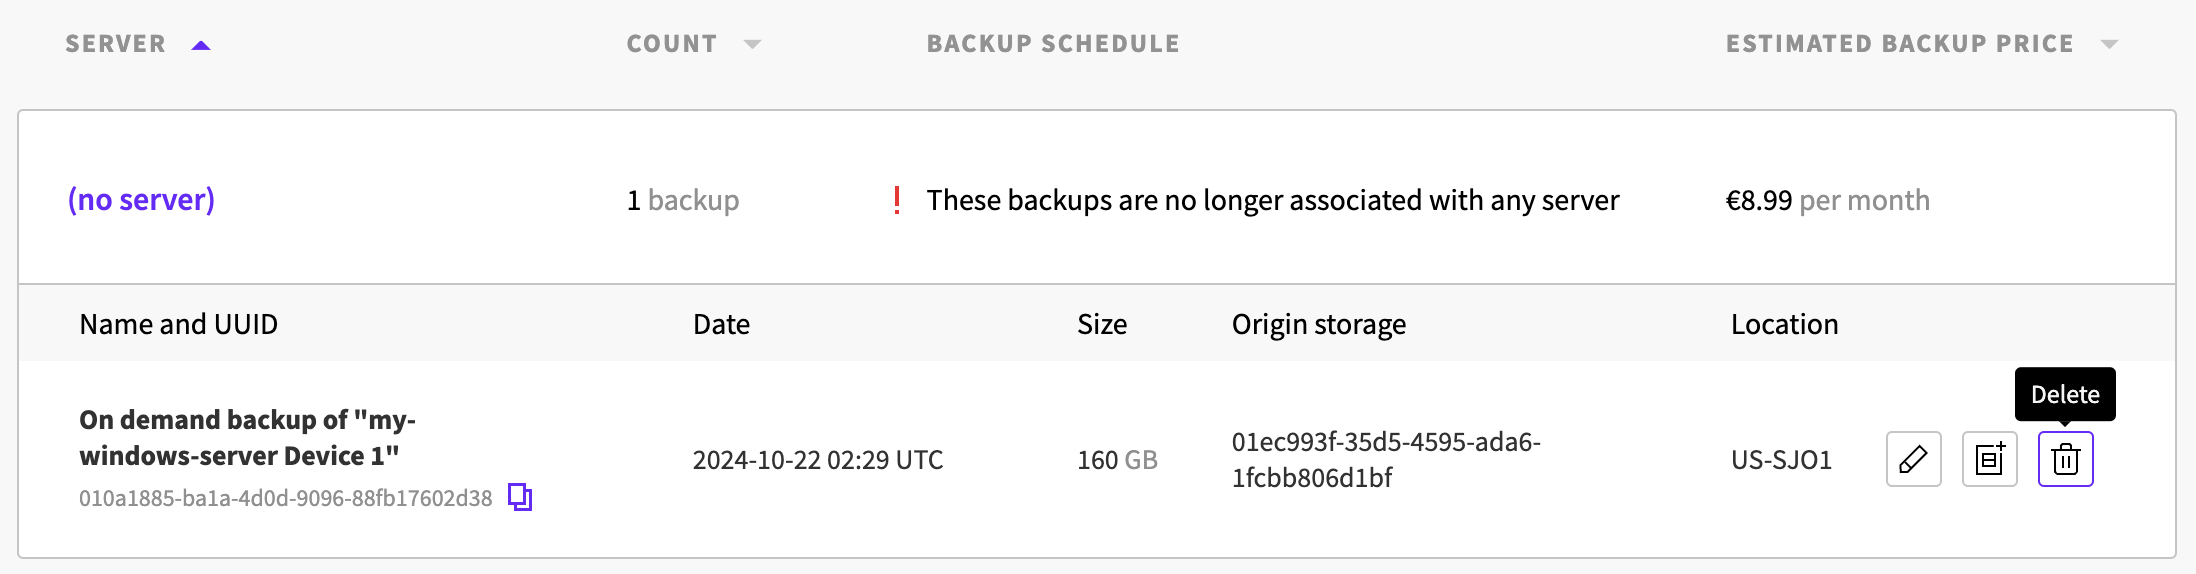
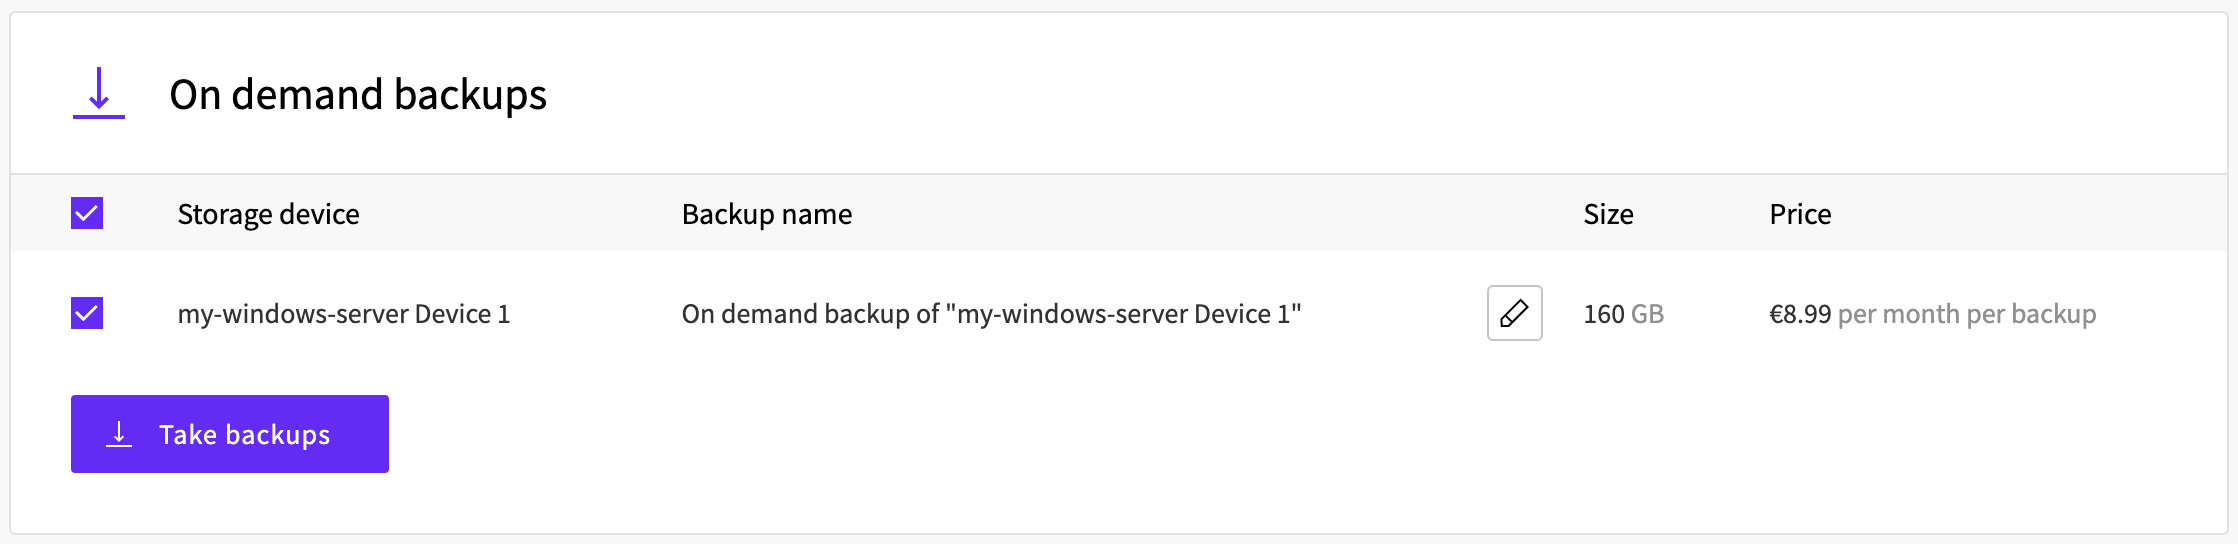
Step 1: Take a backup of your Windows server's current storage device
Go to your Windows server (my-windows-server) > Backups > Create an ‘On demand backup’ of my-windows-server:
Step 2: Create new temporary Windows server
Create a new temporary Windows Server (
temp-windows-server) with the storage adjusted to your desired size.You can simply select the smaller or other server plan that you want to use.
- The new server must be in the same zone as your Windows Server.
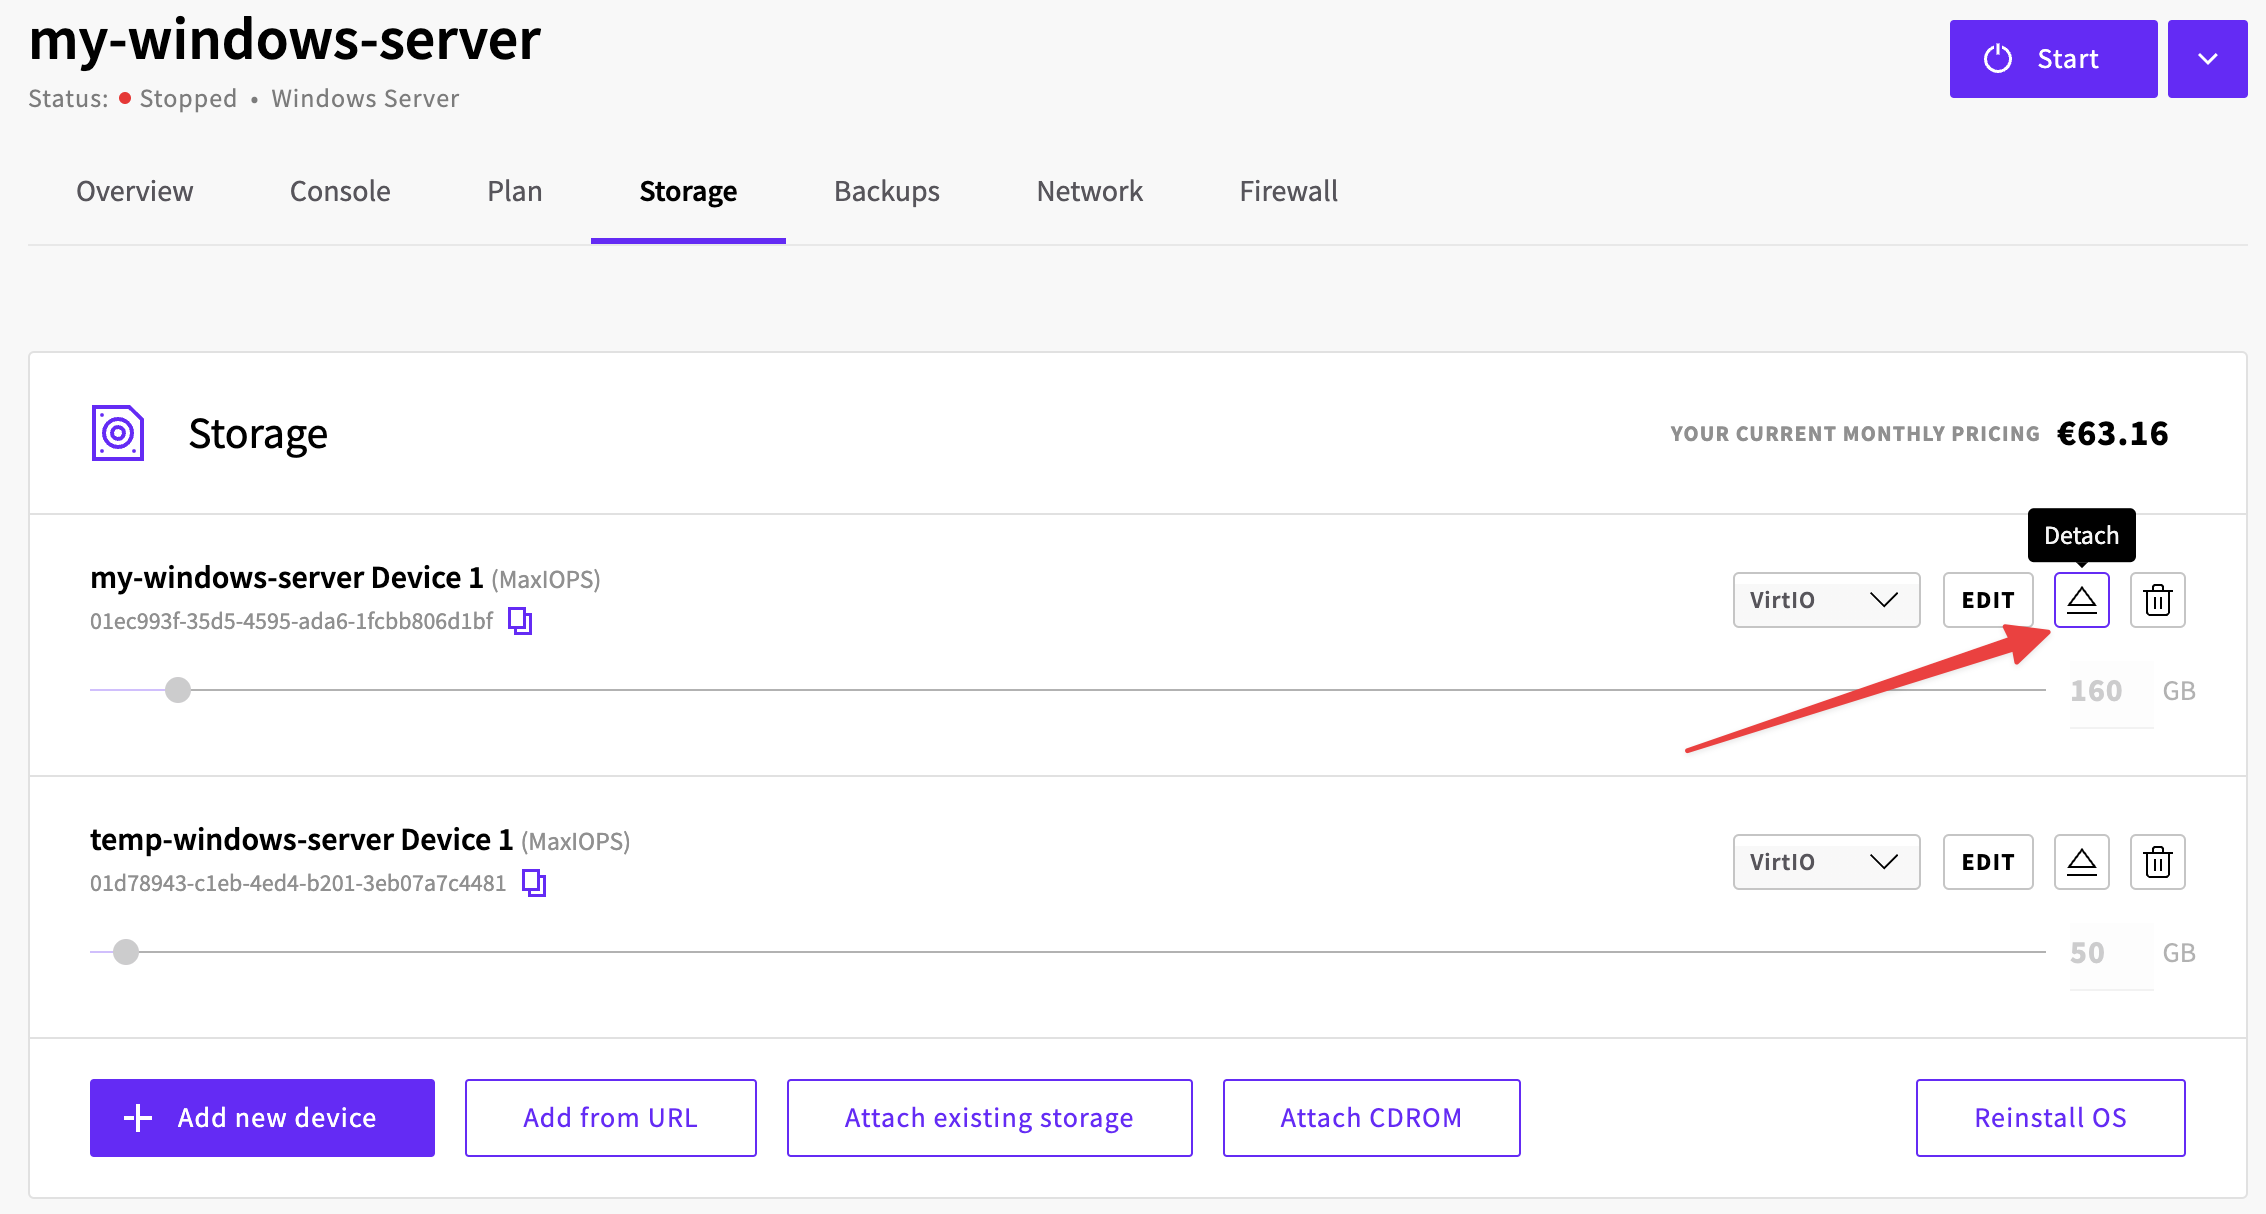
Once you have created your temporary Windows server, you need to shut it down.
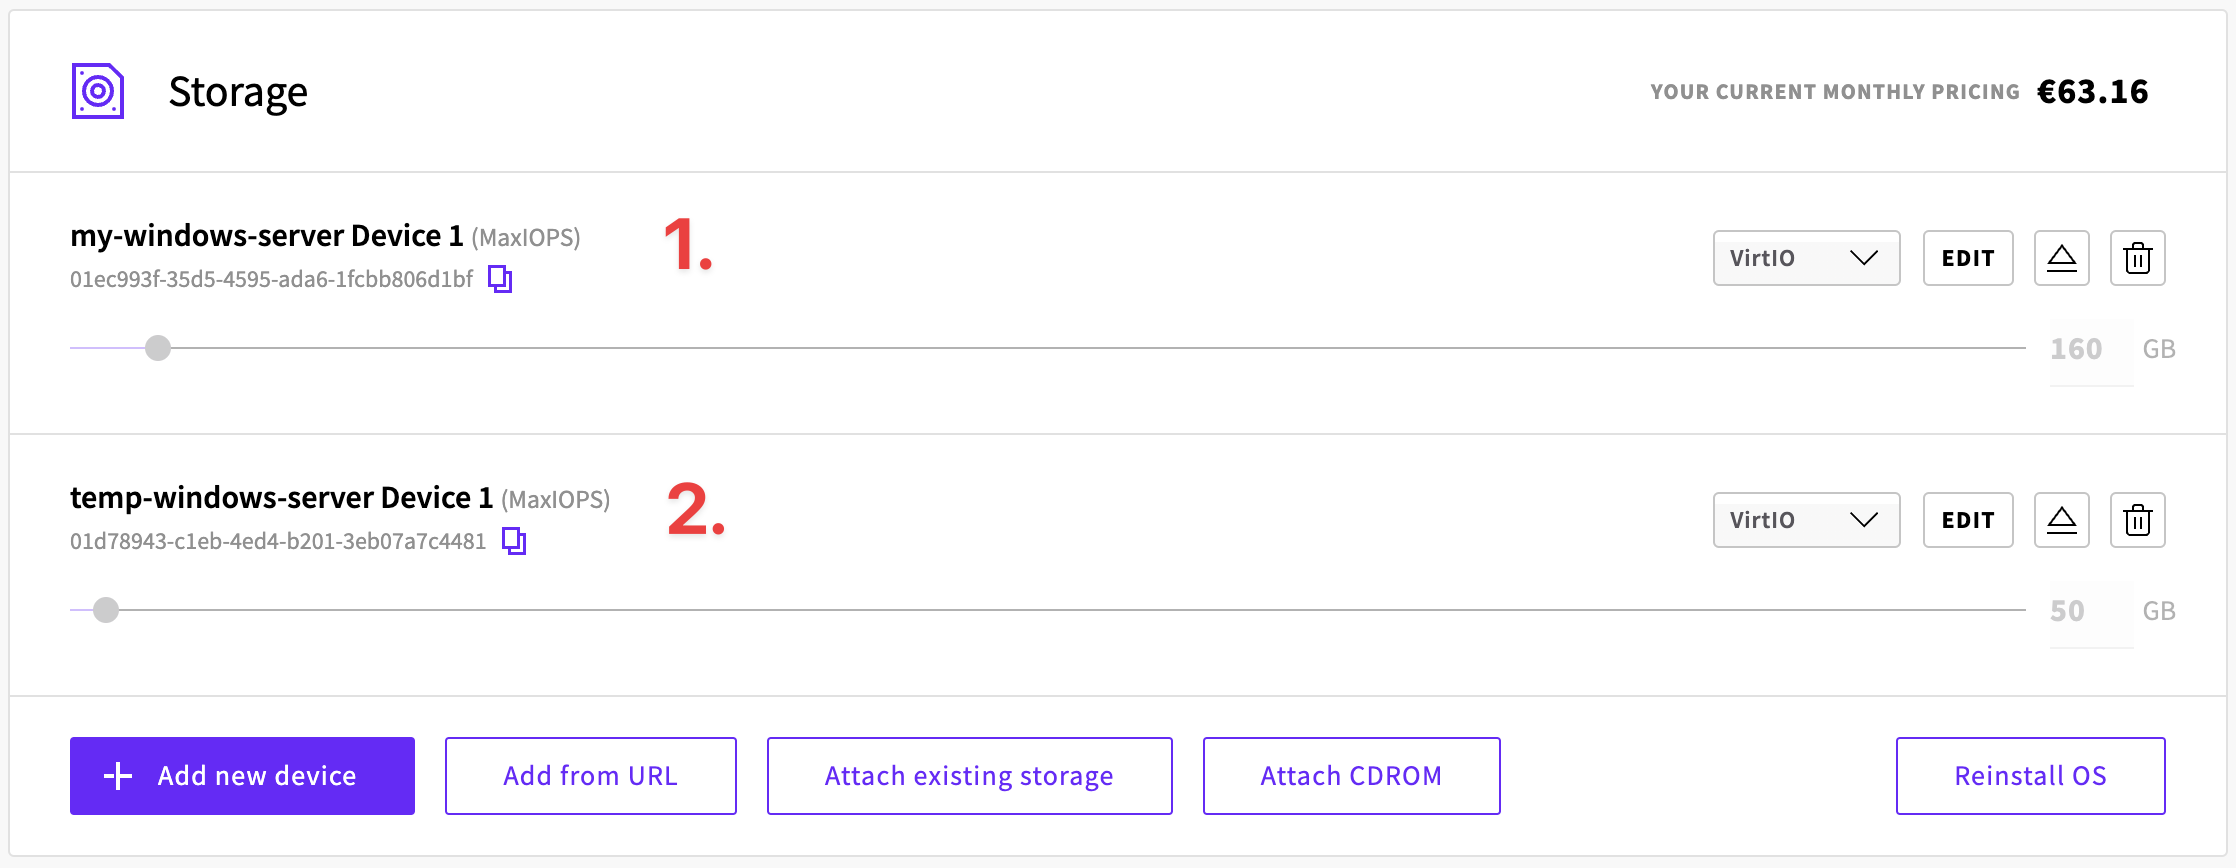
Then go to its Storage section and click detach on its storage:
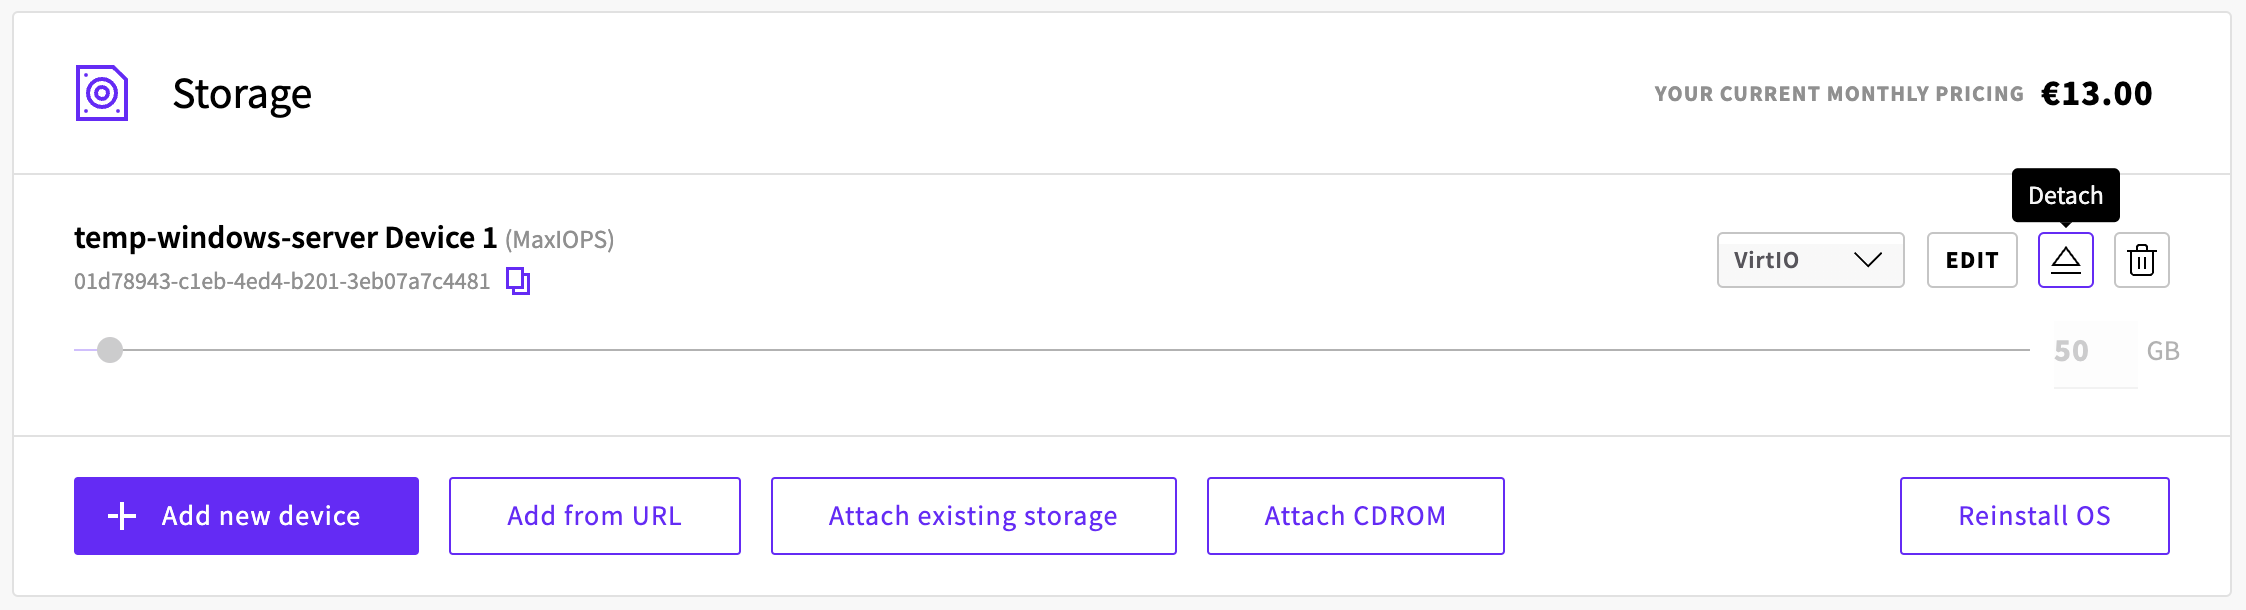
You can now delete
temp-windows-server.
Step 3: Attach the temporary server’s disk to your Windows server
Shutdown your Windows Server (
my-windows-server).Go to your server > Storage > Attach existing storage (
temp-windows-serverstorage device).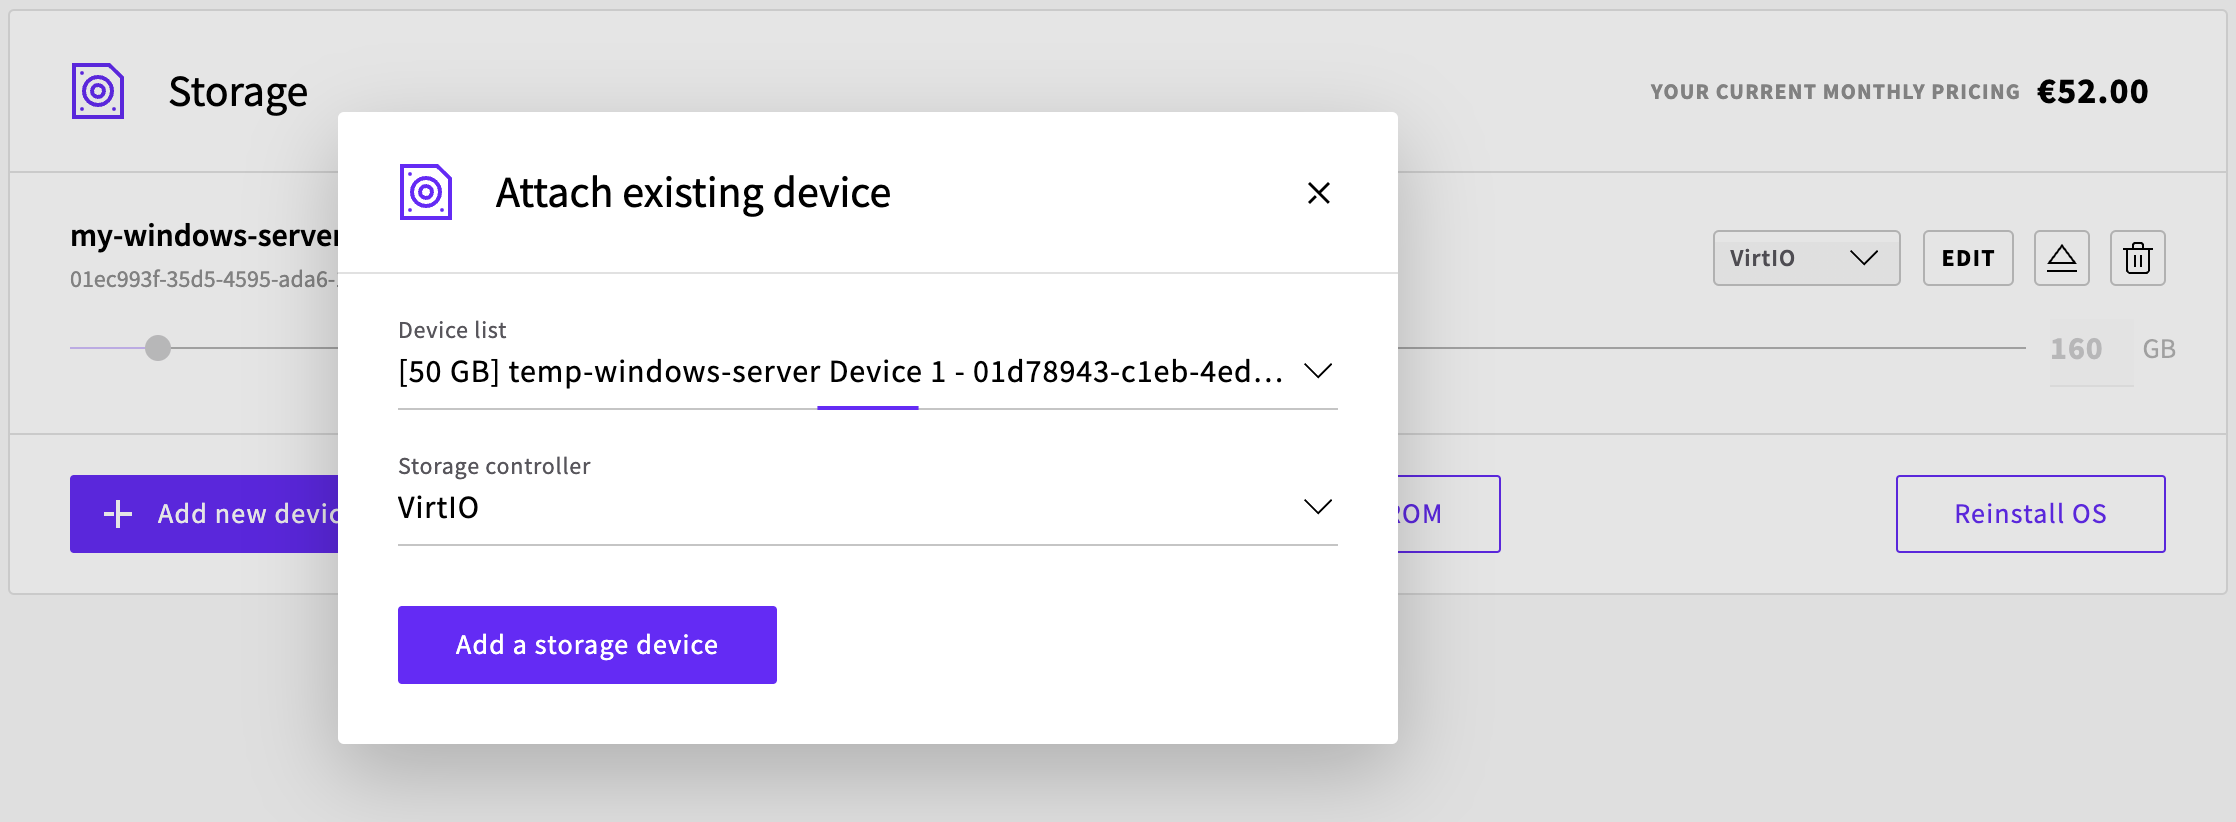
This will attach the temporary Windows Server’s storage to your Windows server that you want to scale down. E.g:
Start the Windows Server.
Step 4: Configure disk and connect to your Windows server
You can use RDP or the web console to connect to your Windows server again.
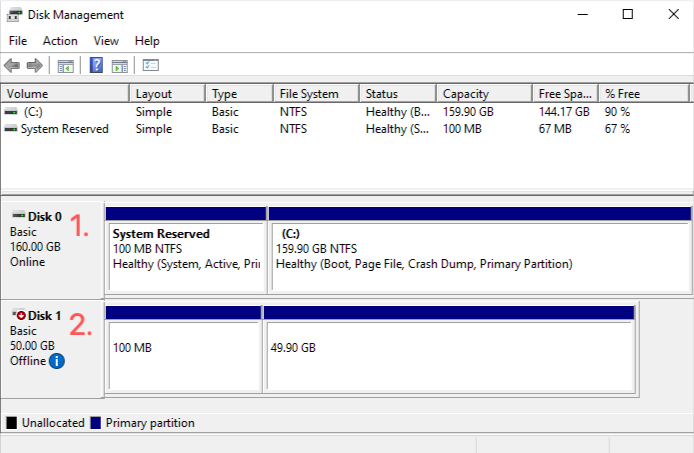
Navigate to Disk Management to inspect the added storage.
Shrink your Windows Server
C:drive to be able to clone it to the attached drive.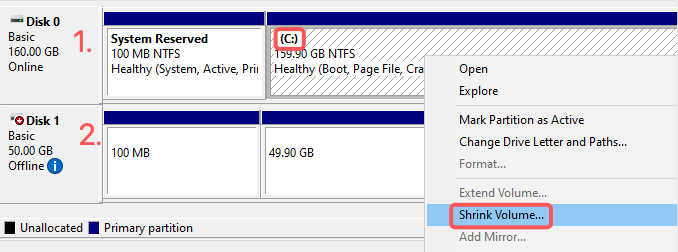
Accept the default values.
Click ‘Shrink’.
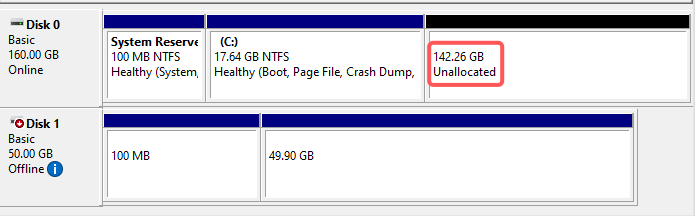
You should now see that your disk has gone down in size with Unallocated space:
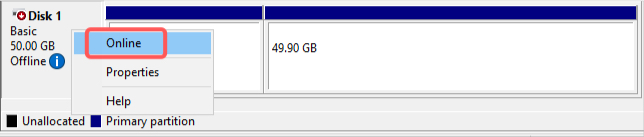
Bring the new disk online:
Step 5: Install the Hasleo Disk Clone software
NOTE: You may get a Disk Management error if you haven't updated your Windows server for a while, but this can be ignored or you can update Windows, we recommend the latter.
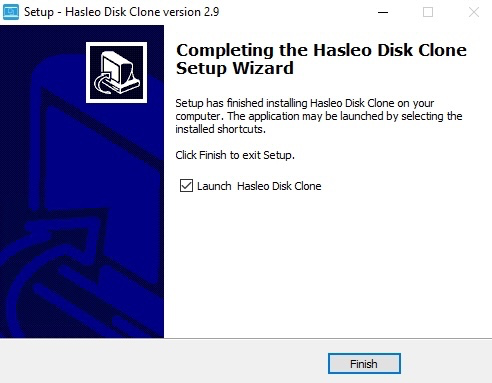
Download and Install the Hasleo Disk Clone software onto your Windows Server.
Accept the agreement, and accept the default settings so that you can install the software.
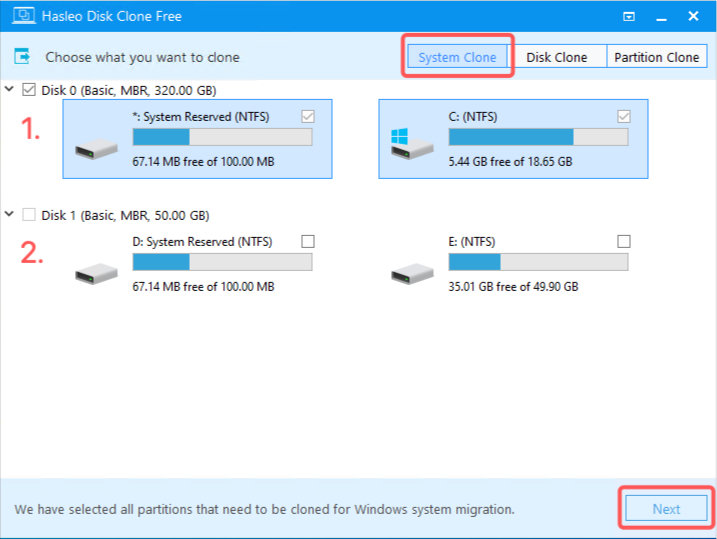
On the Hasleo Disk Clone software you will see three different cloning options: System Clone, Disk Clone, Partition Clone.
Select System Clone, then select the disk that you want to clone, then click next.
On the next page, select the disk that you want to clone to (e.g.
temp-windows-serverdrive).Select ‘Keep partition layout’.
Click next.

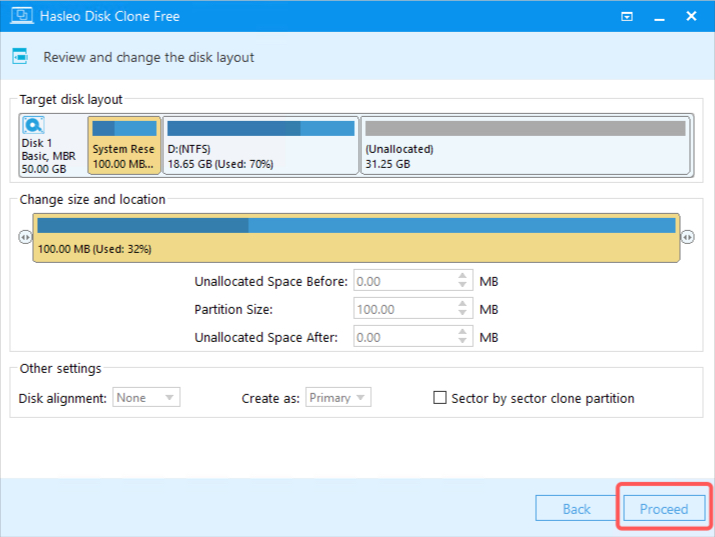
On the next page you can leave everything at the default settings.
Click ‘Proceed’.
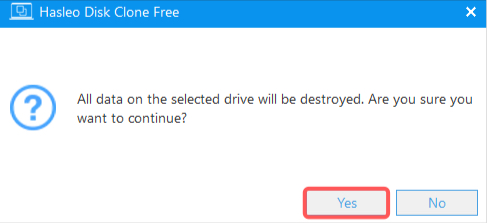
Click ‘Yes’ to destroy all data on the selected drive.
Wait for it to clone to the new disk.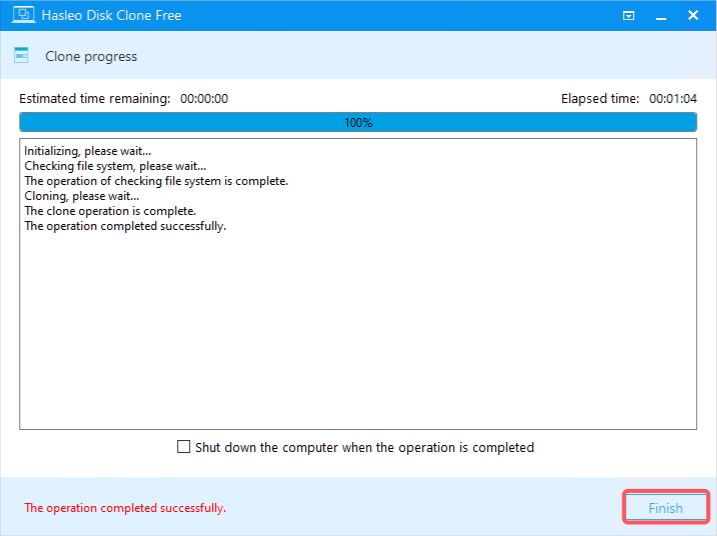
When cloning is done, Click ‘Finish’.
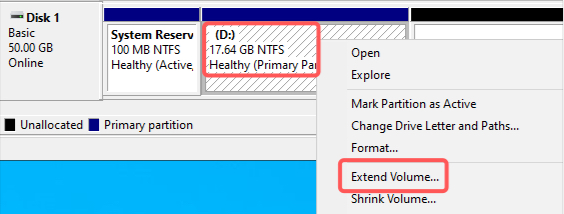
Step 6: Configure your newly cloned drive
Go to Disk Management and extend the Unallocated space on the smaller disk (if any is available).
Accept all defaults to extend the disk volume.
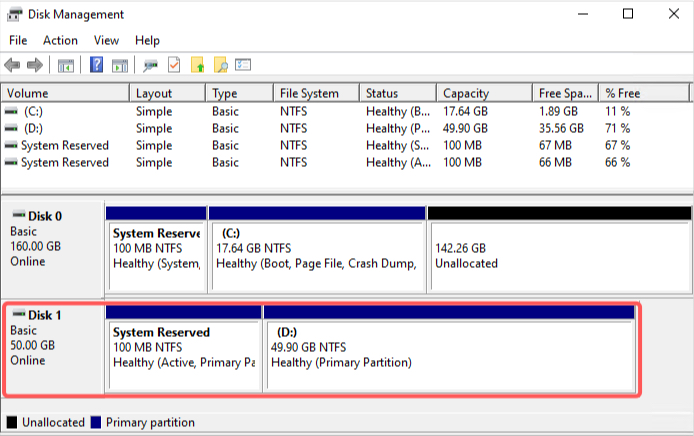
Your new disk should look like this:
You can now shutdown your Windows server.
- Hub and Windows shutdown will both work the same.
Step 7: Configure and resize your Windows server plan
Go to the UpCloud Control Panel > Your Windows Server > Storage > Detach the larger storage.
![][image19]
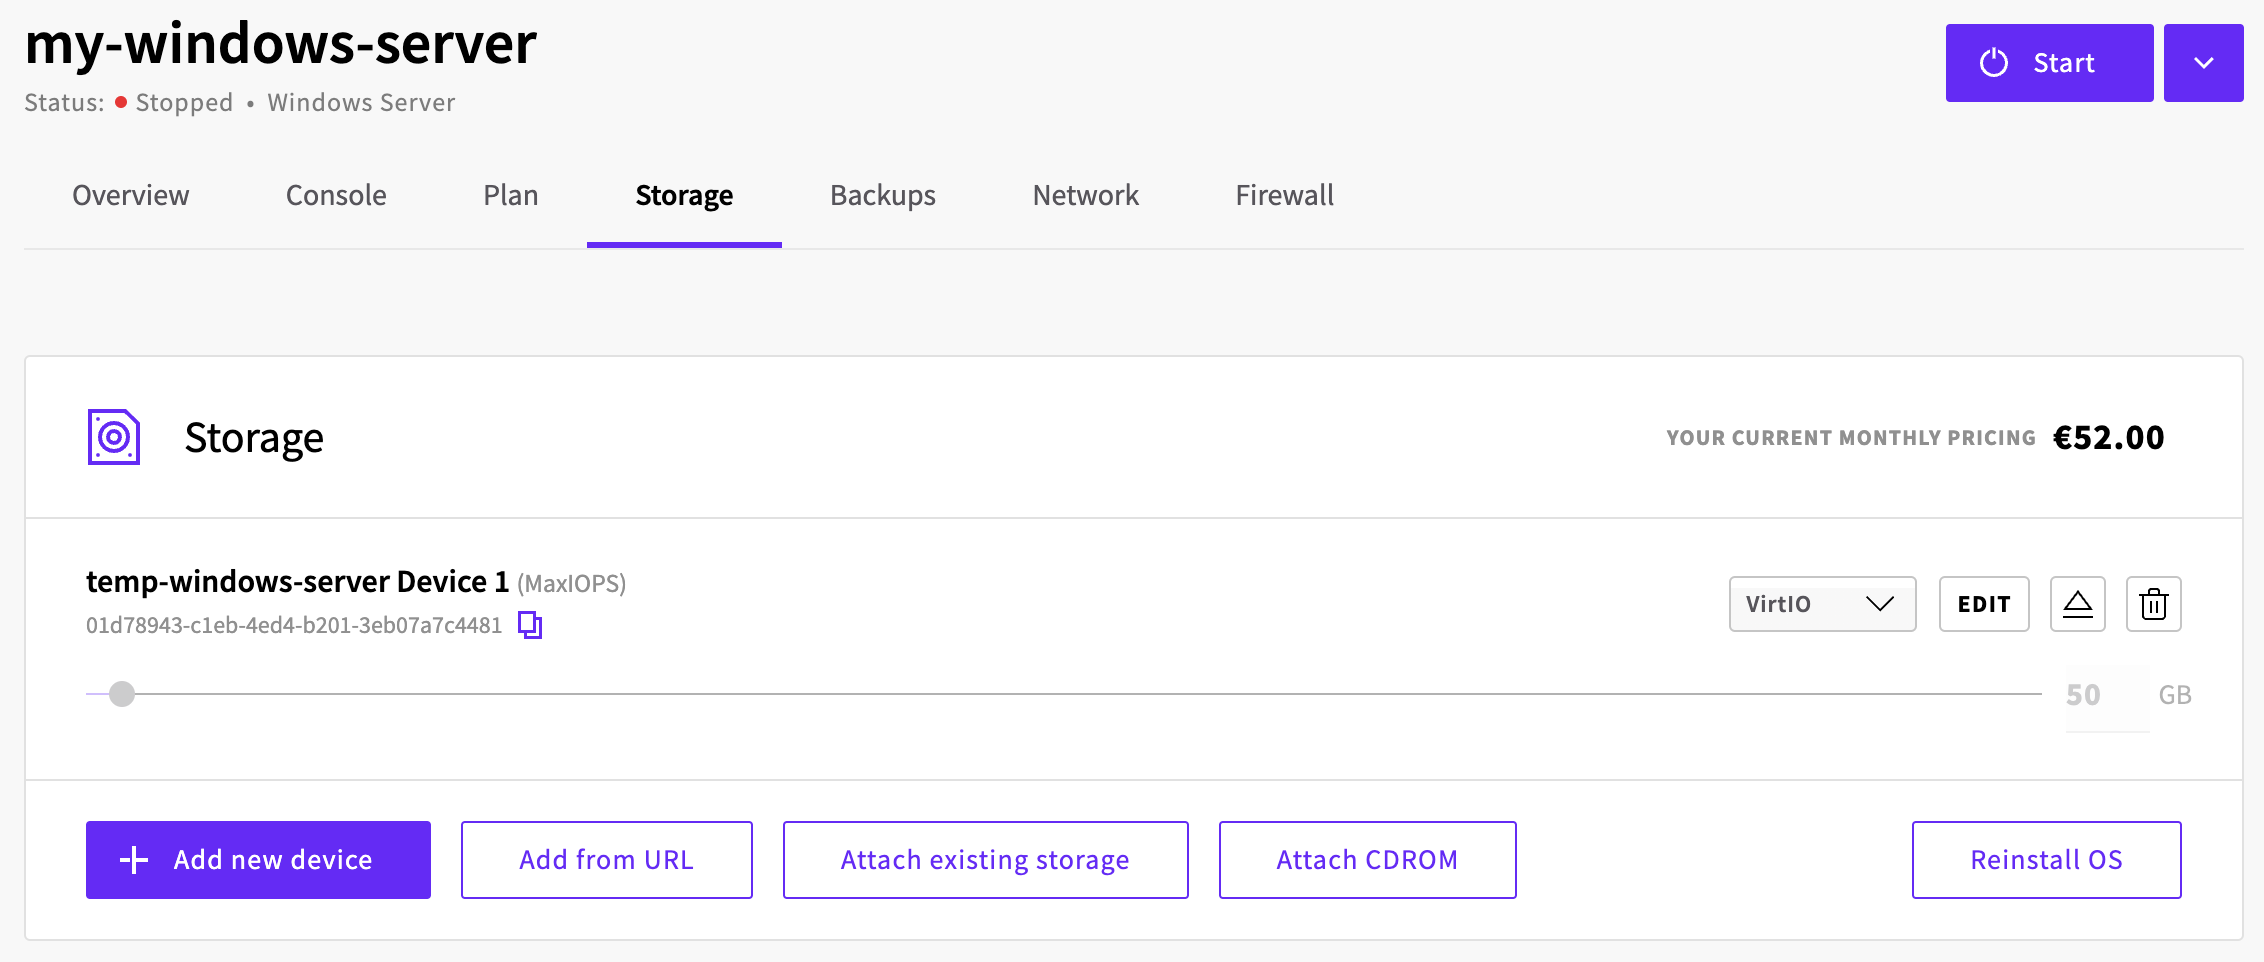
Click ‘Continue’ to confirm that you want to eject this device. You can re-attach it later.
You should now only have the smaller drive:
Go to your Server’s Plan page and select the plan that matches the storage you have attached.
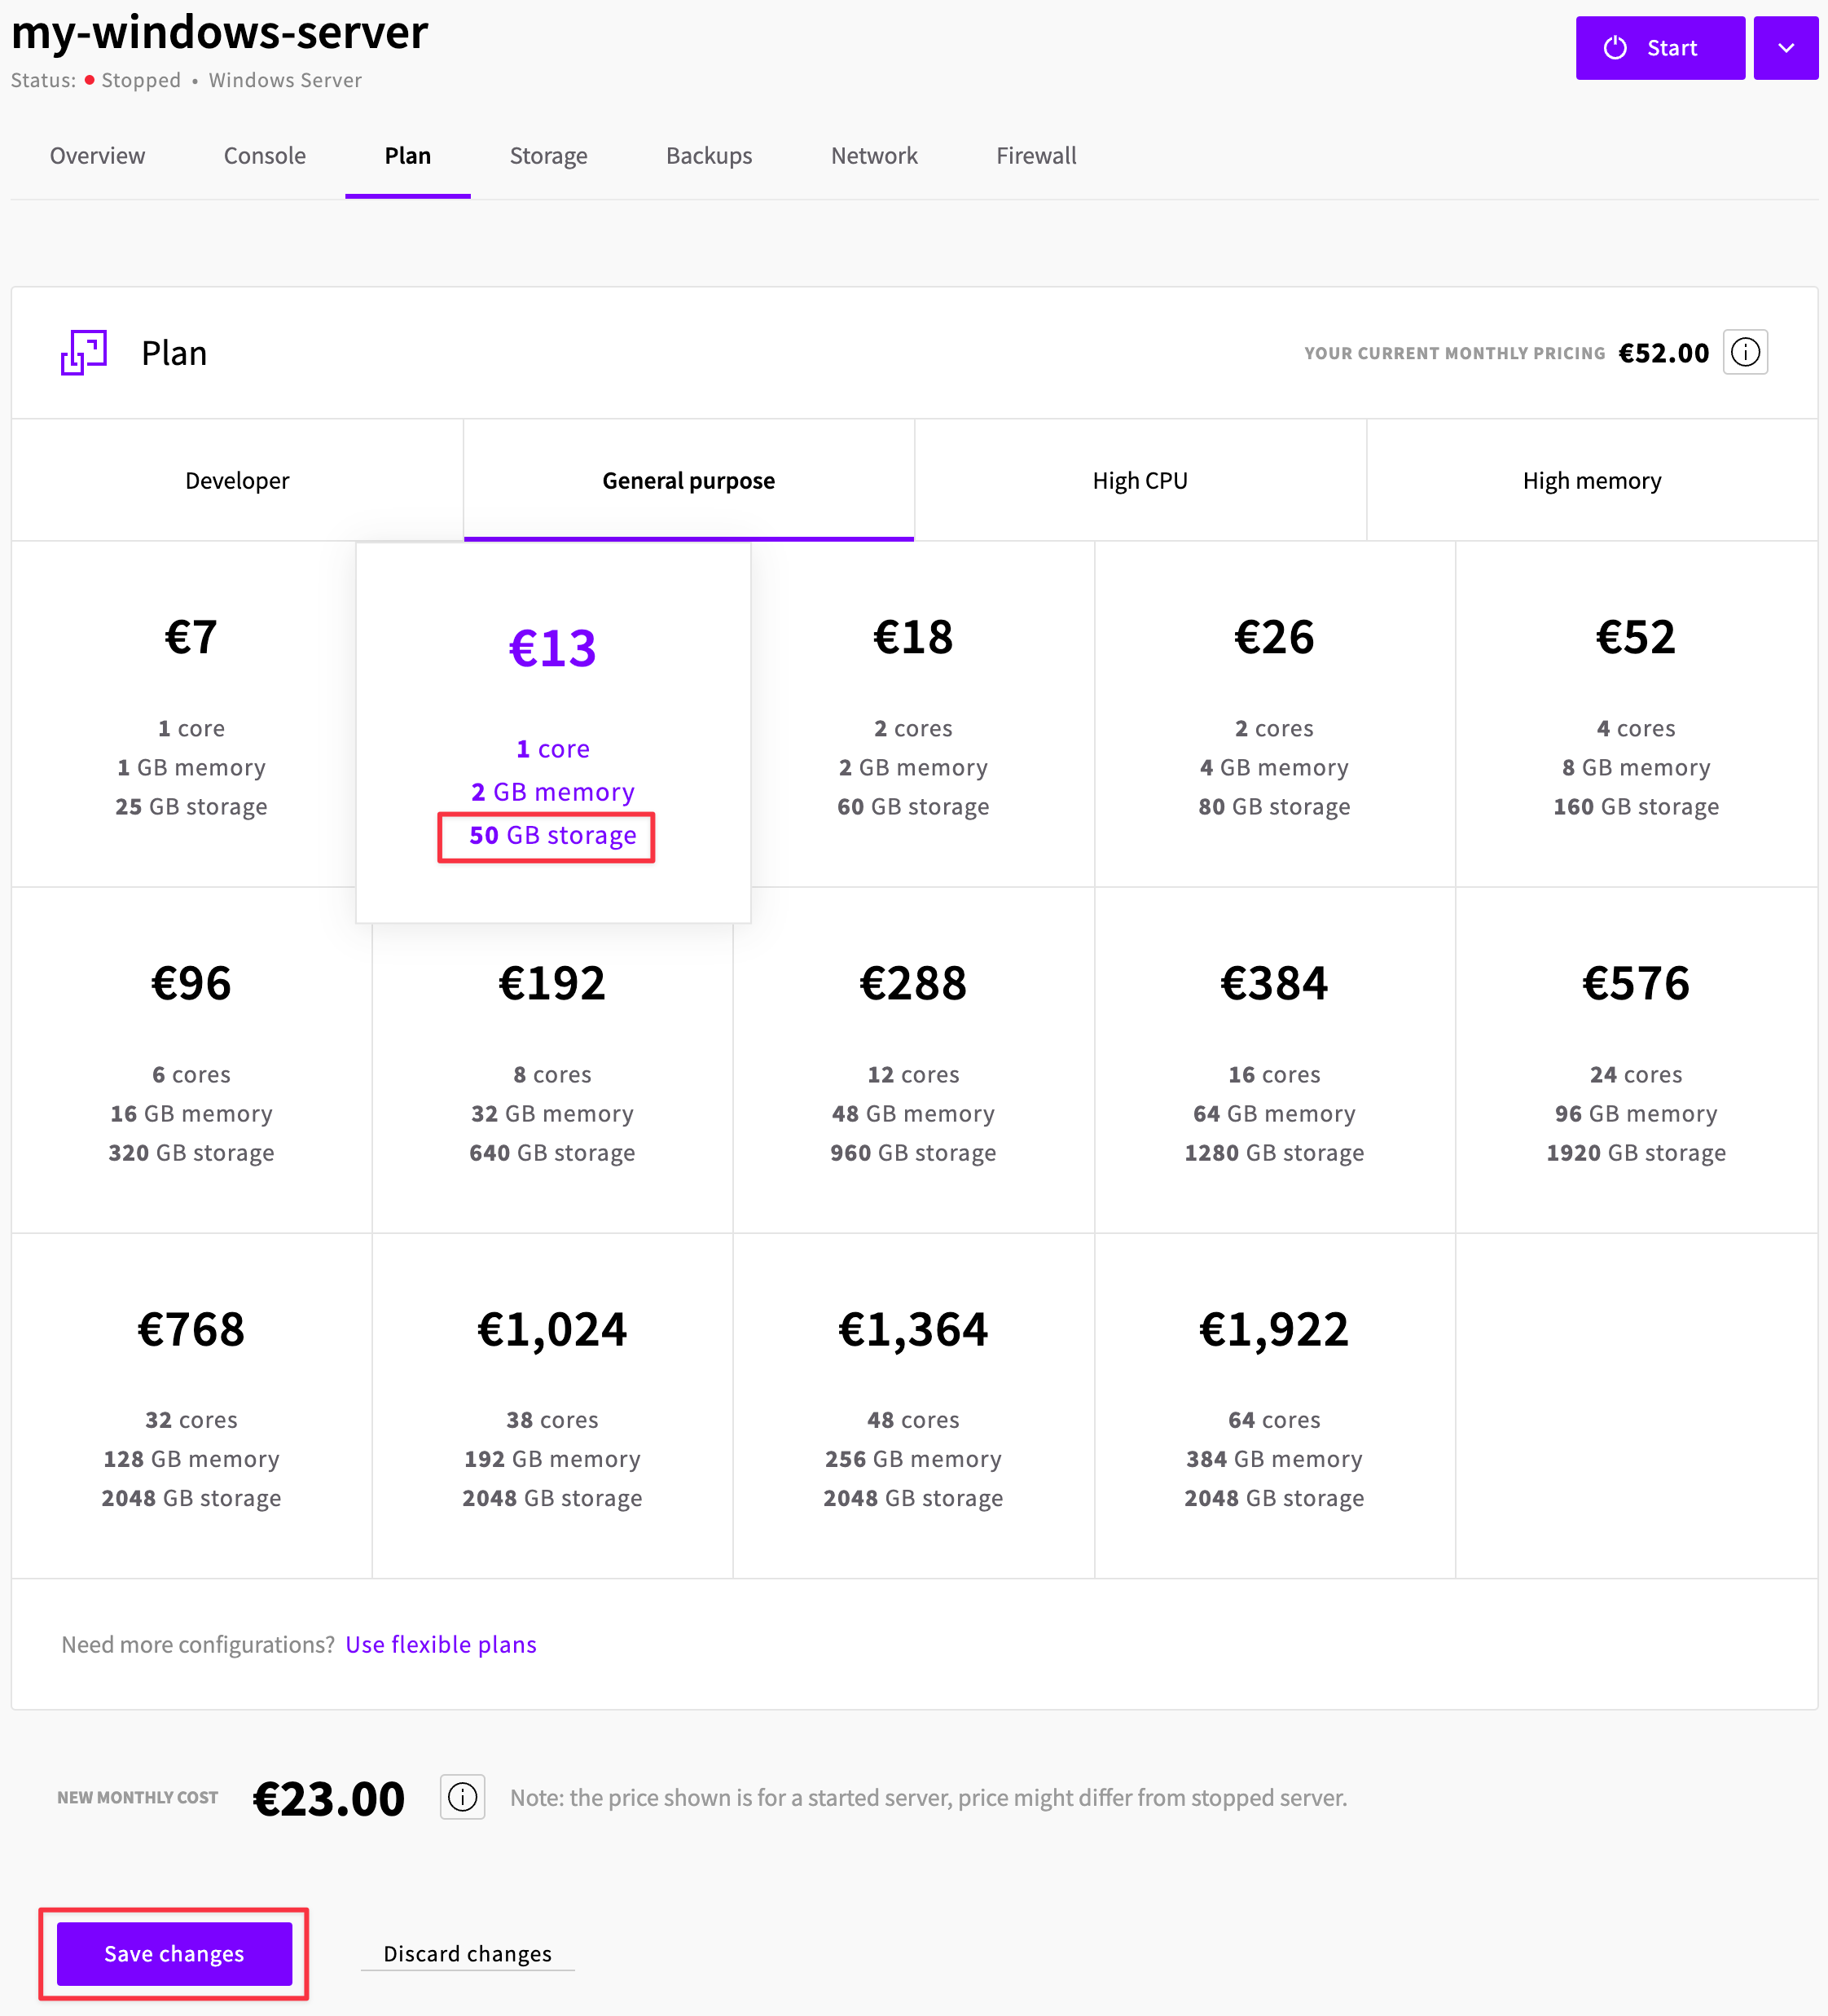
Click ‘Save changes’.
Start your Windows server.
RDP into your server using the same Windows server credentials.
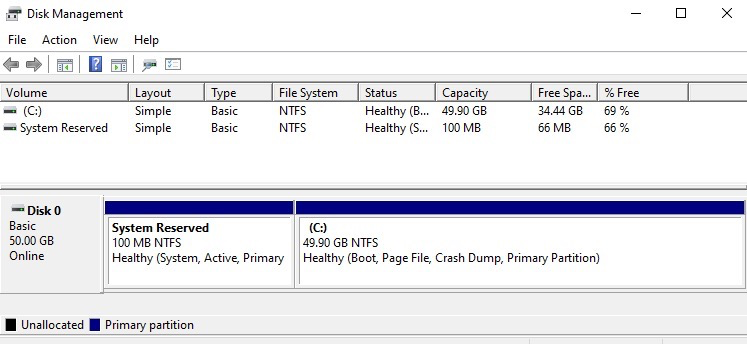
Success! We managed to reduce our disk size! You can see the new size in your Disk Management
Optional:
Once you have checked that everything is working with your Windows Server with reduced storage. You are now ready to remove the old storage.