
How to scale your Managed Kubernetes cluster
Maintaining application performance and responsiveness during varying loads is vital in business operations. Managed Kubernetes provides a robust platform for deploying and managing containerized applications, so understanding and implementing effective scaling strategies is essential. This guide outlines various scaling methods for Managed Kubernetes clusters.
Different Types of Scaling
You can scale your Kubernetes cluster and applications along two primary dimensions: horizontally and vertically, using either automatic or manual approaches.
Horizontal Scaling
Horizontal scaling involves increasing or decreasing the number of individual instances (pods or nodes) to handle changes in workload.
- Adding pods: Increasing the pods is the most common way to horizontally scale individual applications. When you increase the number of pods, you distribute the incoming traffic across more instances of your application, improving its capacity to handle concurrent requests. Kubernetes enables automatic horizontal workload scaling via the Horizontal Pod Autoscaler (HPA) by periodically adjusting a workload's replica count based on observed resource utilization (e.g., CPU or memory).
- Adding nodes: Increasing the number of worker nodes in your cluster provides more overall compute resources (CPU, memory, storage) to run your applications. This allows you to schedule more pods and handle increased overall load.
- Best For: Horizontal scaling is most effective when your application's resource utilization is predictable and scales linearly with increased usage. This is generally the preferred method for most stateless applications in Kubernetes due to its elasticity and resilience.
Vertical Scaling
Vertical scaling involves increasing or decreasing the resources (CPU, memory) allocated to the existing instances (nodes or pods).
- Vertical node scaling: Although UpCloud Managed Kubernetes allows hot-resizing individual worker nodes for increased capacity with minimal downtime, the recommended and more reliable method for vertical scaling is to replace the existing node group with a new one that uses a higher-capacity plan. Hot-resizing single nodes requires a kubelet restart and/or node reboot, potentially affecting running workloads.
- Vertical pod scaling: The Vertical Pod Autoscaler (VPA) automatically adjusts pod CPU and memory requests/limits based on resource utilization. VPA is a separate project from Kubernetes core available at GitHub and requires the Metrics Server for VPA to function.
- Best For: Vertical scaling is ideal for stateful workloads (databases, caches) where horizontal scaling is complex due to data replication and consistency needs. It increases the capacity of the existing instance(s), rather than adding more instances.
Automatic Scaling
Automatic scaling leverages Kubernetes features and external metrics to dynamically adjust the number of nodes or pods in your cluster based on predefined rules and observed utilization.
- Cluster Autoscaler: The Cluster Autoscaler for UpCloud is a specific implementation of the open-source Kubernetes Cluster Autoscaler, tailored to manage worker nodes within UpCloud's Managed Kubernetes. While sharing the core functionality of automatically scaling the number of worker nodes based on pod scheduling needs and node utilization, the UpCloud version includes cloud provider-specific integrations that allow it to interact with UpCloud's infrastructure. Users of UpCloud's Managed Kubernetes can find more information about UpCloud’s Cluster Autoscaler specific setup, configuration, and considerations in the cluster autoscaler tutorial.
- Other automatic scaling: As mentioned previously, the Horizontal Pod Autoscaler (HPA) automatically scales the number of pods, while the Vertical Pod Autoscaler (VPA) automatically adjusts the CPU and memory requests and limits of your pods. For a comprehensive understanding of workload autoscaling in Kubernetes, refer to the official documentation: Autoscaling Workloads
Manual Scaling
Manual scaling involves explicitly adjusting the number of nodes or pods through various interfaces.
- Using the GUI: UpCloud offers a user-friendly interface in the UpCloud hub where you can manage your cluster by scaling nodes and node groups.
- Using the Command Line (kubectl): Using the
kubectlcommand-line tool, you can interact with the Kubernetes API server of your managed cluster.$ kubectl scale deployment --replicas=5 hello-uks
This command directly instructs the Kubernetes control plane to increase (or decrease) the desired number of replicas for the deployment namedhello-uksto 5. Similar commands exist for ReplicaSets and StatefulSets. - Using the API: The UpCloud API enables you to manage various aspects of your Managed Kubernetes clusters, including scaling node groups. For detailed information on the available endpoints and how to interact with the UpCloud API for managing your clusters, refer to the official documentation.
Scaling your Managed Kubernetes Cluster using the UpCloud Control Panel
To adjust your server configuration, first, log into your UpCloud Control Panel and open your cluster details.
Scaling a Node Group
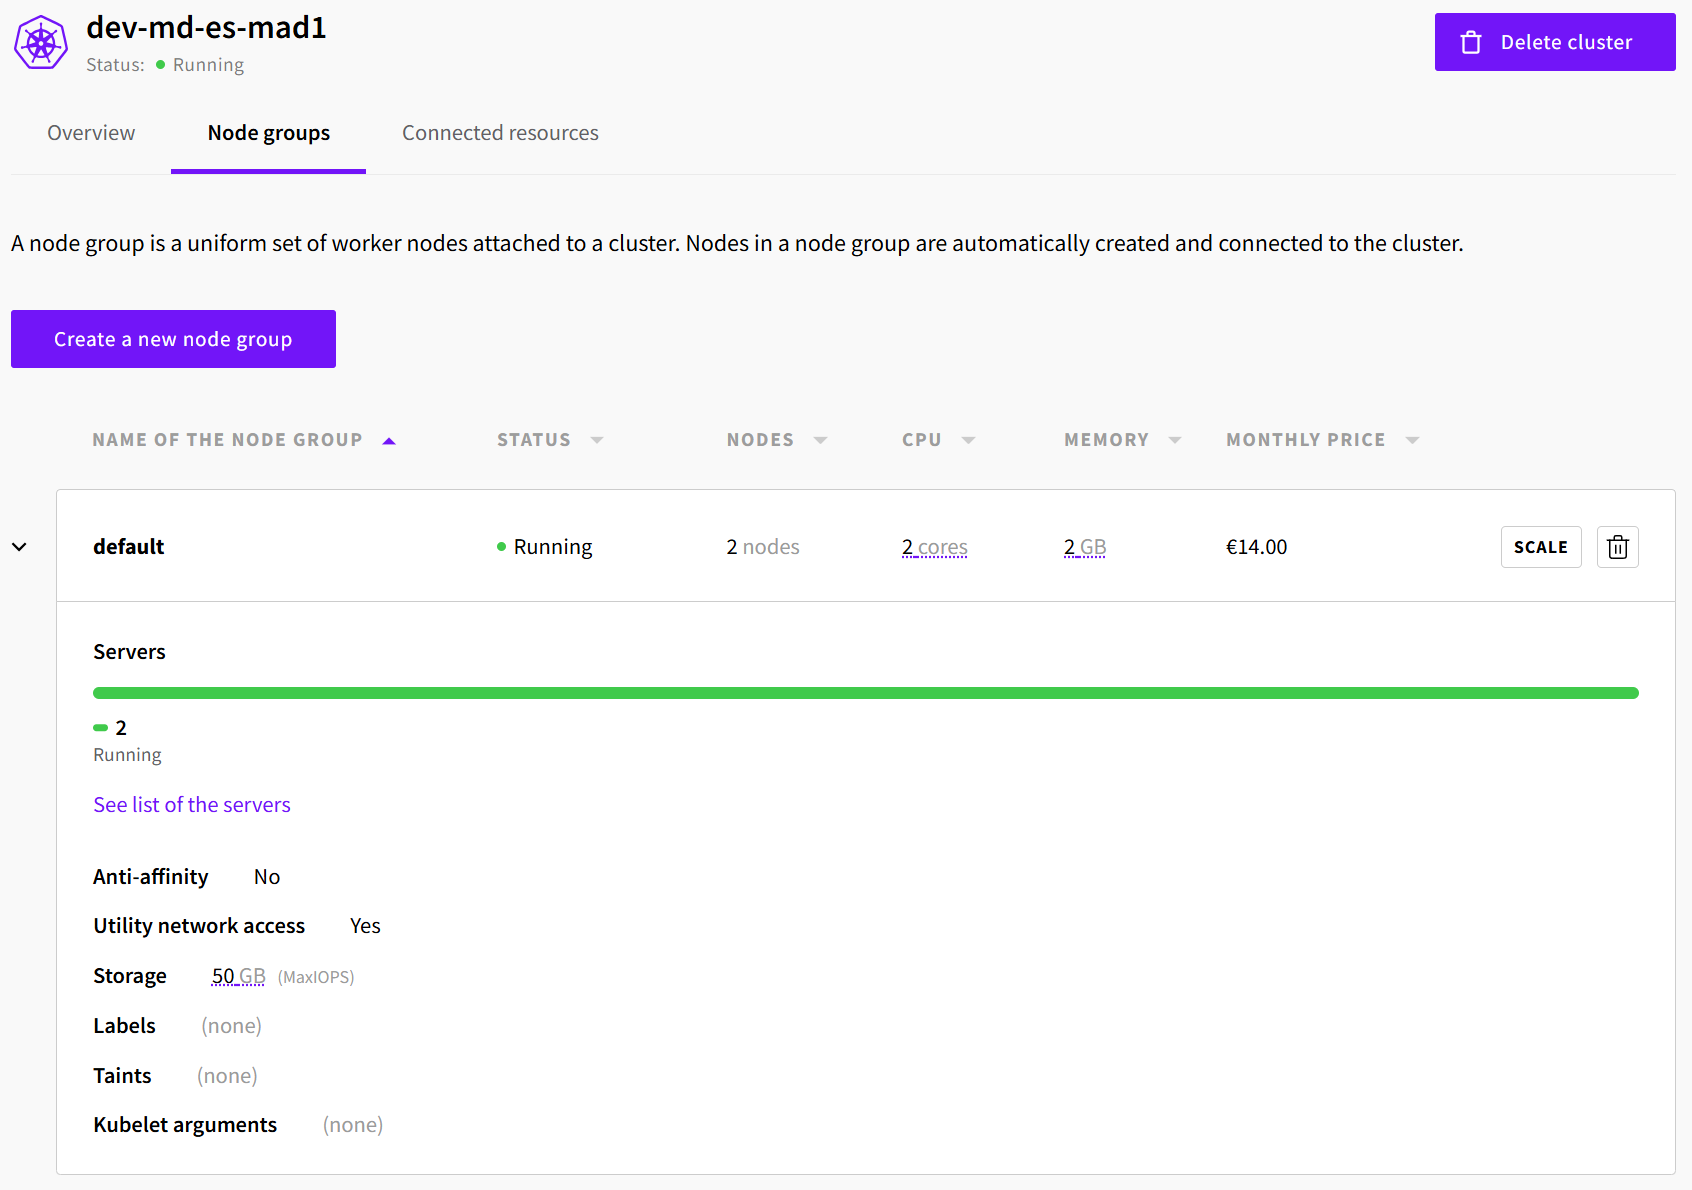
One of the simplest ways to add more compute capacity to your cluster is to increase the number of nodes. Go to the Node groups tab of your cluster and click on the Scale button of the node group from which you want to add or remove a node.
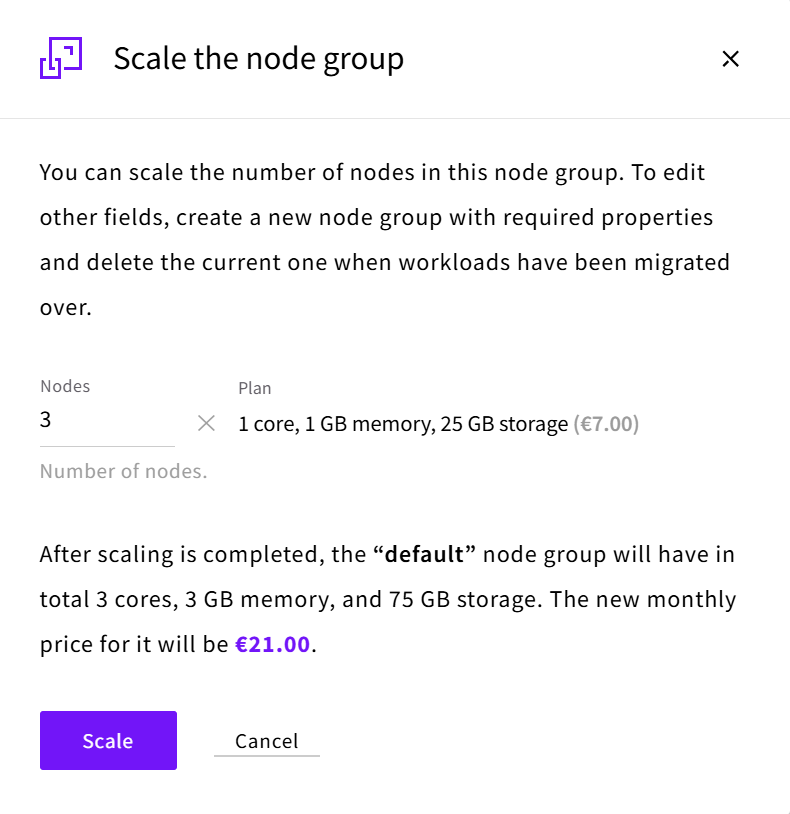
Enter the number of nodes that you want this node group to have and click Scale.
Creating a New Node Group
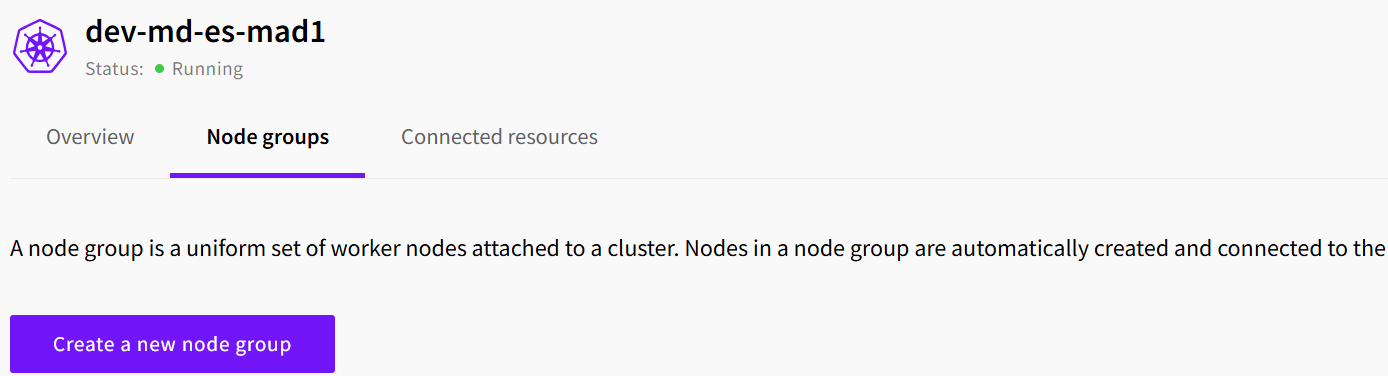
If you need nodes with different configurations, such as more CPU or memory per node, you can create a new node group with the desired server specifications. Go to the Node groups tab of your cluster and click on the Create a new node group button
Once the new node group is running, you can use the command line to see them using kubectl get nodes
You can gradually migrate your workloads to the new nodes by scaling down your deployments and allowing StatefulSets to run on the original node pool.
kubectl scale deployments/hello-uks --replicas=2Drain nodes that you are planning to remove from the cluster
kubectl drain <node_name> --ignore-daemonsets --delete-local-dataThe Kubernetes scheduler will automatically begin placing new pods onto the nodes within the newly created pool. You can apply node taints and tolerations or utilize node labels and selectors to direct your Pods to the new nodes specifically.
Creating a New Cluster
This is a more significant undertaking and is typically done for major upgrades, changes in the underlying infrastructure, or when moving to a different service tier with different control plane characteristics.
First, create a new Kubernetes cluster with your desired configuration. The guide How to get started with Managed Kubernetes provides detailed steps on how to do this.
Next, migrate your existing workloads to this new cluster by following this guide:
Migrating workloads from one Kubernetes cluster to another using Velero
Finally, update your DNS records or load balancer configurations to direct traffic to the newly established cluster.
Summary
By understanding these different scaling methods and how to apply them manually and automatically, you can effectively manage the resource needs of your applications running on your Managed Kubernetes cluster. Remember to monitor your application and cluster metrics to make informed scaling decisions.