
Deploying a new Cloud Server
Server deployment
Server deployment with UpCloud is an easy and straightforward process. You can get started by logging into your UpCloud Control Panel and clicking the Deploy server button at the Servers view.
The server deployment page shows a number of options available for customizing a new cloud server. In this article, you can find some helpful information about a variety of server configurations.
Notice that while configuring your server deployment, you can always see the Summary of your selections and the corresponding pricing as you make changes to your server configuration.
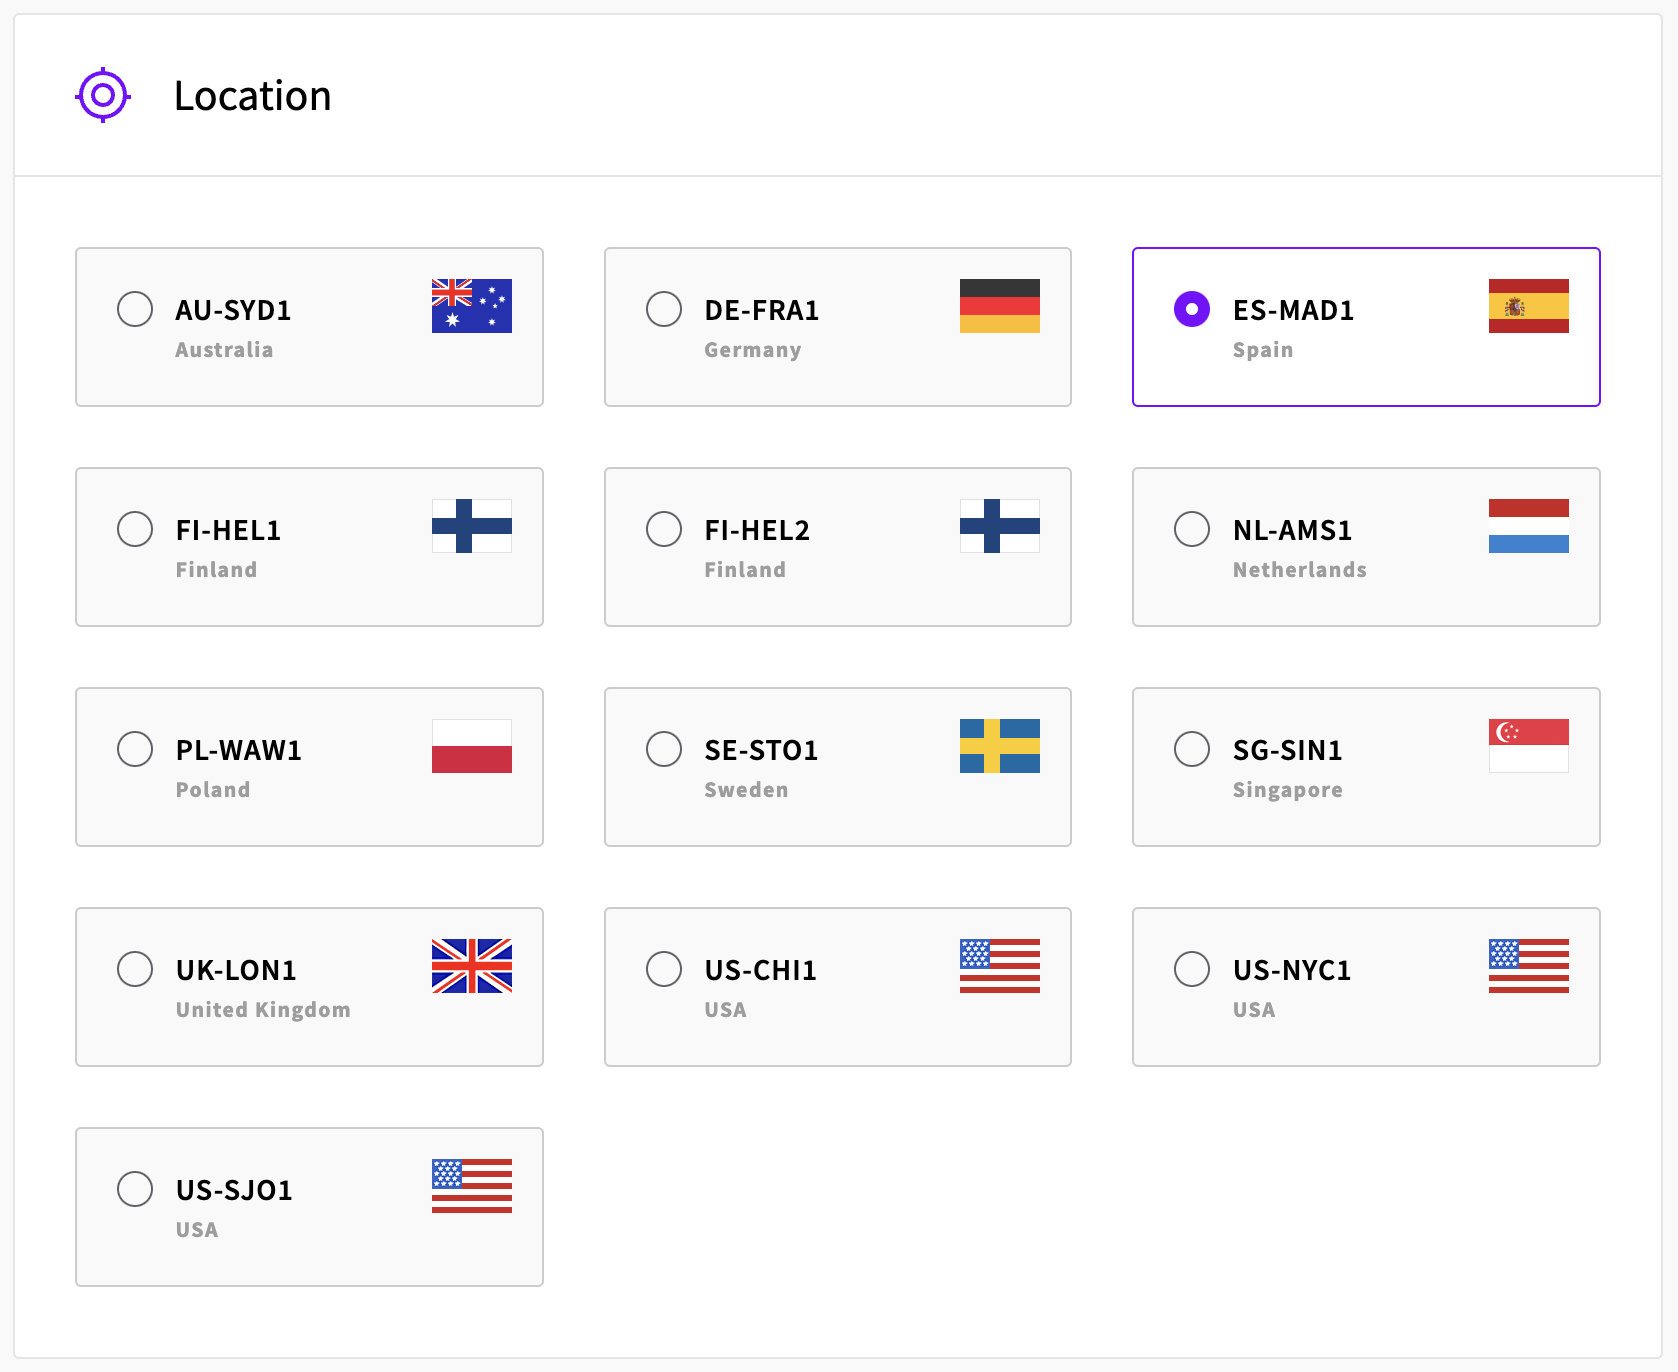
Location
Begin by selecting the physical location of your new server. The closest location to you offers the lowest latency when connecting remotely. UpCloud currently offers infrastructure in Sydney, Frankfurt, Madrid, Helsinki, Amsterdam, Warsaw, Singapore, London, Chicago, New York and San Jose.
Note that pricing varies between Helsinki and the other sites. This is reflected by the total monthly and hourly prices in the Summary.
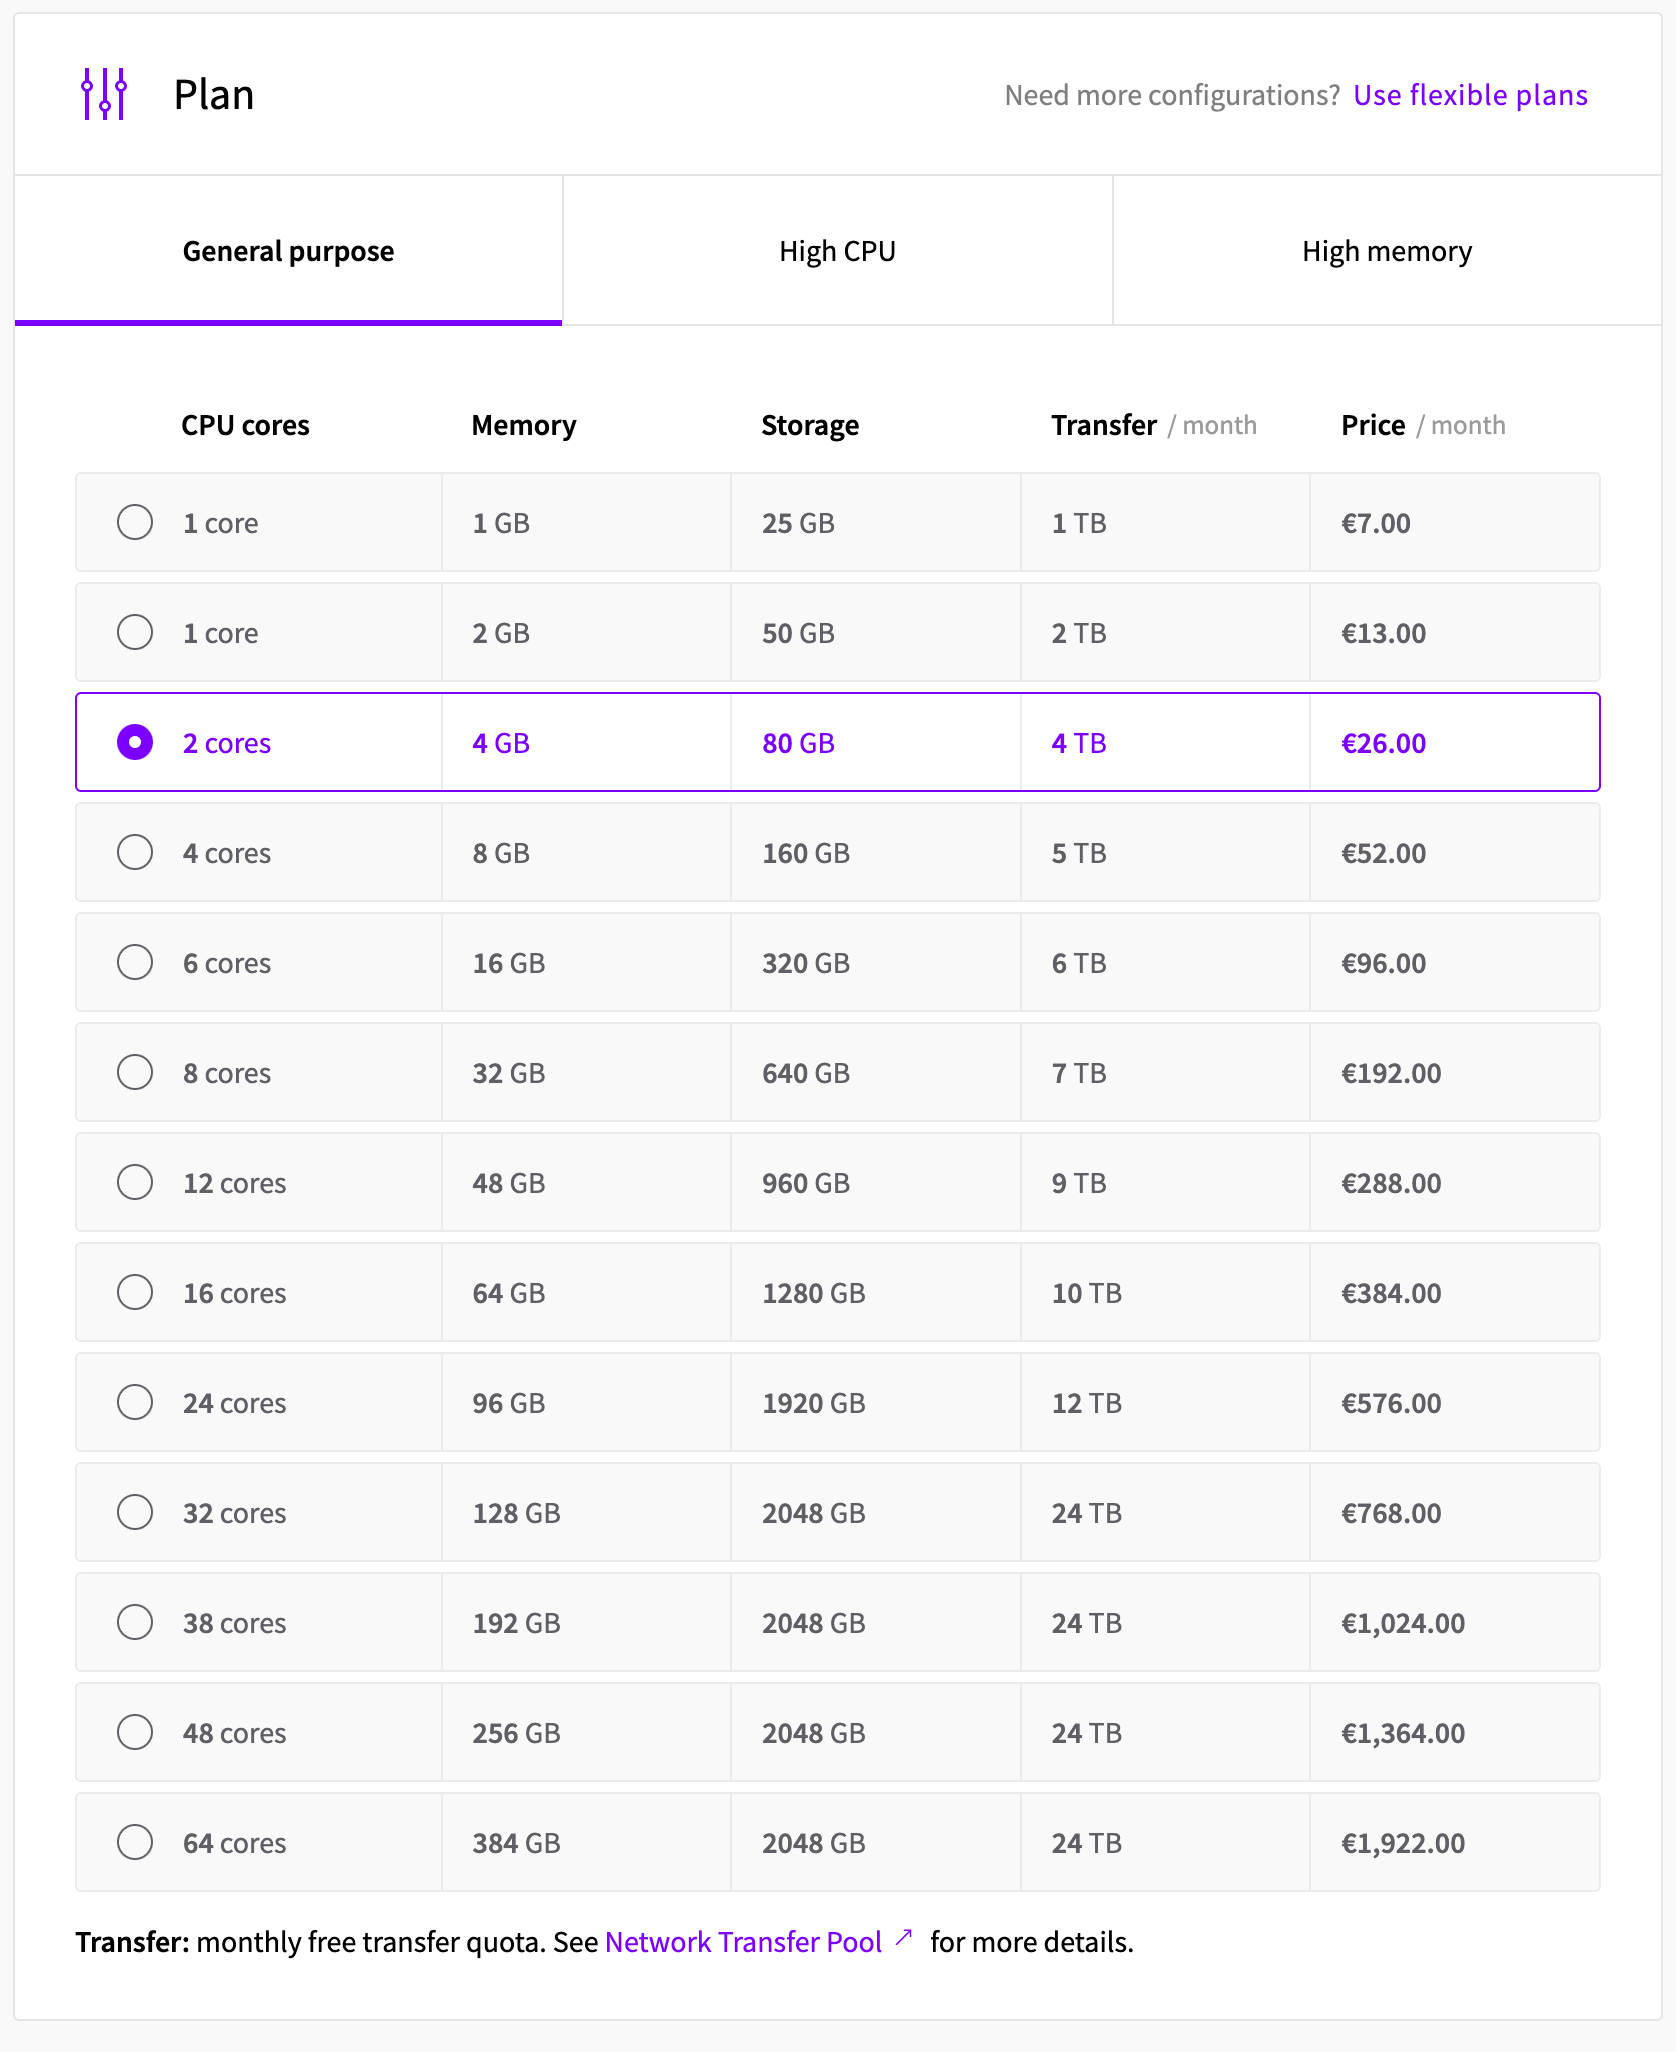
Server plans
CPU, RAM and storage space define the basic capabilities of your cloud host. You have the option to select between a range of preconfigured General Purpose, High CPU, and High Memory plans as well as the flexible server plans.
For a start-up web server, the first General Purpose plan of 1 GB RAM, 1 CPU, and 25GB MaxIOPS is often sufficient and a great starting point as a highly cost-effective choice.
Should you have particularly specific system requirements, choose the Flexible plan and select your server resources by your needs up to 20 CPU cores and 128GB of RAM.
You can always change the server configuration later and even freely move between Simple monthly plans and Flexible configurations with ease. Find out more about the configuration options in our article about working with Cloud Server plans.
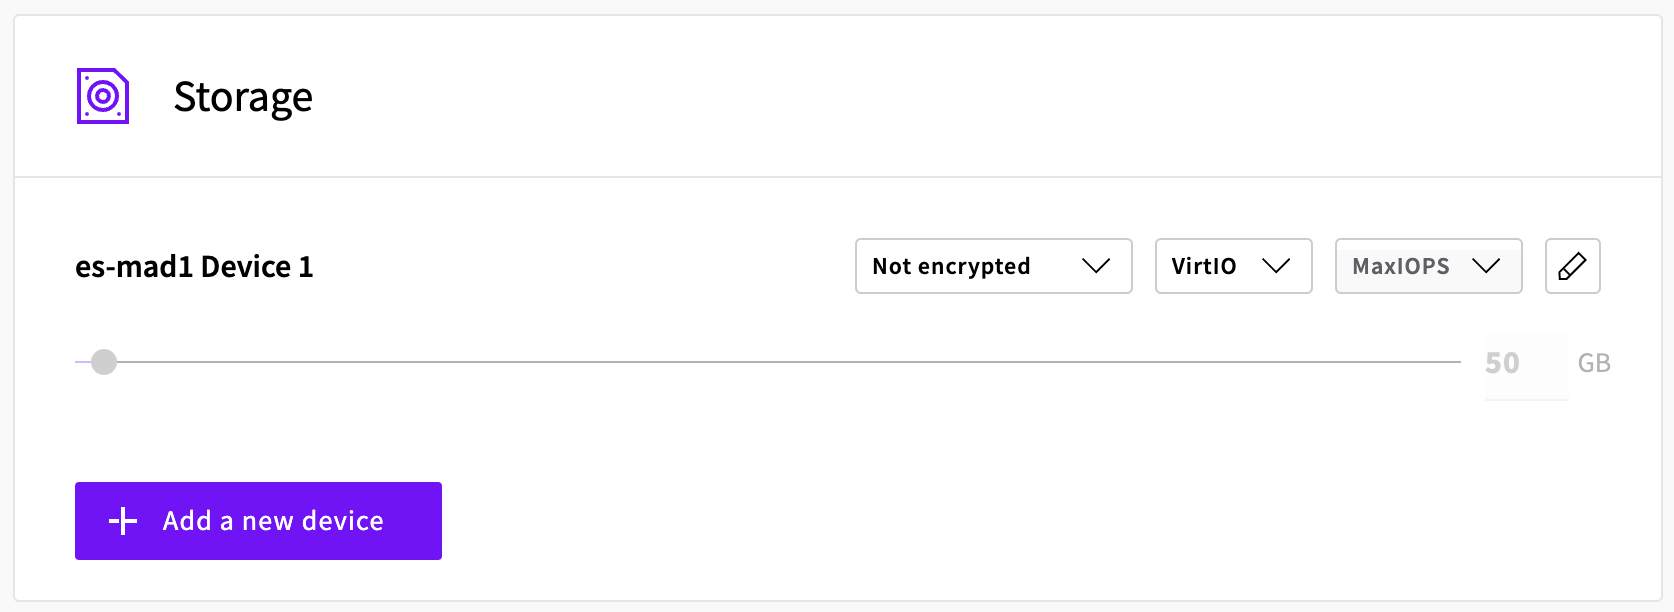
Storage
In the Storage section, you can attach a total of 16 storage devices with a maximum size of 4 TB each. For each additional storage device on your server, you have the option to choose between our blazingly fast MaxIOPS and the cost-effective HDD in selected zones.
The servers on monthly plans include the first MaxIOPS disk device up to a certain size. If you prefer having more disk space, you can add more disks to your configuration by clicking the Add new device button and assigning storage size with the slider under the disk name.
Like most of the other options, you can always change your server’s storage configuration later by adding and removing disk devices or resizing the storage.
If you are wondering why UpCloud does not offer SSD storage, the simple answer is that MaxIOPS is just better, up to 100k IOPS, SSD-based block storage backend. You will get far greater performance using MaxIOPS even on just a 10GB storage device. It is an all-around improved option over the standard SSD storage solutions.
The storage devices can also be fully encrypted at rest using the built-in option. Block storages include normal block storages, backups, and custom images. Any block storage device, including the storage device holding the Cloud Server’s operating system, can be encrypted. The encryption is fully transparent to the Cloud Server and requires no additional software to be installed or encryption keys to be managed on the server.
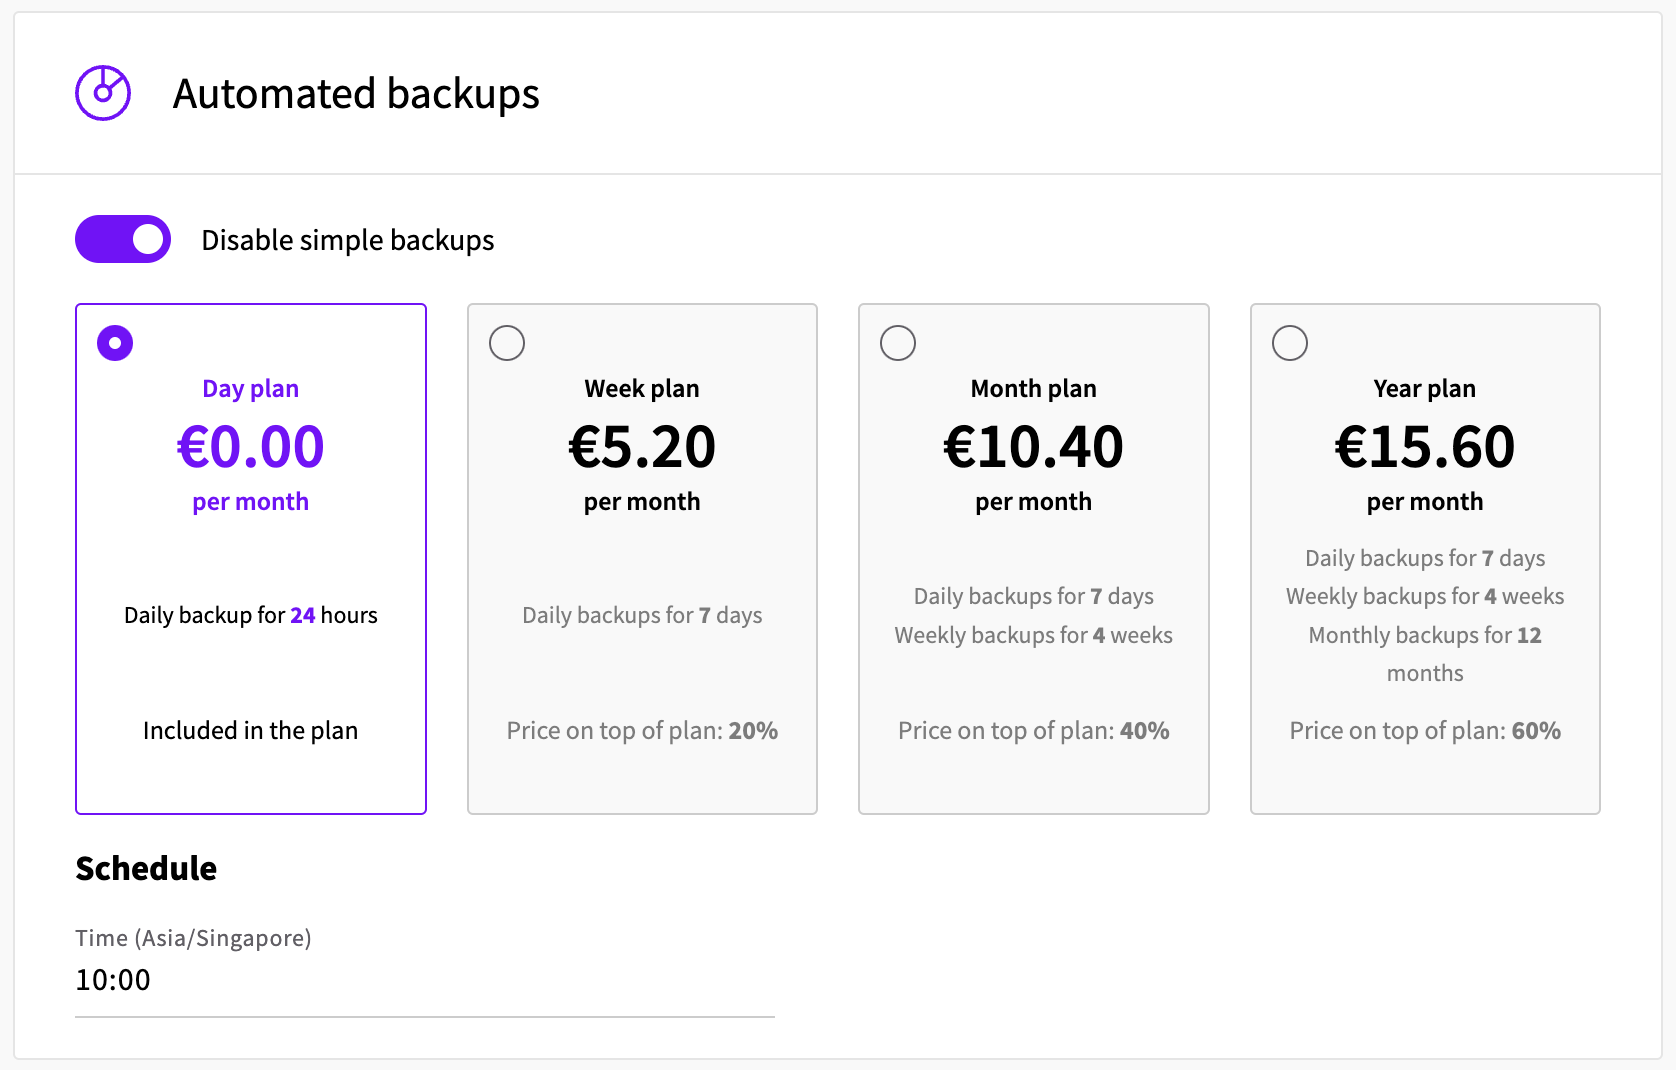
Automated backups
You can also enable Automated Backups by clicking the toggle button on the right side. You can choose between a Day plan, Week plan, Month plan, or Year plan. If you enable automated backups, the Day plan is included for free. It is though important to note that if the automated backups are left off, then this free Day plan is not included. This means that no automated backups are made.
The Day plan will backup once every 24 hours, replacing the backup from the previous 24 hours. With the other paid plans you’ll have access to more backups and from a longer time period. For instance, the Week plan keeps seven concurrent daily backups at any one time. After choosing the plan that is right for your server, you can choose a schedule for the backups in the drop-down menu below.
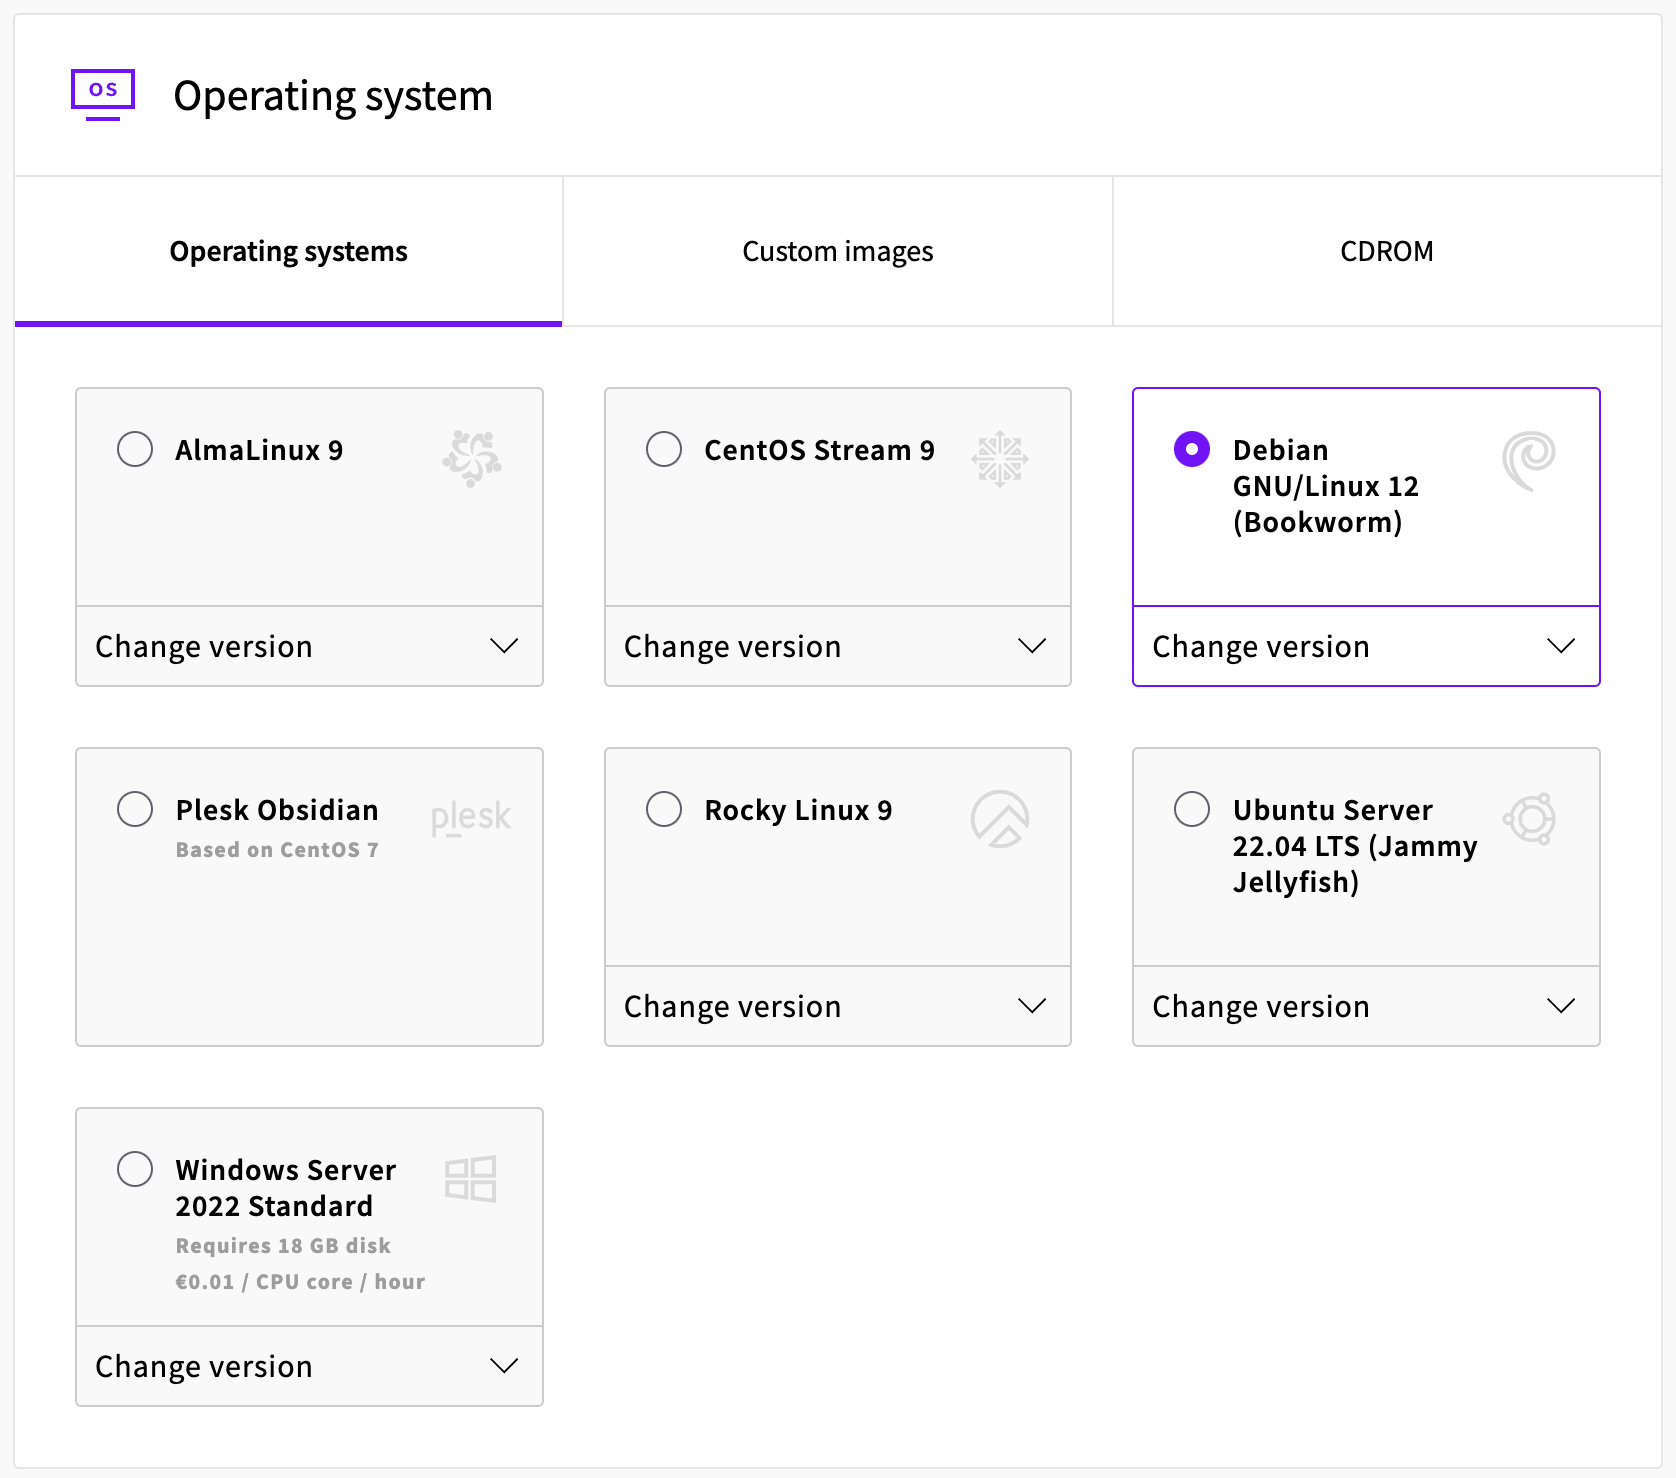
Operating system
After configuring the hardware, you will need to pick the operating system for the new server. For the easiest and fastest deployment, choose from the public templates with the most common modern server OS options.
Advanced users may wish to install the server from an even wider variety of distributions by selecting their favourite OS from the CDROM tab and installing it manually at the first boot-up.
It is also possible to download and install nearly any other OS imaginable with custom media or import an existing server. To find out more, follow our guides for using your own installation media and importing your own server image.
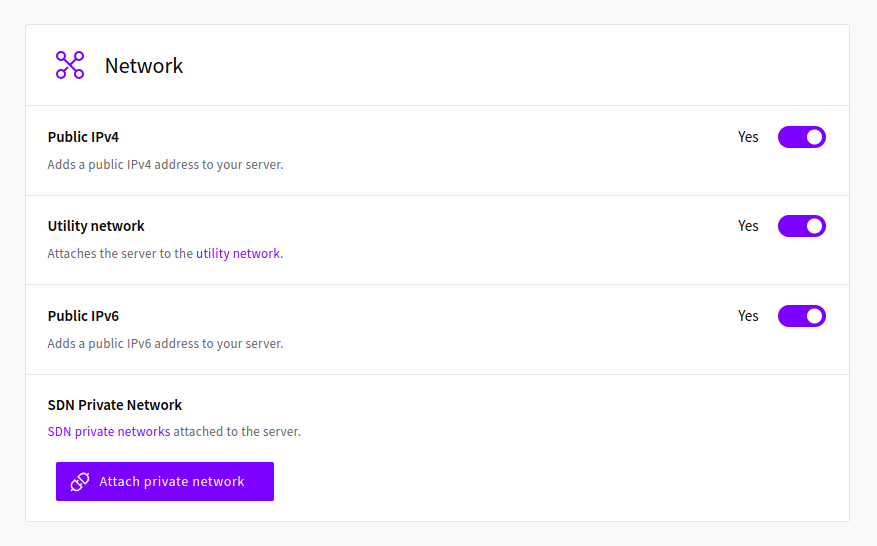
Network
All Cloud Server plans include public IPv4 and IPv6 addresses and a private Utility Network connection by default. These can be configured in the Network section.
Additionally, you can create and attach SDN Private Networks to the new server at the configuration stage. Doing this at deployment allows the server to automatically configure the new network interface and IP address without manual setup.
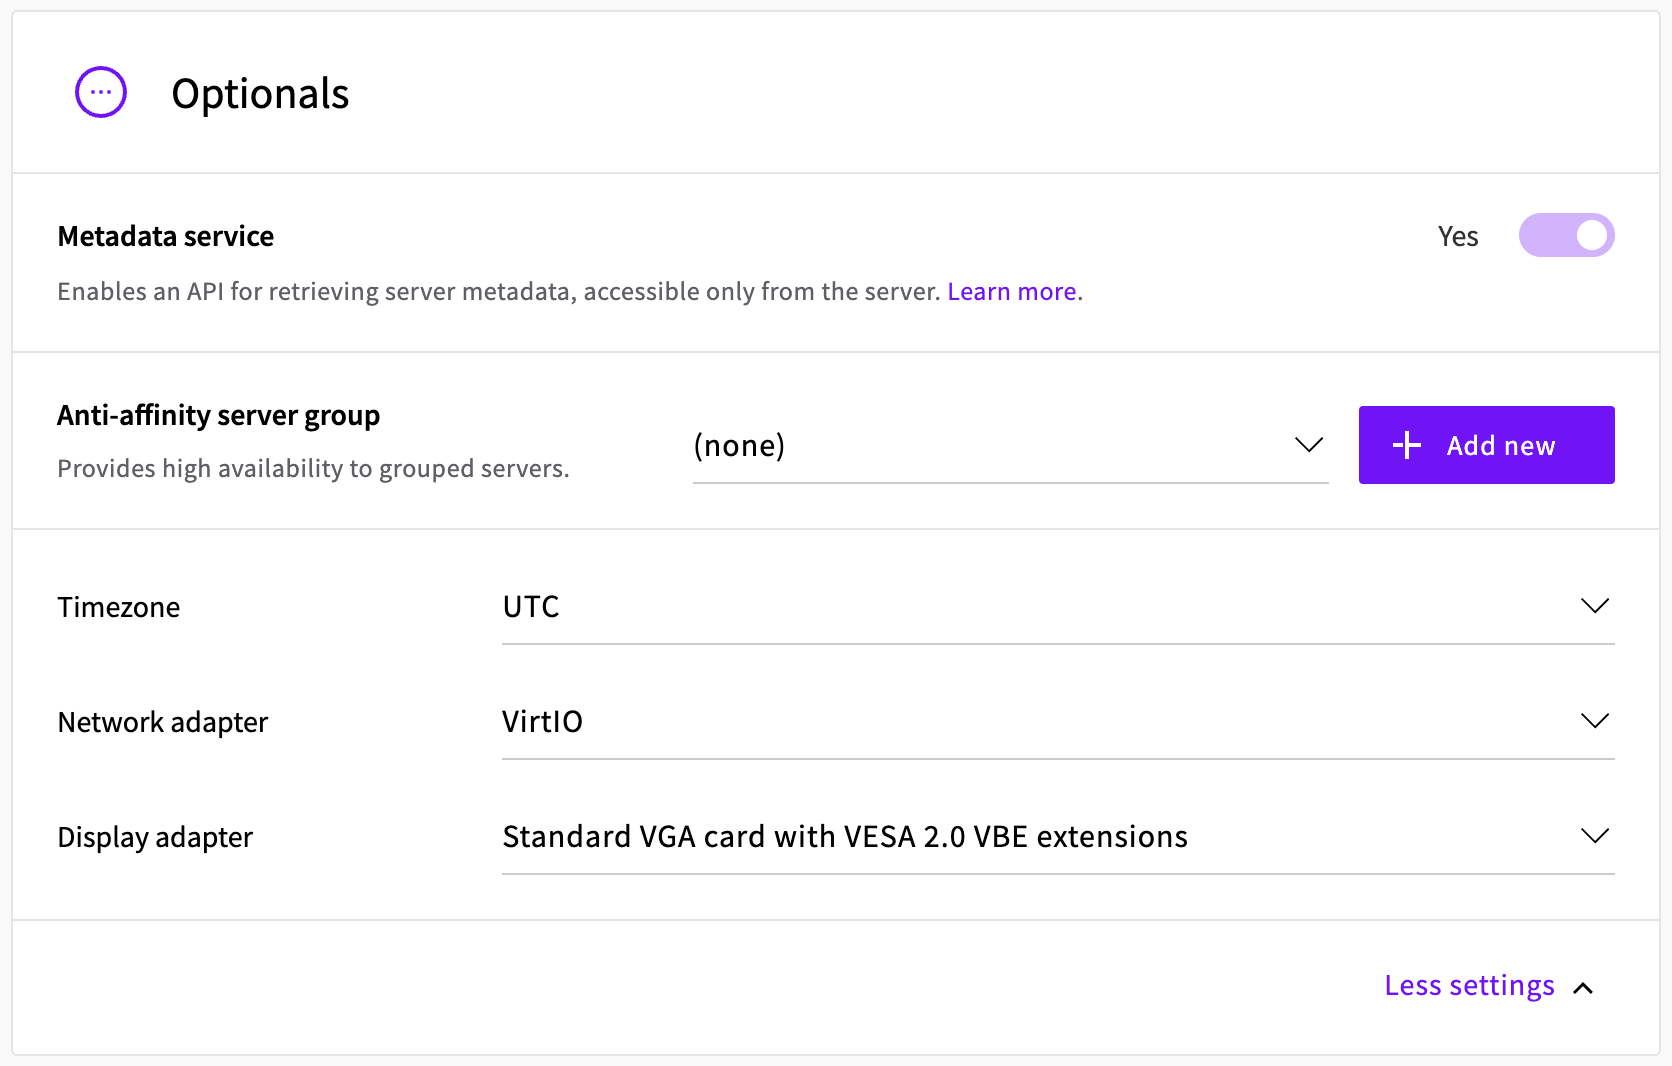
Optionals
In this section, you can enable or disable IPv6 support and metadata service. Click More Settings to set the desired time zone as well as choose between network and display adapters.
For your convenience, we recommend keeping most of these options in their default settings.
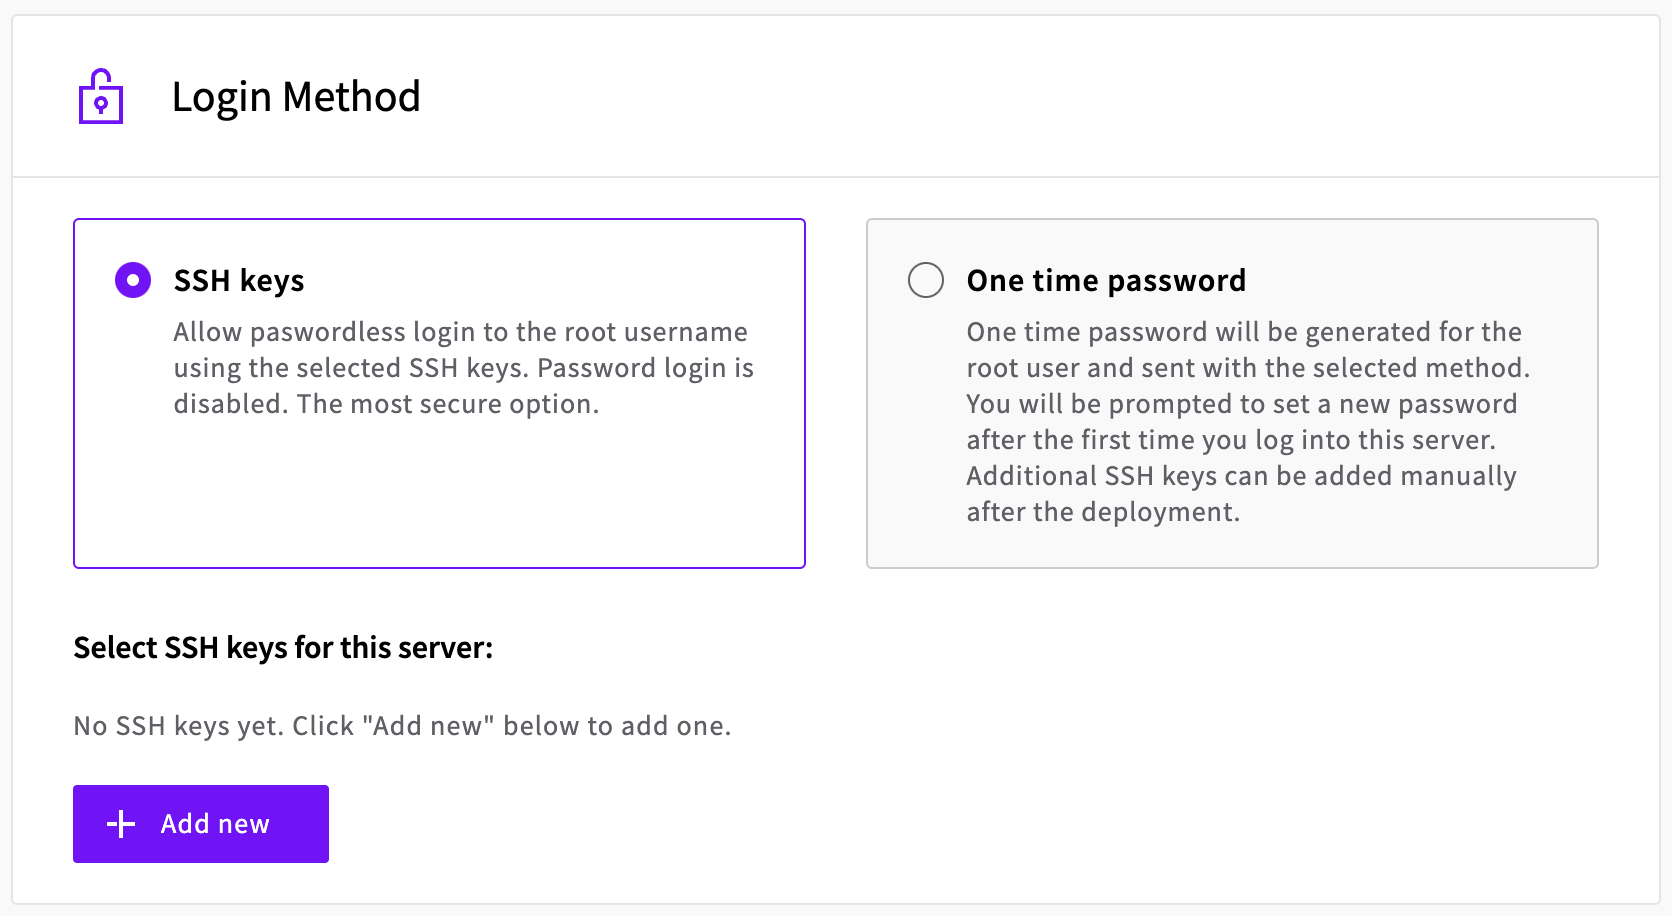
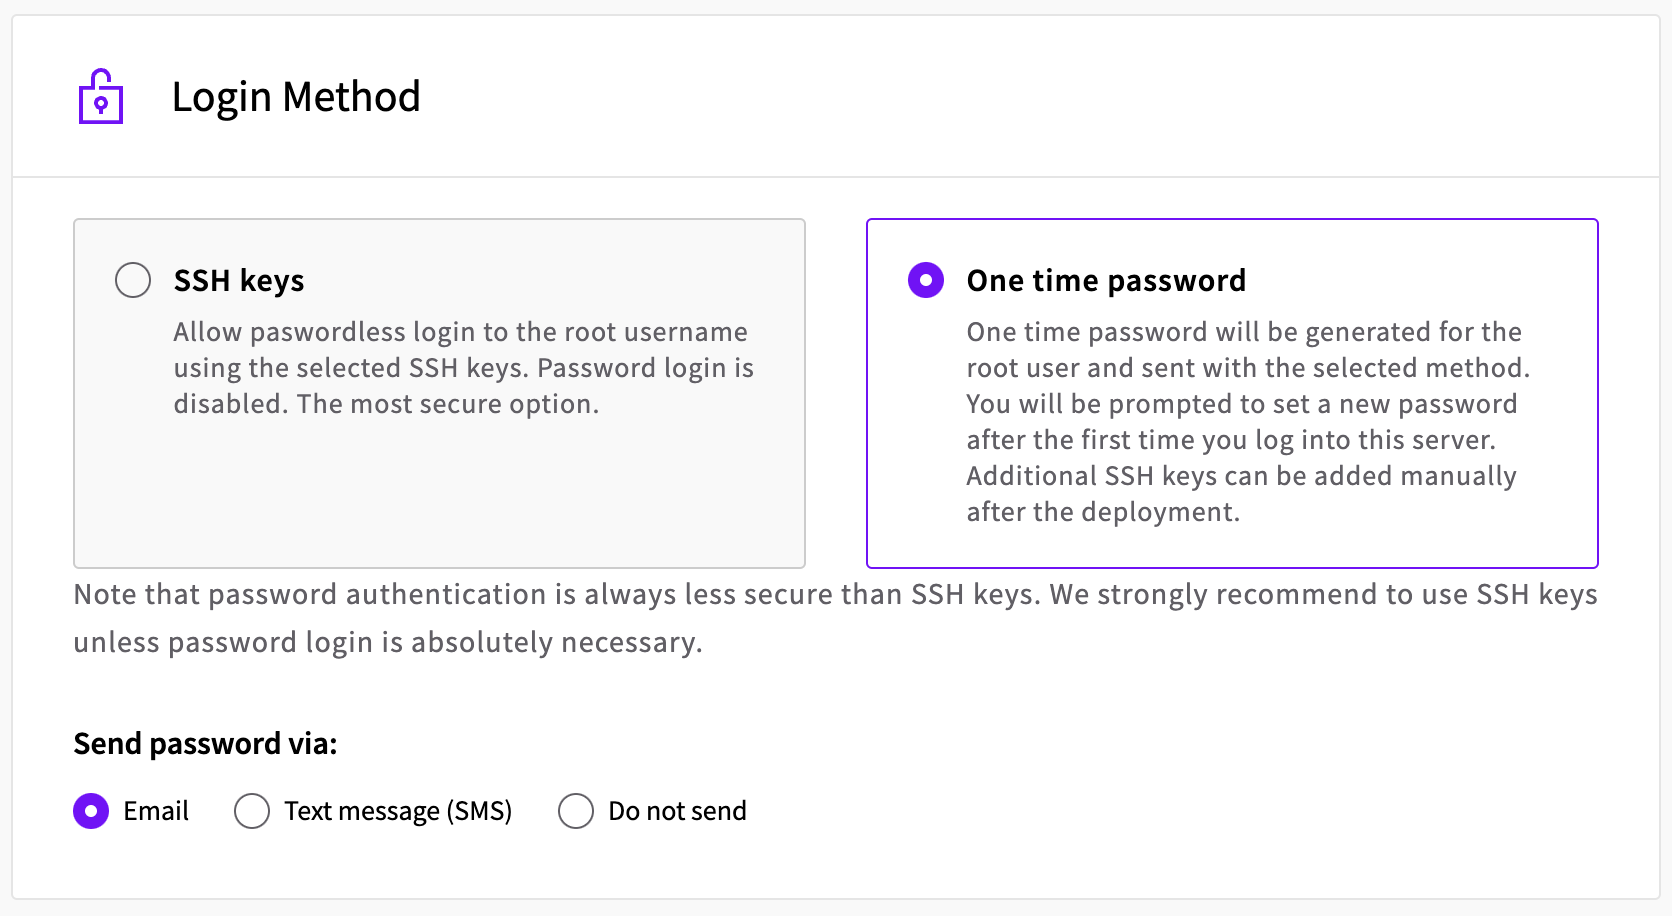
Login method
In this section, you choose your login method. Linux servers use SSH keys, while Windows servers are limited to a one-time password. SSH keys are the required login method on Linux, as they are the most secure option.
SSH keys are generated pairs of long and practically impossible-to-break codes that allow automated user authentication. SSH key pairs work in two halves; the public key which acts as a lock, and the private key which can be used to open the lock. The public key can be safely passed to your cloud servers while the private key should be kept securely stored on your own computer.
The SSH key feature at your UpCloud Control Panel provides easy public key storage and allows you to apply the authentication method to any new Linux server.
Public keys that are stored in the control panel can be directly applied to your cloud servers at deployment. Click to select the keys you wish to use on the new server. The keys are added to the default root account and allow you to harden the server security right from the get-go. If you do not yet have SSH keys at hand, you should check out our guide on how to generate SSH keys to improve your server security.
You can also click the Add new button to import your keys right at the deployment without losing your server setup selections. This opens the key editing window where you can name the key, copy in your public key and then Save the SSH key.
As mentioned, Windows servers will need to use a one-time password. The one-time password will be generated for the Administrator account and delivered using the selected method. You will be prompted to set a new password after the first time you log into this server. You can choose to have the password provided via email or text message (SMS), or you can choose not to send it at all, in which case the one-time password is only shown in your UpCloud Control Panel after server deployment.
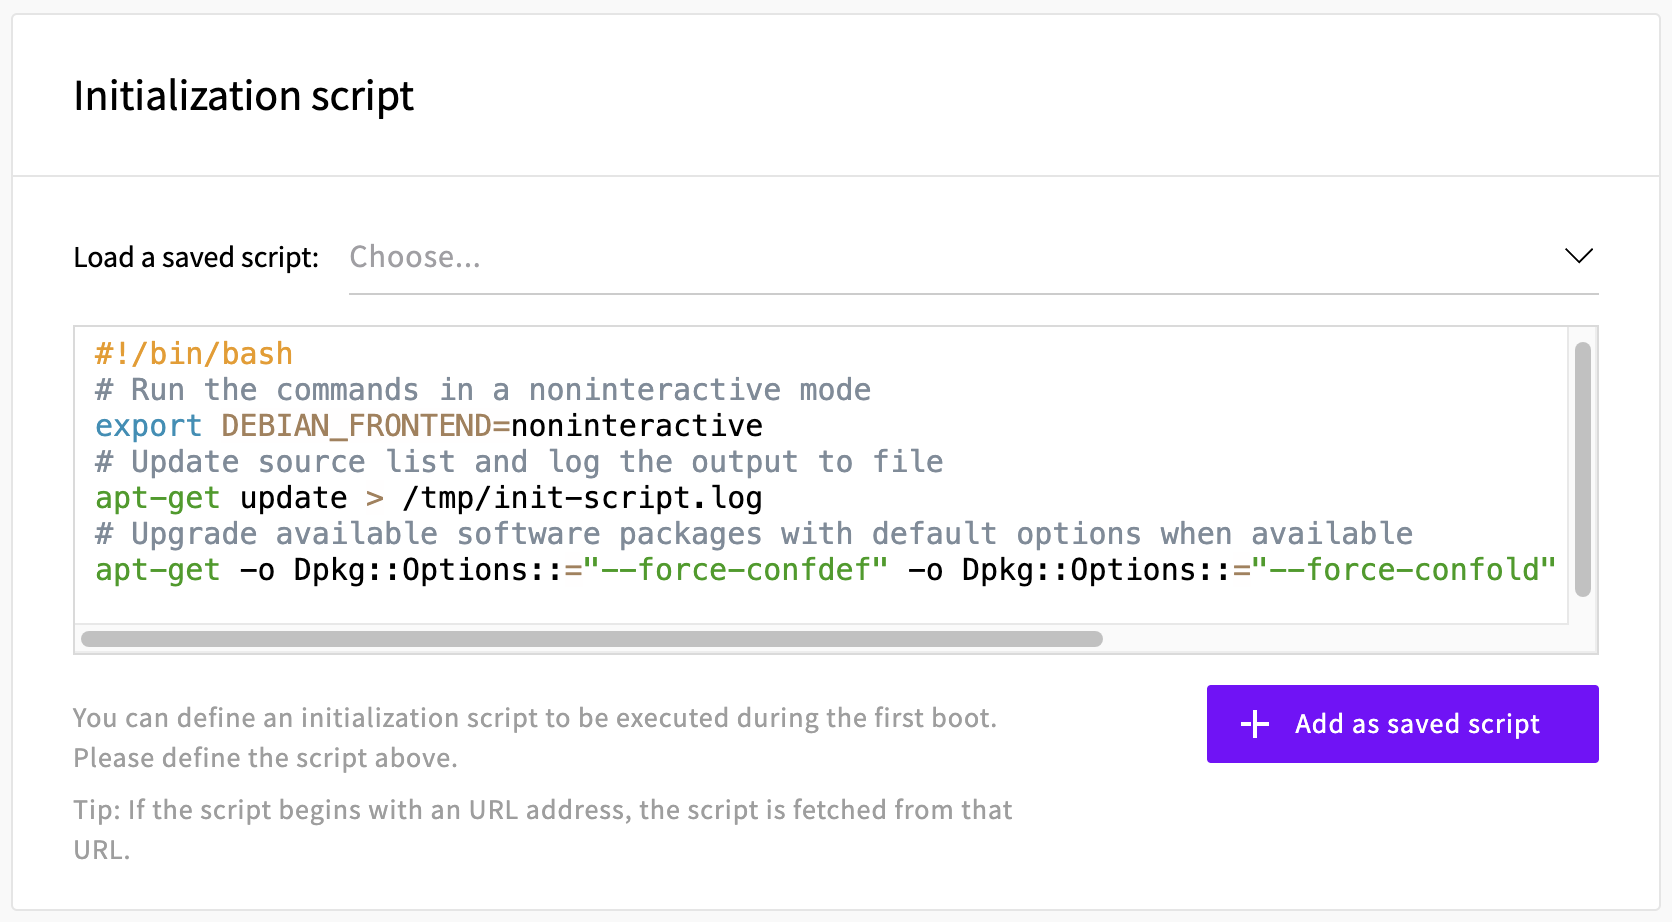
Initialization scripts
You can also select initialization scripts. These are user-defined automation scripts which are supported by all of the public Linux templates. Selecting one of your stored scripts will bring it to the edit field below. You can make any last-minute changes to the script still before deployment, or you can write a completely new script right on the spot. The server will perform the actions dictated by the script during the first bootup allowing you to save considerable time and effort.
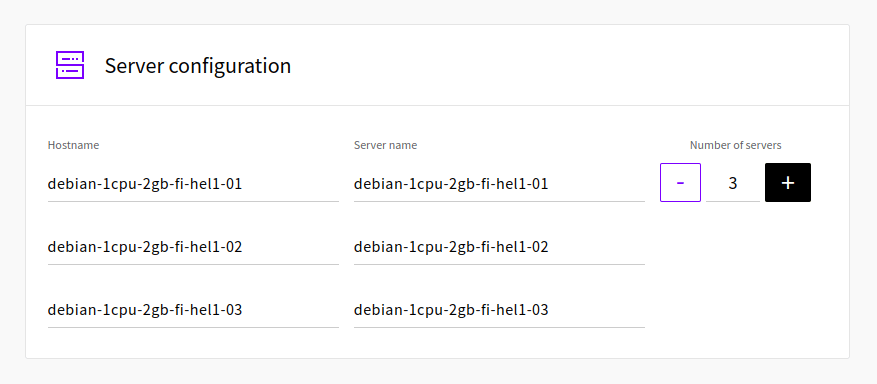
Server configuration
Finally, name your new Cloud Server. The server hostname should be in a fully qualified domain name format, for example, webserver1.domain.com. Linux systems set this as the hostname on your Cloud Server. You should use your domain name if available, but it is not required if you have not registered one.
Write a name in the second text field to help you quickly identify the server. The server name will be shown as the server title on the list of servers.
Notice that you also have the option to deploy up to 10 Cloud Servers simultaneously using the current configuration. This can be useful for creating clusters or worker nodes for redundancy and load-balancing.
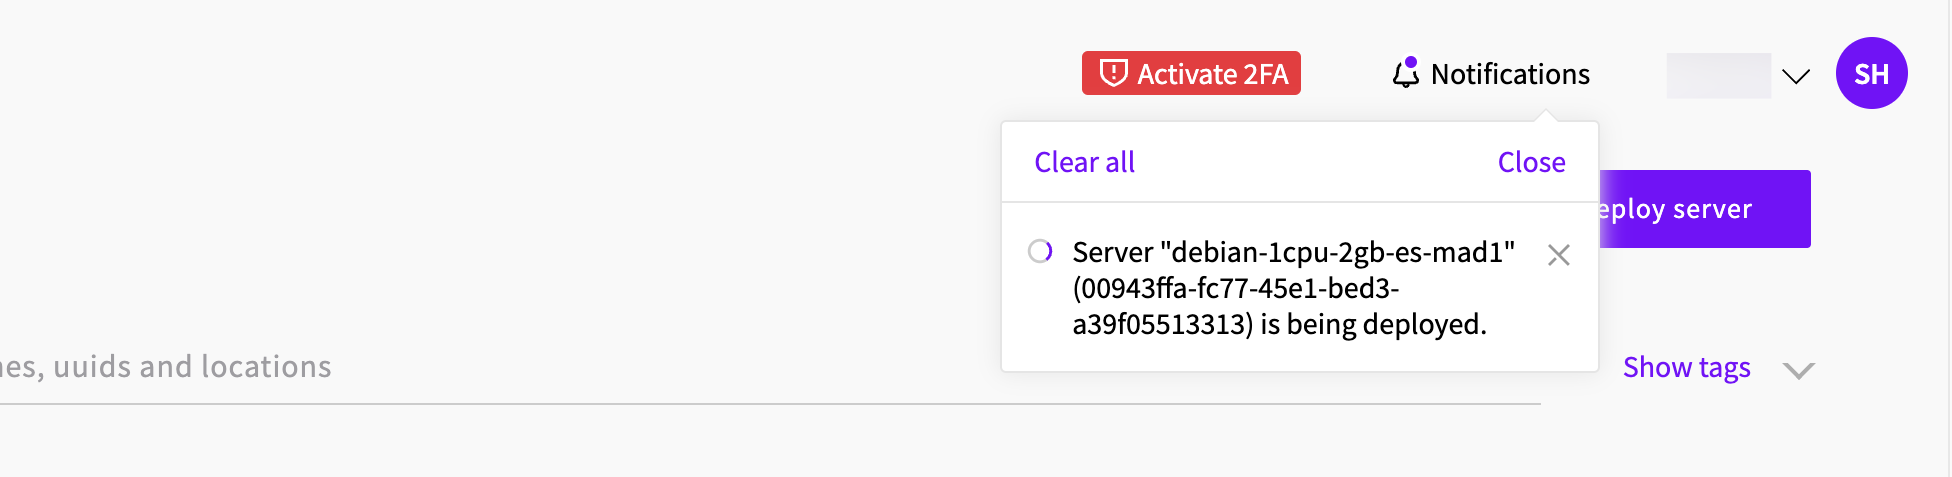
Deploy server
Once you are done configuring your new server, check the details one more time. If everything is in order, go ahead and click the Deploy button at the bottom of the page to launch your new cloud server. You can then follow the deployment at the Servers view and you’ll get notified in a moment when the process is complete.
Congratulations on deploying your first server with UpCloud!
If you are unsure what to do next, check out our guide about connecting to your server.