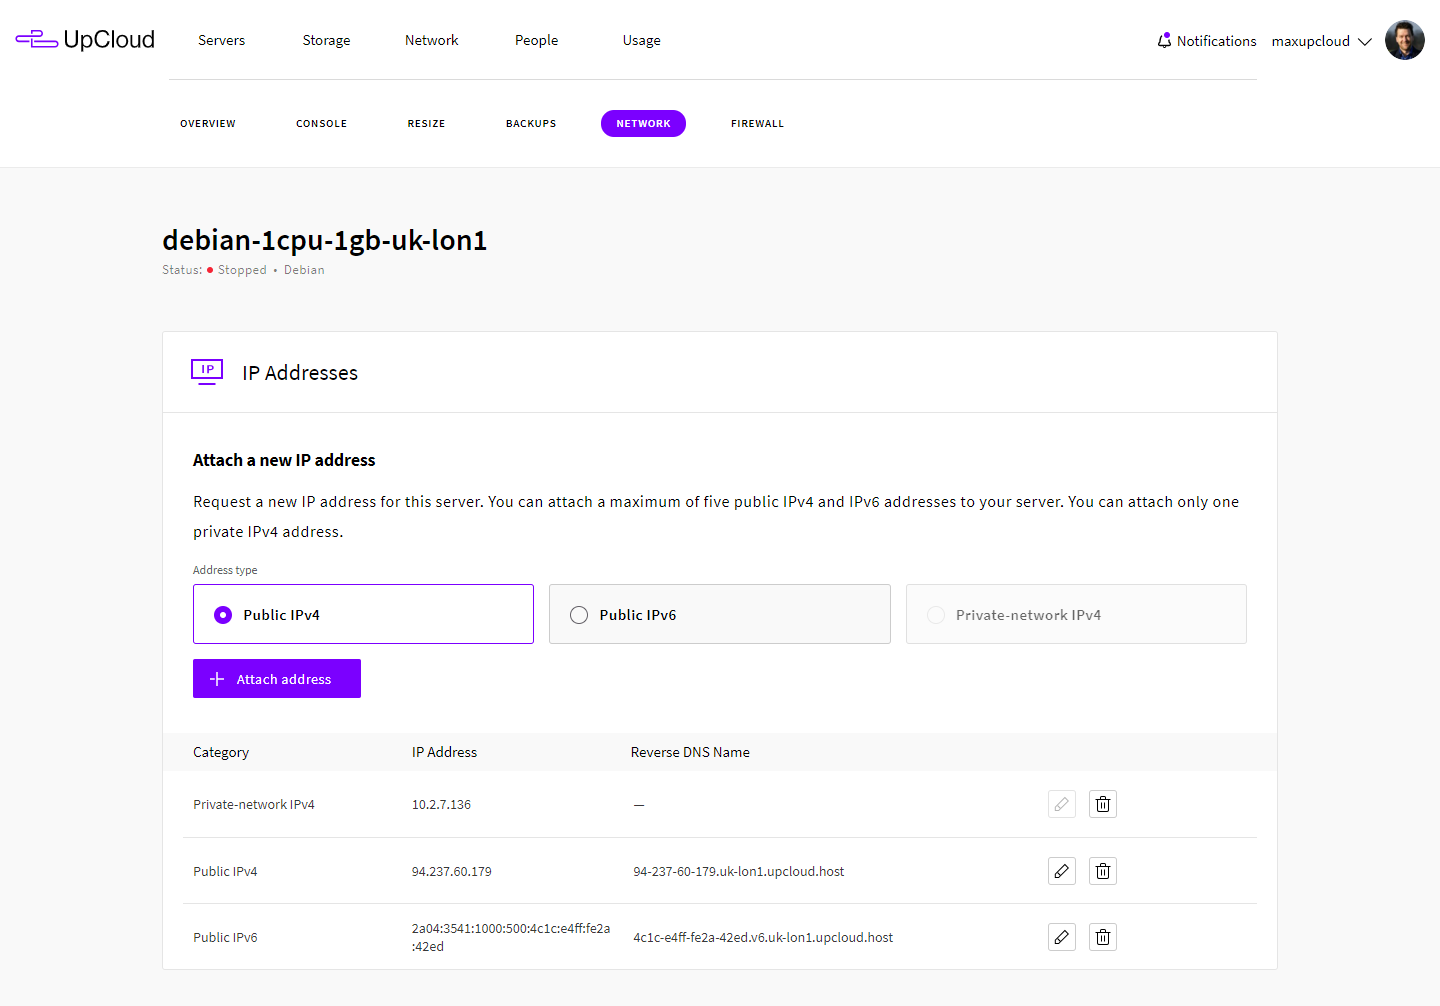
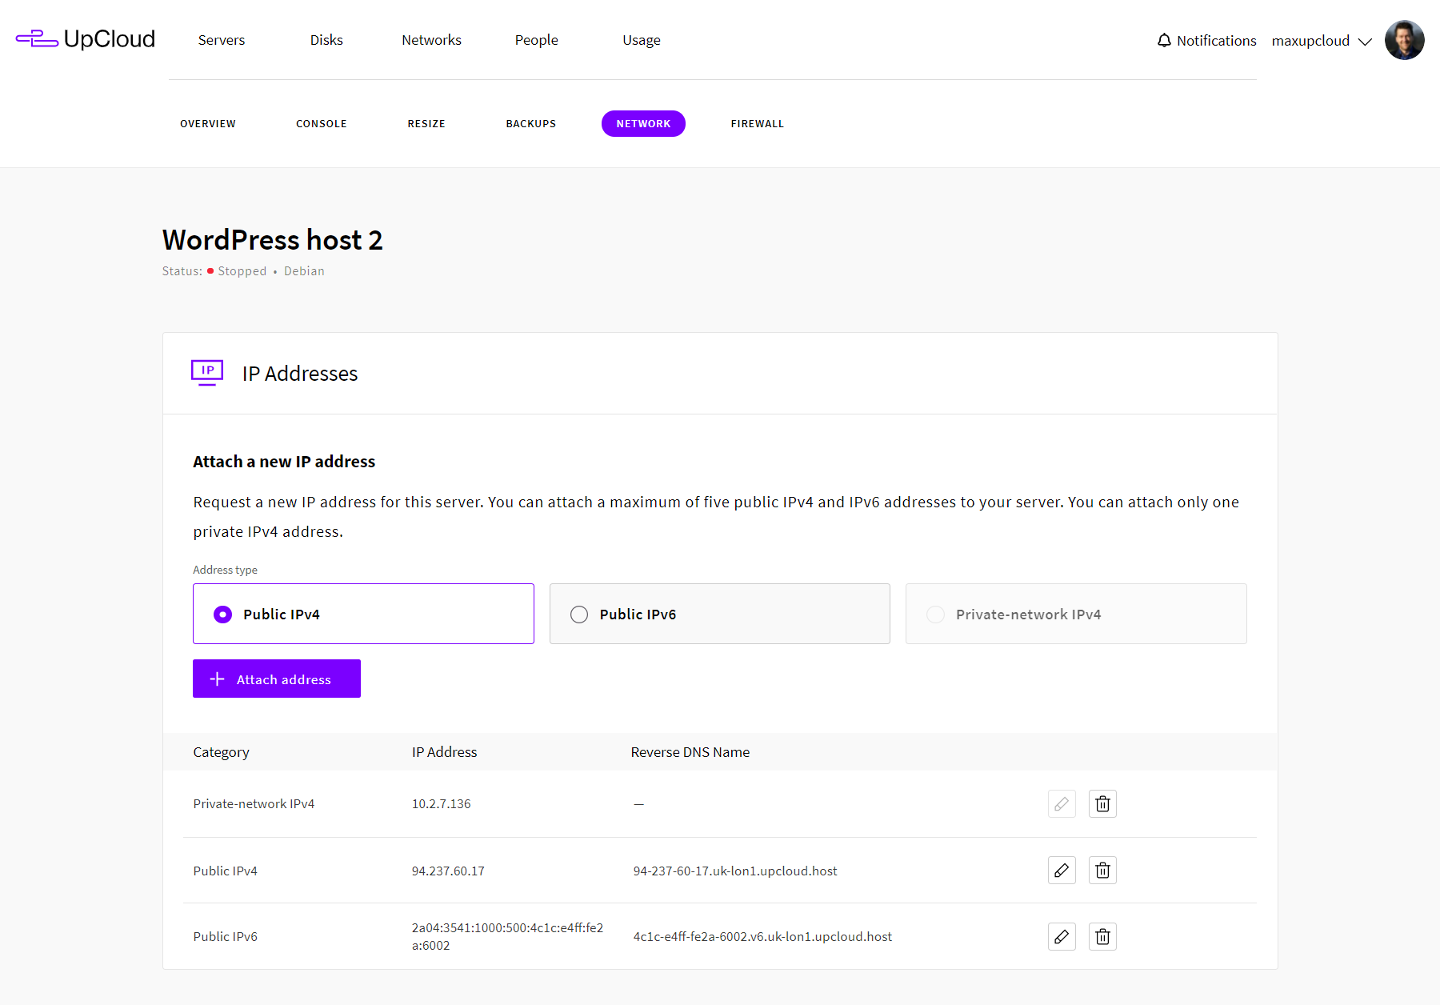
It is possible to have up to five public IPv4 and IPv6 addresses per your UpCloud server. You’ll need to shut down your cloud server before making changes to the network interfaces. Afterwards, you can attach new IP addresses by logging into your UpCloud Control Panel and going to your server settings and Network tab.
Attaching new addresses
While the server is powered down, add a new IP address by selecting the type of address you want, public IPv4 or IPv6, and clicking the Attach address button.

You’ll get a confirmation notification and the new address will then appear on the list.

That’s how easy it is to attach new IP addresses on UpCloud Control Panel. However, there are some operations that must be done at the OS level in order for the system to become aware of the changes. Check below for the operating system-specific instructions for your server.
Ubuntu 22 and later
Connect to your Cloud Server. Once in, you’ll need to add a new interface configuration. Since the release of Ubuntu 22, the OS has been using netplan which changes how the network interfaces are configured.
First, check the new network interface name with the command below. The new interface will be the last on the list without an IP, eth3 in the example below.
ip addr5: eth3: <BROADCAST,MULTICAST> mtu 1500 qdisc noop state DOWN group default qlen 1000
link/ether 6e:d7:1b:bf:3b:cf brd ff:ff:ff:ff:ff:ff
altname enp0s5
altname ens5Next, create a new network configuration file and add the following content. Make sure you name the interface correctly.
sudo nano /etc/netplan/60-eth3.yamlnetwork:
version: 2
renderer: networkd
ethernets:
eth3:
dhcp4: trueIf you are adding an IPv6, the syntax is a little different, use the following instead.
network:
    version: 2
    renderer: networkd
    ethernets:
        eth3:
            dhcp6: true
Then save the file and exit the editor.
Lastly, apply the changes.
sudo netplan applyIf the changes were applied successfully, you should now be able to see the new IP address.
ip addr show dev eth35: eth3: <BROADCAST,MULTICAST,UP,LOWER_UP> mtu 1500 qdisc fq_codel state UP group default qlen 1000
link/ether 6e:d7:1b:bf:3b:cf brd ff:ff:ff:ff:ff:ff
altname enp0s5
altname ens5
inet 94.237.59.222/22 metric 100 brd 94.237.59.255 scope global dynamic eth2
valid_lft 86396sec preferred_lft 86396sec
inet6 fe80::6cd7:1bff:febf:3bcf/64 scope link
valid_lft forever preferred_lft foreverOnce you see the new interface at the end of the list like in the example above you’ve successfully configured a new IP address to your Cloud Server. It can now be used to connect to the host just like the other addresses.
Debian and Ubuntu 20 or earlier
Connect to your Cloud Server. Once in, you’ll need to add a new interface configuration to the /etc/network/interfaces file. Open it for editing with elevated privileges.
sudo nano /etc/network/interfacesThen enter one of the examples underneath the end of the file. The number of the network interface needs to be unique, set it to one larger than the previous one. If you haven’t added addresses before it should be eth3 like in the example here.
auto eth3
iface eth3 inet dhcp
In the case of IPv6 the syntax is a little different, use the following instead.
auto eth3
iface eth3 inet6 auto
Then save the file and exit the editor.
Afterwards, you’ll need to restart the network to have the changes take effect.
sudo systemctl restart networkingCheck that the new interface appears and shows the correct new IP address with the following command.
ip addrIf the IP addresses are not working after this, add the following lines to /etc/sysctl.conf:
sudo nano /etc/sysctl.confnet.ipv4.conf.all.rp_filter=0
net.ipv4.conf.default.rp_filter=0
net.ipv4.ip_forward = 1On Ubuntu, you might also need to add the following to the specific new network interface and replace the number on the lines as appropriate.
net.ipv4.conf.eth3.rp_filter = 2
net.ipv4.conf.eth3.arp_filter = 1
Once you’ve saved the sysctl.conf, update the system status.
sudo sysctl -pThen restart the network using the same command as above and check the IP addresses again.
sudo systemctl restart networkingip addr5: eth3: <BROADCAST,MULTICAST,UP,LOWER_UP> mtu 1500 qdisc pfifo_fast state UP group default qlen 1000
link/ether 6e:d7:1b:bf:63:c8 brd ff:ff:ff:ff:ff:ff
inet 185.26.50.223/22 brd 185.26.51.255 scope global eth3
valid_lft forever preferred_lft forever
inet6 fe80::6cd7:1bff:febf:63c8/64 scope link
valid_lft forever preferred_lft foreverOnce you see the new interface at the end of the list like in the example above you’ve successfully configured a new IP address to your Cloud Server. It can now be used to connect to the host just like the other addresses.
If you have problems reaching one of the IP addresses with ping, for example, try rebooting the server and testing the connection again.
sudo rebootAlso, make sure your firewall settings allow connecting to the new IP address as well.
CentOS
You’ll need to create a new network interface configuration file in the /etc/sysconfig/network-scripts folder. Copy one of the pre-existing files to have a starting point, for example, the ifcfg-eth0 to ifcfg-eth3 with the following command.
sudo cp /etc/sysconfig/network-scripts/ifcfg-eth0 /etc/sysconfig/network-scripts/ifcfg-eth3Then open the new file and change it to suit the new interface. Replace the device number on the first line with a new higher number. Commonly it would be eth3 like in the example below if this is the first address you are adding after deploying the cloud server.
DEVICE=eth3
BOOTPROTO=dhcp
ONBOOT=yes
If you are attaching an IPv6 address, you can copy the existing IPv6 configuration.
sudo cp /etc/sysconfig/network-scripts/ifcfg-eth2 /etc/sysconfig/network-scripts/ifcfg-eth3Then change the device name, for example as below.
DEVICE=eth3
NM_CONTROLLED=no
IPV6INIT=yes
Check your /etc/sysctl.conf, and make sure the default rp_filter is set to 0.
sudo sysctl -a | grep default.rp_filterIf not, open the file to edit and add the parameter to the end of the file.
net.ipv4.conf.default.rp_filter = 0If you made changes to the sysctl.conf, update the system.
sudo sysctl -pUse the following command after you have done these operations to restart the network.
sudo systemctl restart networkThen check the IP configuration.
ip addr5: eth3: <BROADCAST,MULTICAST,UP,LOWER_UP> mtu 1500 qdisc pfifo_fast state UP qlen 1000
link/ether 6e:d7:1b:bf:49:64 brd ff:ff:ff:ff:ff:ff
inet 185.20.138.90/22 brd 185.20.139.255 scope global dynamic eth3
valid_lft 86189sec preferred_lft 86189sec
inet6 fe80::6cd7:1bff:febf:4964/64 scope link
valid_lft forever preferred_lft foreverWhen you see the new IP address in the command output it’s connected and ready to use.
If you have problems reaching one of the IP addresses with ping, for example, try rebooting the server and testing the connection again.
sudo rebootAlso, make sure your firewall settings allow connecting to the new IP address as well.
Windows
New network interfaces for IPv4 addresses should show up automatically without manual configuration.
In the case of IPv6, you will need to run a couple of commands via Command Prompt with Administrator privilege. Open the program by typing cmd in the Run window and press enter, then copy in the commands below.
netsh interface ipv6 set global randomizeidentifiers=disabled store=active
netsh interface ipv6 set global randomizeidentifiers=disabled store=persistent
netsh interface ipv6 set privacy state=disabled store=active
netsh interface ipv6 set privacy state=disabled store=persistent
Afterwards, you should restart the new network interface by disabling and re-enabling it at the Network Connections window.
Note that the Windows Server firewall blocks ICMP requests by default. If you want to test the new interface with ping, open the firewall settings with wf.msc in the run window. Find the ICMPv4 and ICMPv6 protocols in the Inbound Rules and enable the ones you need.
Other options
It’s also possible to manually set additional public IPv4 addresses to the primary interface, for example creating aliases like eth0:1, and eth0:2 on Linux, by using static configuration. Currently, this is not supported with IPv6 addresses. You can find instructions for setting up alias addresses in our articles for configuring floating IPs on CentOS, Debian, Ubuntu or Windows.

Markus
With Ubuntu 22.04 sudo systemctl restart networking results to: “Failed to restart networking.service: Unit networking.service not found.”
wvh
I think the Ubuntu LTS 22.04 image uses netplan and doesn’t source `/etc/network/interfaces` anymore. The default configuration also gets overwritten on reboot according to the command on top of `/etc/netplan/50-cloud-init.yaml`.
Could you update the instructions for Ubuntu 22.04 so there’s a clear way to add IP addresses without breaking any Upcloud API functionality?
Janne Ruostemaa
Hi Markus, thanks for the comment. The instructions were applicable to older Ubuntu versions hence the error you saw. We’ve updated the tutorial to include the steps required by Ubuntu 22 and later.
Janne Ruostemaa
Hi there, thanks for the comment. We’ve now updated the tutorial to include instructions for Ubuntu 22 and later.