Creating a new Windows Server on UpCloud automatically performs the initial setup after deployment after which you can log in using Remote Desktop Connection. Here is a quick run-through on how to get this done.
Automated setup
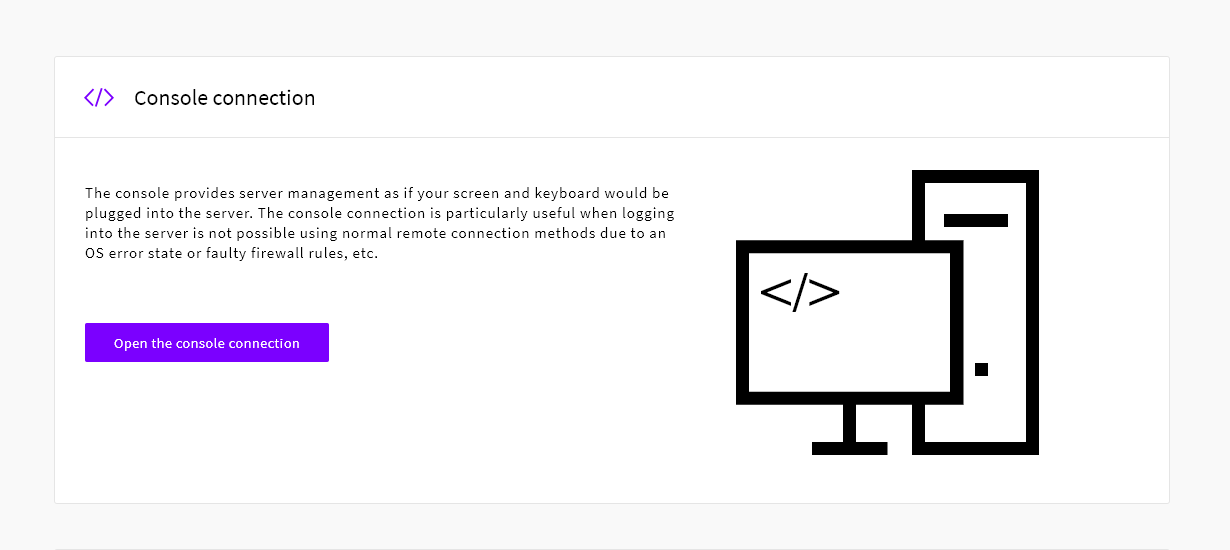
Once the server has been deployed and is running, you will still need to wait for the Windows setup to complete. You can follow the setup process by viewing the server using the web console found in your UpCloud control panel. Open your server settings by clicking your server name, move to the Console tab, then click Open the console connection button.
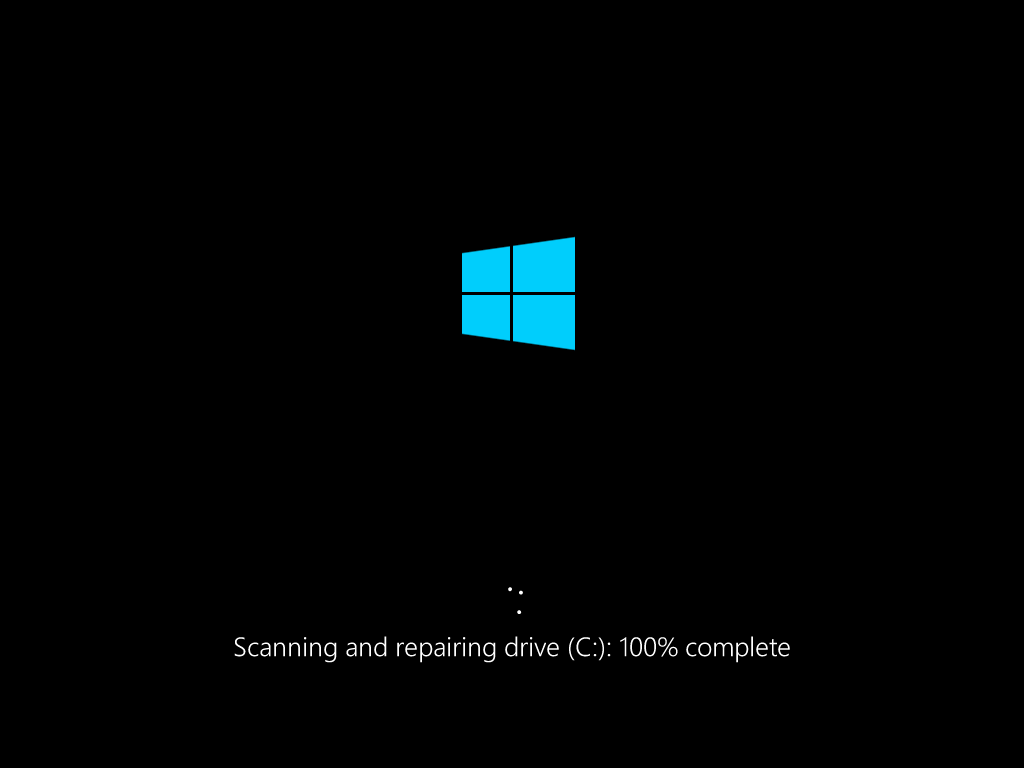
If the cloud server was just created, file system checks might still be running when you open the console.
Once Windows has completed the initial setup, you’ll see the usual login screen.

Your Windows cloud server is then ready to accept Remote Desktop connections.
Connecting using Remote Desktop
When the setup is done, you will land on the Windows login screen. From here on out you can close the web console and use the Microsoft Remote Desktop Connection instead. Log in using the user Administrator and the password you received via email or SMS.
RDC is a built-in feature on most versions of Windows and can be found in your start menu.
A version of the Remote Desktop is also available for macOS at the Mac App Store.
Linux has many options for open source applications that employ the Remote Desktop Protocol, for example, rdesktop or Remmina.
Changing localisation settings
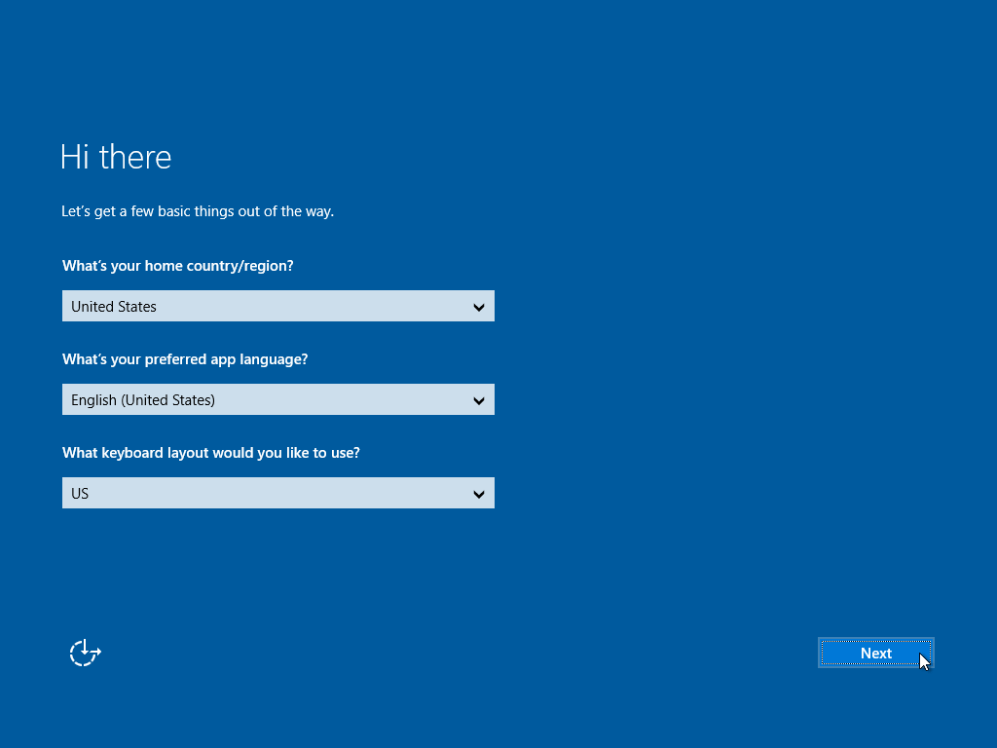
Each new Windows Server deployment is configured setting region as US and language to US English by default. If you wish to change the localisation settings, log into your Windows Server and open the following menu:
Computer settings > Time & Language > Region
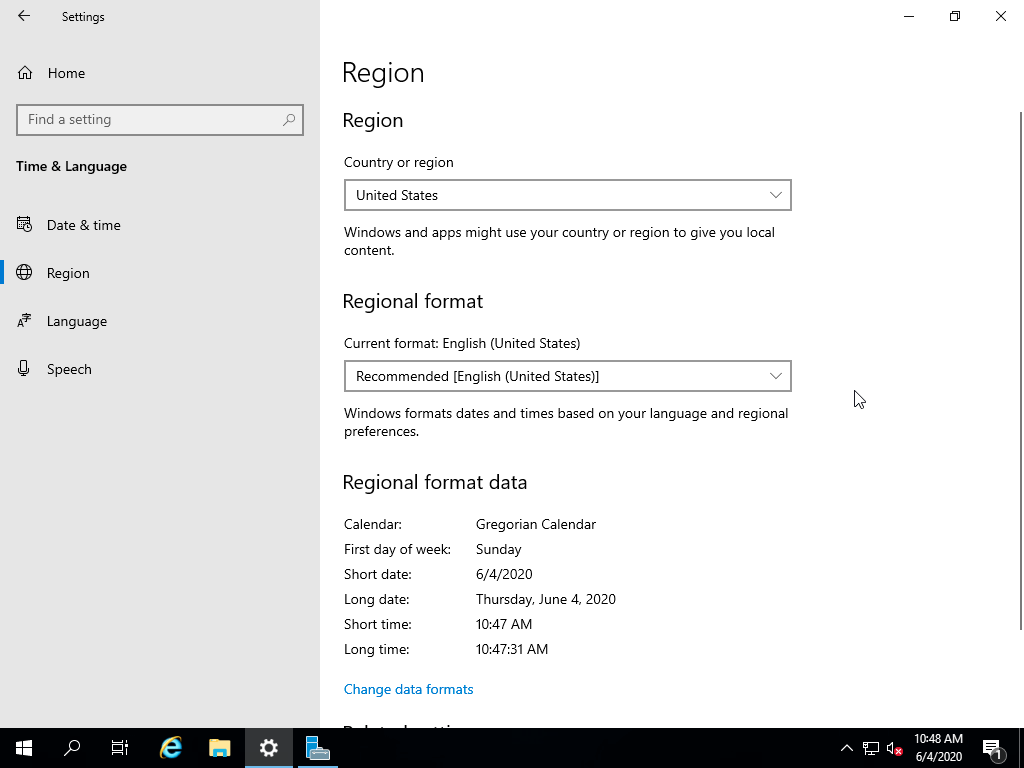
Choose the country and regional format that best suit you. Country and region are best set as to where your server will be used, not necessarily the physical location of the cloud server.
Language and keyboard layout are set on the next menu page. Add a new language and select the keyboard layout that best matches your own keyboard.
Computer settings > Time & Language > Language > Language options
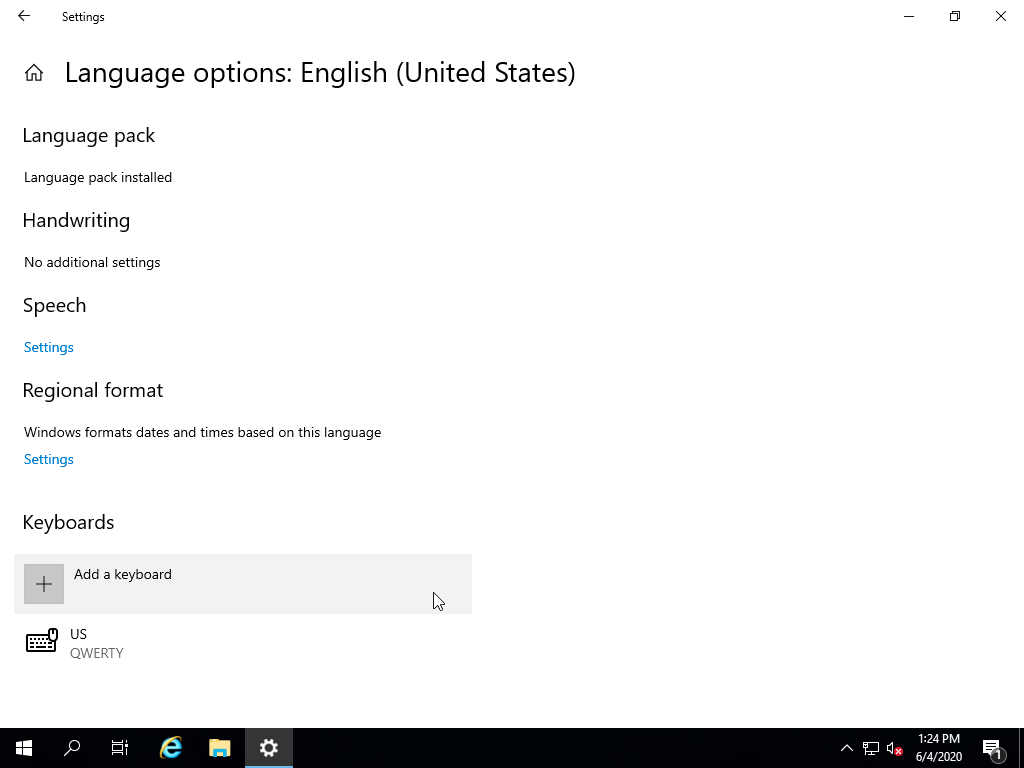
The keyboard layout option should be selected according to your own physical keyboard for the best usability later on.
Windows IPv6 Compatibility
If you wish to use IPv6 connectivity and have created an IPv6 address for the server, you must disable IPv6 address randomization. While logged in with RDC, open the command prompt or Power Shell and execute the following commands:
netsh interface ipv6 set global randomizeidentifiers=disabled store=active
netsh interface ipv6 set global randomizeidentifiers=disabled store=persistent
netsh interface ipv6 set privacy state=disabled store=active
netsh interface ipv6 set privacy state=disabled store=persistent
Steve
Can windows server be installed on the 1GB, 1 Core and 20GB disk plan? I don’t see how if Windows Server Core is not on the distribution choice?
Can you please confirm?
Michael Gralke Augusto
Hi Steve, yes its possible, I have around a dozen of these servers running, most for email but some for sites, databases etc. all doing well, hope this helps, Michael
Janne Ruostemaa
It’s possible to deploy Windows Server 2019 on a cloud server with 25 GB of storage. However, the Windows installation itself will take 15 GB of the storage leaving just 10 GB for programs and data which is why we recommend deploying Windows Server with at least 50 GB of storage.
Derix Suartyo
Hi Janne, I’m trying to deploy Windows VPS but I got stuck as I’m not able to continue with windows server deployment despite of I have signed the mobility windows license agreement. And does the price indicated in the website includes windows license as well?
Janne Ruostemaa
Hi Derix, thanks for the question. The summary price at your UpCloud Control Panel shows the total cost of the server as configured, Windows licencing included. You can find out more in our other tutorial on how to deploy Cloud Servers.
Derix Suartyo
Hi Janne, thanks for your prompt response, appreciate it. My issue here is while deploying Windows server, I cant click on ‘deploy’ button (it is greyed out) despite of I have signed the Microsoft mobility license agreement. Perhaps I missed the step but I just couldn’t continue with the deployment. Any other idea?
Derix Suartyo
Hi Janne, scratch my last comment, now the “deploy” button is enabled and I can proceed. Thanks again :)