Clusters are almost a magic word for ensuring the high availability of a web service but setting one up doesn’t need to be difficult. ClusterCS is a modern way of provisioning and managing deployments from a single server to a cluster of any size. Running a cluster does not get much easier than this!

ClusterCS provides you with a unified control panel designed for ease of use with tools for just about everything you need to manage your cloud servers and domains. Their focus on optimization and high availability gives your servers an extra boost in speed and reliability. Cut down the time spent on system administration tasks without sacrificing security and performance. In this guide, we’ll show you how easy it is to get started with ClusterCS and how to deploy your first web server.
Sign up with UpCloud
First things first, if you have not yet registered on UpCloud, begin by getting signed up.
Deploy a new cloud server
Deploying a new server on UpCloud is an easy and straightforward process. To get started, log into your UpCloud control panel and select to Deploy a Server under the Servers section.
The deployment page shows a number of options for customizing a new cloud server.
- Select the server location from the available data centres
- Pick a configuration, the $5 per month plan is a good starting point
- Choose an OS that is supported by ClusterCS such as CentOS 7
- Add any SSH keys you want to use, we recommend creating a new one for ClusterCS
- Include the public SSH key on your server
- You can then use the private key to connect ClusterCS to the server
- Alternatively, select to authenticate with a password
- Give your server a hostname and description
- Deploy!
You can find more detailed instructions on server deployment at our newcomer’s tutorials.
Sign up with ClusterCS
Next, create an account on ClusterCS or log in to your control panel. Their free plan includes licenses for 1 server and 5 domains which are plenty enough to follow along with this guide.
When you choose to upgrade, make sure to use the discount code UPCLOUDCCS. It will provide a 10$ discount for every order from ClusterCS.
When you first register, you’ll land in the ClusterCS client area that lists your available licenses and offers ways to upgrade. Click the Control panel button to continue.
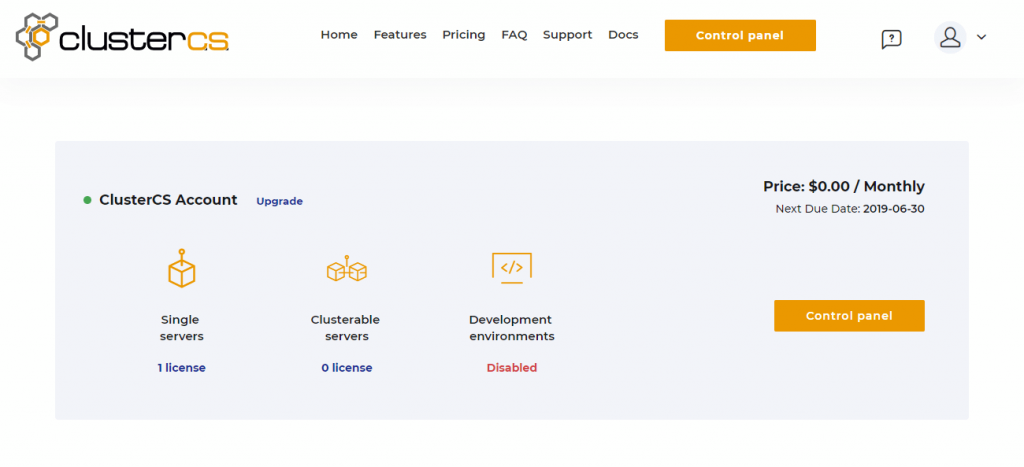
With ClusterCS, you get a feature-rich control panel for your cloud servers. It’s well suited for running single web servers and complex high availability clusters alike. Any kind of website can benefit from the speed, optimization, and scalability solutions offered.
Configuring a Web server
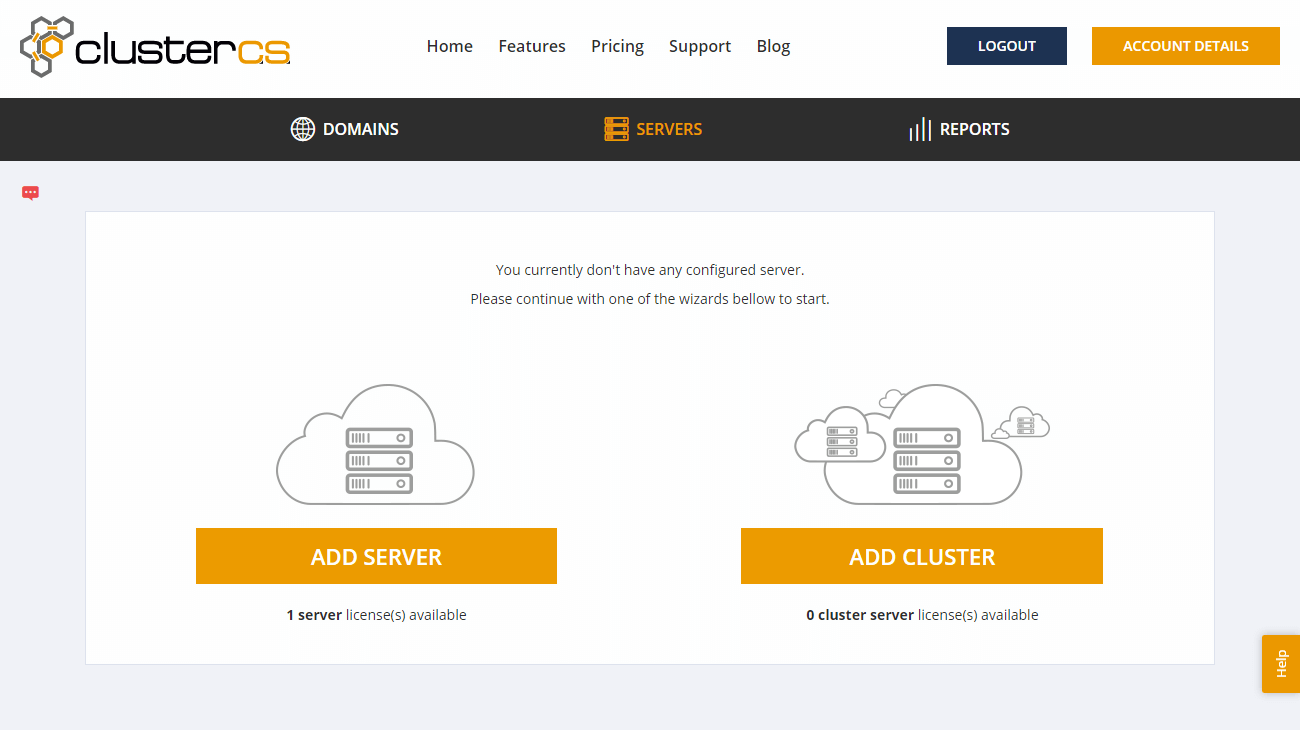
Once logged in, you will be greeted by the simple yet powerful ClusterCS control panel. Here you can find the options to connect servers, configure clusters, and deploy domains. Click the Add server button to begin.
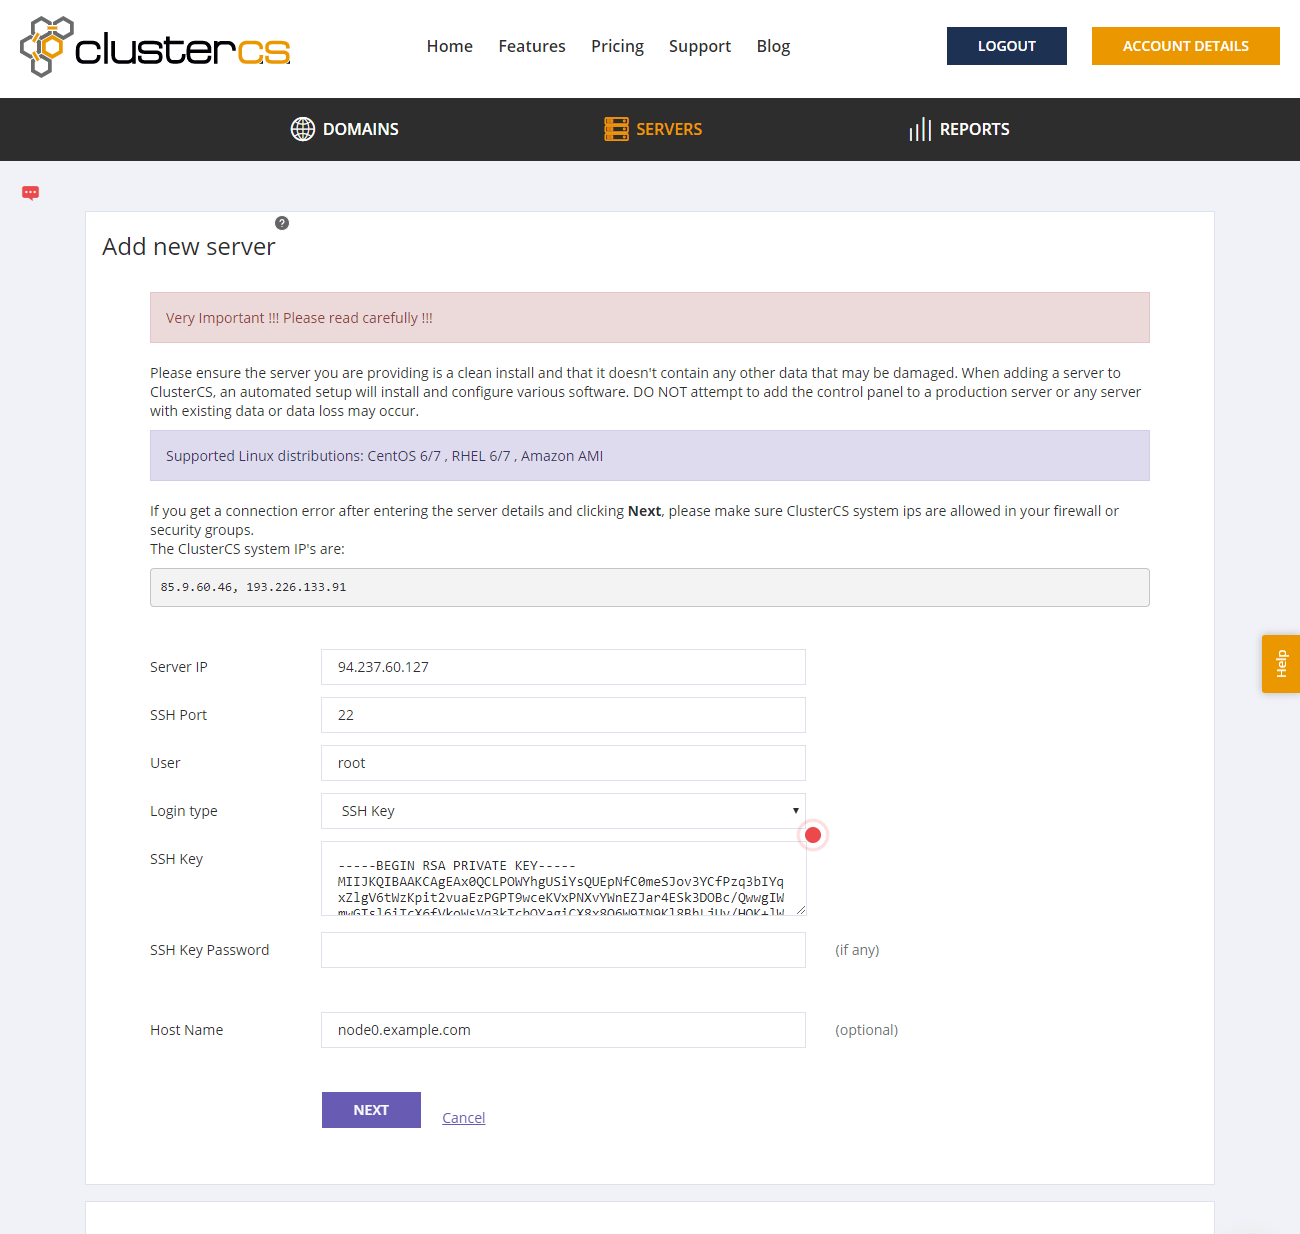
On the following configuration page, enter your cloud server details as set at the server deployment.
- Server IP as displayed at your UpCloud control panel
- Use the default SSH port 22 unless you’ve specifically changed it
- Enter root as the default user or use your own if configured
- Select the login type
- Use the SSH key option if included at deployment, copy in your SSH private key, then enter the SSH key password if any
- Alternatively, choose the password authentication and enter the server password instead
- Lastly, add a hostname
Once done, click the Next button to proceed.
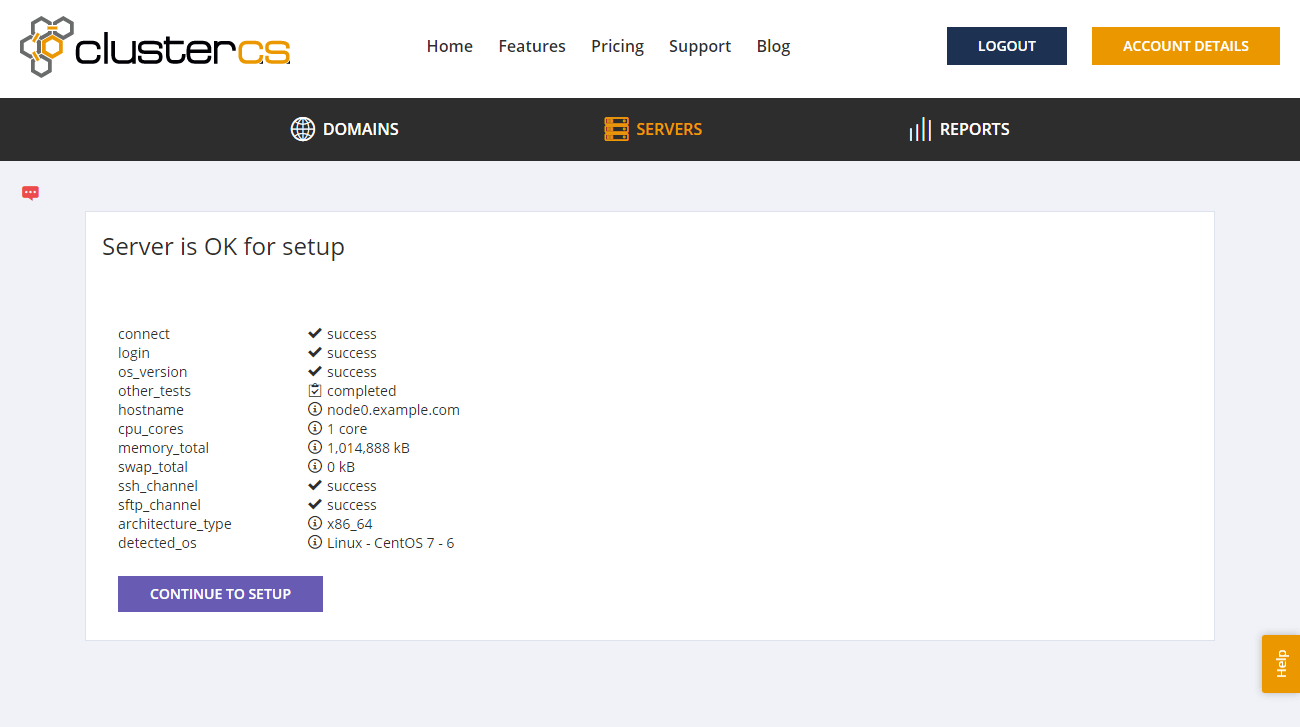
In the following step, ClusterCS will establish a connection with your cloud server and prepare for the setup. Begin configuring the server by clicking the Continue to setup button.
Next, you will get to choose from the available server setup recipes. To complete the setup, make the following selections.
- Set a friendly name for your Setup
- Select one of the predefined recipes or choose to customize your options further
- Click the Save button to begin the installation process
- Then confirm the installation by clicking OK
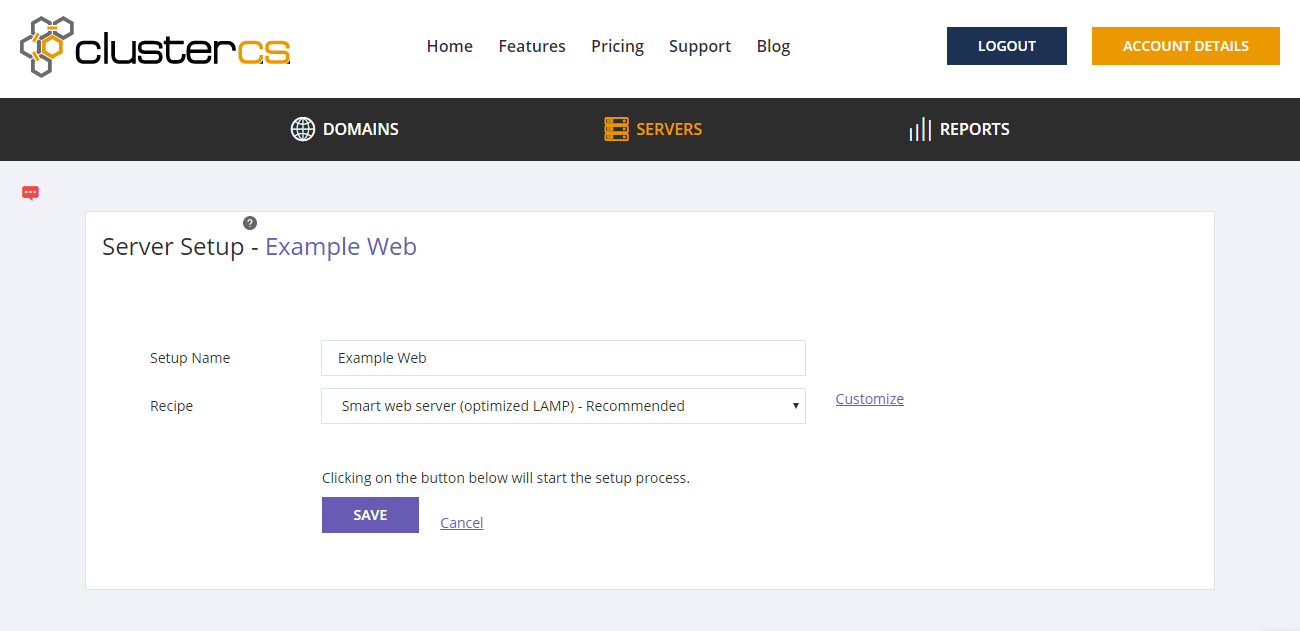
ClusterCS will now secure and provision your UpCloud server. You can follow the setup process by clicking the link for View progress.
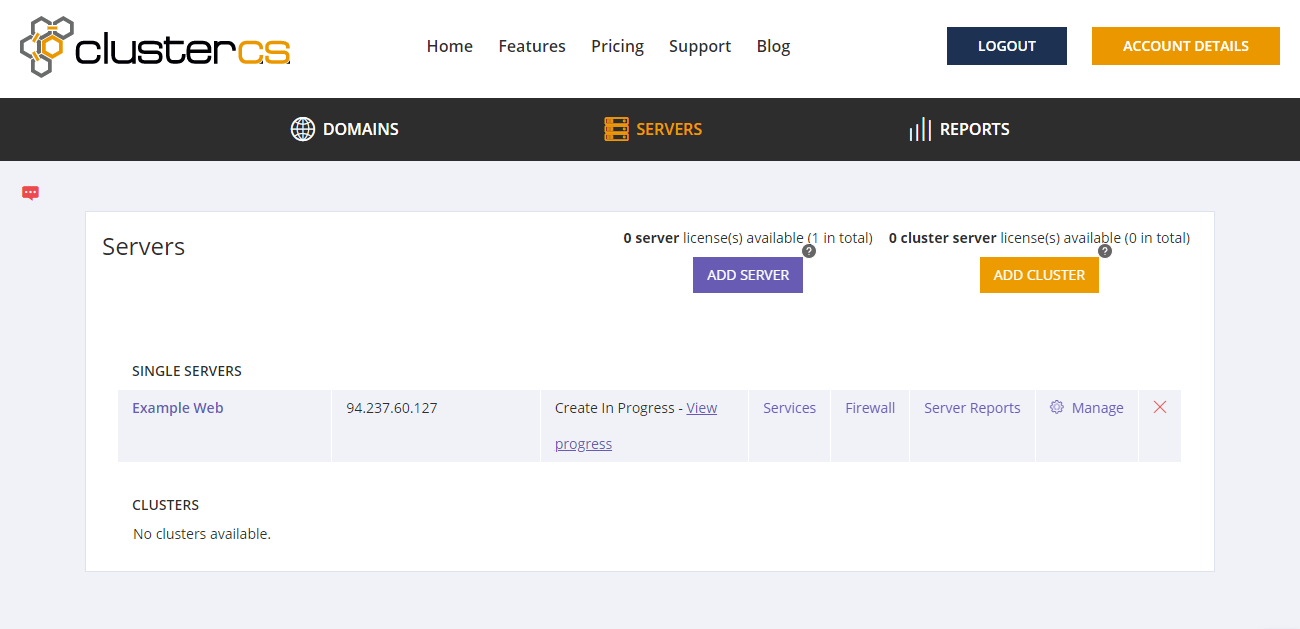
Once the deployment has been completed, you are next able to add domains, SSL, and emails and use the 1-click Installers option to easily install your favourite apps, WordPress, Laravel, Drupal, etc.
Adding a domain
Using ClusterCS automation helps you in building a reliable hosting platform to achieve faster website speeds and better user experiences. It’s a great way to set up reliable hosts for critical web services.
To make use of your newly provisioned and optimized web stack, deploy a domain to test it out. Go to the Domains page by clicking the link in the navigation bar, then click the Add Domain button.
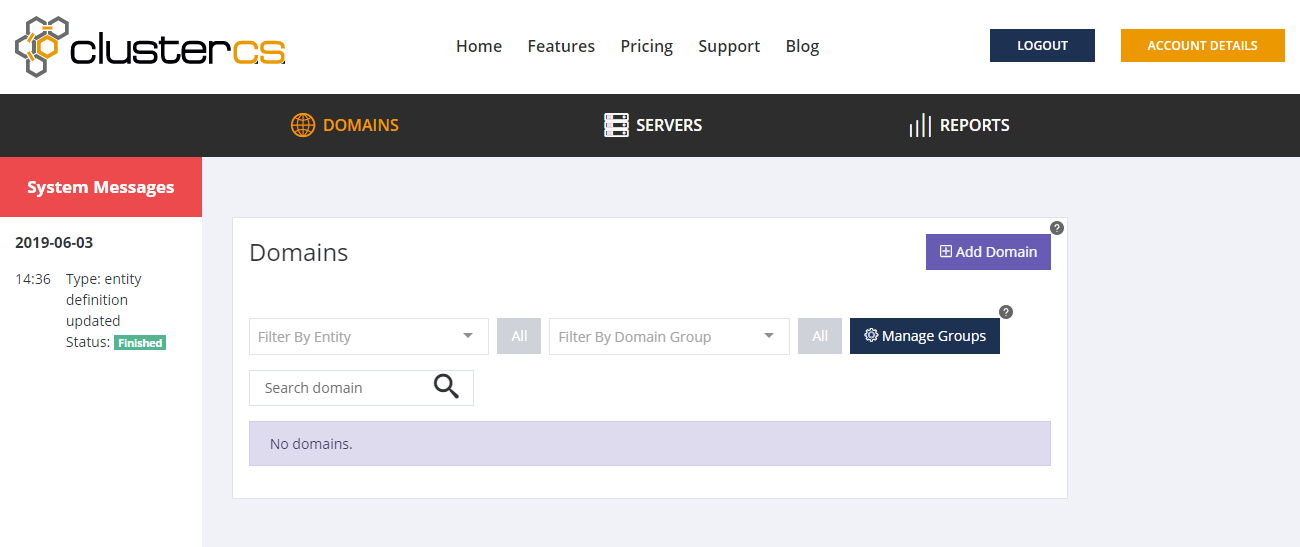
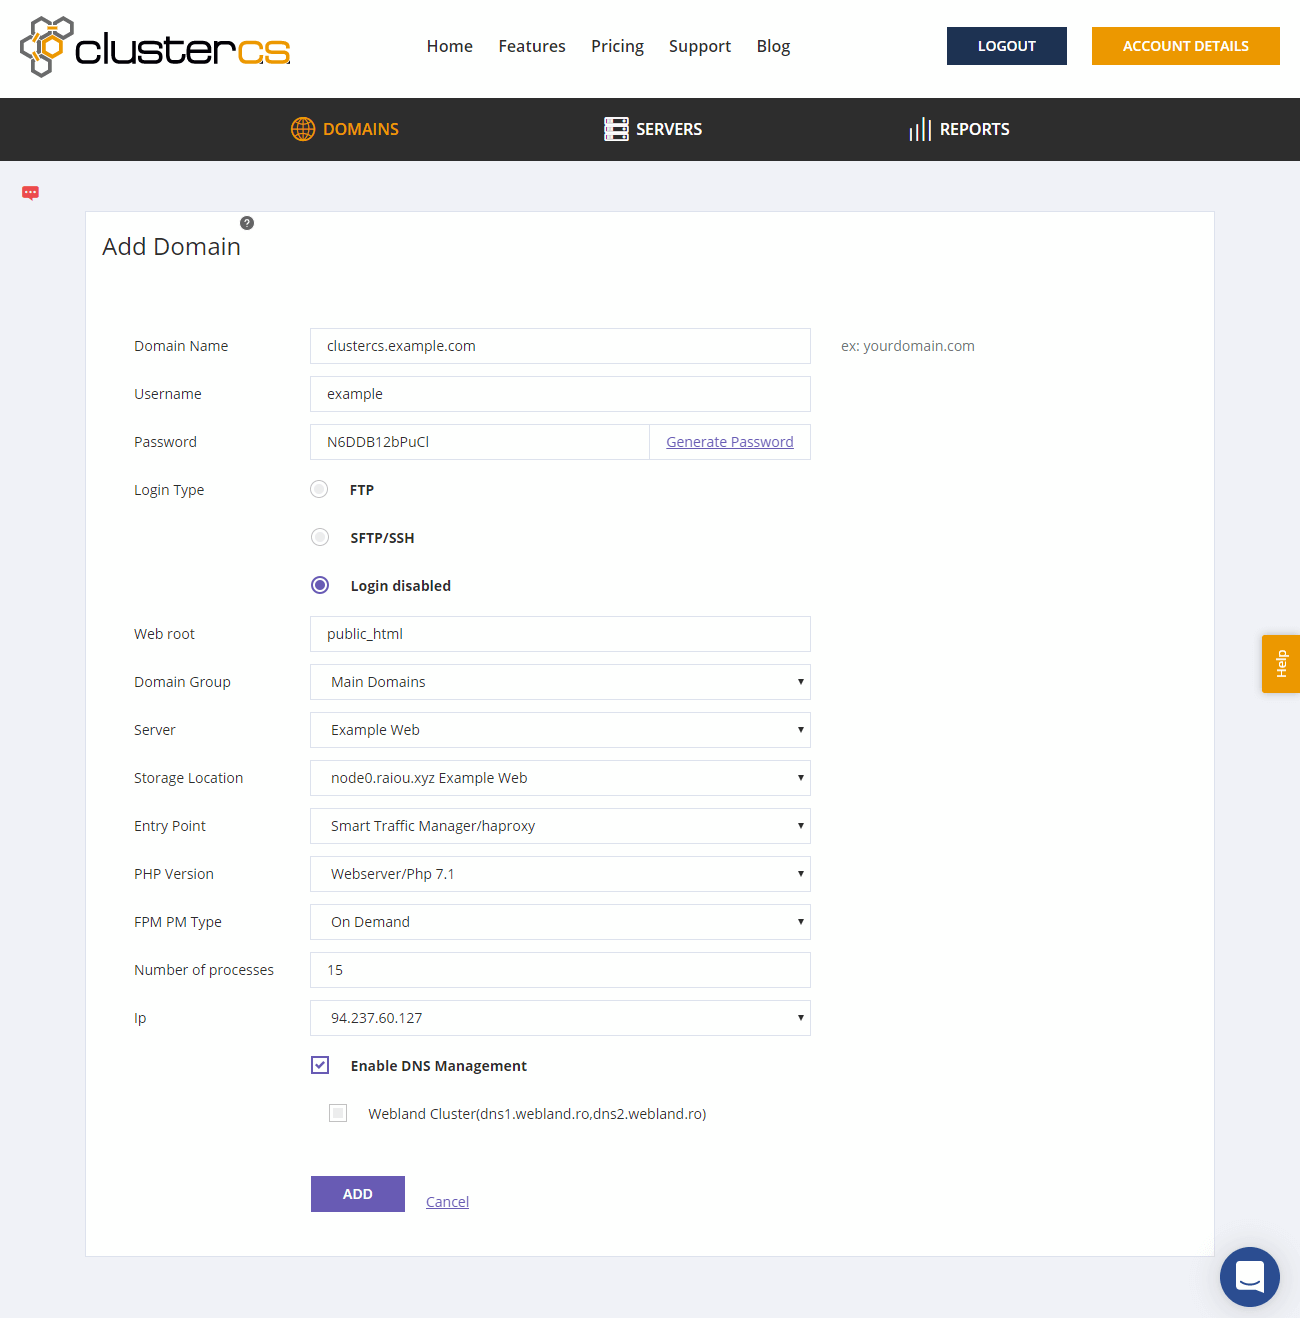
On the domain configuration page, fill in the details as follows.
- Enter your desired domain name or subdomain
- Choose a username that will be used to log in via FTP or SSH
- Pick the Login Type, select Login disabled and only enable when needed
- Keep the default for the rest of the fields or select the one option available
- Select the IP address of your cloud server to enable the last two options
- Click to select the ‘Enable DNS Management’ if you need to see the DNS records to use for your external DNS provider (optional)
- Check to select the Webland Cluster if wish to have ClusterCS manage your DNS internally (optional)
- Finally, click the Add button to launch the domain
Note that you will need to configure your domain to point to your server IP at your domain registrar’s portal. Changes to domain records might take a moment to propagate.
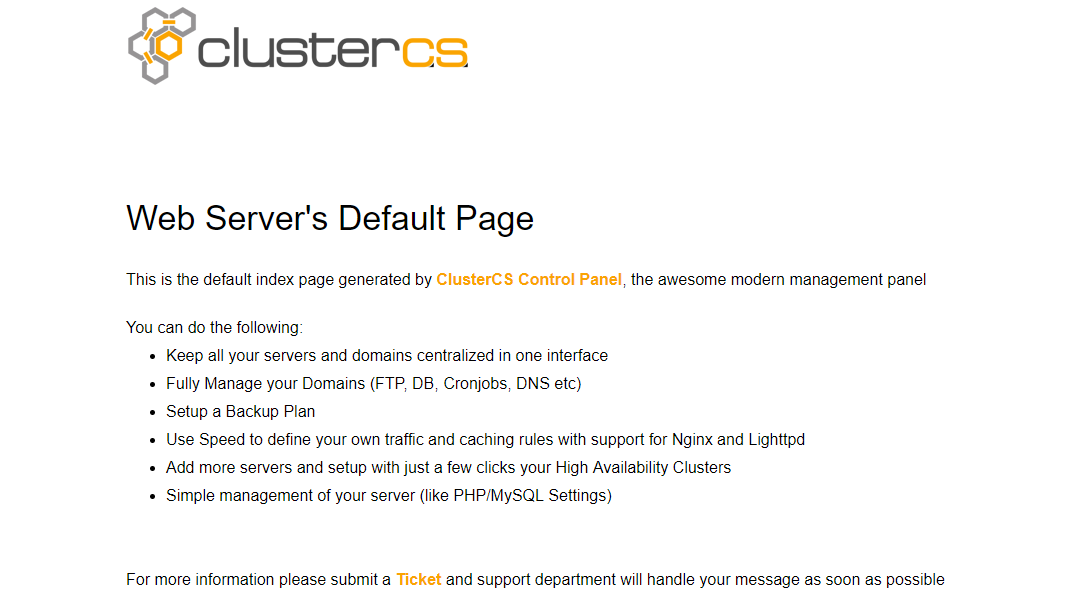
ClusterCS will then deploy the newly configured domain and set up a default web page. Once the status of your domain shows active it should be reachable using the domain name it was configured with.
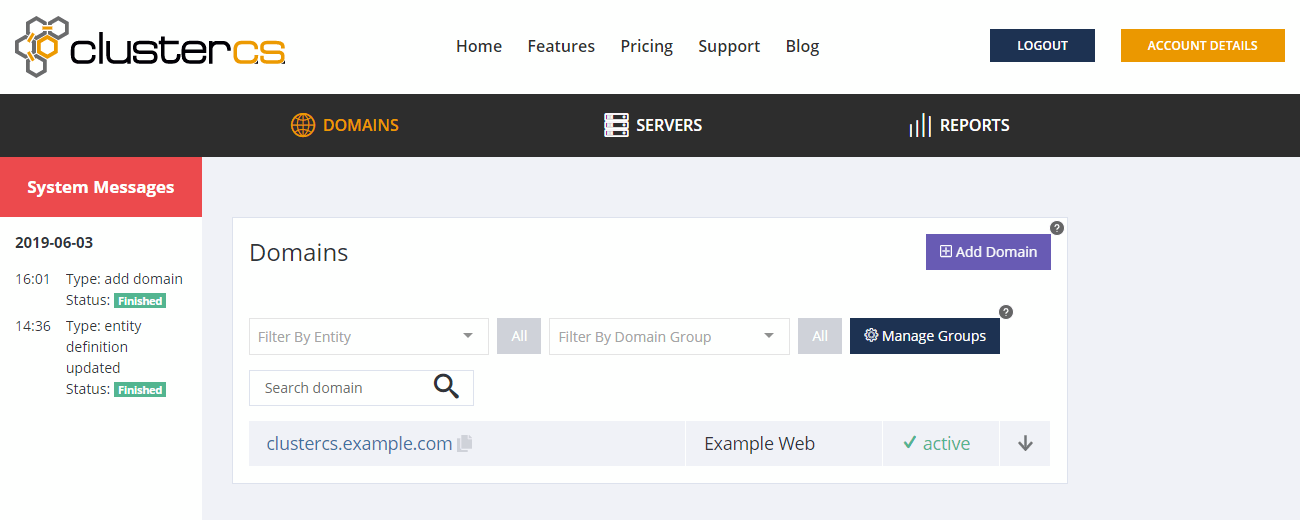
Open the site in a web browser to test it, or click the domain name to see further options.
Your domain is then ready for you to install an SSL certificate to your domain, add Email accounts, or simply install any of your favourite apps such as WordPress, Drupal, Laravel, etc.
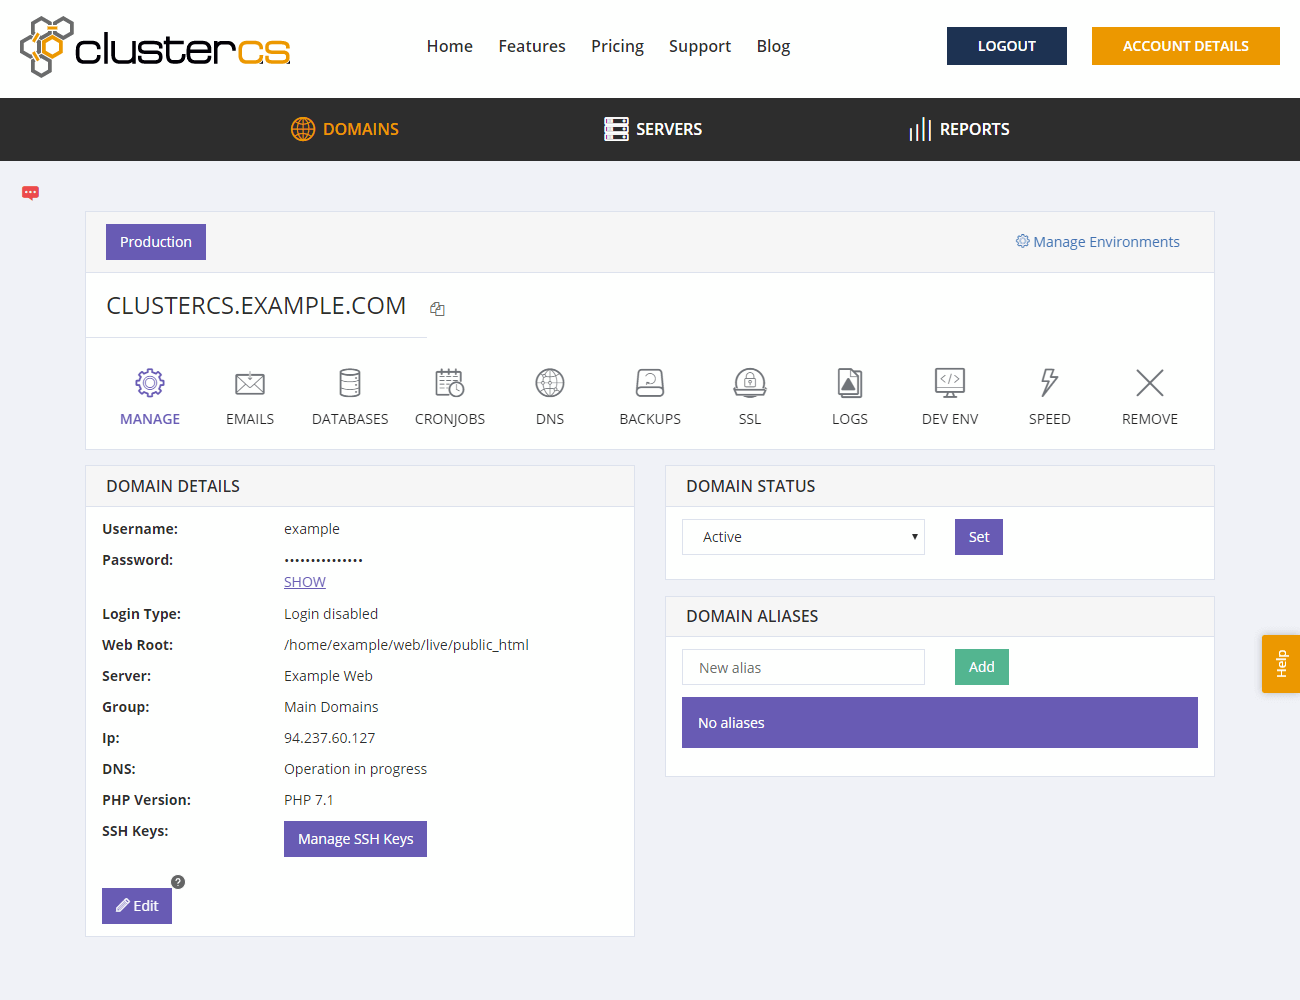
You can also test the Development Environments, Dev Env, feature to clone your production environment for your developer team or staging for QA.
Summary
Congratulations! You should now have a fully configured web server connected and manageable on ClusterCS. If you need some guidance, there are contextual help tips throughout the control panel. ClusterCS also offers a friendly online chat so feel free to send a message if you need any help.
Simon Fearby
Thx, how does this ompare to Cloudflare load balancing https://www.cloudflare.com/en-au/load-balancing/
Janne Ruostemaa
Hi Simon, thanks for the question. ClusterCS installs and manages your cluster overall while Cloudflare’s Load Balancer presumably focuses on load balancing without actual access to the backend servers themselves.
David
Hi
Have your customers reported any problems with clusterreported?
It looks good the surface, but has few reviews.
Thanks David
Janne Ruostemaa
Hi David, thanks for the question. We have not heard of any issues with ClusterCS but I’d recommend you to give it a try yourself before committing to any specific platform.