
How to get started with Managed Kubernetes
Kubernetes is an open-source container orchestration system that automates containerised applications’ deployment, scaling and management. UpCloud’s Managed Kubernetes offers a fully managed solution which allows you to create and begin using Kubernetes clusters in just a few minutes.
Through Kubernetes, you can manage and orchestrate containers (such as Docker) across multiple hosts. Using Kubernetes makes it quick and easy to deploy and manage applications on the cloud. It provides features like self-healing, automatic scaling, and service discovery.
Creating new Managed Kubernetes cluster
The simplest way to create a cluster is by using your Control Panel. You can do so by following the steps outlined below.
To start, log in to the UpCloud Control Panel or sign up if you haven’t done so.
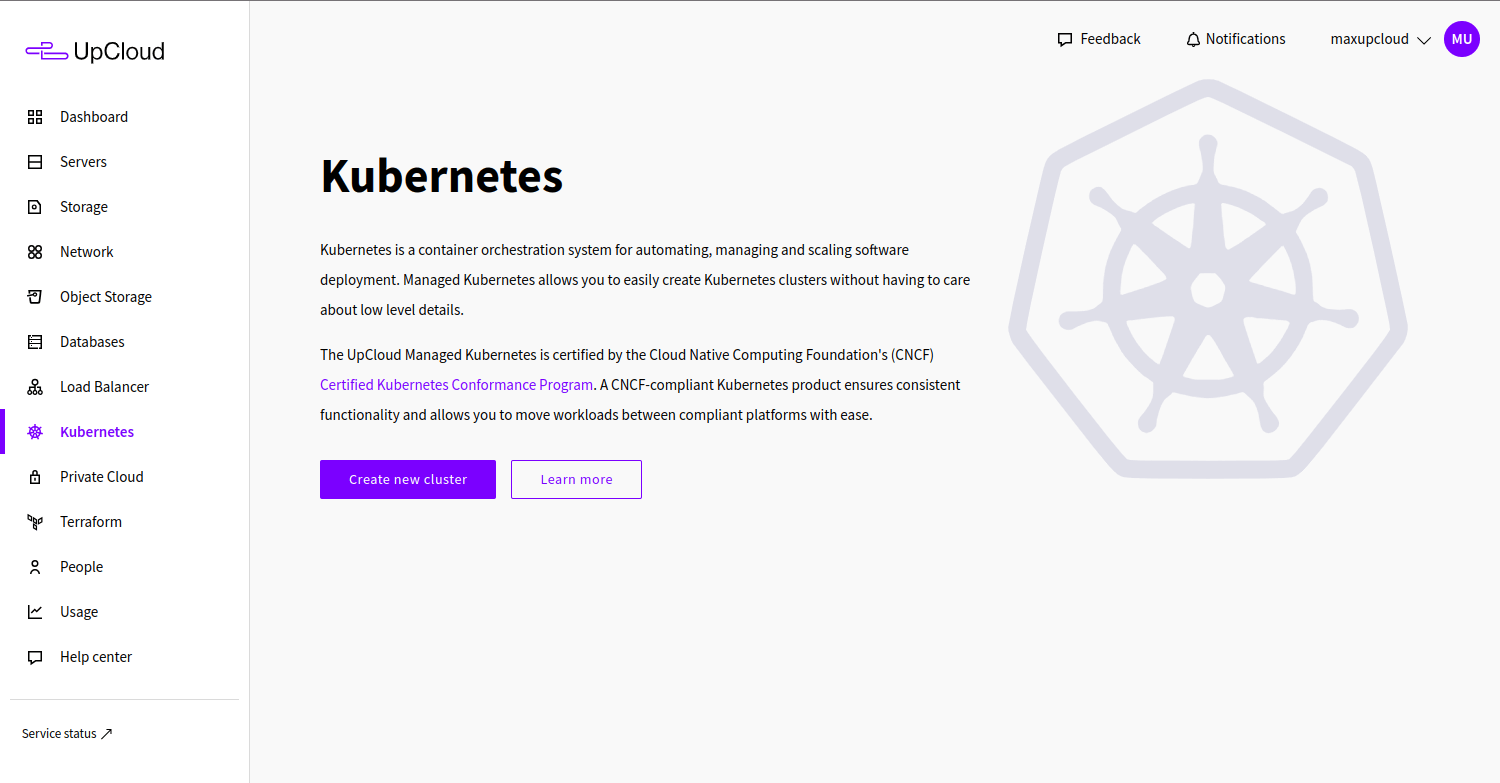
Next, go to the Kubernetes page using the menu on the left-hand side.
Then click the Create new cluster button.
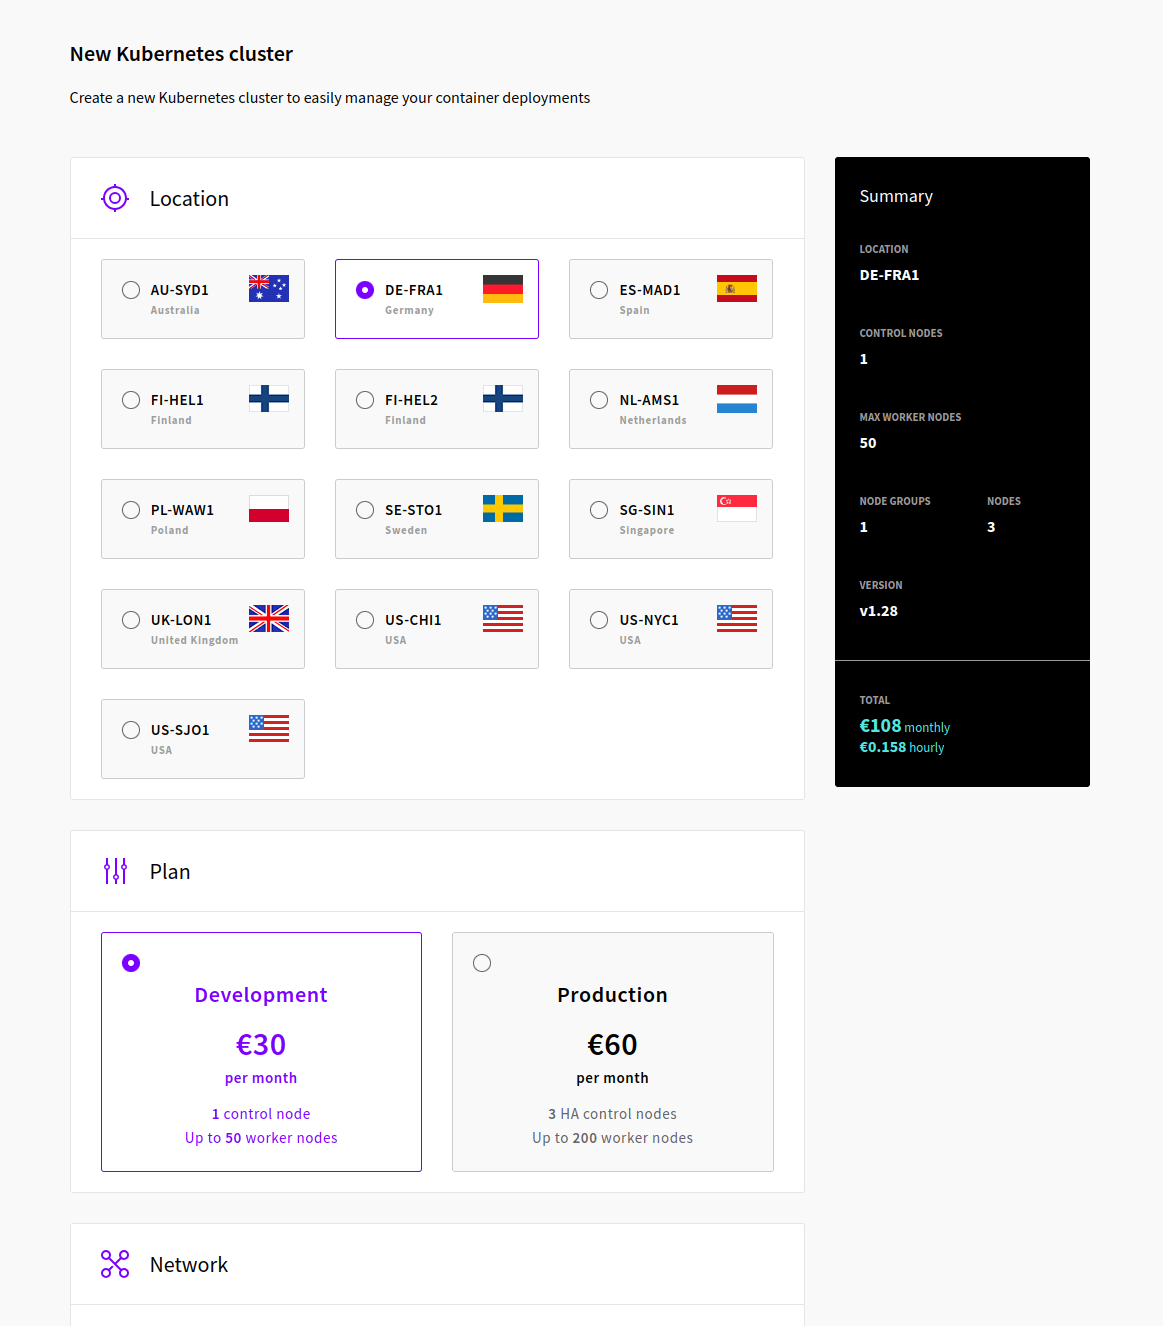
Now, configure your Kubernetes cluster according to your preferences by selecting the availability zone, a private network and node groups.
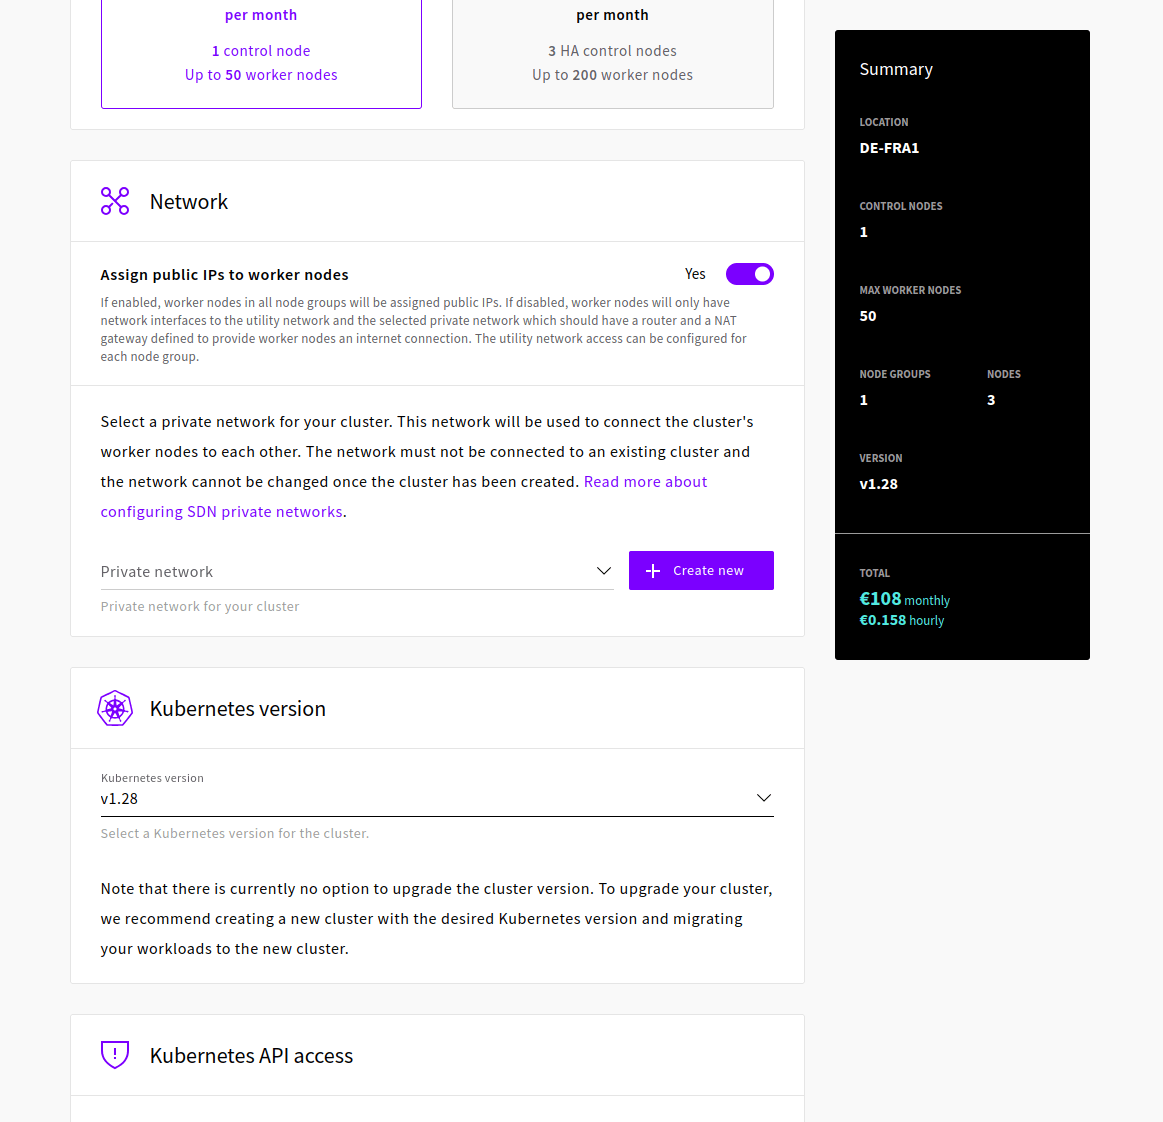
Next, select a Private Network for your worker nodes. This network should be in the same zone as your created cluster. The network cannot be connected to an existing cluster, cannot have an attached router, and should have DHCP enabled with the default route from DHCP disabled. For the IP network of your SDN network, you can use for example 10.0.1.0/24.
Just below the network options, you can also choose the Kubernetes version your cluster is deployed with. In most cases, you should be deploying with the most up-to-date one unless your application has a specific reason to select a particular older Kubernetes update.
In the next section, you have the option to enable API access to the cluster from any specific IP address or range. It’s also possible to remove all IP restrictions from the API access, e.g. for troubleshooting.
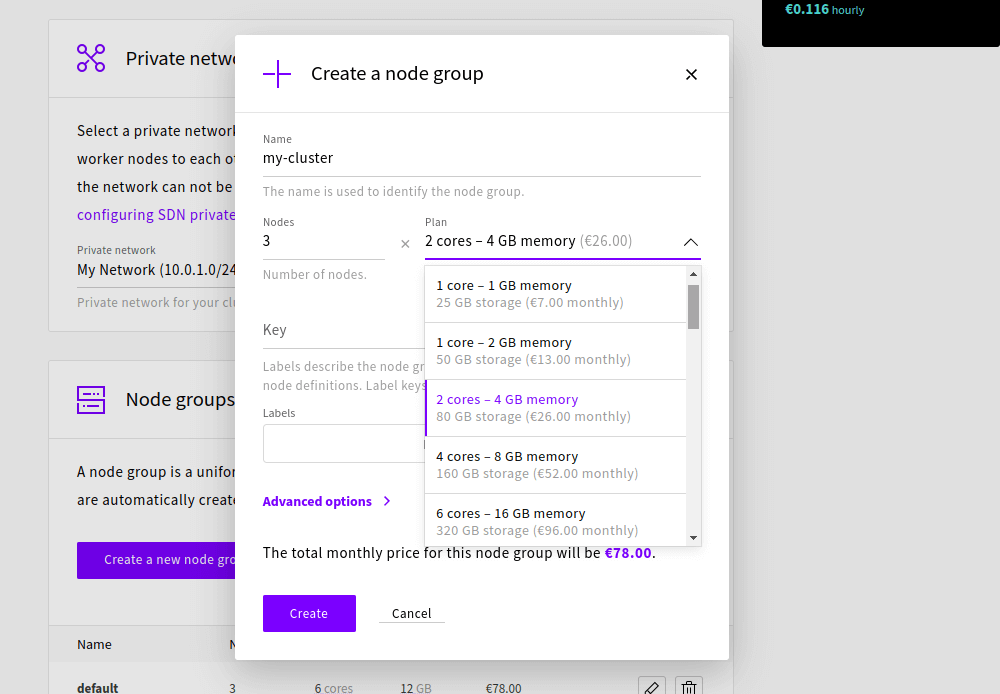
Then create a node group or use the default node group.
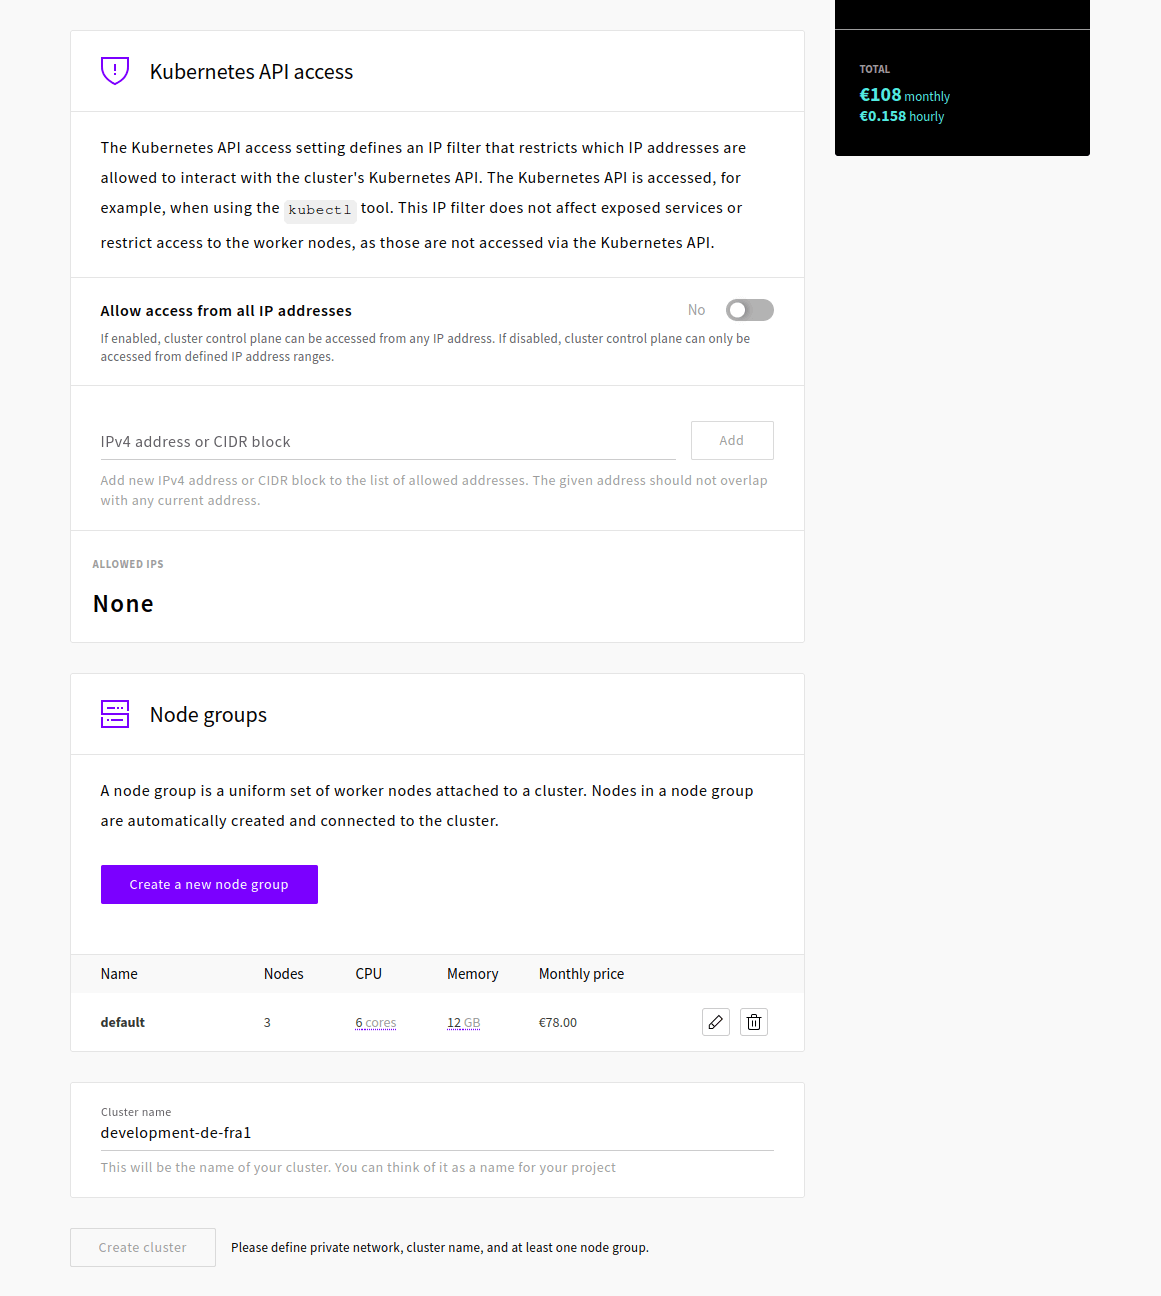
A node group is a group of workers with identical image templates. You can have multiple node groups with differing configurations and usages.
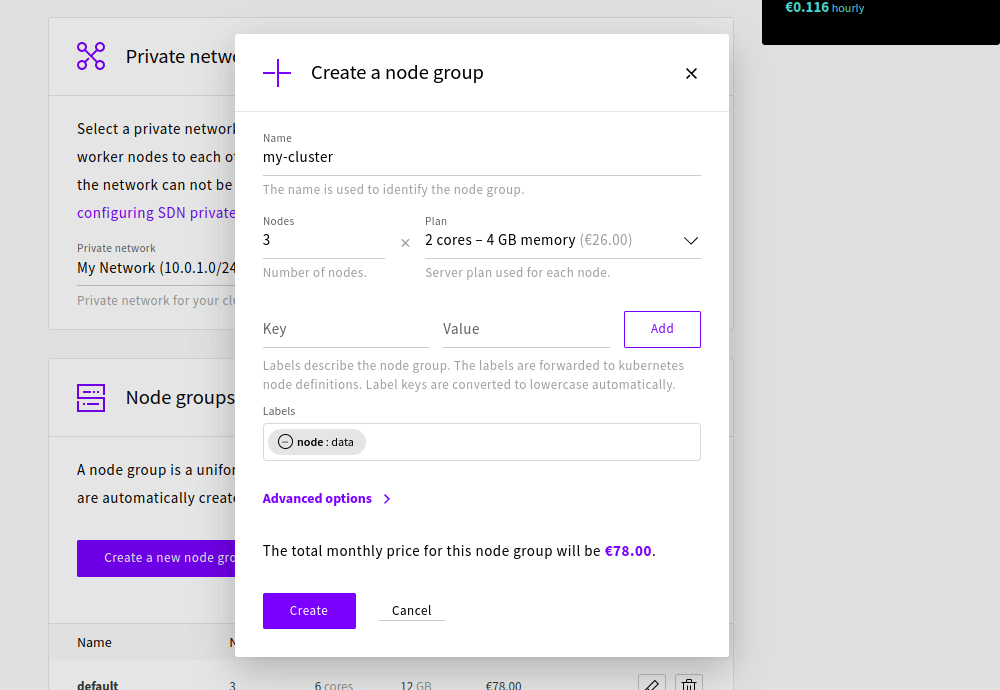
You also have the option to include key-value labels. The labels are forwarded to kubernetes node definitions and can be used to organize and select subsets of Kubernetes objects.
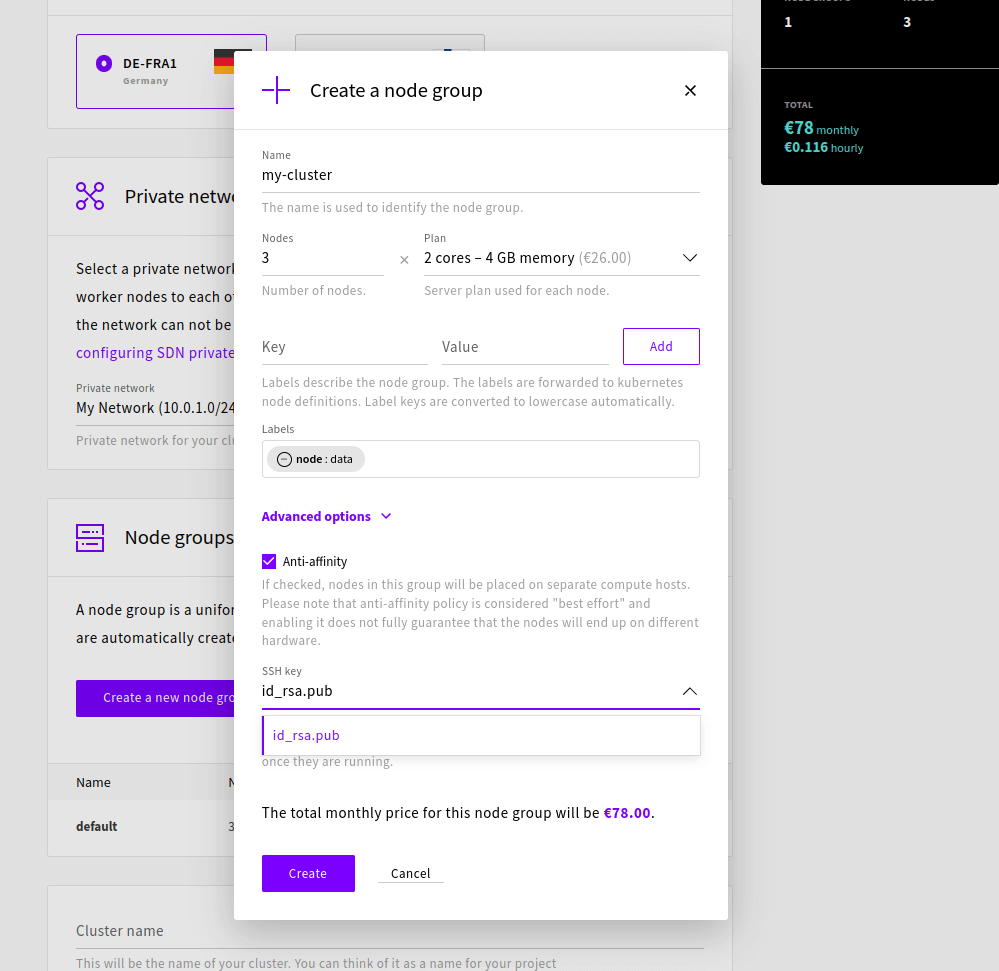
Optionally, expand the Advanced options to find the Anti-affinity option and the ability to include SSH keys. Note that you will need to add your SSH public key first in your account details before deploying it to your Kubernetes cluster.
Lastly, name your cluster and when all set, click the Create button.
Cluster creation will take a couple of minutes as worker nodes are provisioned and a DNS record is prepared. While your cluster is being created, continue on to setting up your control plane access.
Connecting to the cluster
To be able to deploy workloads to your Managed Kubernetes cluster, you’ll need to configure a connection to it using the kubectl command-line tool with a kubeconfig file.
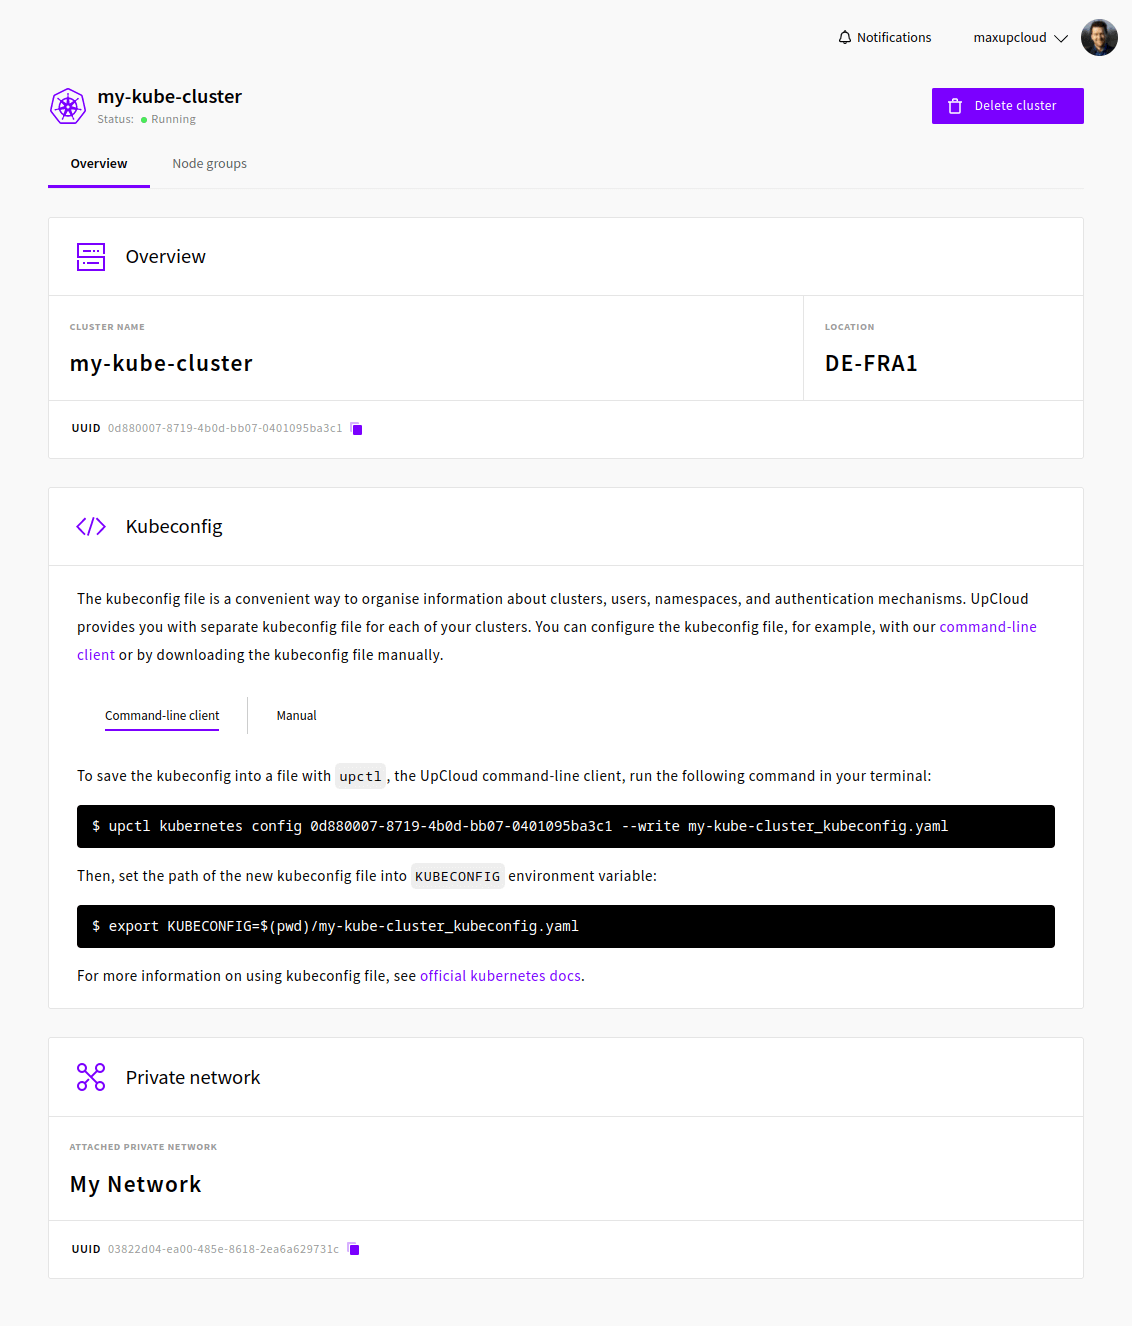
You can download your cluster’s kubeconfig file from your cluster’s Overview page and set it up on your local computer. Kubeconfig files are used to organize information about clusters, users, namespaces, and authentication mechanisms.
The kubeconfig file allows you to access your cluster easily via the command line. If you do not yet have kubectl installed, follow the instructions for your computer system then continue with the step below.
Add the kubeconfig.yaml file to your system with the command provided in the Kubeconfig section of your cluster Overview. Make sure to set the path correctly depending on where you saved the configuration file.
export KUBECONFIG=/{path}/{cluster-name}_kubeconfig.yamlYou will likely want to add the same command to your profile as well to have it automatically set when you open a new terminal.
When set, test that your cluster is accessible and can be reached by using kubectl.
kubectl config viewapiVersion: v1
clusters:
- cluster:
certificate-authority-data: DATA+OMITTED
server: https://lb-0a8fdaf728bd487e8c4ecf5396a8cb25-1.upcloudlb.com:6443
name: my-kube-cluster
contexts:
- context:
cluster: my-kube-cluster
user: my-kube-cluster-admin
name: my-kube-cluster-admin@my-kube-cluster
current-context: my-kube-cluster-admin@my-kube-cluster
kind: Config
preferences: {}
users:
- name: my-kube-cluster-admin
user:
client-certificate-data: DATA+OMITTED
client-key-data: DATA+OMITTEDIf you are seeing an output similar to the example above, you are ready to start deploying applications to your new Managed Kubernetes cluster.
Testing app deployment to the cluster
Now that you have created your Managed Kubernetes cluster and connected to it using kubectl, you probably want to test it out. This can be done quickly and easily with just a few commands with kubectl.
Start by deploying a Hello UKS application to your newly created cluster with the command below.
kubectl create deployment --image=ghcr.io/upcloudltd/hello hello-uksdeployment.apps/hello-uks createdNext, expose the application at port 80 making it accessible via HTTP.
kubectl expose deployment hello-uks --port=80 --target-port=80 --type=LoadBalancerservice/hello-uks exposedThis bit will take a moment.
You can keep an eye on the services with the next command to see when the app becomes available.
kubectl get services -wNAME TYPE CLUSTER-IP EXTERNAL-IP PORT(S) AGE
hello-uks LoadBalancer 10.133.236.77 <pending> 80:31655/TCP 5s
kubernetes ClusterIP 10.128.0.1 <none> 443/TCP 5m28s
hello-uks LoadBalancer 10.133.236.77 <pending> 80:31655/TCP 2m20s
hello-uks LoadBalancer 10.133.236.77 lb-0ad...lb.com 80:31655/TCP 2m20sOnce the hello-uks app has been successfully exposed, you’ll see a load balancer domain name under the external IPs column. It can then be called on the command line.
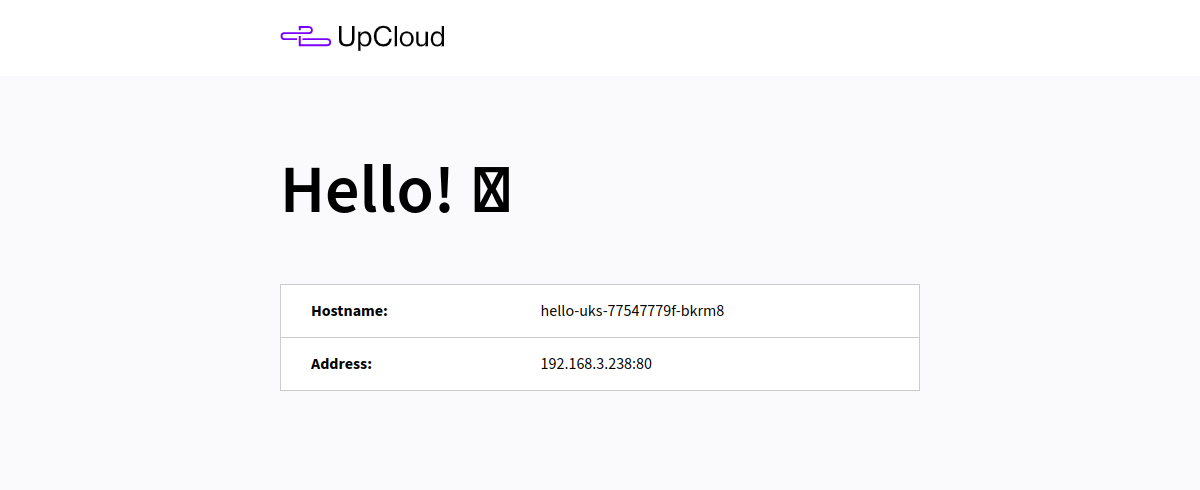
curl lb-0ad5c7ed5fac4bdc8b7178264467c320-1.upcloudlb.comHello! 👋
Hostname: hello-uks-77547779f-bkrm8
Address: 192.168.3.238:80
UpCloudLtd / hello-container at 72507bf9You can also open the load balancer address on your web browser.
That’s it! You should now have a fully functional Managed Kubernetes with kubectl configured to connect to the control plane.
You can learn more about exposing services or adding persistent volumes for storage on our GitHub page.