Moss is the virtual sysadmin for web developers. It’s the perfect teammate for all web development professionals from freelancers and startups to agencies.
It will help you manage, deploy, and monitor your servers and websites. Thanks to Moss you can use your time and resources to get new clients and build your applications.
Get started with Moss quickly and easily by following this tutorial!
Sign up on UpCloud
First things first, if you have not yet registered on UpCloud, begin by getting signed up. Follow the link here to register for a free trial and get an extra $25 to get started!
Deploy a new cloud server
Once registered, sign in to your UpCloud control panel and get cracking!
The next thing you’ll need to do is deploy a new cloud server.
Deploying a new server on UpCloud is an easy and straightforward process. To get started, select to Deploy a server under the Servers section at your UpCloud control panel.
The deployment page shows a number of options for customising a new cloud server.
- Choose the server location from the available data centres
- Pick a configuration, the $5 per month plan is a good starting point
- Select Ubuntu 18.04 or 16.04 for the operating system
- Add any SSH keys you might want to use if any
- Give your server a hostname and description
- Deploy!
You can find more detailed instructions on server deployment at our newcomer’s tutorials.
Once deployed, you’ll receive the root password for your new cloud server by your chosen delivery method, email by default. You can also see the password at the notification area at your UpCloud control panel. Make note of your root password as well as your server IP address since you will need them to connect the host with Moss.
You should also configure a domain name for your web site to point to the IP address of the new cloud server. This can generally be done at your domain registrars service. Read more about domain name systems and how to configure DNS records.
Register on Moss
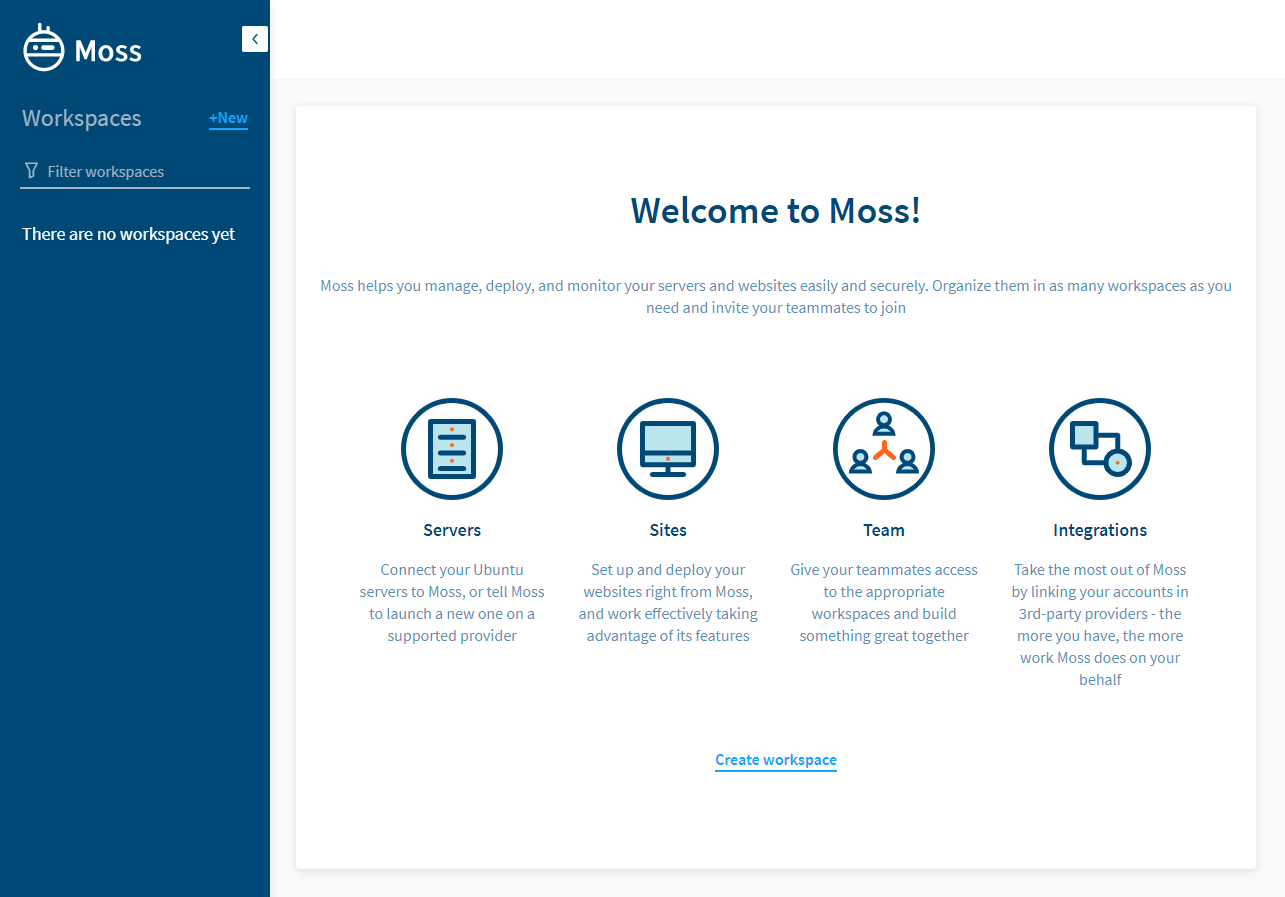
Next, log into you Moss organization, or sign up if you haven’t yet. After you’ve registered and logged in, you’ll be greeted by the Moss dashboard.
First things first, create or choose a workspace for your cloud server by clicking the +New on the menu bar or the Create workspace link under the welcome message.
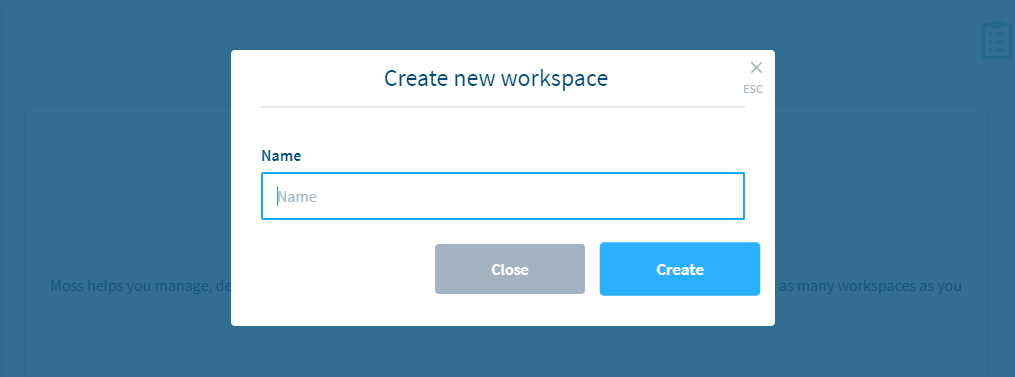
Give your workspace a name and click the Create button to confirm.
Once created, you can see the overview of your workspace that will later list your connected servers and managed sites.
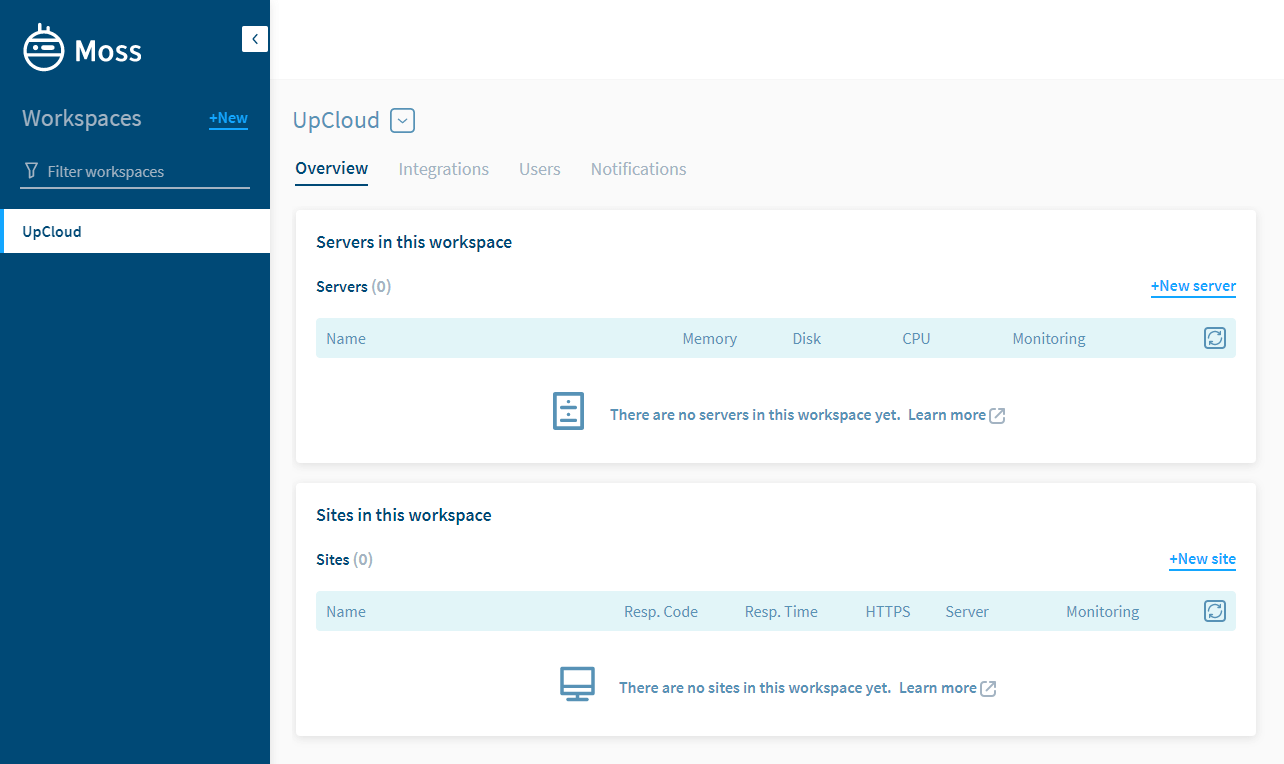
Now that you’ve created a workspace, continue below with connecting your cloud server onto Moss.
Connecting a cloud server
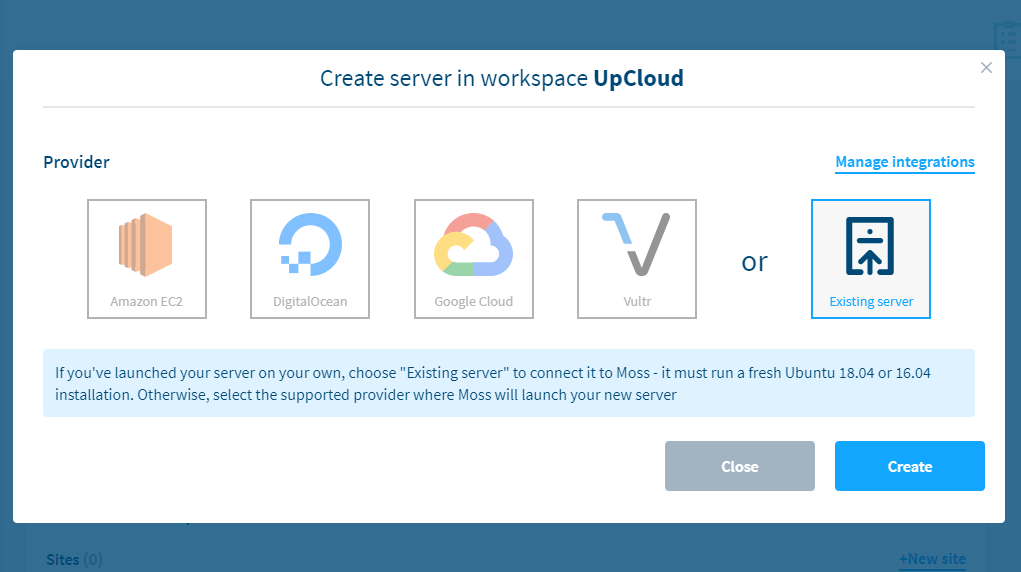
Before being able to create and manage web sites, you first need to connect a server. Start by clicking the +New server link under your selected workspace.
In the first view, select to connect an Existing server by clicking the icon on the right.
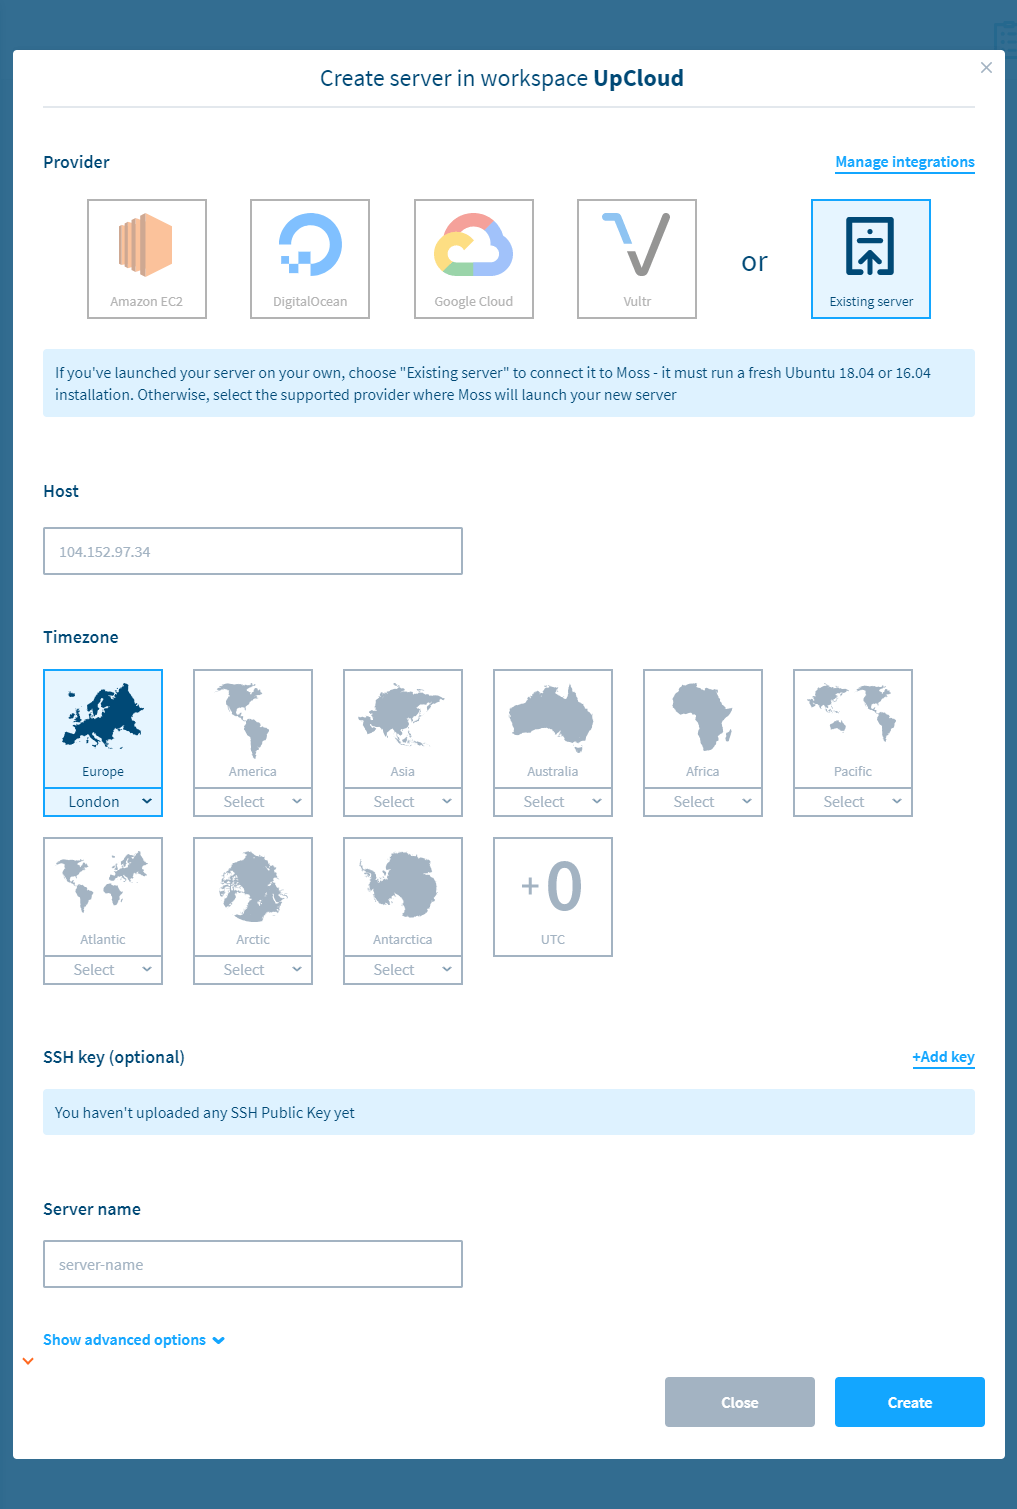
This will expand further options. Enter your cloud server’s IP address, select your timezone, and then give the server a name you can recognise it by. Once all set, click the Create button to confirm.
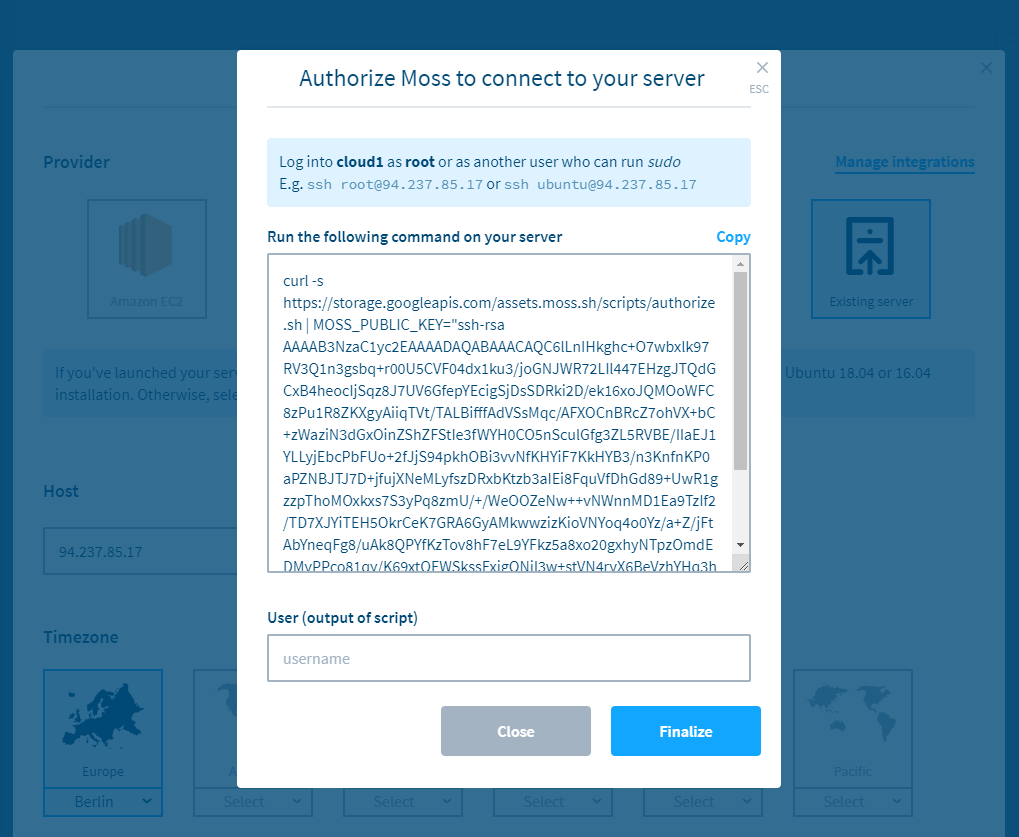
You will then be presented with a Linux terminal command that you need to run on your cloud server to initialise it.
Copy the whole command in one, then log into your cloud server using SSH. Paste the command to the terminal and run it by pressing enter.
Once the command has finished, you’ll see output telling you which username to pass onto Moss. Enter the username as instructed to the last User field and then click the Finalize button.
Afterwards, you will get a confirmation if Moss was successful in connecting your cloud server.
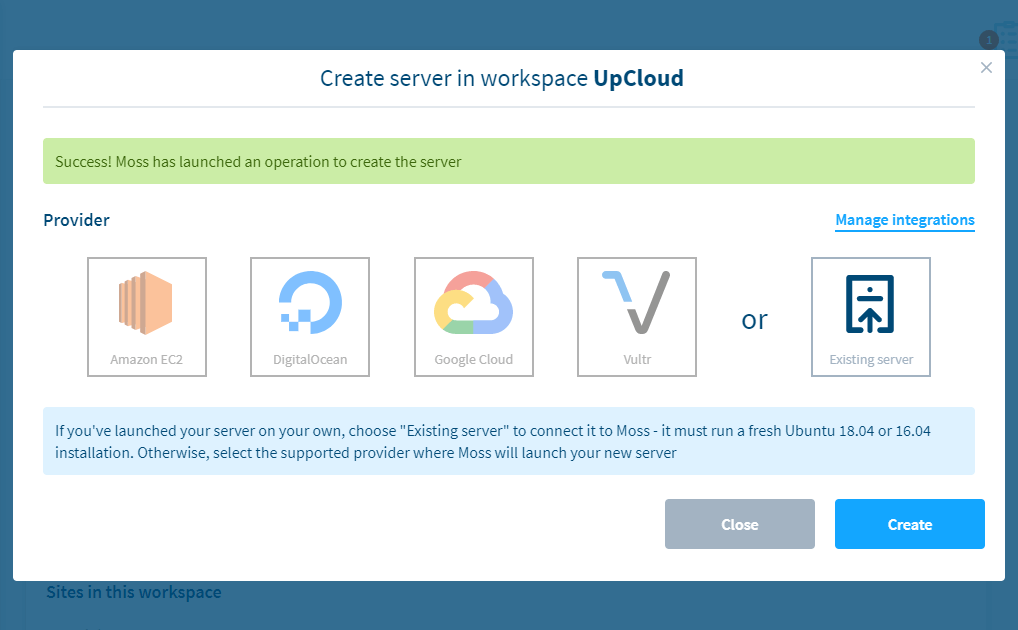
That’s it! Moss has started the operations to set up your UpCloud server. Once done, you can continue with creating new applications or sites using Moss.
Create a new site
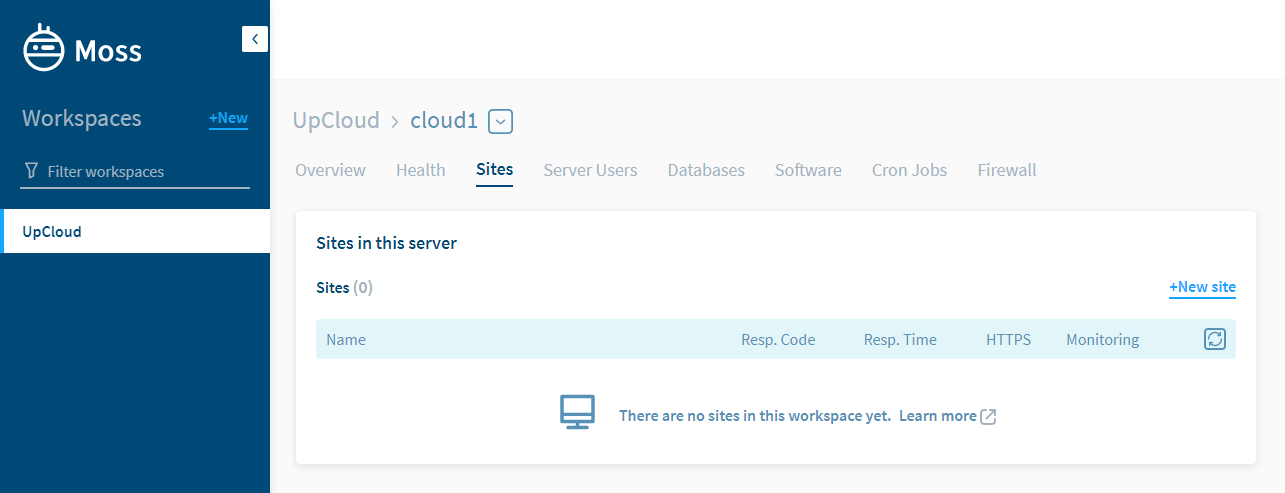
Now that you’ve connected your cloud server to Moss, you can start deploying a new web site. Start by selecting the new server and open the Sites section.
Click the +New site link to begin configuring a new web site.
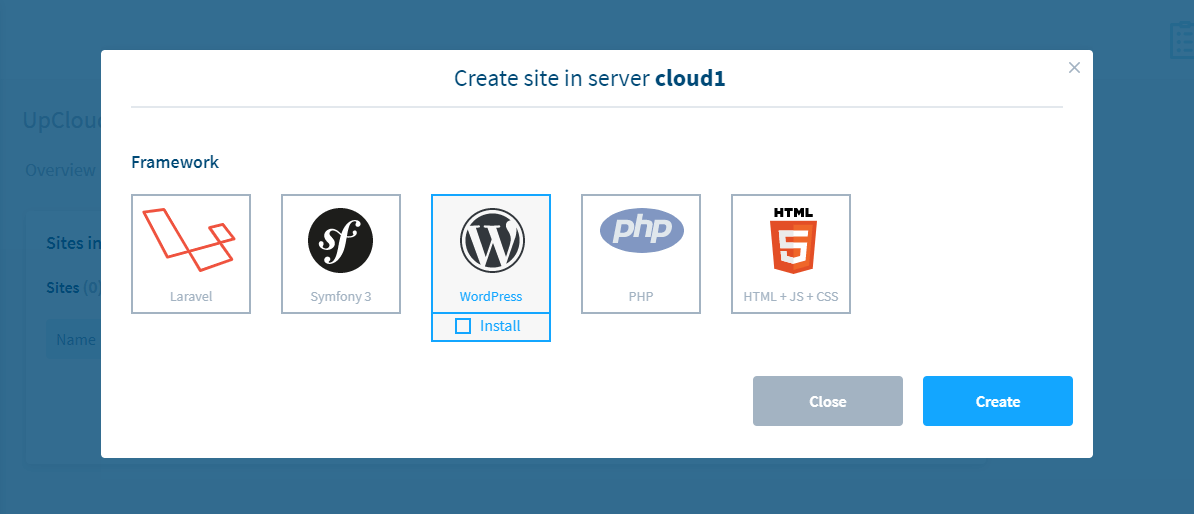
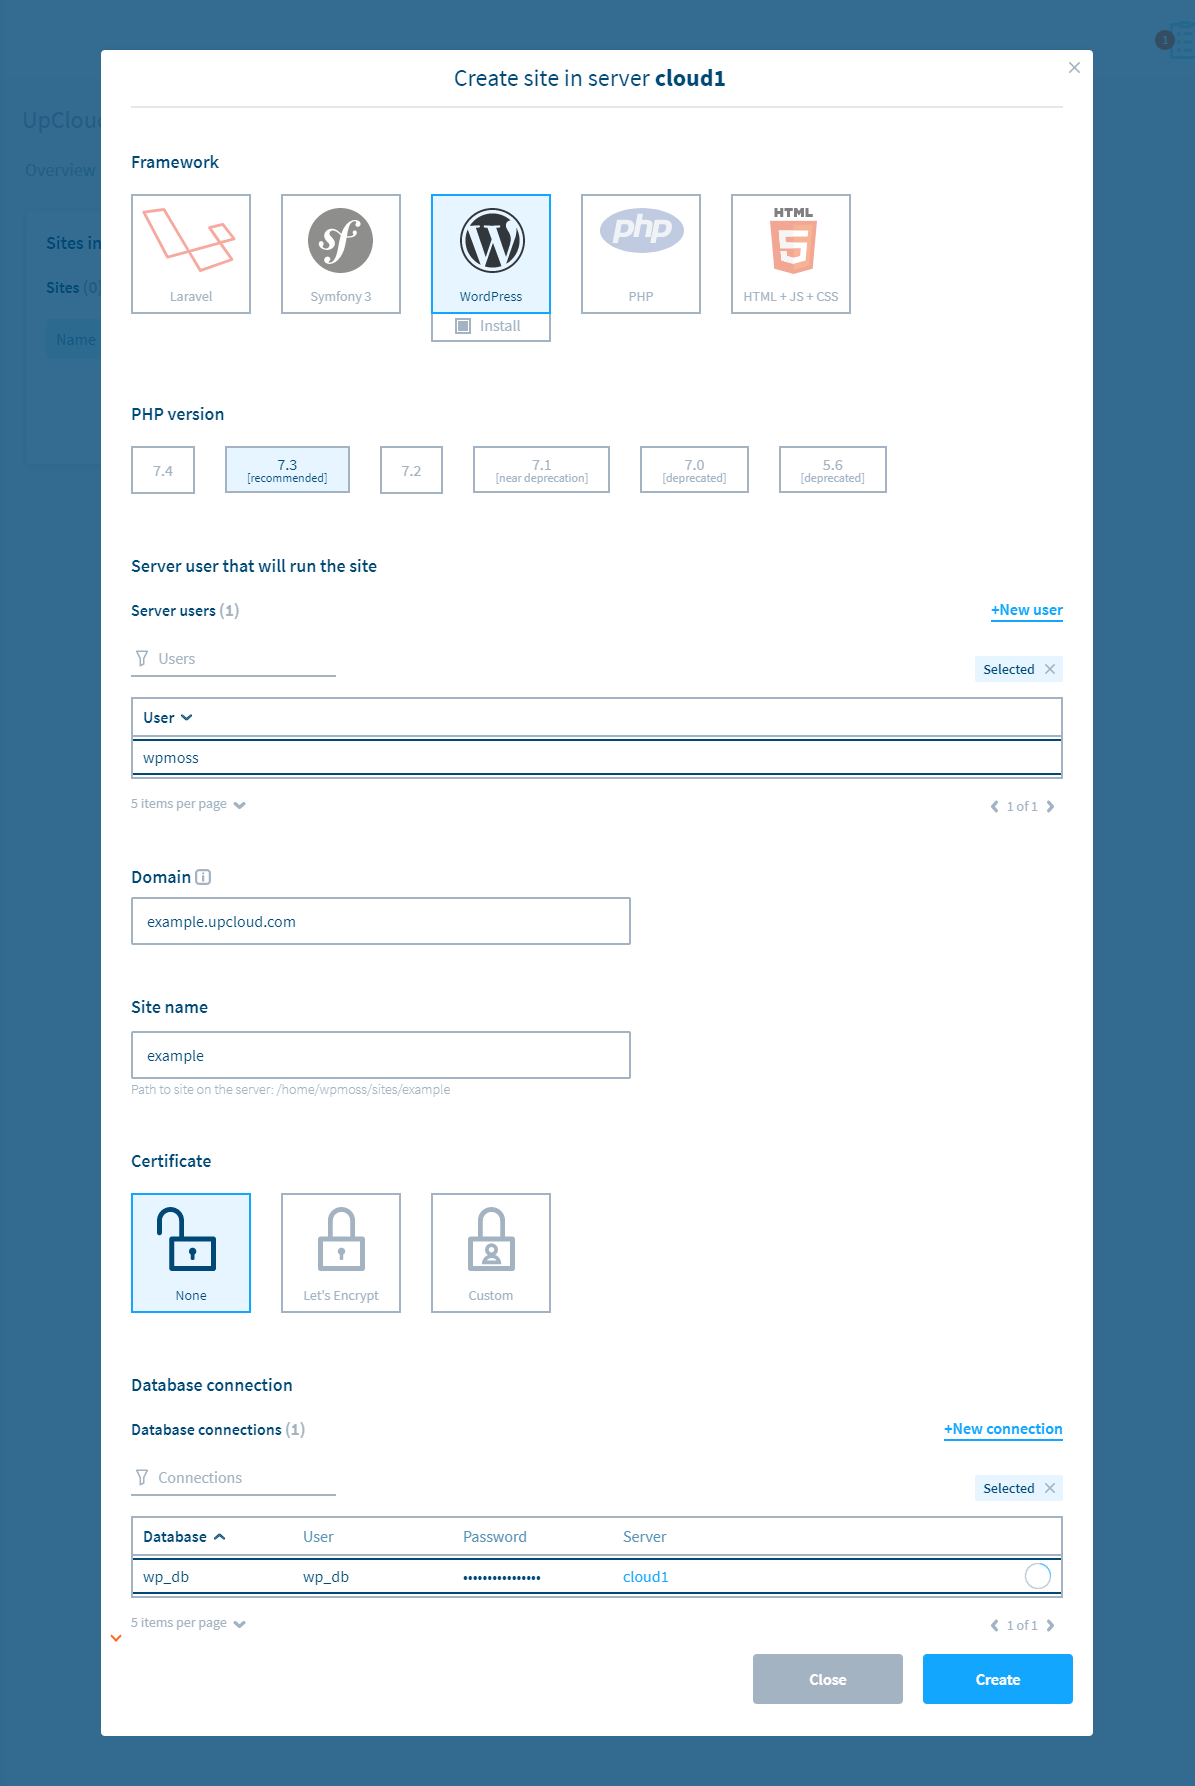
You will be then presented with the available framework you can choose. Each option can be a great starting point for many different kinds of web sites but for this example, we’ll be using WordPress. Click to select the Install option below the WordPress logo to continue.
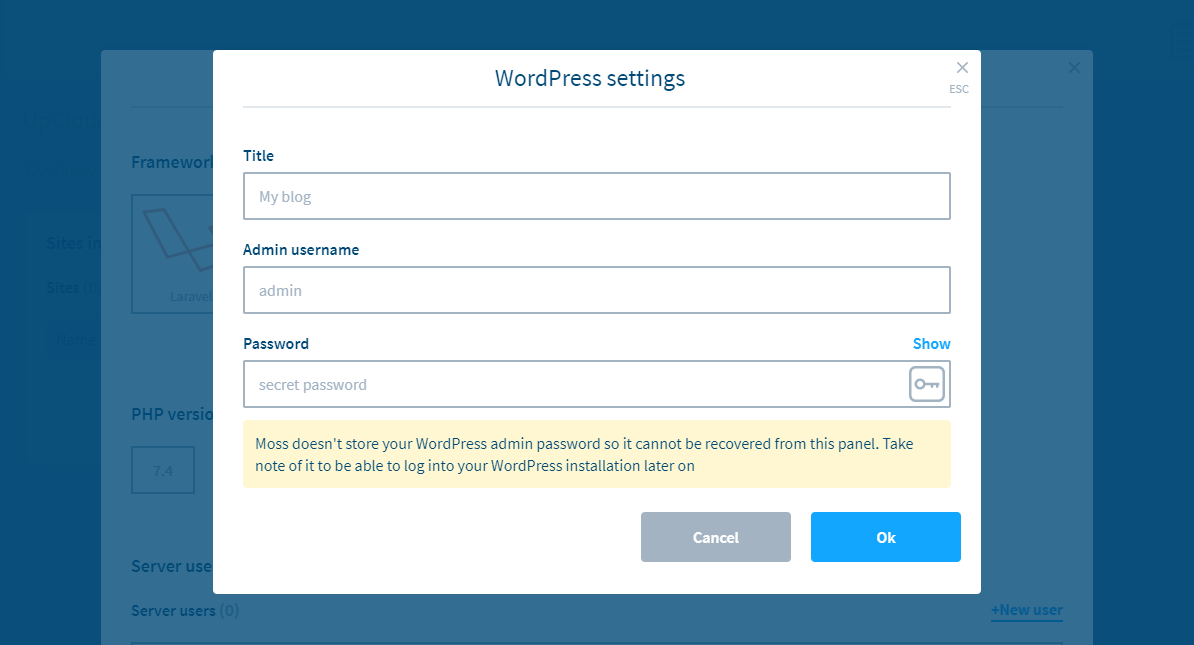
Next, enter the basic details for your new web site, including the site title as well as the admin username and password.
When done, click the Ok button to confirm.
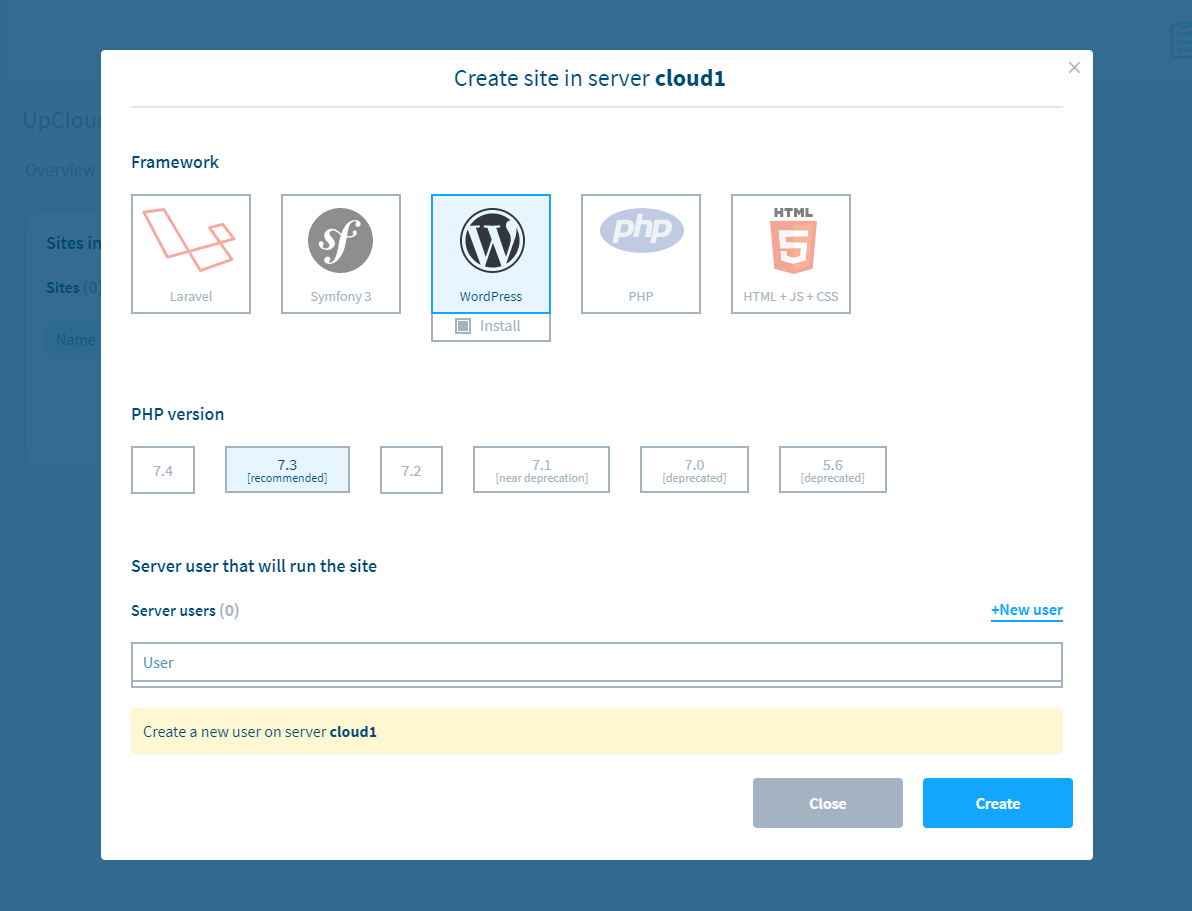
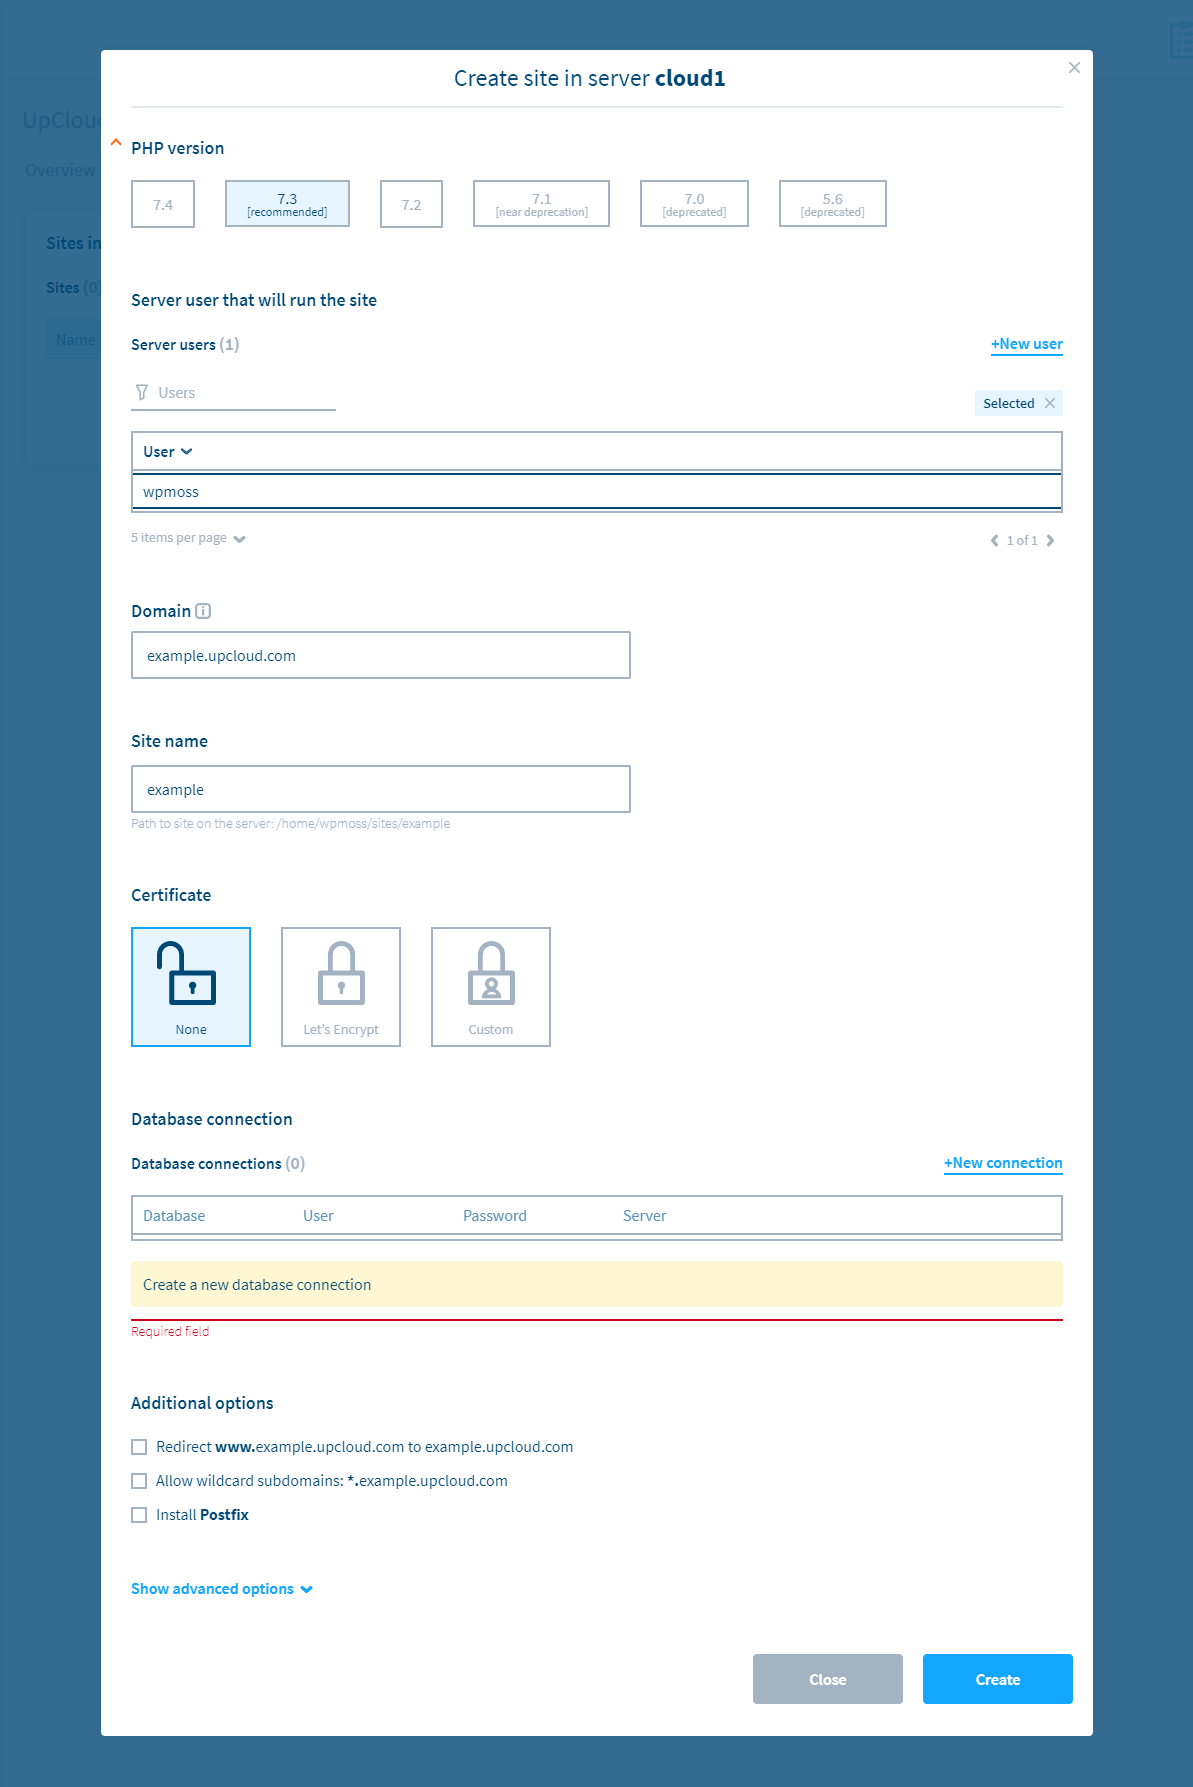
Once the very first settings are done, you’ll need to continue filling in the site configuration.
Continue by clicking the +New user link to create a new Linux user account on the cloud server that will run the hosting software.
Then enter a name for the user account and click the Create button to confirm. Moss will take care of the actual server-side settings for you.
Next, fill in the domain name that you should already have configured to point to the IP address of your new cloud server.
The site name below the domain will be selected automatically but you can also set it manually yourself if you wish.
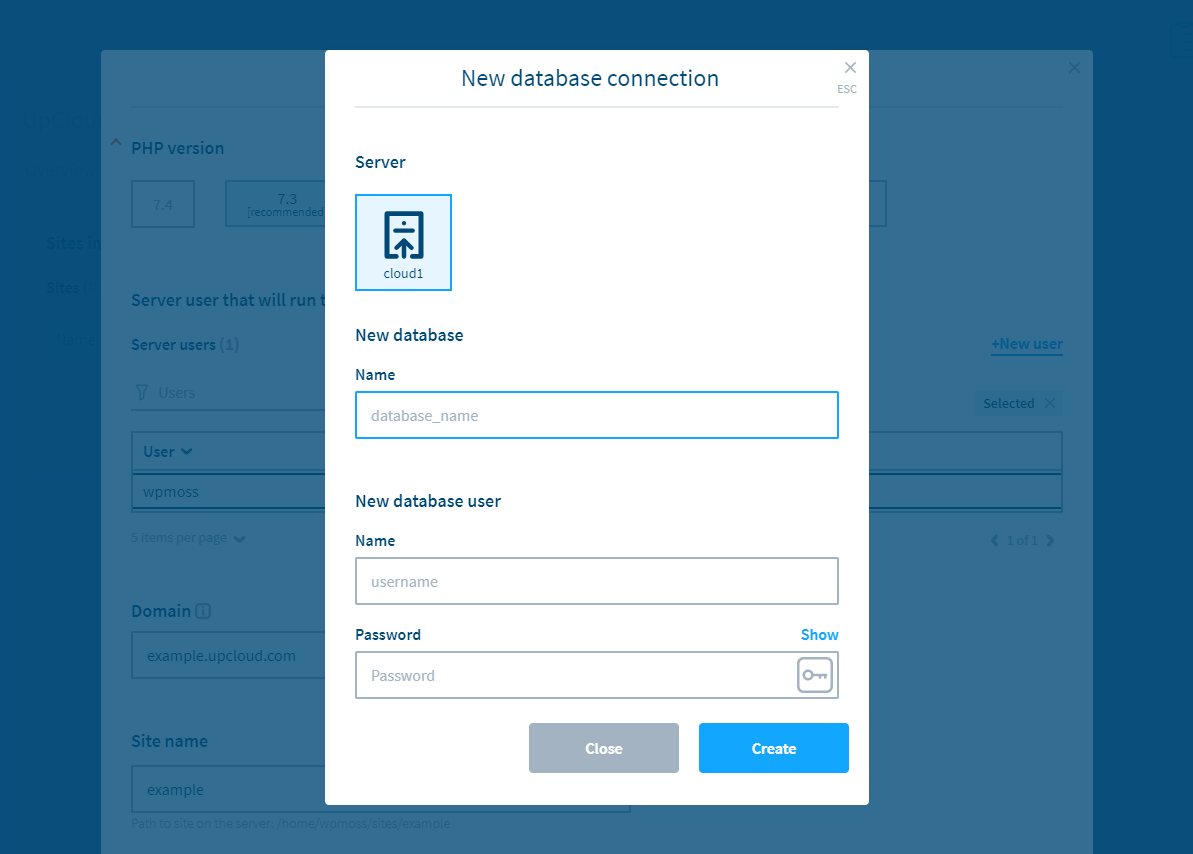
Following that, you’ll need to also create a new database for your new WordPress site. Click the +New connection link under the Database connection section.
In the next dialogue window, give the database a name and create a new database user. Afterwards, click the Create button to continue.
Once you’ve completed all of the steps above, your new website is ready to launch. Click the Create button at the bottom to start deploying it.
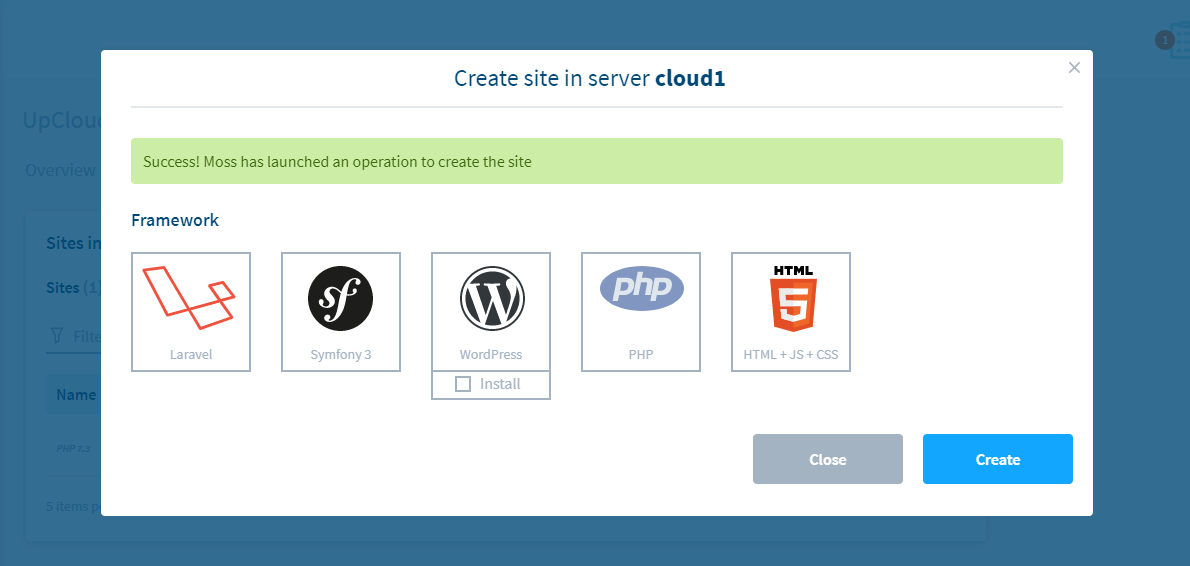
If all settings were accepted, you’ll see a confirmation that Moss is now working to create your site.
It will take a moment for the operations to create the site to be completed. Once done, you should be able to reach the site using the domain name you entered during the site configuration. Open your domain on your web browser.
http://example.upcloud.com
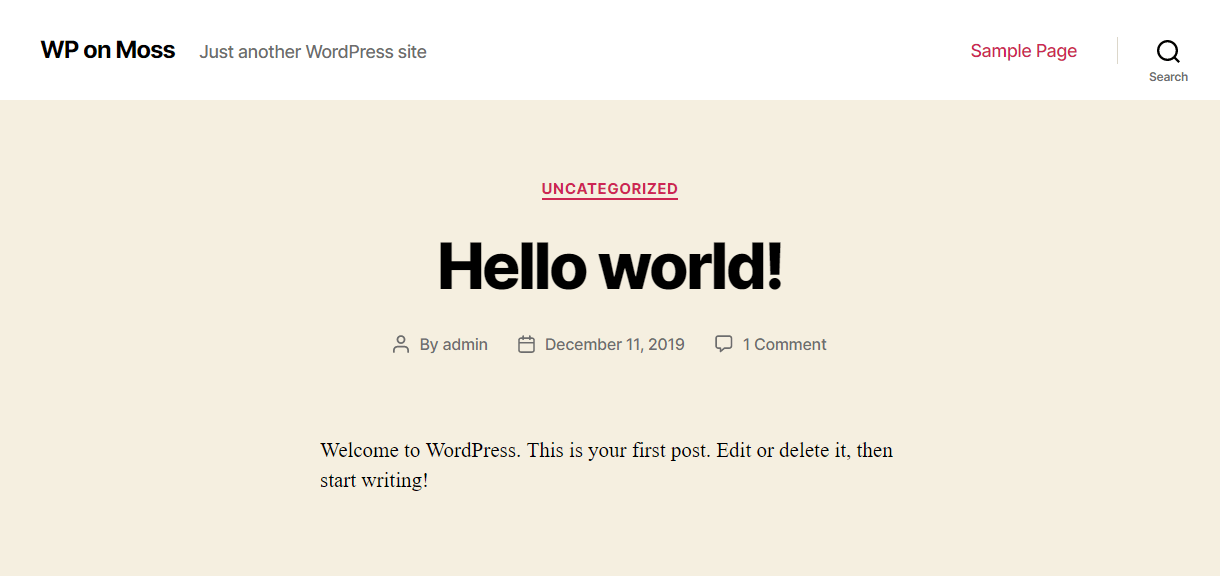
Congratulations! If you can reach the default WordPress page, you’ve successfully configured and created your first site with Moss.