
How to add SSL Certificates to Load Balancers
Besides creating and managing Load Balancers, you also have the option to set up certificate management by creating SSL certificate bundles. The certificate bundles can then be easily applied to your Load Balancer frontends to enable HTTPS.
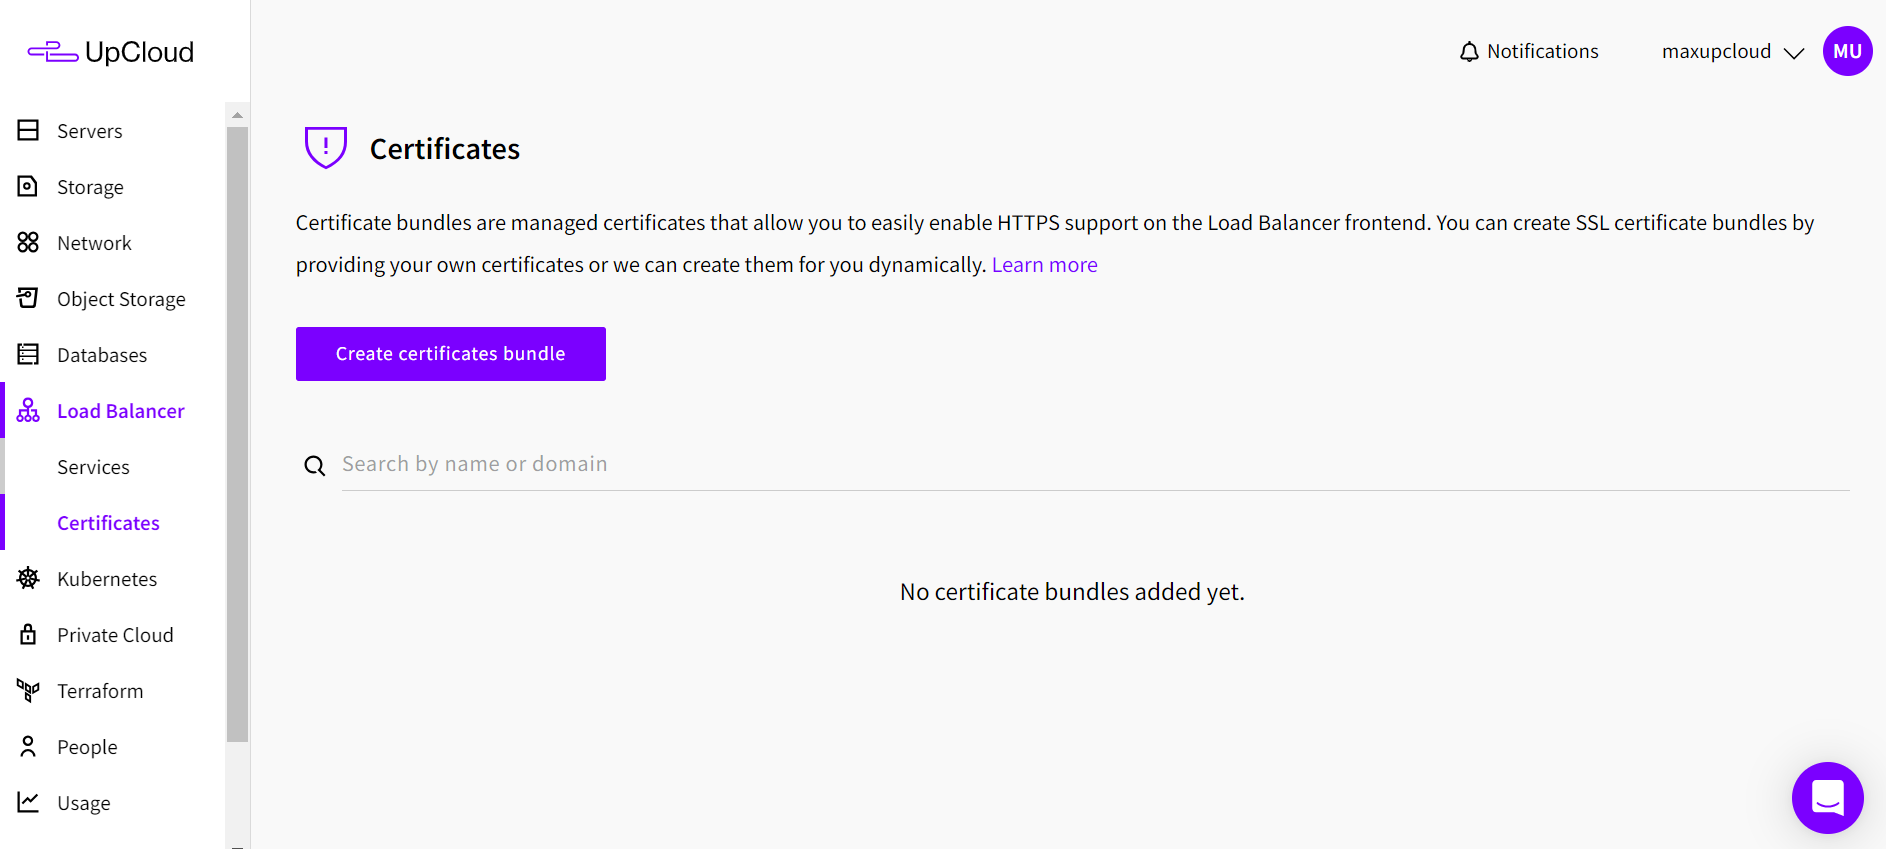
In the Certificates section under the Load Balancer menu, click the Add certificates bundle button to get started.
Manual certificates
The certificate manager allows you to upload any existing SSL certificates and easily apply them to your Managed Load Balancer.
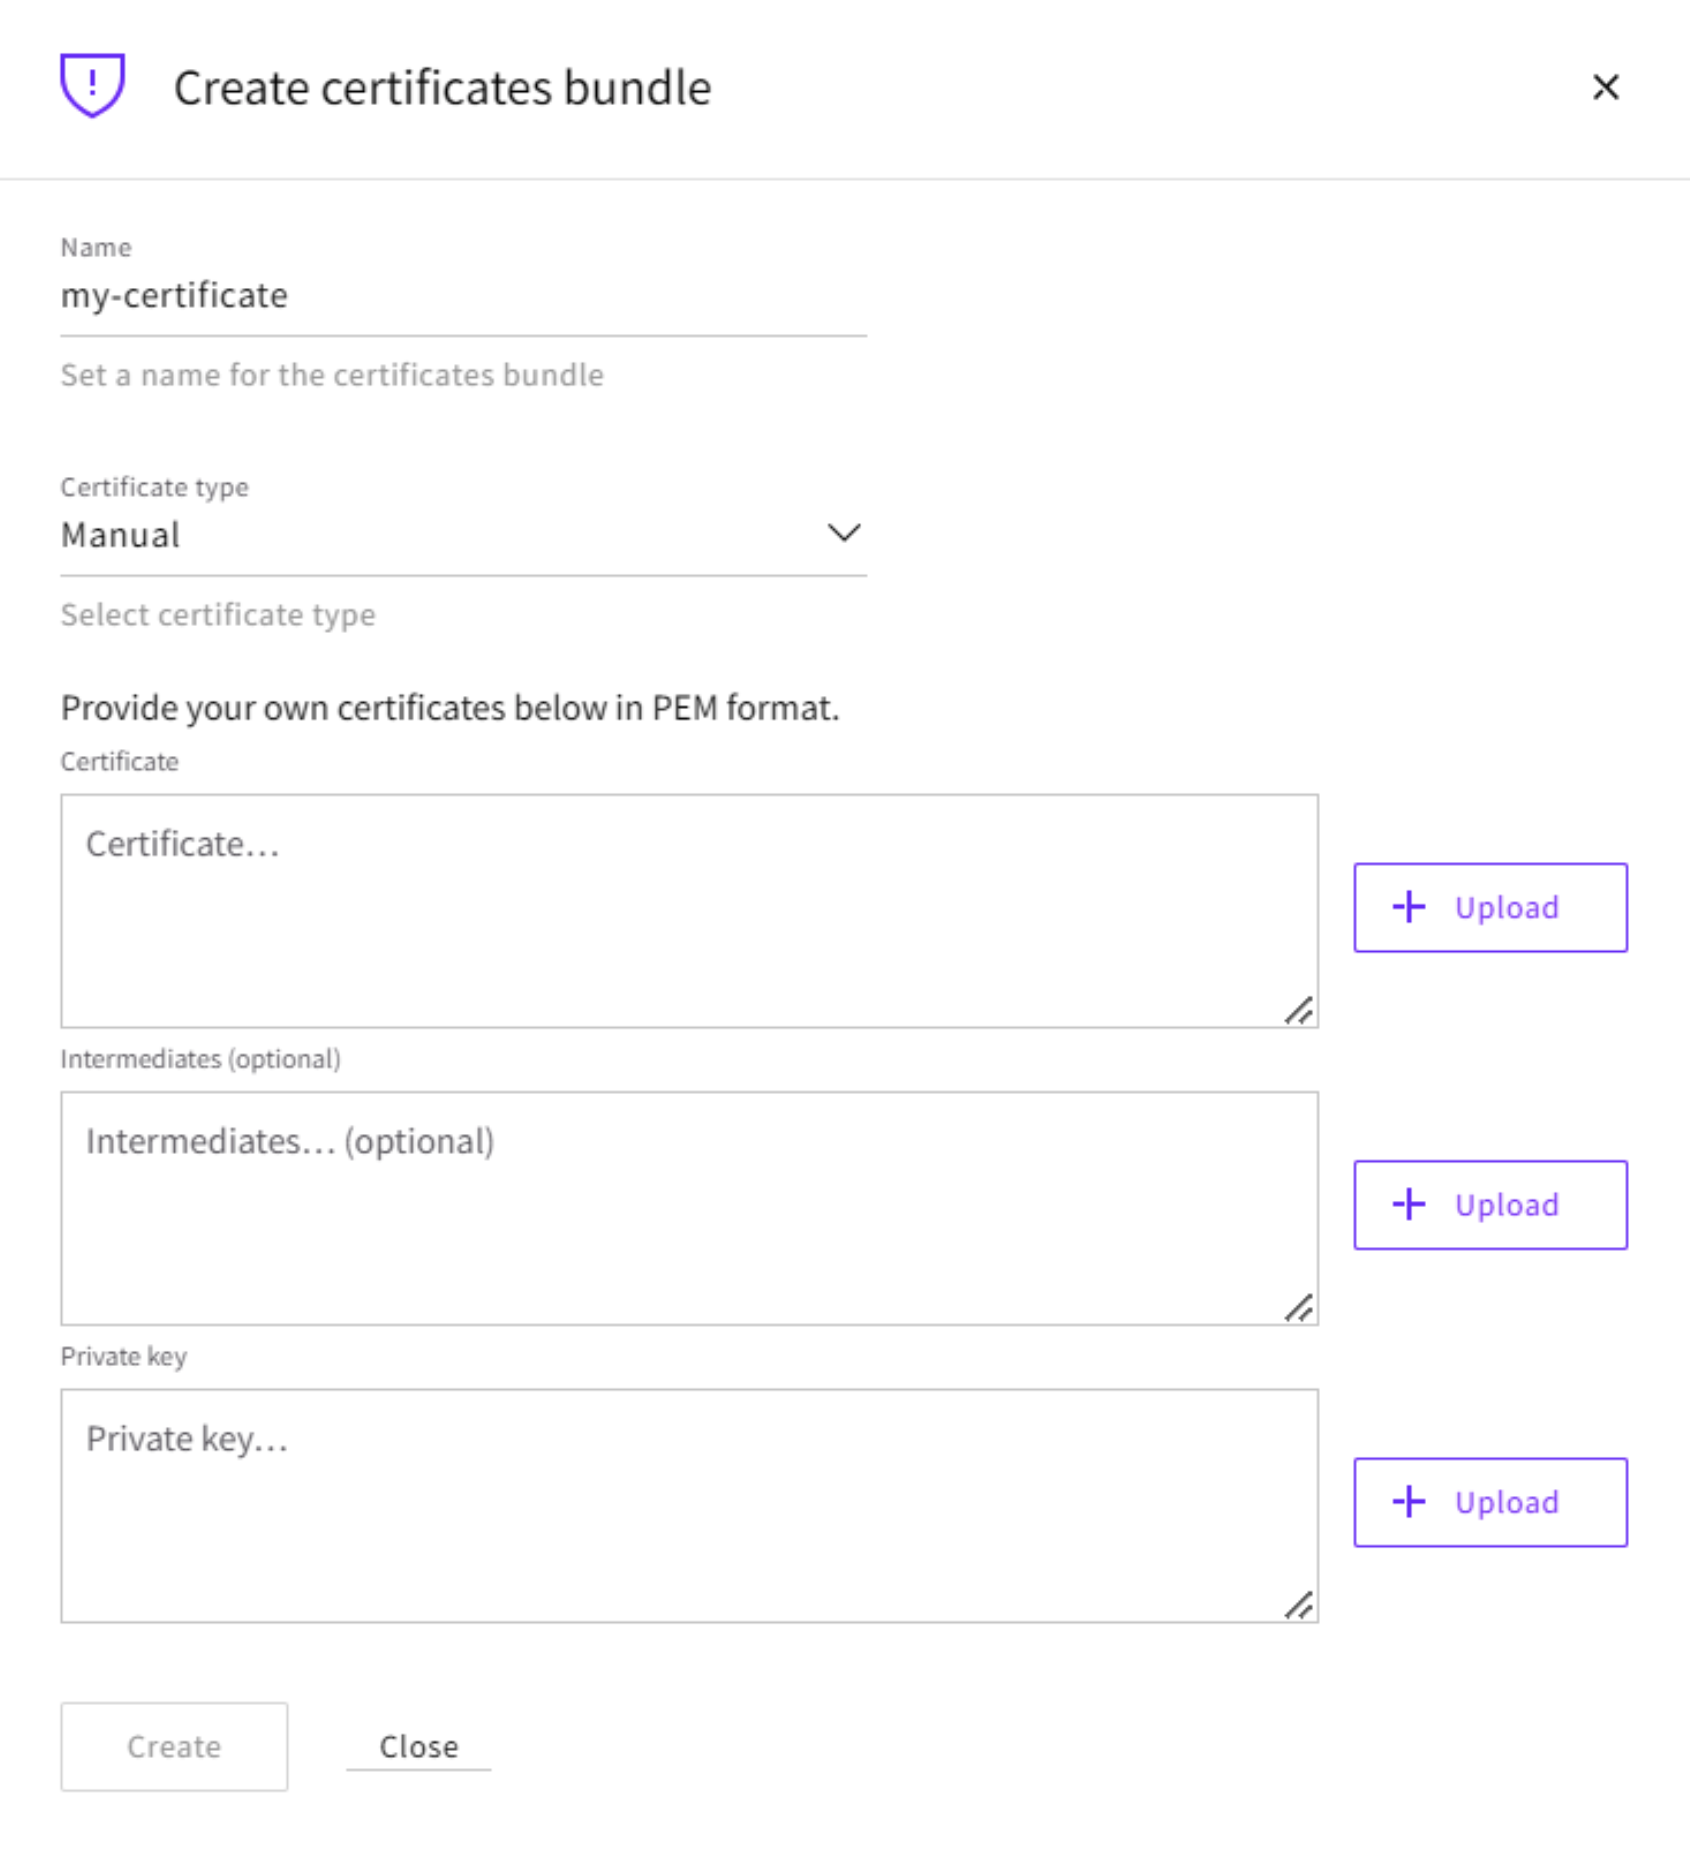
In the Create certificate bundle window, do the following:
- Name the certificate bundle, for example, according to the domain it is for.
- Certificate type set to Manual allows you to upload your own certificates.
- Certificate section itself requires you to enter or upload the certificate file for a specific domain.
- Intermediate certificates act as in-between to protect the root certificates and the server certificates issued out to the public.
- Private key is used to validate your certificate and must be included for the certificates to work.
After you’ve entered the necessary details, click the Create button to add the certificate bundle. Once created, certificate bundles can be assigned to Load Balancer frontends to enable HTTPS.
Dynamic certificates
Creating dynamic certificate bundles allows you to obtain free SSL certificates directly to your Managed Load Balancer.
Note that for the dynamic certificates to be obtained successfully, you will need to attach the certificate bundle to a Load Balancer and point your domain to it using a DNS record. This can be done either with a direct CNAME record or through CNAME chaining.
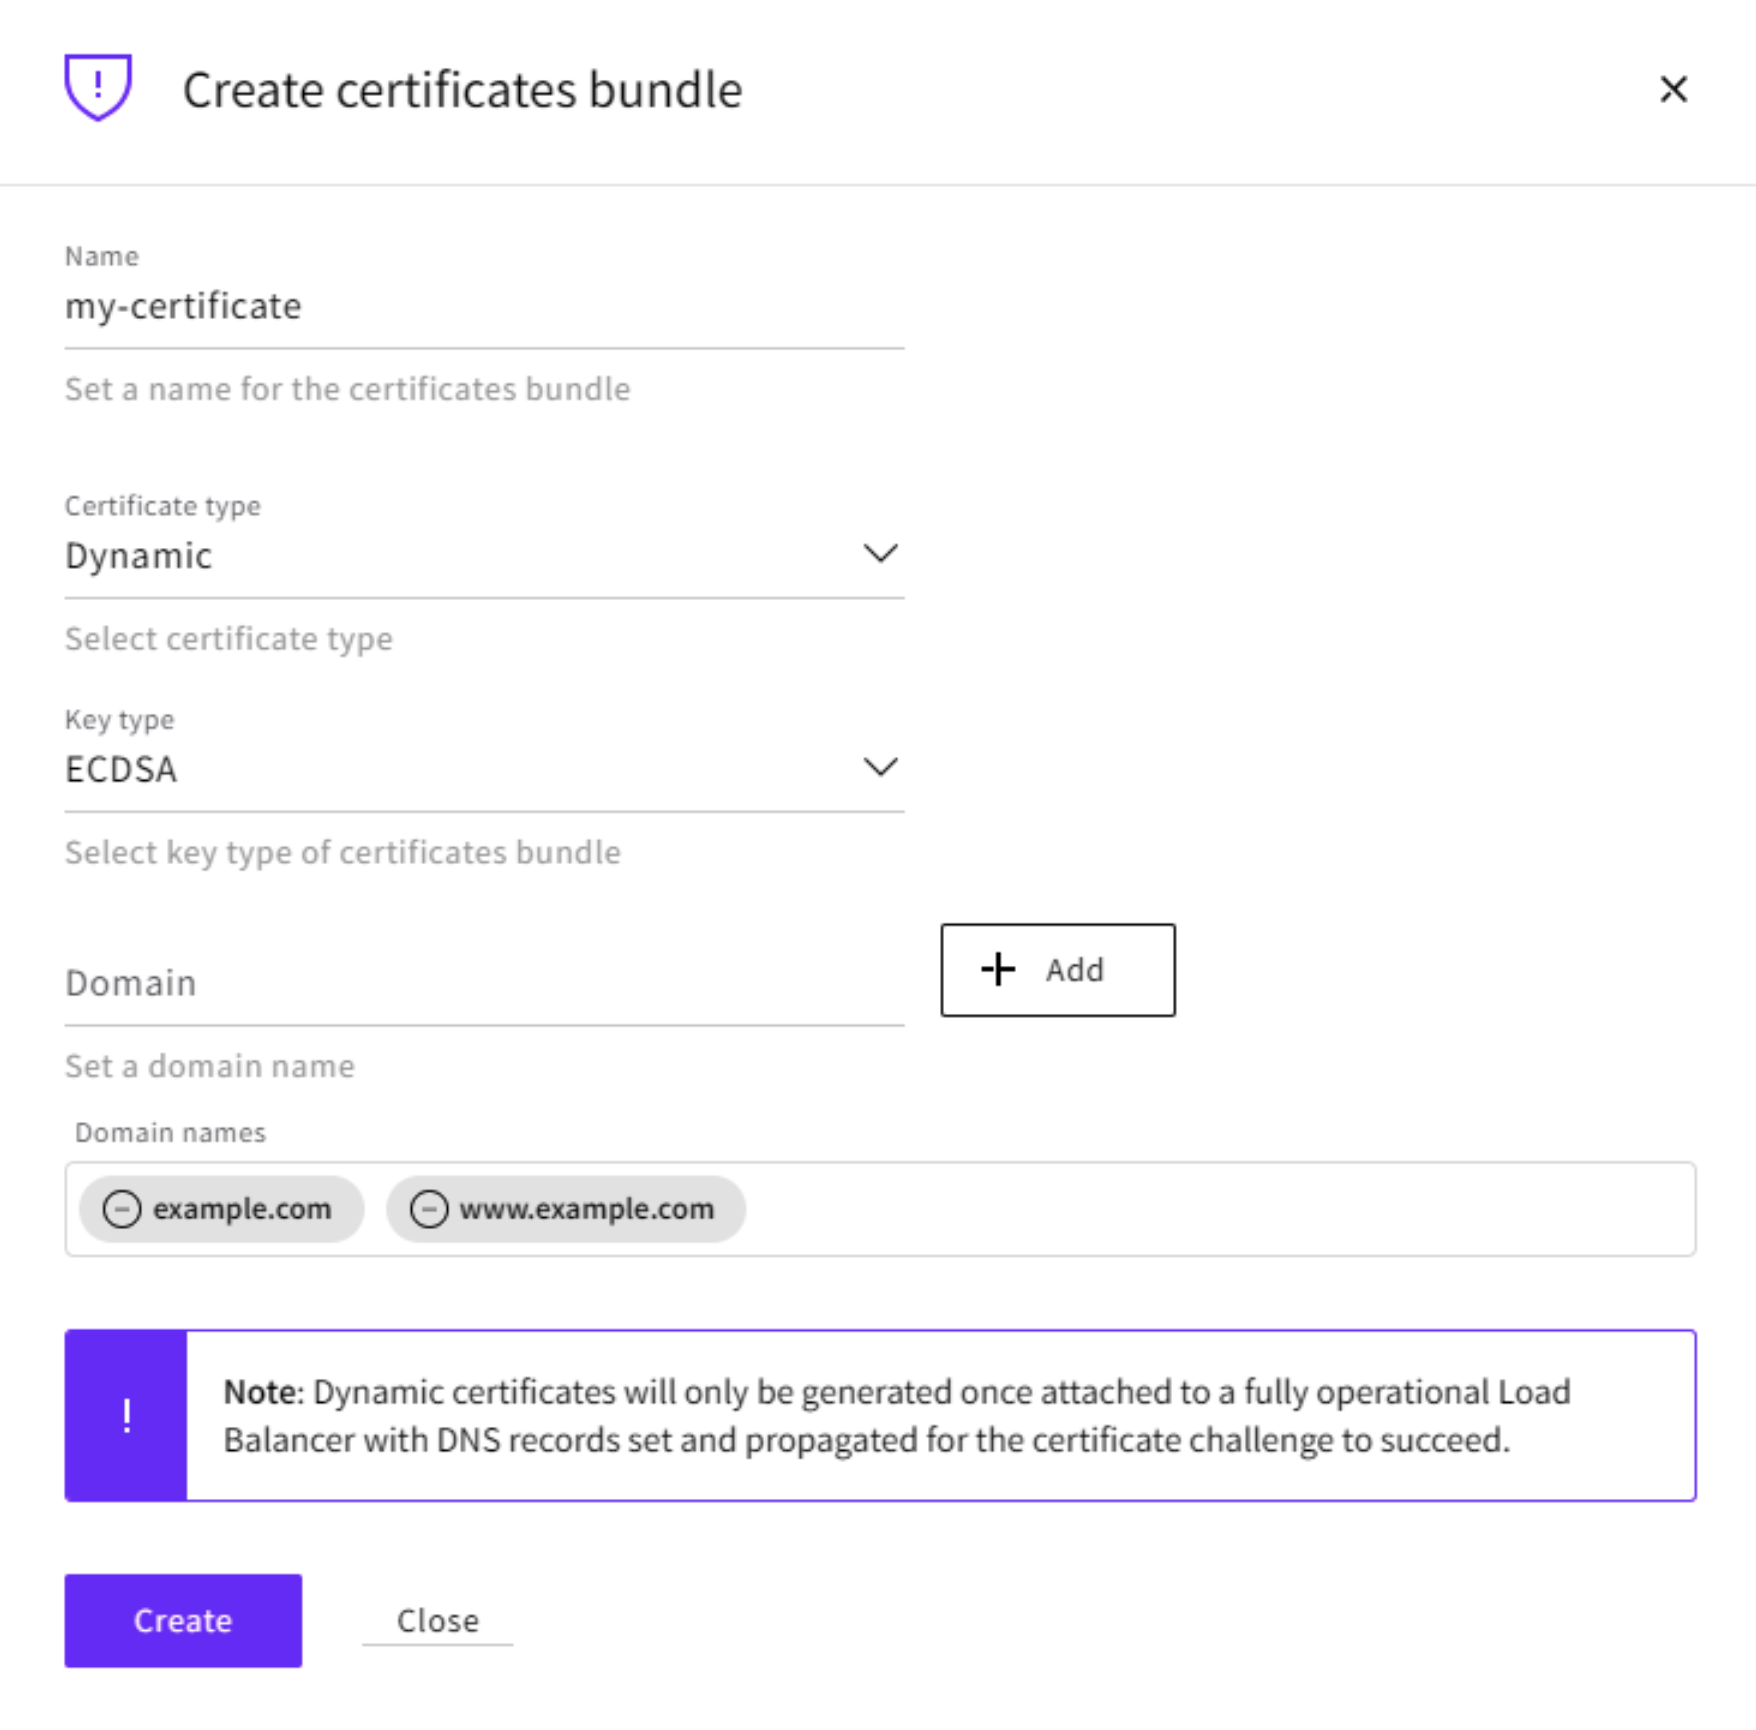
In the Create certificate bundle window, do the following:
- Name the certificate bundle, for example, according to the domain it is for.
- Certificate type should be set as Dynamic.
- Key type determines the encryption algorithm, ECDSA or RSA.
- Domain field allows you to add the domain names you want to use.
Once set, click the Create button to add the certificate bundle.
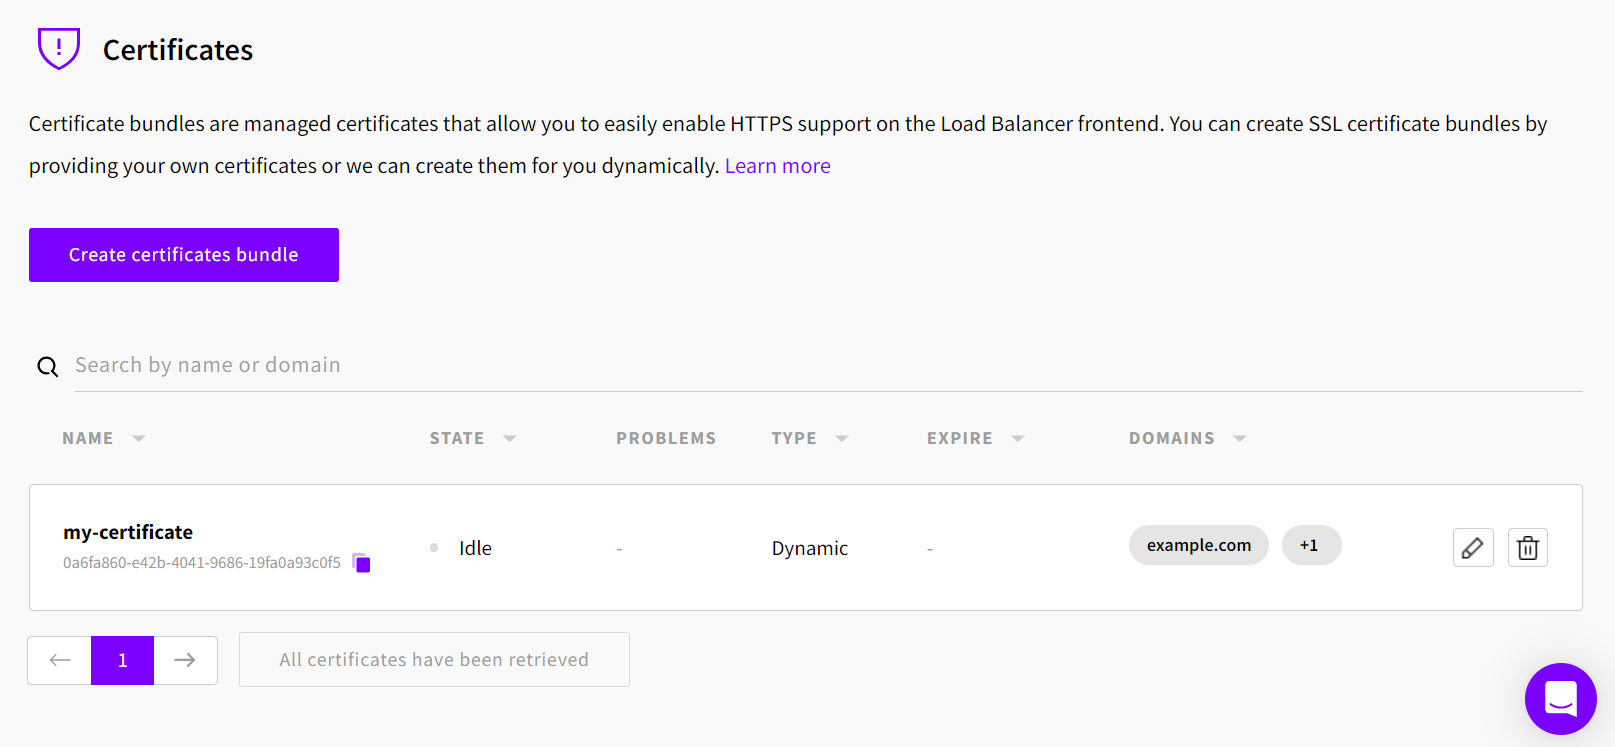
Afterwards, you will need to attach the dynamic certificate bundle to an existing Load Balancer service. When attached with the required DNS records in place, the Load Balancer will go through the certificate authority’s challenges to obtain a certificate.
Applying SSL certificates to Load Balancer
Once you’ve created your SSL certificate bundle either using the automated dynamic option or uploaded existing certificates manually, you can apply them to your Managed Load Balancer.
Note that only manually uploaded certificates can be applied at Load Balancer creation. Dynamic certificates require you to first create the Load Balancer instance, and then apply the certificates.
Updating certificates
As SSL certificates are only issued for a limited time, you will need to be able to update them. This can be done by editing the existing certificate bundle and adding the new certificates to overwrite the expiring ones.
Dynamic certificate bundles are updated automatically as long as the requirements are met.
Any Load Balancers using the particular certificate bundle will then automatically update the certificates without interruption to your services.
Summary
The Load Balancer’s built-in certificate management can save you time and money on manually maintaining SSL certificates. Furthermore, using automated dynamic certificates can help you avoid letting used certificates expire and leaving your website or service exposed.