If your project or application has the need to handle large amounts of unstructured data, you should make use of Object Storage. It’s a computer data storage architecture that manages data as objects as opposed to block storage which manages data as blocks within sectors and tracks. As such, object storage is commonly used for storing large datasets like photos on Facebook, songs on Spotify, or files in online collaboration services.
The security and redundancy ensured UpCloud Object Storage is the perfect place to store any data for your needs. Thanks to the S3-compatible and programmable interface, you have a host of options for existing tools and code implementations to make quick work of integrating Object Storage with your application.
Creating new Object Storage
Begin by logging into your UpCloud Control Panel and going to the Object Storage section.
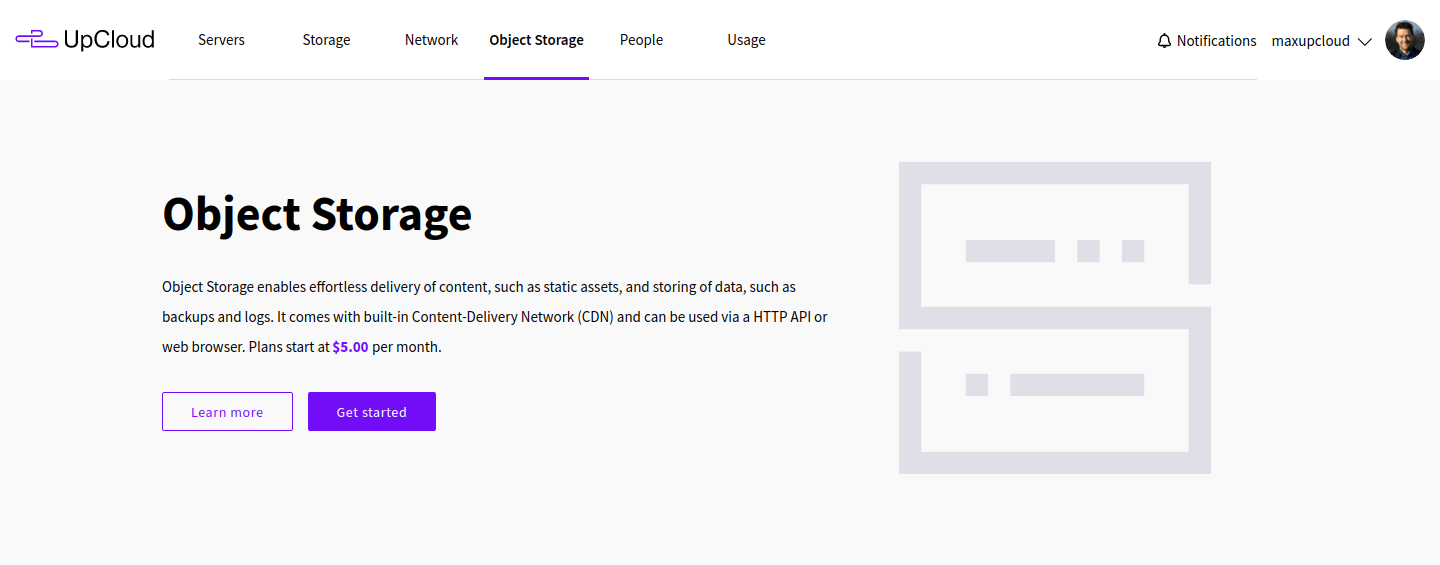
Click the “Get started” button to create your first Object Storage.
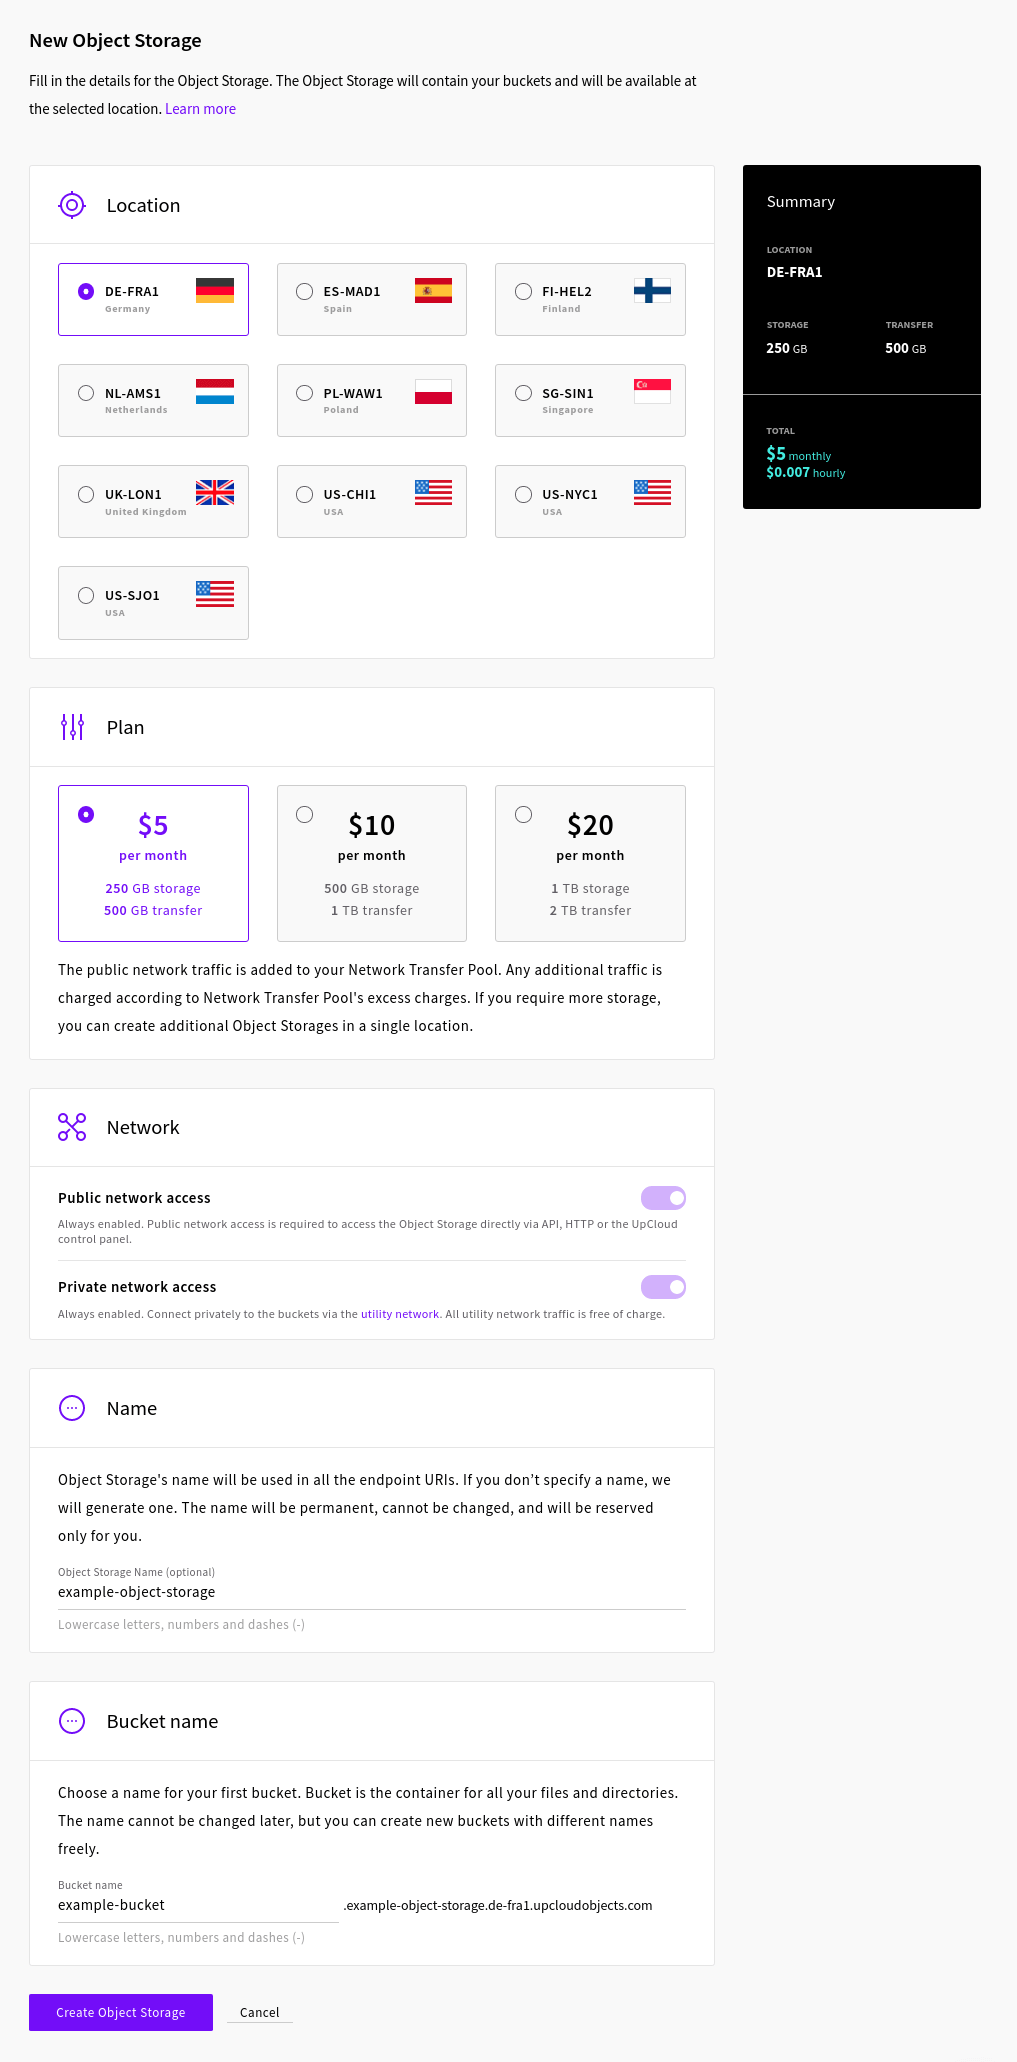
Select your configuration options:
- Location of where you want the storage to be situated
- Plan by how much storage you want
- Name your Object Storage, this will be used in the endpoint URI and needs to be unique
Note that it can’t be changed later without recreating the Object Storage - Choose access networks
- Select whether you want to create the first bucket right away
- If yes, give the bucket a name
Finally, click the “Create Object Storage” button to launch the new storage device.
The deployment will take a moment after which you’ll see the new Object Storage appear on the list.
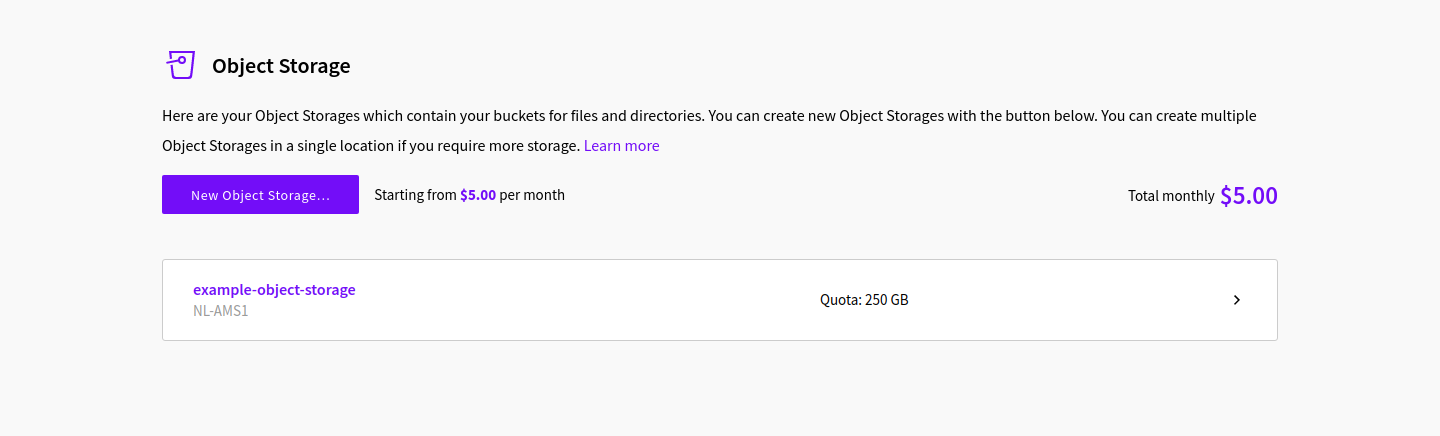
You are then ready to start using the Object Storage. Continue below with the instructions on how to go forward.
Creating and managing buckets
In Object Storage, all files are organised in “buckets” of objects. Before you can start adding files, you’ll need to create a bucket. If you create a bucket already at the Object Storage deployment, you are all set to start uploading files.
Creating a new file bucket is quick and easy. Open the Object Storage details by clicking the name.
Then click the “Create bucket” button.
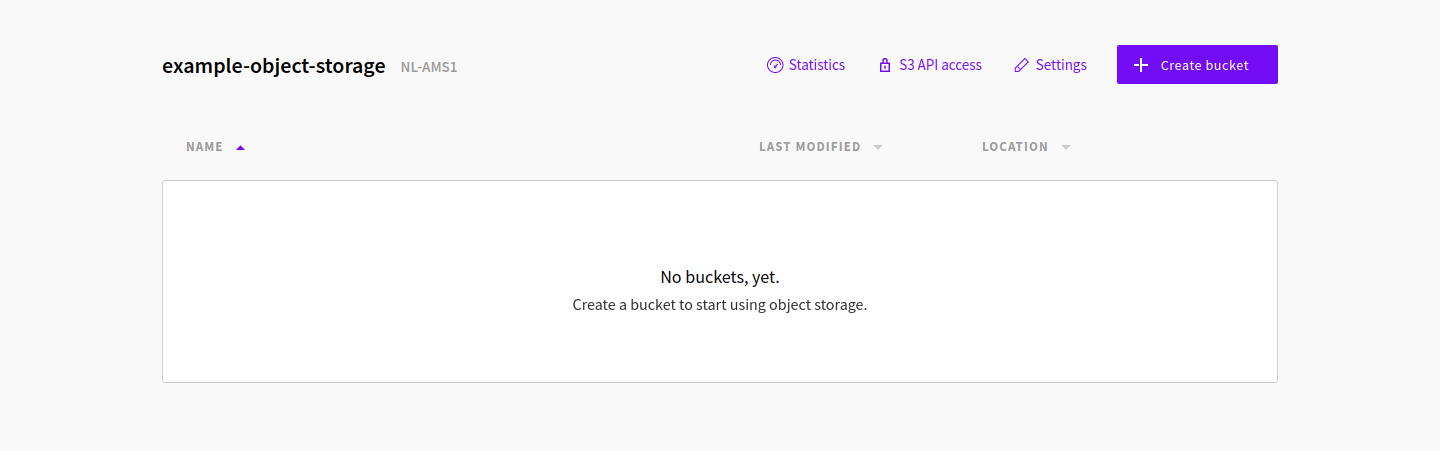
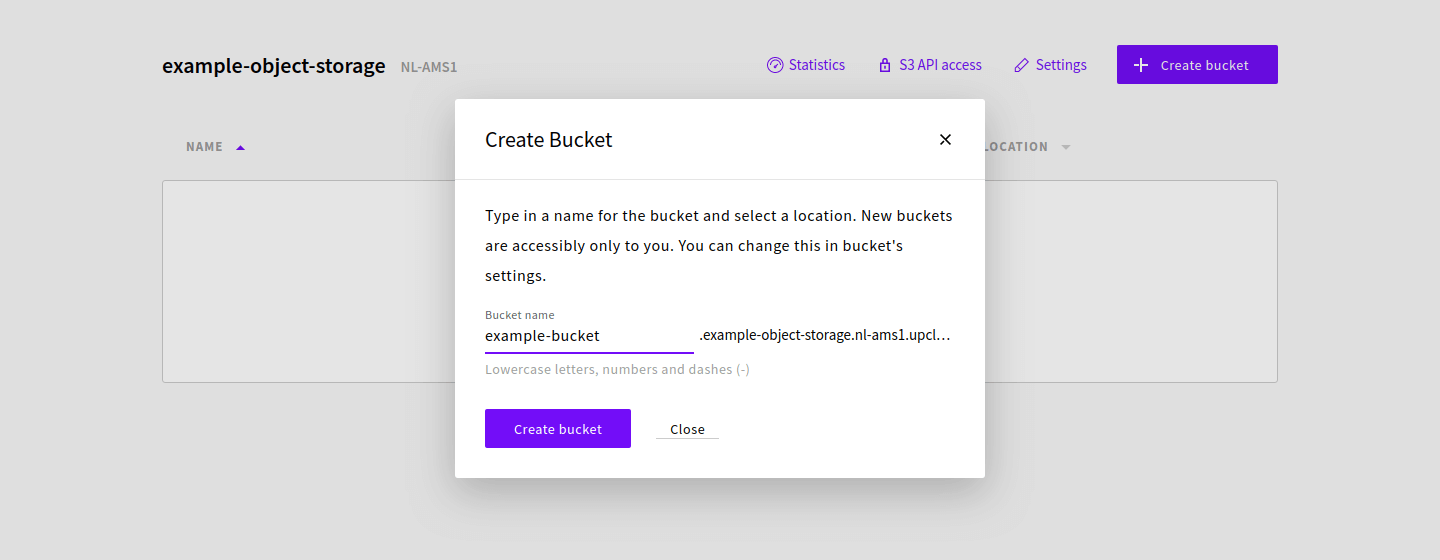
You will then see the new bucket window.
Name the bucket with the consideration that it will be used as a subdomain to your Object Storage address. The bucket name is specific to the particular Object Storage and needs to be unique only within the storage device.
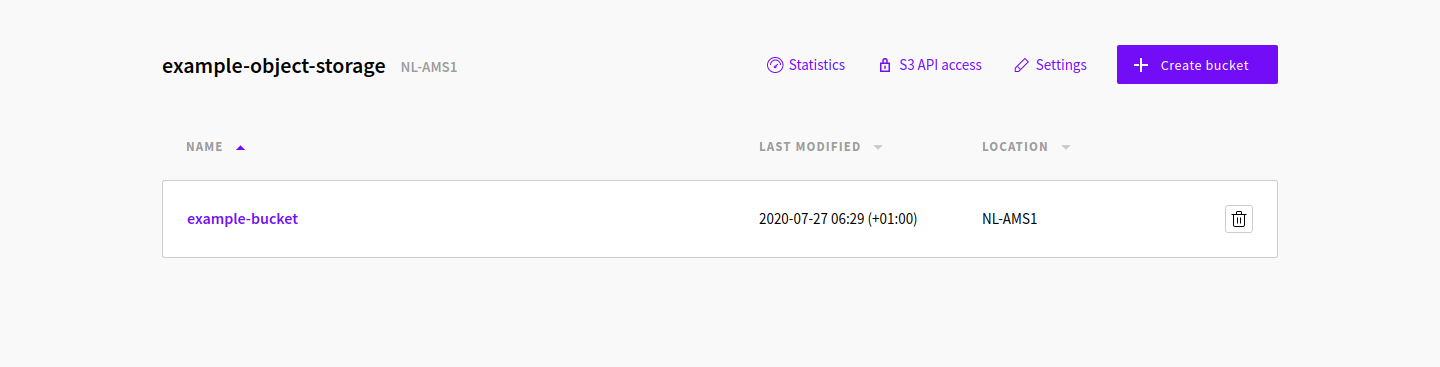
Once created, the bucket will appear on your Object Storage and can be browsed directly at your UpCloud Control Panel.
That’s all you need to do to prepare your Object Storage to upload files. Continue to the next part to start adding files.
Managing files in Object Storage
Once you’ve deployed your Object Storage and created the first bucket, you can start uploading files. Go to the Object Storage details and click the bucket name where you want the files to be uploaded.
In the files view, you have the option to upload files directly from your own computer as well as create a directory like prefixes to further organise your files.

Start by clicking the Upload files button which will open your local file selector. Find the file you want to upload and click open to select it.
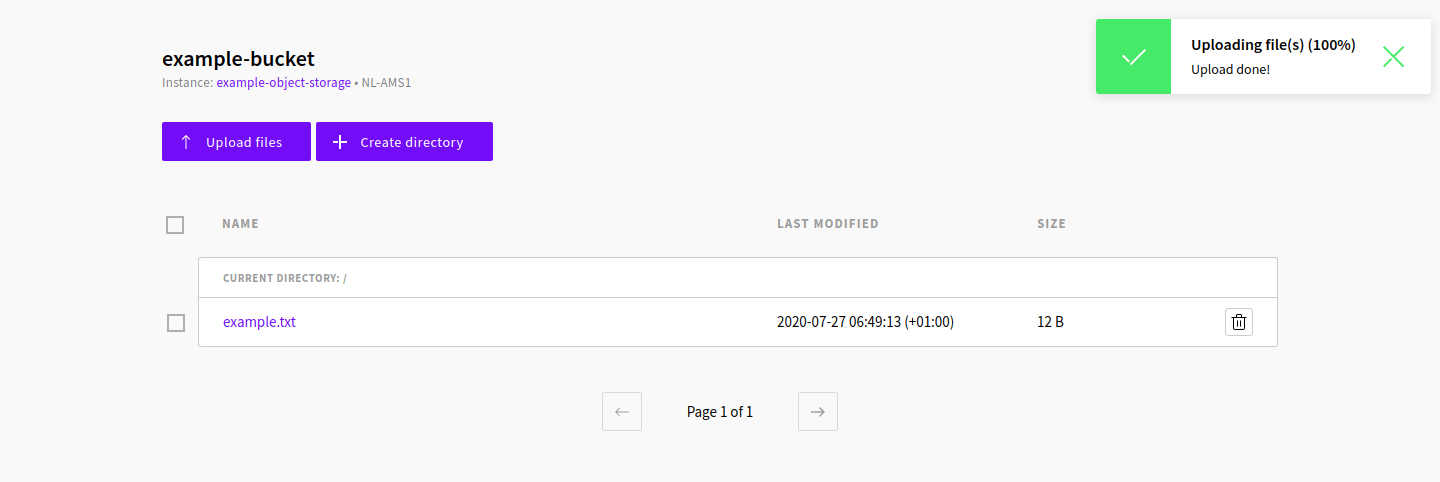
When started, the upload will copy the selected files to your Object Storage. Depending on the file size and your network speed, the upload might take a moment. You can follow the progress of the upload in the notification in your web browser.
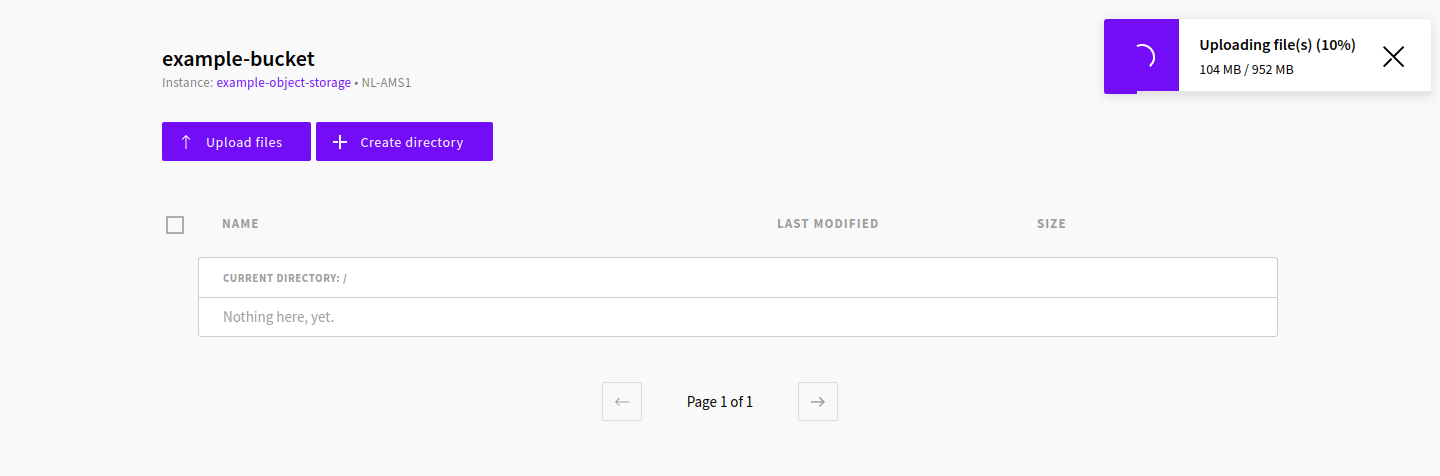
If the upload is taking too long or you accidentally selected the wrong file, you can cancel the transfer at any time by clicking the X icon on the upload notification.
Once the upload has finished, the file will appear on the list.
You can then access the files uploaded to the Object Storage via your UpCloud Control Panel. Additionally, you can also allow anonymous public downloads by enabling HTTPS Access.
Click the HTTPS Access link in your file list view.
Then enable HTTPS Access by clicking the toggle in the following window.
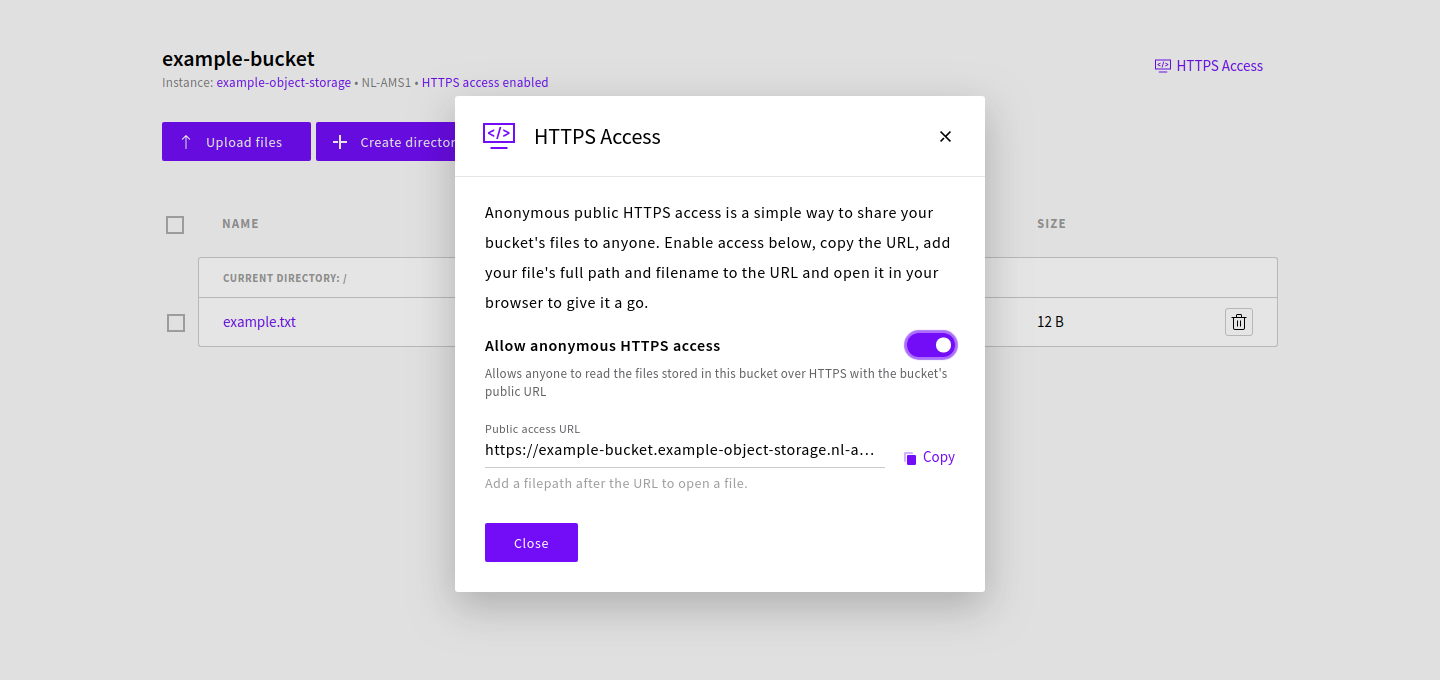
Afterwards, you can view any files within the specific bucket by going to the URL shown in the HTTP Access details and by appending the filename to the URL.
https://{bucket}.{object-storage}.{location}.upcloudobjects.com/{file-name}For example:
https://example-bucket.example-object-storage.nl-ams1.upcloudobjects.com/example.txt
Congratulations! You should now have a good understanding of how Object Storage works. However, uploading and accessing files in your Object Storage using a web browser wouldn’t be very convenient. Therefore, you should have a look below for the S3 Access details and for some examples of S3 clients.
S3 API Access details
Files in Object Storage are commonly managed via S3 clients. To do so, you need to enable access by providing the client with the keys and endpoint details to your Object Storage.
To find your access details, go to the Object Storage details in your UpCloud Control Panel. Then click the S3 API access link to open the access details.
You’ll then see the S3 API Access details that include your Access and Secret keys as well as the Endpoint URL specific to your Object Storage.
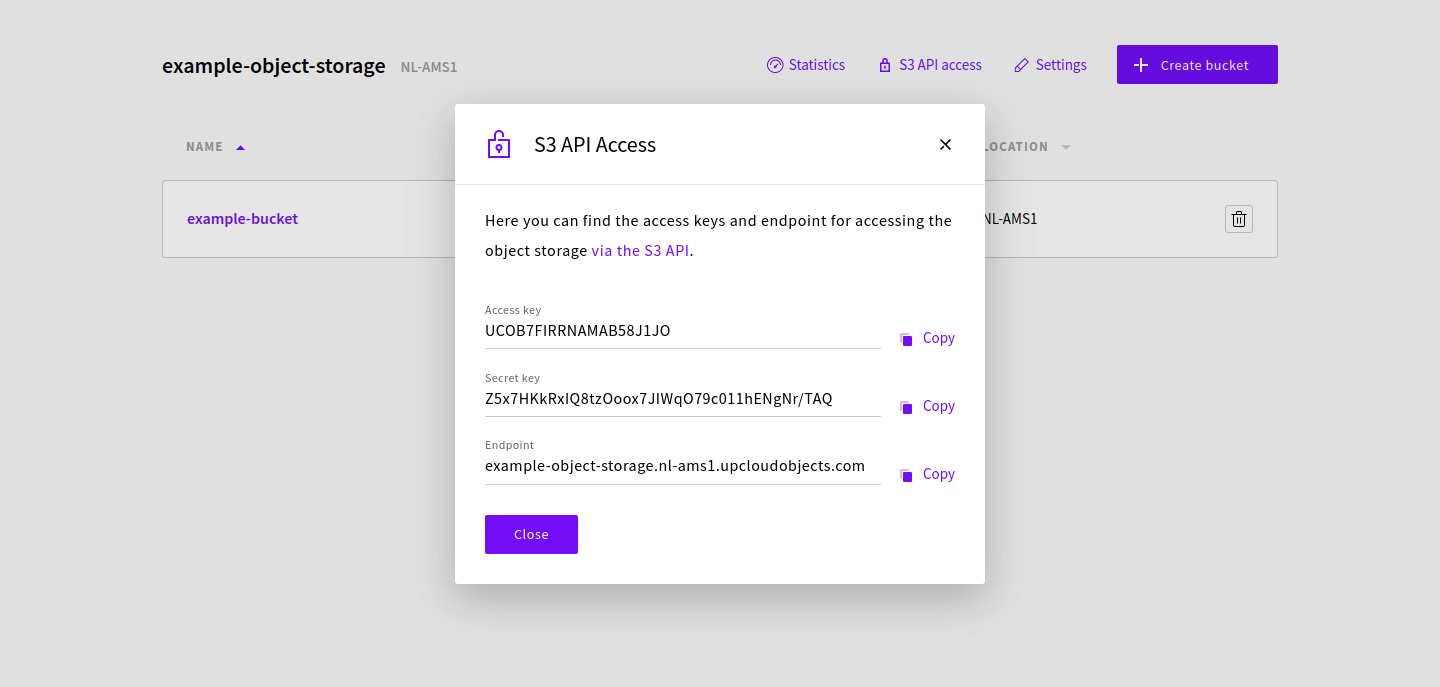
These can be copied easily one at a time by clicking the Copy link on the side and configuring your preferred S3 client. Check below for some examples of popular S3 clients you might like.
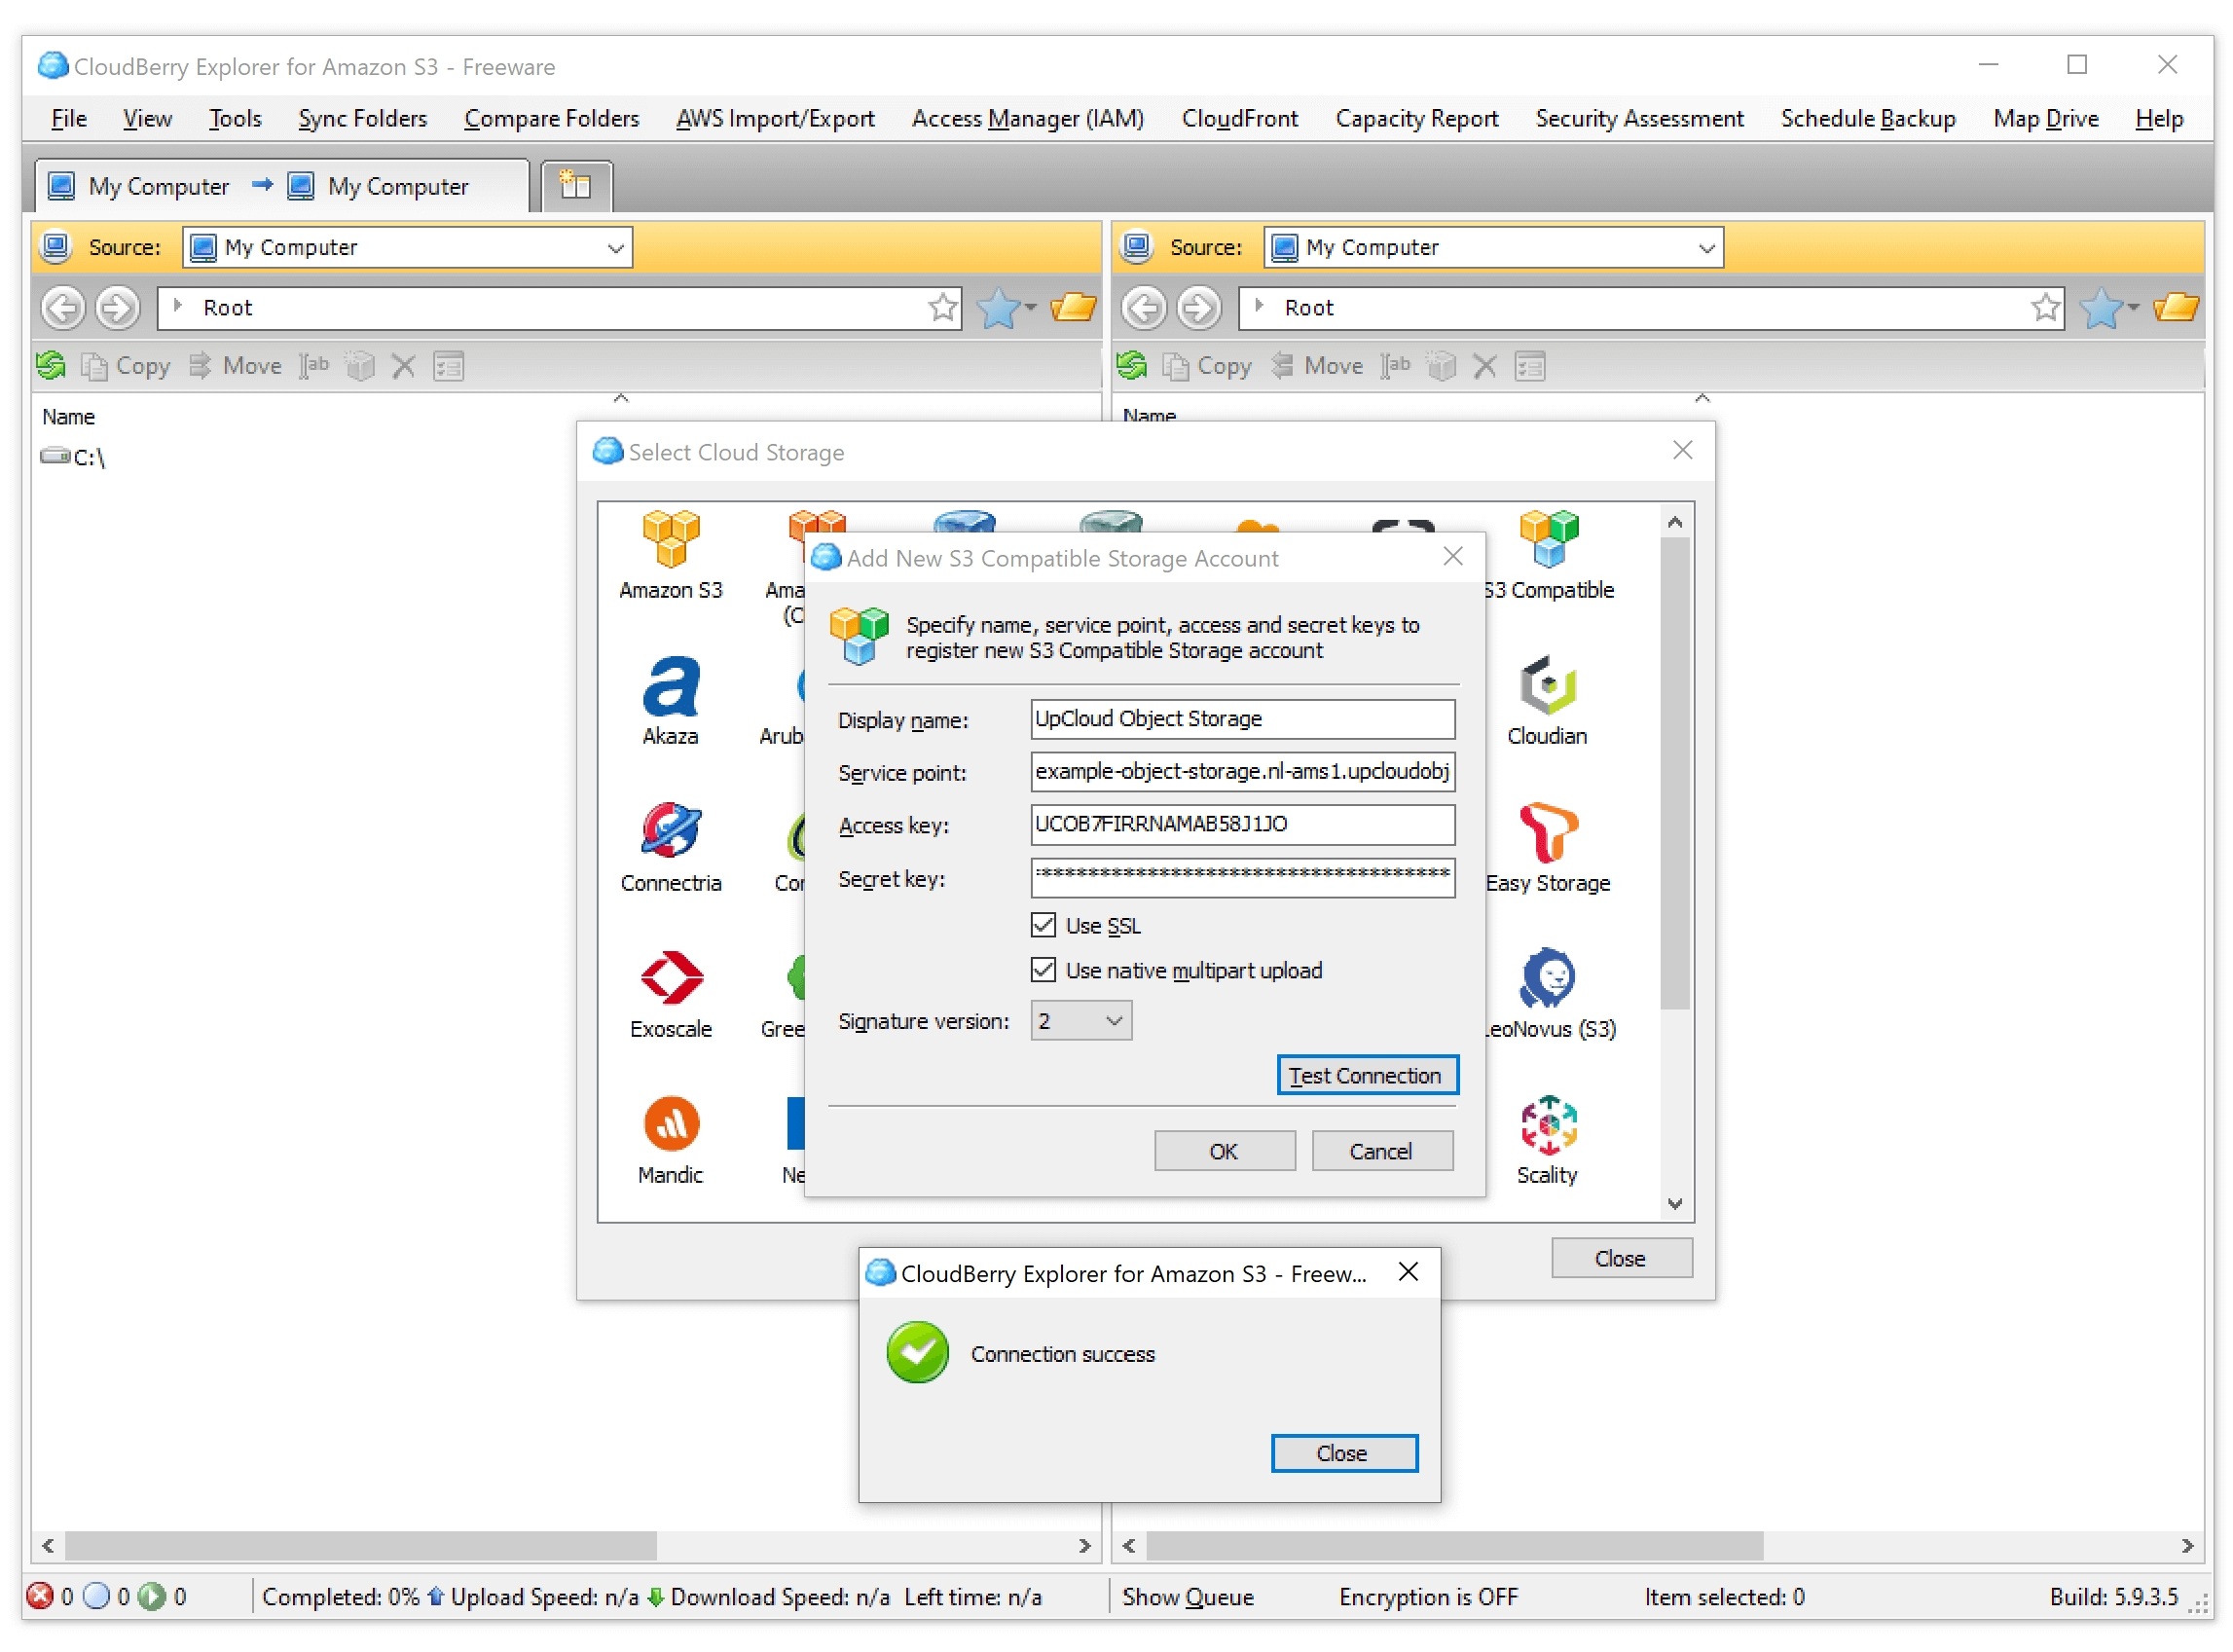
File management clients
MSP360 Explorer provides a user interface allowing you to access, move and manage files across your local storage and the cloud storage of your choice. Cloud file management software by MSP360™ is available in two versions: Freeware and PRO which both include clients for Windows and macOS.
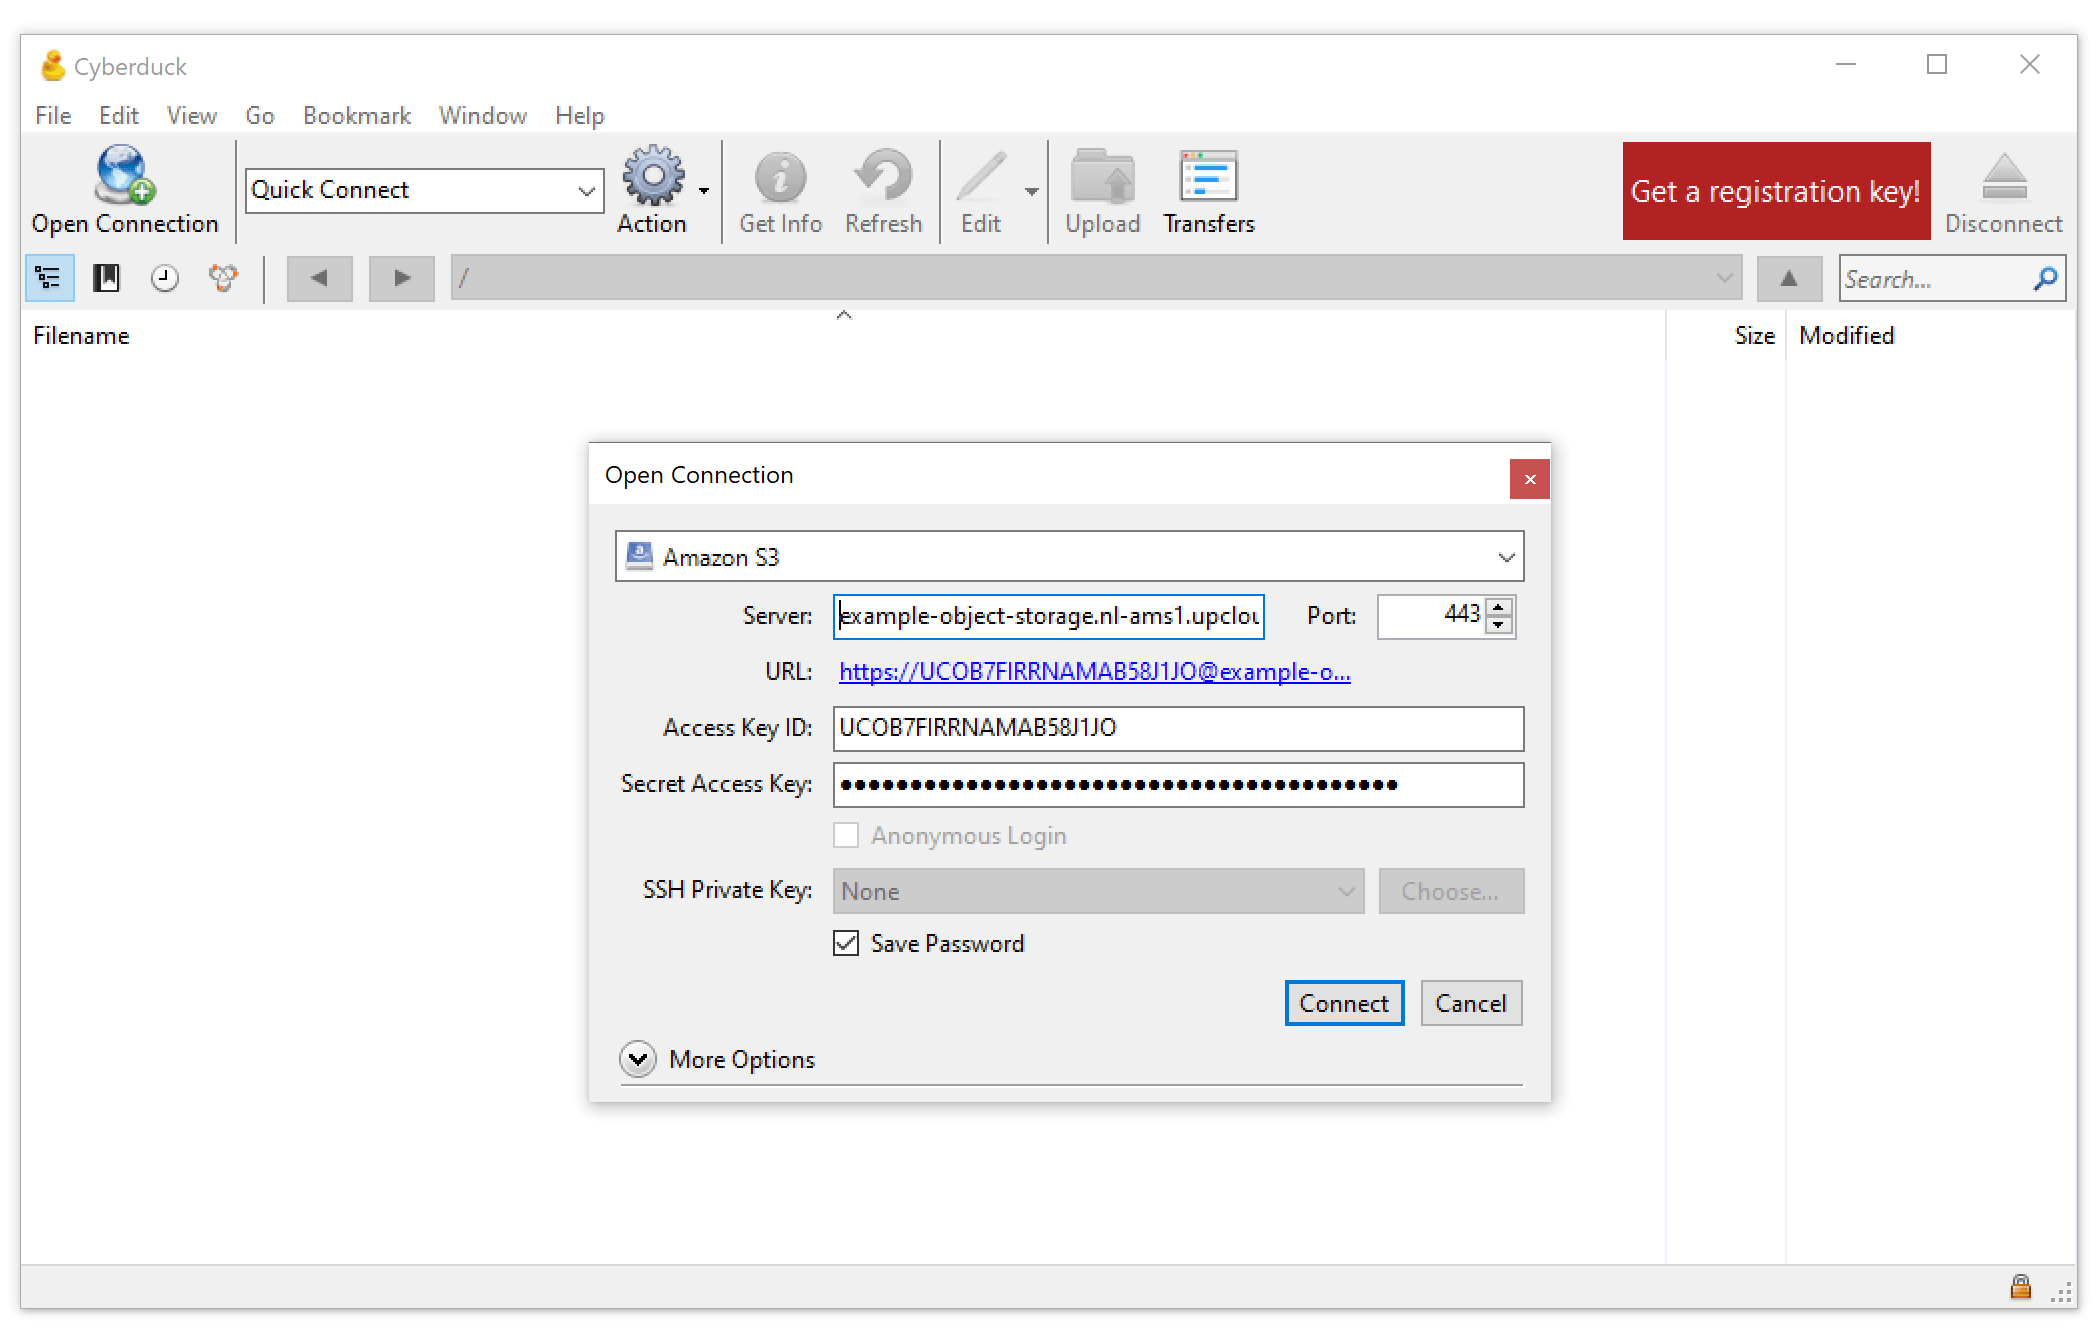
Cyberduck is a libre server and cloud storage browser for macOS and Windows with support for S3-compliant object storage in addition to FTP, SFTP, Dropbox, Google Drive and more. Cyberduck is funded through donations but the software itself is free to download and use.
Command line tools
S3cmd is a free open-source command-line tool and client for uploading, retrieving and managing data for any cloud storage service providers that use the S3 protocol and works great with UpCloud Object Storage. It is best suited for power users who are familiar with command-line programs but is simple enough for beginners to learn quickly as well. It is also ideal for batch scripts and automated backup to S3, for example, by scheduling using cronjobs.
Check out our guide on S3cmd and get started managing your Object Storage tasks.
MinIO Client provides a modern alternative to UNIX commands like ls, cat, cp, mirror, diff, find etc. It supports filesystems and S3-compatible cloud storage services across the board. In addition to being available for download on Windows, macOS and Linux, MinIO is also available as a docker image.