If you ever need to get a fresh install of your cloud server, but would also want to retain the IP addresses from your old host, then this guide is for you. The storage devices containing the operating system for your servers are easy to configure, move and remove using the features at your UpCloud control panel.
In essence, to reinstall the OS for your server, you will need to deploy a temporary new host with the OS of your choice, replace the old server storage with the freshly installed disk, and you are done. Follow up below with the exact steps on how this is done.
Deploy a new identical server
To start with, log into your UpCloud control panel and deploy a new cloud server.
On the deployment page, make the following configurations:
- Select the same location and plan as your current server
- Name the storage device such that you’ll recognise it later
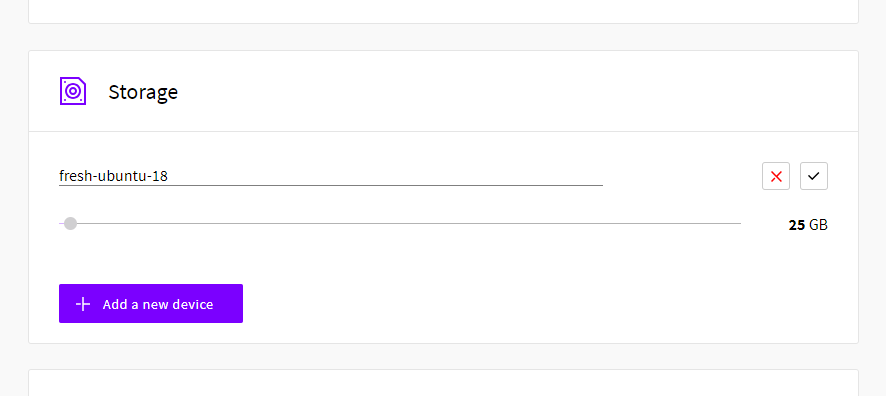
- Pick the operating system you want
- Include any SSH keys
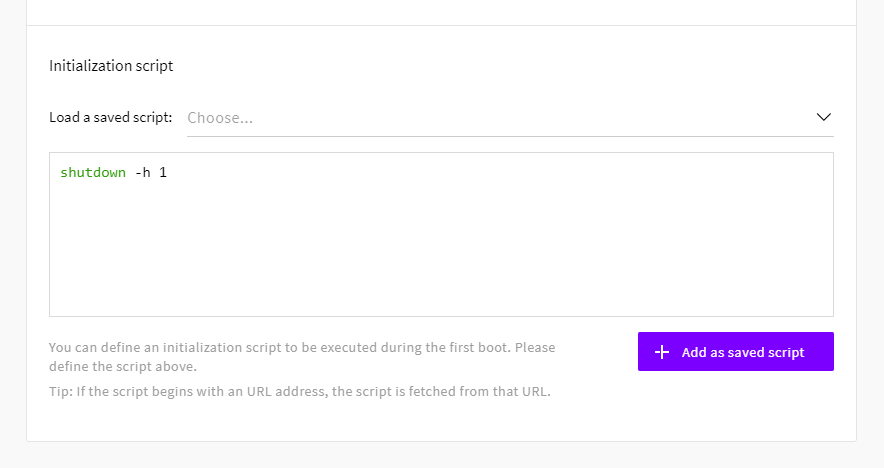
- Add the following initialization script to automatically shut down the server after deployment
shutdown -h 1
- In the last step, set the hostname and description the same as your current server

Once you are done configuring the new host, click the Deploy button at the bottom of the page.
Moving the fresh install
While waiting for the new server to finish deploying, shut down the current host either at the server list or in your server settings.
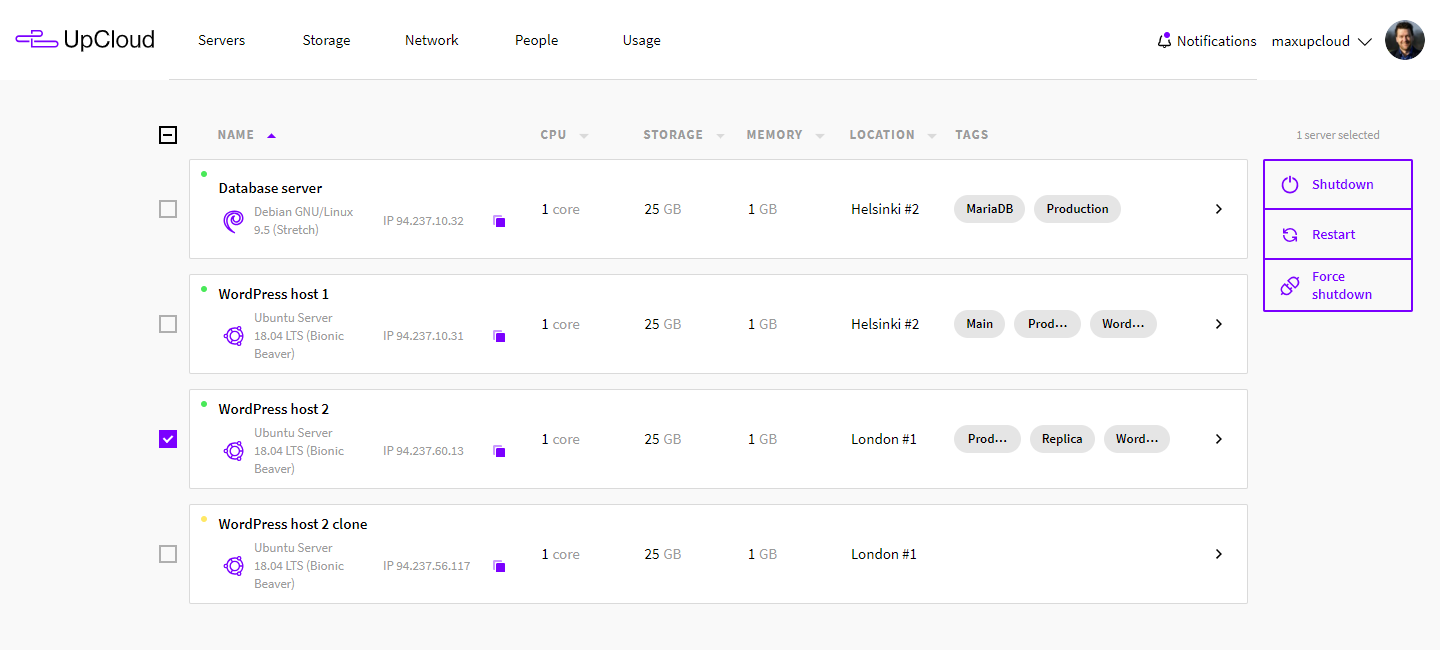
If you included the shutdown script at deployment, the new server should also be powered down. Otherwise, shut it down manually.
Next, open the settings of the newly deployed server and go to the Storage tab. Click the eject icon to detach the storage device.
Then, open the server settings of your current server. With the server powered down, go to the Storage tab to continue.
Detach the first device as you did above if you wish to keep it as a backup, or optionally you can delete it right away by clicking the bin icon if it’s no longer needed.
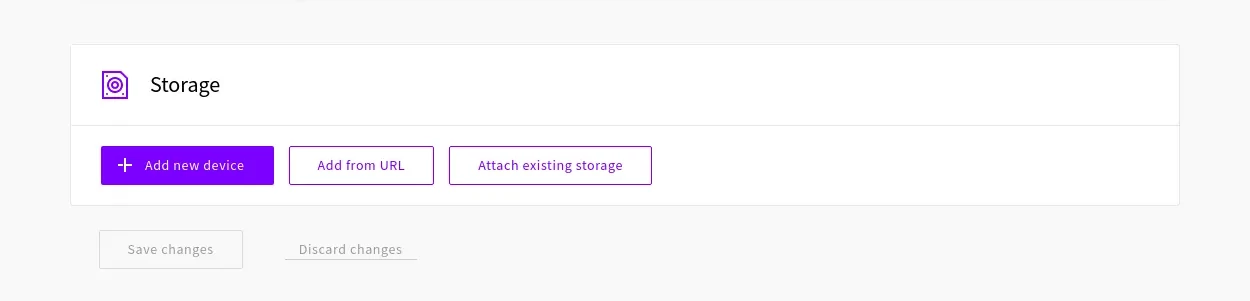
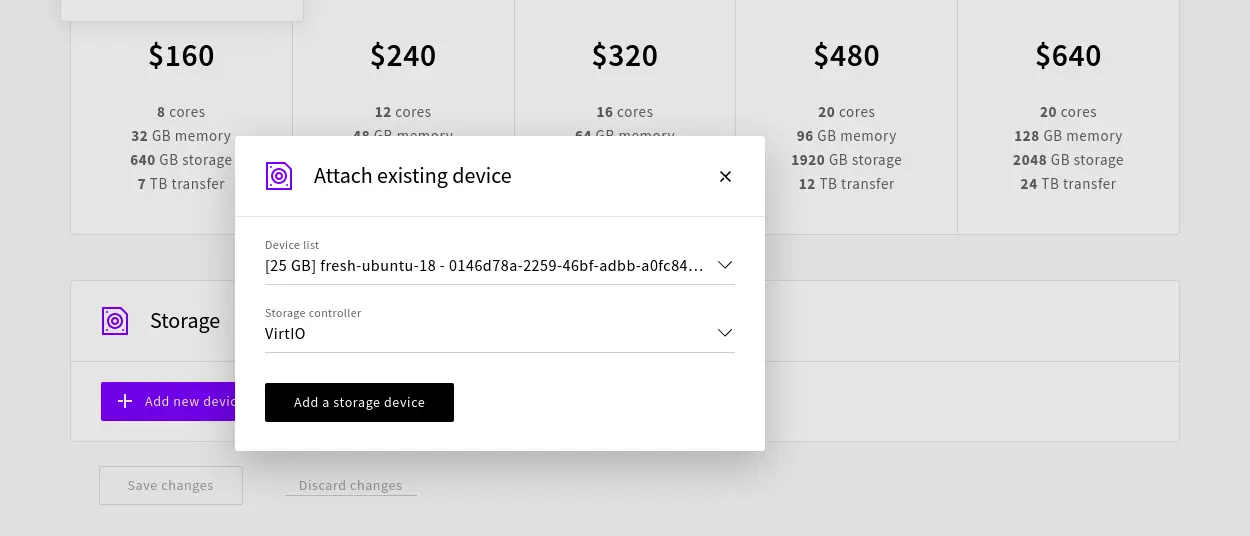
Finally, add the new device by clicking the Attach existing storage button. Then find the new disk by its name on the list of available storage devices, your free storage devices are at the top of the list.
With the right device selected, click the Add a storage device button to confirm.
Once the storage is attached, you can go ahead and boot up the server again with the clean installed OS. Log into the host using the new root password or any SSH keys you may have assigned at deployment and confirm the server is working properly.
Cleaning up
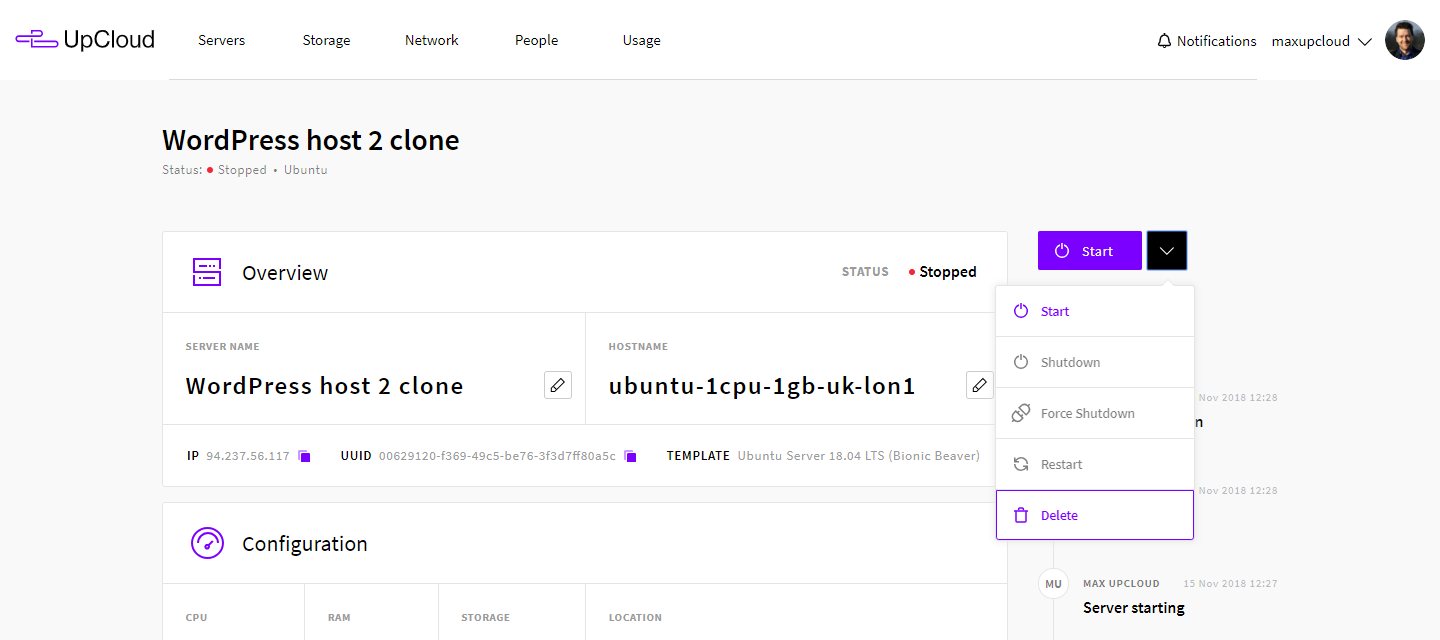
Afterwards, you can delete the temporary server from the server settings.
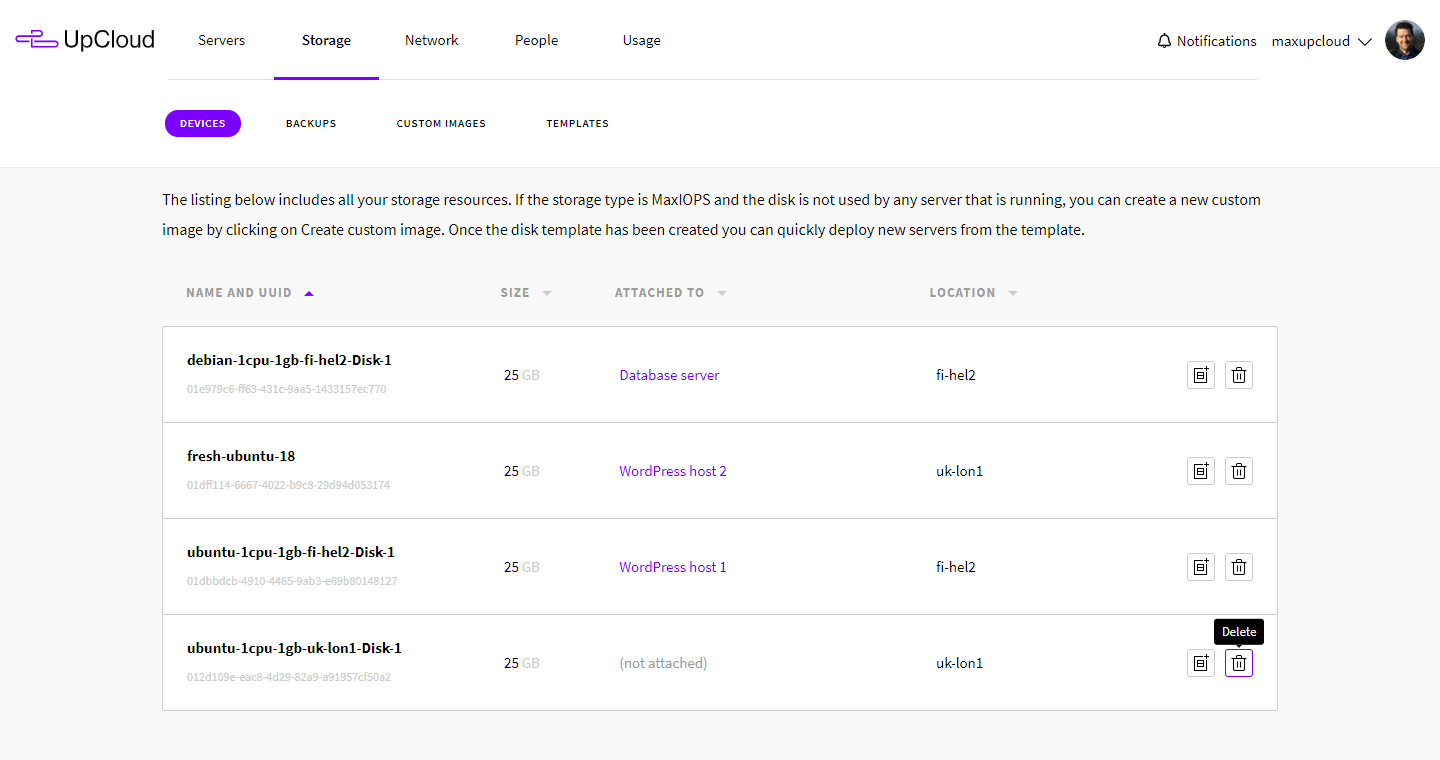
The old storage device can also be deleted from your Storage list if you no longer need it.
If the server is having connectivity problems after the system device swap, you can use VNC or the web console to log in. For servers running CentOS 6.7 or older and Ubuntu 12.04 or older, you may need to remove the old MAC address reference file and restart the server.
sudo rm /etc/udev/rules.d/70-persistent-net.rules
sudo reboot
Then test the network connectivity again.
Summary
You should now have a clean installation of the OS of your choosing up and running with all the previously configured resources. To get started again you may wish to take a look at our guide for how to secure your Linux cloud server.
If you know you may need to reinstall the system again in the future, it may be more convenient to take a backup of the fresh install which can then be easily restored in moments. You can find out more about the feature in the guide for taking backups.
Edi
could you simplify this technical steps to the a click of button feature on the dashboard?
Janne Ruostemaa
Hi there, thanks for the suggestion. While we haven’t seen that much demand for a one-click feature to reinstalling a cloud server, it is in the realm of possibility and we appreciate the feedback.
Moro Torin
Basic options for a virtual machine include reinstalling, we’re in 2020
Janne Ruostemaa
Hi there, thanks for the comment. While the solution to reinstalling a cloud server currently requires some manual steps, it also allows additional freedom of changing the operating system, server plan and shrinking the storage.
Moro Torin
You deserve a cookie for that, nice feature on that side, but still, make it 2 cts per click ;)
yadi
i don’t know why upcloud make reinstall so complicated. we are in 2020 with simple 1 click and automation, why i need reinstall and chose disk or whatever with same spec when i just want to change os from centos to ubuntu.
if i need more resource, just upgrade or create new one rather than put them in very complicated reinstall process.
Janne Ruostemaa
Hi Yadi, thanks for the comment. It’s true the reinstallation process can be simplified with automation and there are a number of tools that could help you. For example, Terraform is an excellent infrastructure management tool that can accomplish exactly what you’re after with a single command. Have a look at our introductory tutorial on how to get started with Terraform.
Ahmed
Honestly i never expected that much of steps to do a simple re-install.
Would love to see reinitialize/re-install button like other providers..
Janne Ruostemaa
Hi Ahmed, thanks for the comment. If you are regularly in need to reinstall your cloud server, I’d recommend trying out an infrastructure management tool like Terraform.
henry
95% love Upcloud platform. will be 100% when Upcloud release rebuild feature.
Yep, there’s tools like terraform etc.
but yeah, we need a simple way to rebuild the VPS WITHOUT adding any config like terraform. :)
hopefully, rebuild feature will be release in 2021.
Solomen
I agree with Henry about that. Rebuild VPS just one click is easier for many users. I have been using UpCloud for a year. 97% Love Upcloud Platform.
huynx11
I hope there will be a button to do the reset. It’s actually more useful than doing some of the above. Just 1 click and wait.
Bram Pieters
Almost 4 years later, the reinstall process is still way to cumbersome.
On other players like DigitalOcean and Vultr, it is a breeze.
I need to reinstall 18 servers, which should not take long, but with the current process, it’s gonna take a whole day I guess.
Janne Ruostemaa
Hi Bram, thanks for the comment. We understand that the extra steps to reinstall a server can be a bother and are always working on quality-of-life improvements for your UpCloud Control Panel.