Once you have your first Linux server up and running, you might be wondering how to transfer files or folders between your server and your local computer. Luckily, there’s an easy solution by setting up a Samba file service on your Cloud Server.
Samba is a suite of Unix applications that speak the Server Message Block (SMB) protocol. Microsoft Windows operating systems and the OS/2 operating system use SMB to perform client-server networking for file and printer sharing and associated operations.
In short, Samba helps you transfer files between your server and your local computer. In this tutorial, we’ll show the steps to set up and configure your Cloud Server with Samba.
Setting up your server
To begin, you need a Linux-based Cloud Server, this can be Ubuntu, Debian or Centos. You can find out more in our tutorial on how to create a new Cloud Server.
When your server is live, log in using SSH and continue by updating the server software.
sudo apt update && sudo apt upgrade
Then install Samba with the following command.
sudo apt install samba
We can check if the installation was successful by looking up the installation location.
whereis samba
You should see an output similar to the example below.samba: /usr/sbin/samba /usr/lib/samba /etc/samba /usr/share/samba /usr/share/man/man7/samba.7.gz /usr/share/man/man8/samba.8.gz
With Samba installed, we will next configure the firewall.
Depending on your Linux distribution, you will have either ufw or firewalld. If you are running Ubuntu or Debian, UFW is the firewall of choice. CentOS on the other hand comes with firewalld.
sudo ufw allow 'Samba'
You should also allow SSH to prevent yourself from getting locked out.
sudo ufw allow ssh
Next, enable the firewall and the configured rules.
sudo ufw enable
Now let’s verify that the firewall is enabled as well as that Samba and SSH are allowed.
sudo ufw status verbose
The output should show something like the example below.
Status: active
 Logging: on (low)
 Default: deny (incoming), allow (outgoing), disabled (routed)
 New profiles: skip
 To                         Action      From
 --                         ------      ----
 137,138/udp (Samba)        ALLOW IN    Anywhere
 139,445/tcp (Samba)        ALLOW IN    Anywhere
 22/tcp                     ALLOW IN    Anywhere
 137,138/udp (Samba (v6))   ALLOW IN    Anywhere (v6)
 139,445/tcp (Samba (v6))   ALLOW IN    Anywhere (v6)
 22/tcp (v6)                ALLOW IN    Anywhere (v6)
Verifying the default configuration
Now let’s start configuring Samba. However, before you start, you should always make a backup of the configuration file. This way you always have a way to restore the default settings if something goes wrong.
sudo cp /etc/samba/smb.conf{,.backup}
Open the Samba configuration file with a text editor, for example, using nano with the following command.
sudo nano /etc/samba/smb.conf
Then find the server role setting in the configuration file. The default value should be set to “standalone server”.
 ...
 # Most people will want "standalone sever" or "member server".
 # Running as "active directory domain controller" will require first
 # running "samba-tool domain provision" to wipe databases and create a
 # new domain.
 server role = standalone server
 ...
Now let’s test our configuration file with the command below.
testparm
Load smb config files from /etc/samba/smb.conf
 Loaded services file OK.
 Server role: ROLE_STANDALONE
If there are no errors, your output should show the configuration as well as say “Loaded services file ok” like the example above.
Let’s restart the related services to make sure everything is running.sudo systemctl restart smbd
sudo systemctl restart nmbd
Setting up Samba
Now that Samba is installed, we need to create a directory for it to share, this makes it more organised.
mkdir /samba
The command above creates a new folder called samba in the system root which we will share later.
Now let’s set the group ownership of the shared directory to the sambashare group which was created during the Samba installation.
sudo chgrp sambashare /samba
Setting up a user account
Samba utilises both Linux users and group permission as well as its own mechanism.
Let’s create a user account using the useradd command. You can replace the example username upcloud with what you prefer.
sudo useradd -M -d /samba/upcloud -s /usr/sbin/nologin -G sambashare upcloud
Breaking down the above command you just entered.
- -M do not create the user’s home directory. We’ll manually create this directory.
- -s /usr/sbin/nologin – disable shell access for this user.
- -d /samba/upcloud – set the user’s home directory to /samba/upcloud.
- -G sambashare – add the user to the sambashare group.
Now create a home directory for our user upcloud, then set the group of the folder to the samba share.
sudo mkdir /samba/upcloud
sudo chown upcloud:sambashare /samba/upcloud
Once this is done, we will set a password for the Samba user account
sudo smbpasswd -a upcloud
You will be prompted to enter and confirm the user password.
New SMB password:
Retype new SMB password:
Added user upcloud.
Once the password is set and the user is created, enable the user with the following.
sudo smbpasswd -e upcloud
Next, we will set the setGID bit into the Samba directory. This will cause all files that are created in the shared directory to be owned by the group of the directory as opposed to the group of the owner.
sudo chmod 2770 /samba/upcloud
Configuring Samba configuration file
Lastly, we need to tell Samba where the shared directory is and who has permission to it.
Open the Samba configuration file for editing.
sudo nano /etc/samba/smb.conf
Add the following lines to the end of the file.
[upcloud]
path = /samba/upcloud
browseable = no
read only = no
force create mode = 0660
force directory mode = 2770
valid users = upcloud
When done, save the file and exit the editor.
Then restart the Samba services
sudo systemctl restart smbd
 sudo systemctl restart nmbd
Once this is done, you are ready to connect to the Samba directory from your local machine.
Accessing Samba Share from Windows
For Windows users, you can connect to the Samba directory via the Windows Explorer.
1. Click on Start and search for “File Explorer” then open it
2. In the window, right-click on “This PC” then select “Map network drive”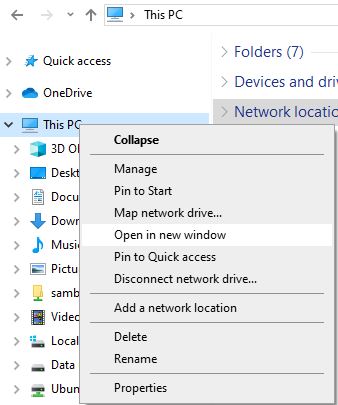
3. A Popup will show asking for the credentials, Insert the user credentials, and set in the smbpasswd portion in Setting up User Accounts. For this eg, it will be “upcloud”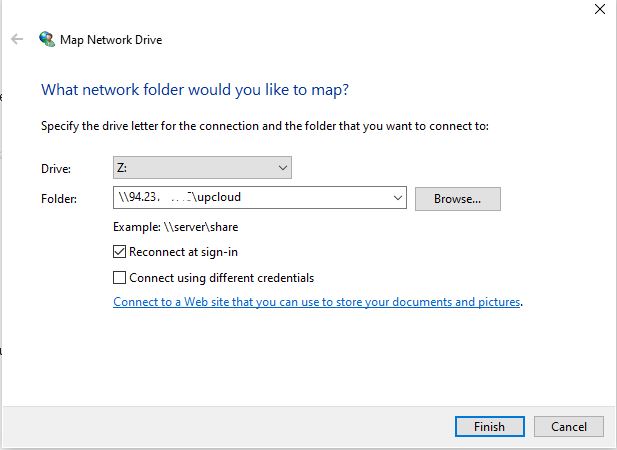
4. The folder is now connected. I have added a file to the folder and the file is shown in my Windows network drive.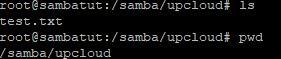
Accessing Samba Share from macOS
In macOS, you can access the Samba Shares either from the command line or using the default macOS file manager Finder. The following steps show how to access the share using Finder.
1. Open “Finder”, select “Go” and click “Connect To”.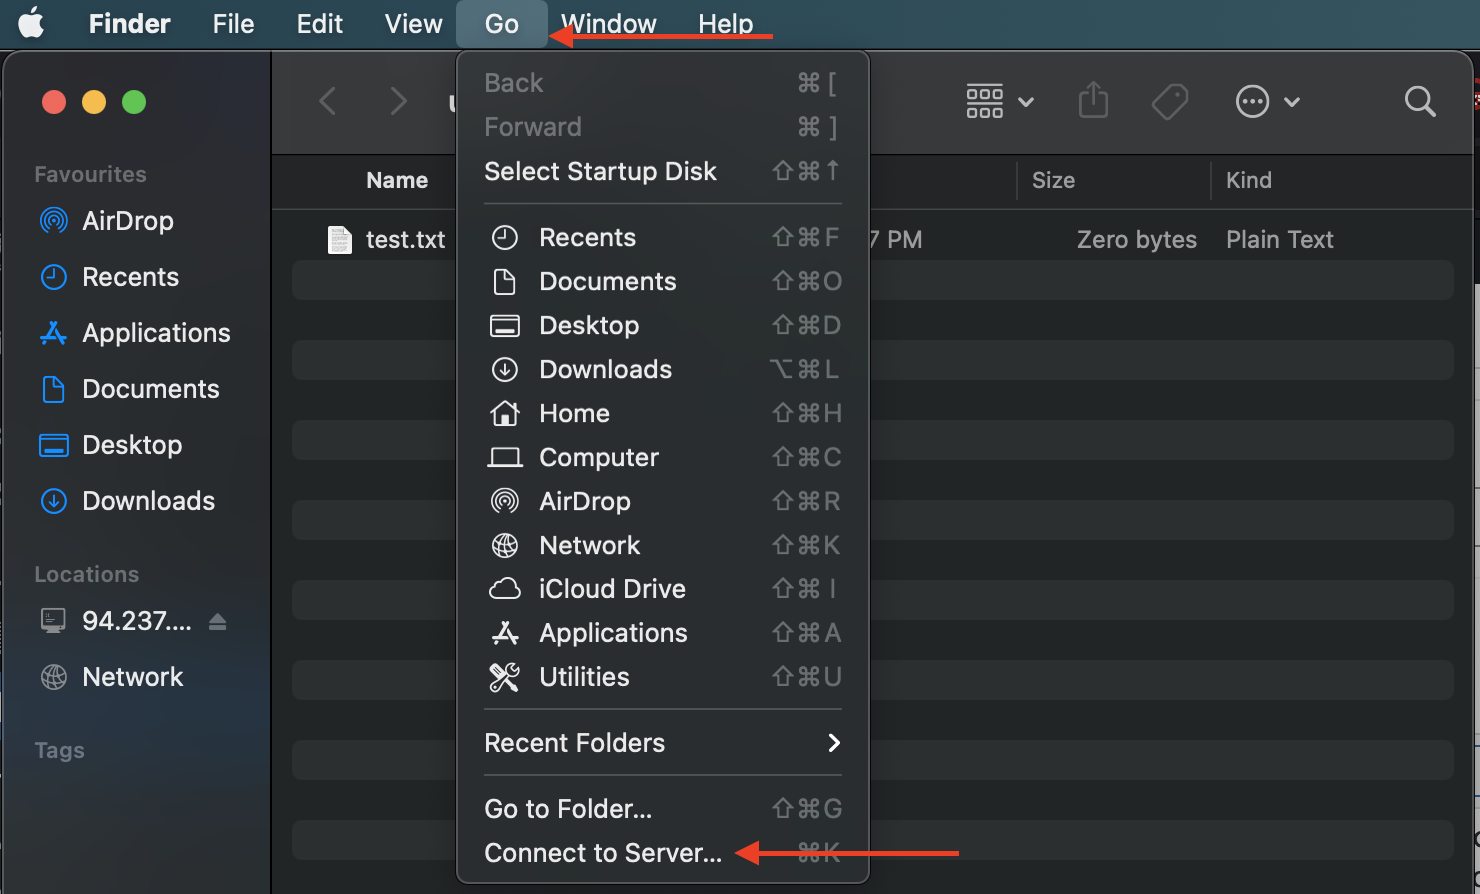
2. In “Connect To”, enter the address of the Samba share in the following format smb://samba_hostname_or_server_ip/sharename.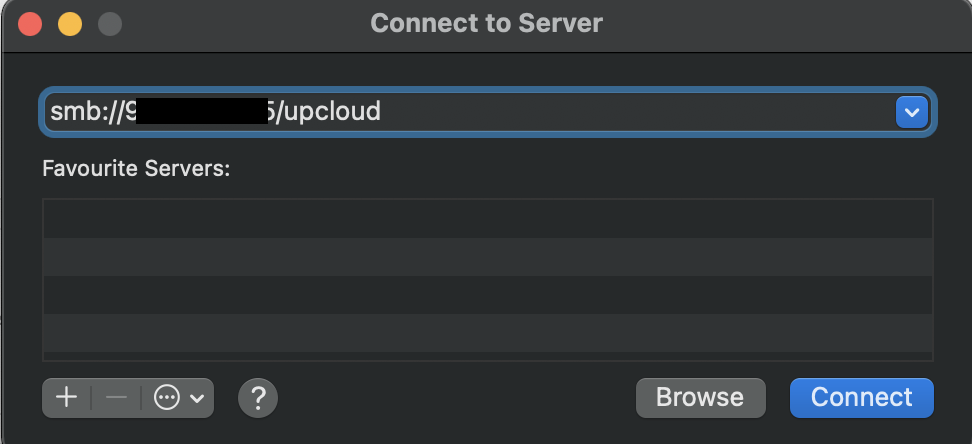
3. Make sure you select registered user and key in your Linux Credentials. In this eg, that will be upcloud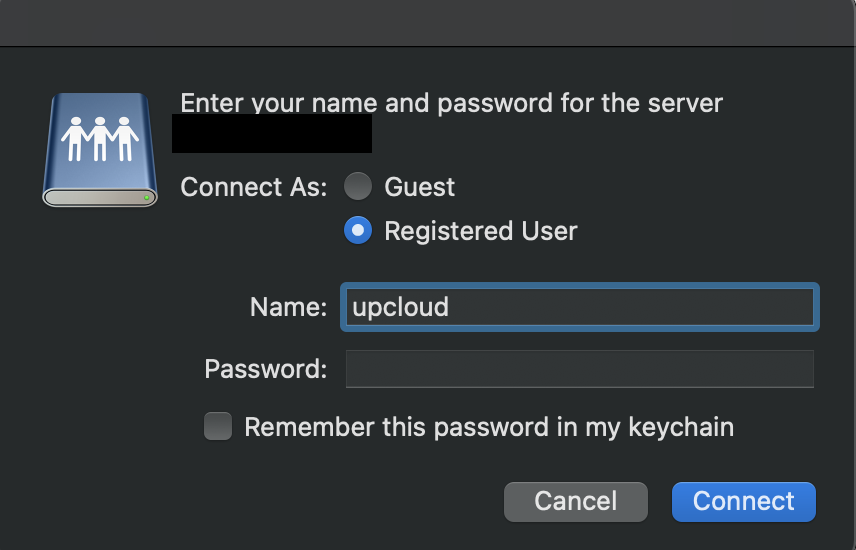
4. Once it is connected you will be able to see the files from the server.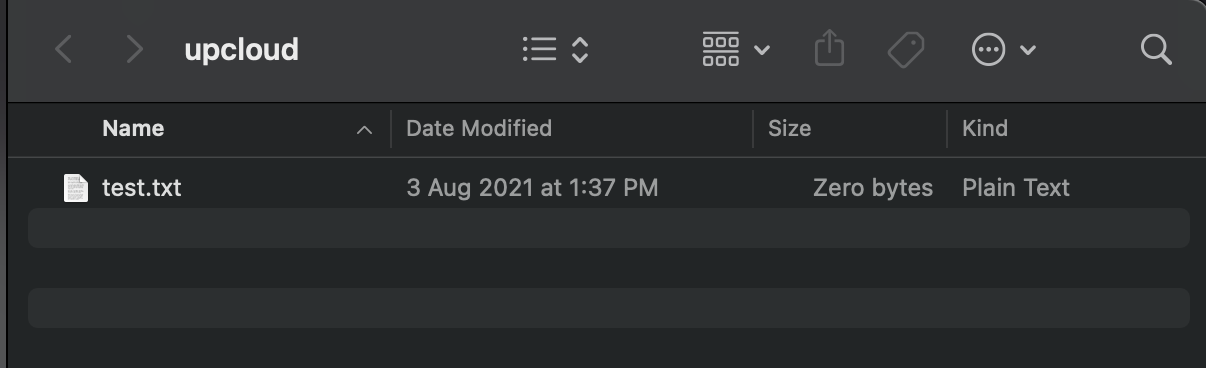
Accessing Samba share from Ubuntu
On most Linux distributions, you can use a Samba command-line client. For example, smbclient can be installed on Ubuntu and other Debian-based systems using the following command.sudo apt install smbclient
Once installed, you can connect to your Samba share with the command below.smbclient //samba_hostname_or_server_ip/sharename -U username
For example, using the Cloud Server IP address and the “upcloud” share we created earlier. You’ll also need to use the -U parameter for specifying the login username.smbclient //94.237.60.118/upcloud -U upcloud
When prompted, enter your passwordEnter WORKGROUPupcloud's password:
Try "help" to get a list of possible commands.
smb: >
Alternatively, you can add your Samba share to most native file managers.
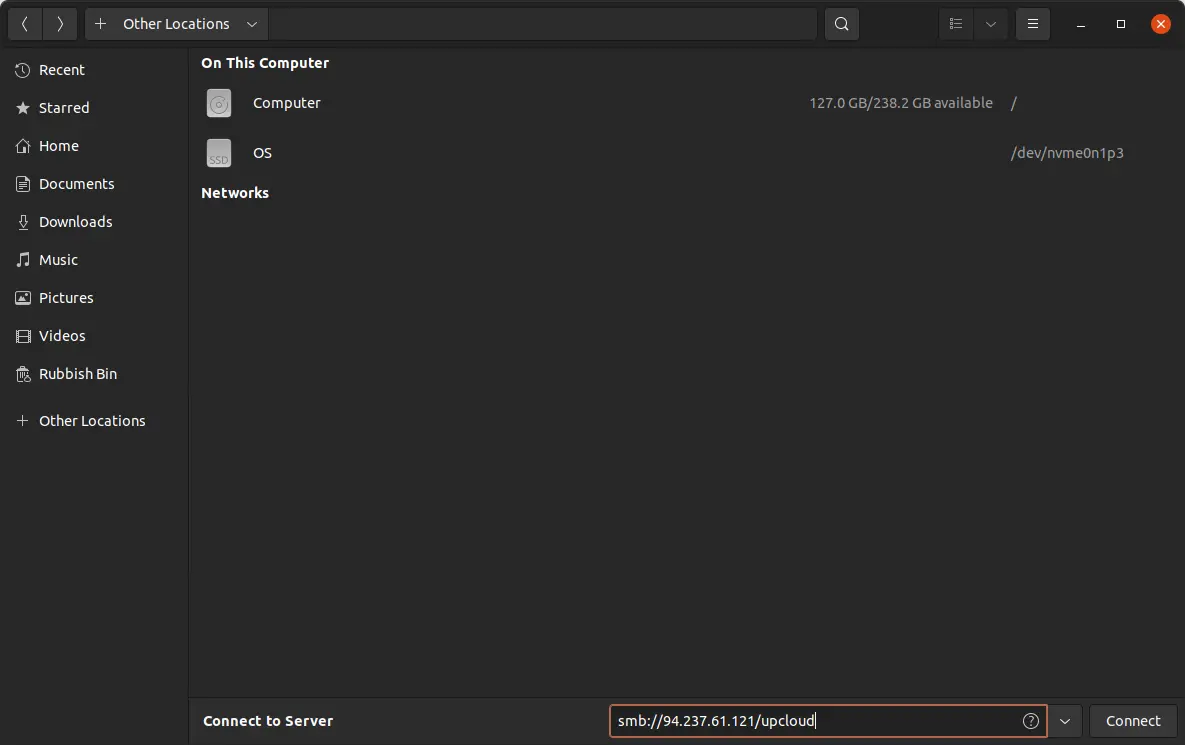
1. For example, on Ubuntu Nautilus, click the “+Other Locations” on the left panel. Then enter your Samba server address and share name in the “Connect to Server” field and click the Connect button.
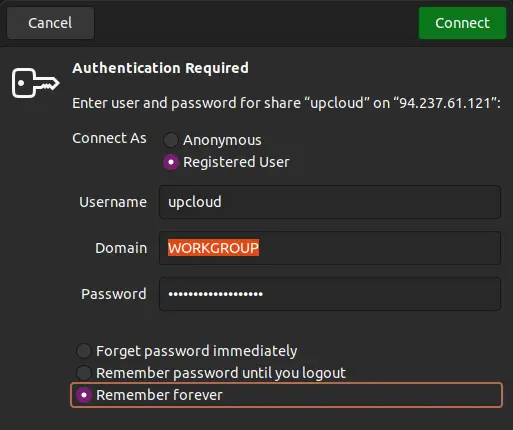
2. In the authentication window, select use Registered User and enter your username and password.
You can also choose to have the username and password remembered either for the duration of the current login or permanently.
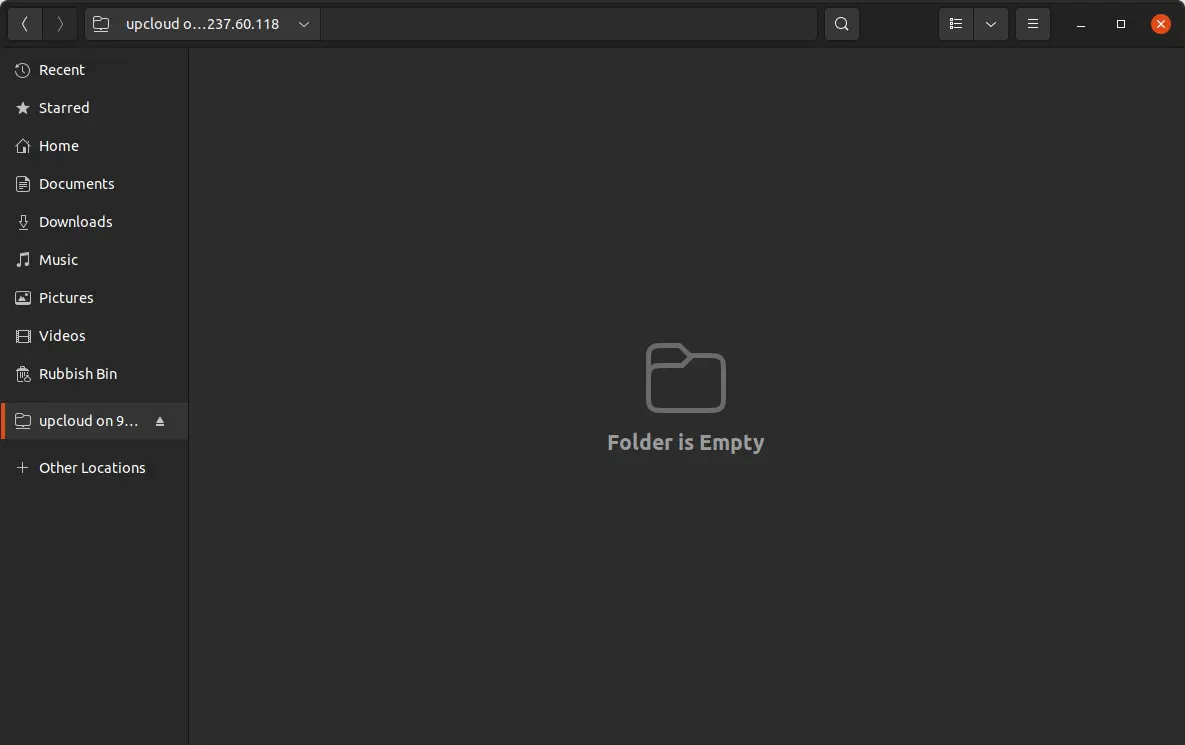
3. You are then ready to start uploading files to your Samba Linux server.
Conclusion
You should now be able to transfer files from your local computer to your Cloud Server and back.
There are of course many other options for configuring your Samba file server. You can read up more on these at the SambaWiki.
belmoh
awesome work ! many thanks !!!!!!! ^_^