New - NVIDIA B200 & B300 Dedicated GPU Clusters | Explore GPU clusters
Updated on 11 August 2026
Large Language Models (LLMs) are no longer limited to cloud and SaaS services (such as Anthropic or OpenAI). With tools like Ollama, we can run quite powerful models directly on our machines, even laptops, within minutes.
For experiments, internal chatbots, or processing sensitive data, getting started with models hosted by us is surprisingly easy.
In this tutorial, we will install Ollama, download one of the available models, and we will chat with it. All from one single terminal.
Why Run LLMs Locally?
Before we dig deeper into the terminal, we should understand why we might want to run AI inference locally.
- Privacy: In many scenarios, such as processing sensitive data, using SaaS products is simply a no-go. Regulations might also require us to ensure our data does not leave our infrastructure. Running the model locally ensures no prompts, data, or responses ever leave your infrastructure.
- Low latency: With proper infrastructure, a local setup can be much faster than any SaaS platform. This is especially true during peak traffic hours. Of course, this requires a relatively powerful setup to provide benefit.
- No usage fees: A very important element from the perspective of cost management. The infrastructure and, in some cases, the model will incur costs, but inference tokens won’t be charged, ensuring predictable running costs.
- Full control: We control who has access, which models are used, how those models are deployed, and the guardrails within which the models must run.
What is Ollama?
Ollama is an open-source platform for managing and running LLMs. It allows us to download, manage, and use different models from the model library, and allows us to run inferences from the console or through an API.
The platform allows us to run not only LLMs but also agents or systems like OpenClaw. It is owned and maintained by Ollama Inc.
Install Ollama
Okay! Now that we know why a local LLM workload makes sense, it’s time to start our journey and install Ollama.
Prerequisites
To follow this tutorial, we need a machine to run the model. Given that models are designed to fit relatively small infrastructure, we don’t need to use the most modern servers with the most powerful GPU cards.
The steps in this tutorial can be completed on most Linux systems. We will use the NVIDIA L4 instance offered by UpCloud as an example.
To run the install script successfully, you will need to have the following packages installed.
curl awk grep sed tee xargsInstallation of Ollama on Ubuntu
The installation is very simple. Ollama provides a simple, platform-agnostic installation script that supports most Debian- and RPM-based distributions.
curl -fsSL https://ollama.com/install.sh | shAfter a short time, we should see a similar message to the one in the image below:
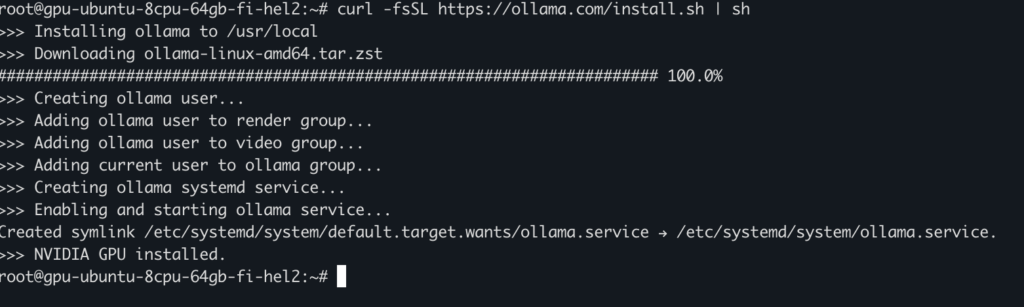
And… that’s it!
Let’s verify the installation:
ollama --versionIf Ollama returns the version number, we are ready to run our workloads!
Download the first LLM for Ollama
Time to download the first model. We will pull the llama3 model for this tutorial. All available models are listed in the library page on the Ollama website.
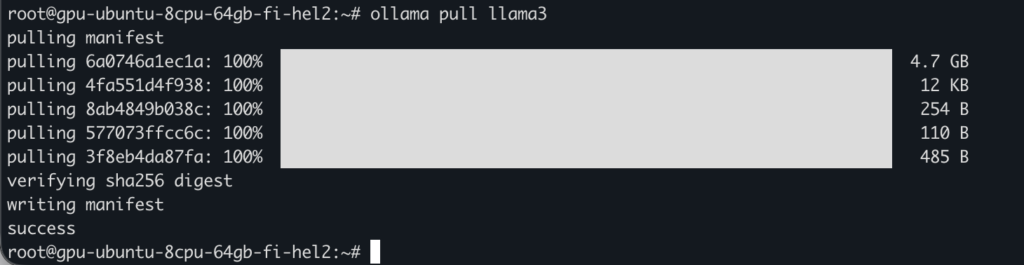
To pull the model, we use this command:
ollama pull llama3It takes some time, depending on the connection speed and size of the model. This particular model is almost 5GB, so it takes a few moments to complete.
Once your model pull is complete, let’s learn more about it and validate the download.
ollama listThis command shows all the pulled models stored on our local volume.

We see here the model name and version, the image ID, the package size, and the last modification time.
To learn more about the model, you can use the following command:
ollama show llama3This command will return basic information about the model. Its parameters are size, quantization (precision), and context window length.
Running the LLM model
It is time now to run our first prompt! This is equally easy as every step so far.
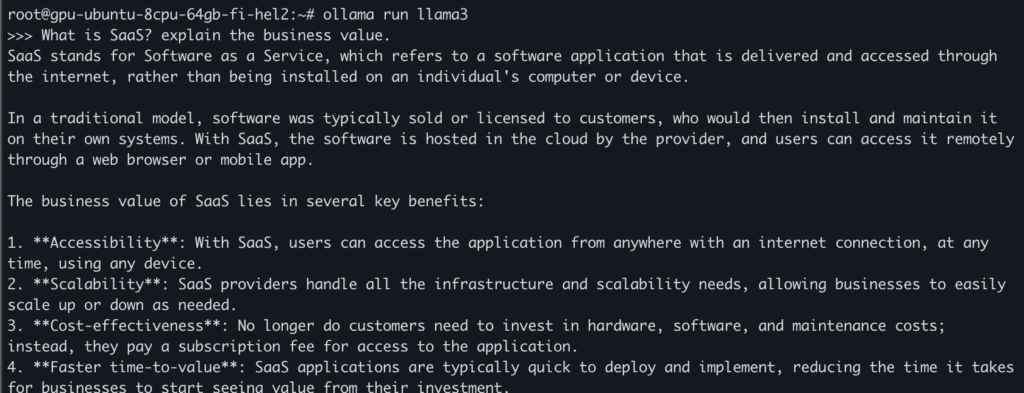
First, run the model by using the command below:
ollama run llama3After a few moments, we will receive a prompt from Ollama, and we are ready to ask anything!
When we are finished with our chat, we can leave the Ollama by using the /bye exit command.
However, if you want to leave the model running to complete a longer prompt, we can return to our system prompt by using the ctrl + d combination to detach from the process.
ctrl + d
This will leave the model available for future use.
Monitoring the usage
Ollama provides commands to monitor system performance by running:
ollama psSince we left the model running, we can see it is still loaded into memory.

What’s next?
We can download more models, like the European Mistral, using
ollama pull mistralOr, start with agentic workloads, using, for example:
ollama launch openclawHowever, for agent execution, we might need some dependencies installed, like Node.js and OpenCLAW, in this example.
Conclusion
Running LLM locally was never easier. Ollama, or Docker Model Runner (and many other applications), allows us to build an entire application powered by AI inference in our local environment, using only a handful of commands. This makes it an excellent choice for developers exploring generative AI.
Whether you are building prototypes, experimenting with AI, or developing privacy-sensitive applications, running Ollama with local LLMs gives you a fast, reliable, simple, and fully controlled environment to do so.
If you would like to try, use UpCloud’s GPU Servers powered by NVIDIA GPU chips. If you have any questions, our team is always happy to help!
Discussion