Web apps are extremely popular these days and just about anything can be run in a neat little package. However, if you want to take a comfortable approach or let non-techies install and use web apps, you’ll need something like Cloudron to automate the background tasks.
Cloudron is a single-click, turn-key application platform for the cloud. Their 60+ applications have been tested and approved to run trouble-free. It automates all the tasks from configuring databases and setting up DNS records to installing and managing certificates. Cloudron provides you with a centralized platform to manage users and their web apps from the comfort of your web browser. In this tutorial, we’ll show you how to install and configure Cloudron on your cloud server and how to deploy your first web app.
Sign up with UpCloud
First things first, if you have not yet registered on UpCloud, begin by getting signed up. Follow the link here to register an account and you’ll receive an extra €25 for a week to get you really going!
Deploy a new cloud server
Deploying a new server on UpCloud is an easy and straightforward process. To get started, log into your UpCloud control panel and select to Deploy a server under the Servers section.
The deployment page shows a number of options for customizing a new cloud server.
- Choose the server location from the available data centres
- Pick a configuration, Cloudron requires at least 1GB of memory and 20GB of storage, but we have found Ubuntu 22.04 reserves more system memory, so a 2GB plan may be needed
- Select Ubuntu 22.04 for the operating system
- Add any SSH keys you want to use
- Give your server a hostname and description
- Deploy!
You can find more detailed instructions on server deployment at our newcomer’s tutorials.
Installing Cloudron
Connect to your cloud server over SSH to get started.
Cloudron provides a quick and easy installation method via a setup script. Download the script with the command below.
wget https://cloudron.io/cloudron-setup
Make the script executable with the following command.
chmod +x ./cloudron-setup
Then install Cloudron by running the script.
./cloudron-setup
You will then see an output similar to the example below.
##############################################
         Cloudron Setup (latest)
##############################################

 Follow setup logs in a second terminal with:
 $ tail -f /var/log/cloudron-setup.log

 Join us at https://forum.cloudron.io for any questions.

=> Installing software-properties-common
=> Ensure required apt sources
=> Updating apt and installing script dependencies
=> Checking version
=> Downloading version 5.3.4 ...
=> Installing base dependencies and downloading docker images (this takes some time) ...
=> Installing version 5.3.4 (this takes some time) ...
=> Waiting for cloudron to be ready (this takes some time) .....

Visit https://<your-ip-address> and accept the self-signed certificate to finish setup.

The server has to be rebooted to apply all the settings. Reboot now ? [Y/n]
Once the installation is complete, you will be prompted to restart the server. Select yes by pressing “y” and then enter to reboot.
Rebooting the server will close your SSH connection, reconnect manually in a few seconds.
Once you log back into your cloud server, you will be greeted by a welcome message.
**********************************************************************

                        WELCOME TO CLOUDRON
                        -------------------

Visit https:// on your browser and accept the self-signed certificate to finish setup.

Cloudron overview - https://cloudron.io/documentation/
Cloudron setup - https://cloudron.io/documentation/installation/#setup

For help and more information, visit https://forum.cloudron.io

**********************************************************************
Installation, done! Continue below with configuring Cloudron.
Configuring Cloudron
With Cloudron installed, next, you’ll need to configure the server. Open your server’s public IP on a web browser, accept the warning of an insecure website when prompted.
Depending on your web browser, you’ll need to manually accept the self-signed certificate. On Chrome, this can be done by clicking the Advanced and then click Proceed to your.domain (unsafe). On Firefox, click on the Advanced option then Add Exception and Confirm Security Exception.
https://your.server.ip
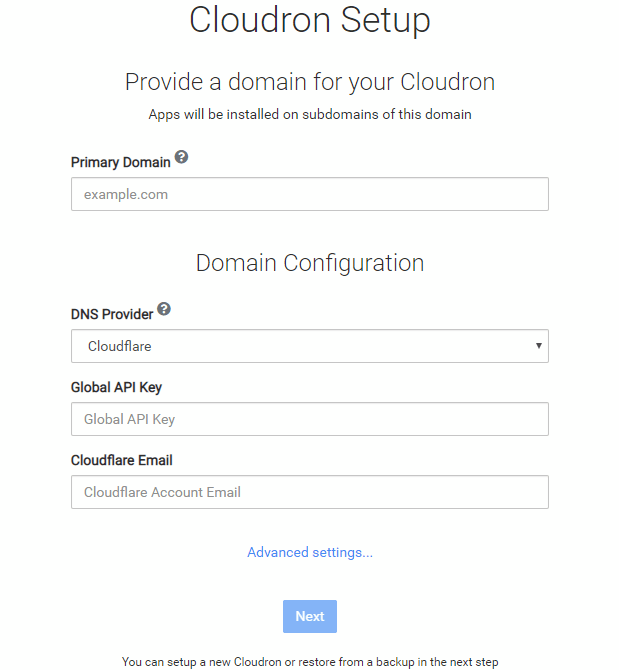
Once on the page, you will be presented with a setup page.
Enter the domain name that you want to points to your Cloudron server. This is required so that Cloudron can be installed at a subdomain like my.example.com and any apps under subdomains of their own such as git.example.com.
You can also choose a domain that is already in use as long as the “my” subdomain is available. As an added safety feature, Cloudron will never overwrite existing DNS records. For this example, we are using a subdomain such as cloudron.example.com.
In addition, you also need to configure API access to your domain registrar. Cloudron uses the API to automatically configure domain name records for your apps. Select the DNS service on which your domain is hosted. If you can’t find your registrar, use the Wildcard or Manual option. Once done, click the Next button to continue.
Below are links to Cloudron help pages about some of the DNS providers you might be using.
Once Cloudron has connected with your domain name registrar’s API and configured the necessary records, you’ll be forwarded to the administration account setup page.
In the next step, fill in your details to create an admin account, then press the Done button to confirm.
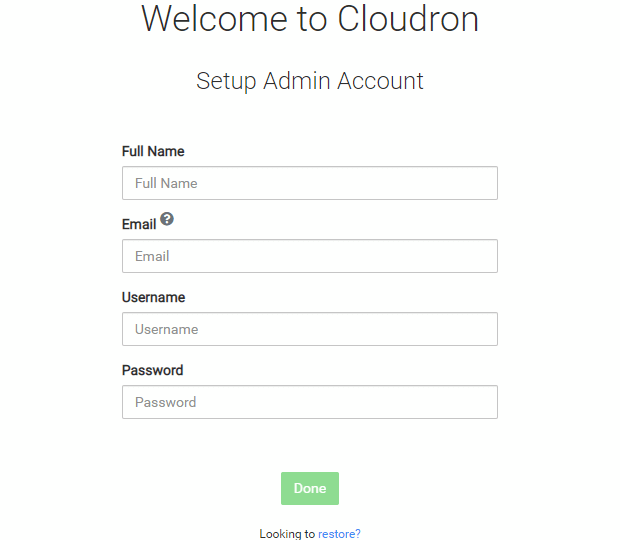
Cloudron will obtain an SSL certificate for the server securing the connection. This requires a valid administrator email address to set up a Let’s Encrypt account. An invalid email will cause Let’s Encrypt to not issue certificates and Cloudron will fallback to using self-signed certs.
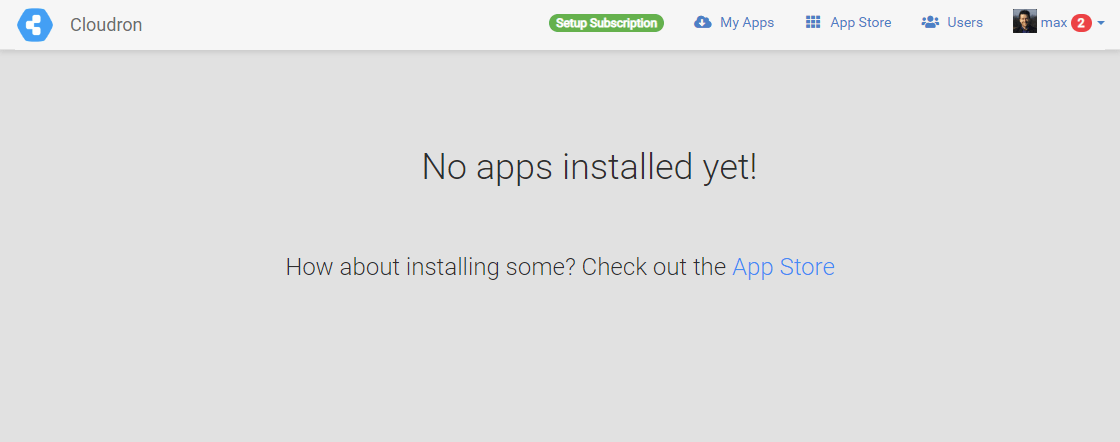
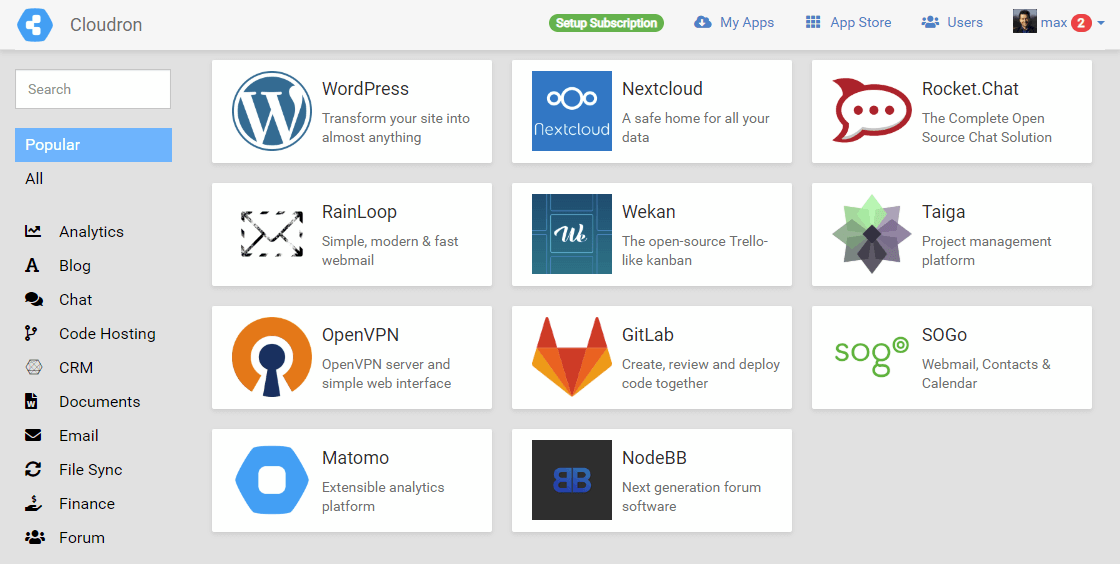
Once the account setup is complete, you’ll get logged into your Cloudron control panel. For the moment, there are no apps installed. Go to the App Store to find something to try out.
Before installing apps, you need to sign up for a Cloudron account. Enter an email address and a password, read and accept the Cloudron license then click the Create Account button.
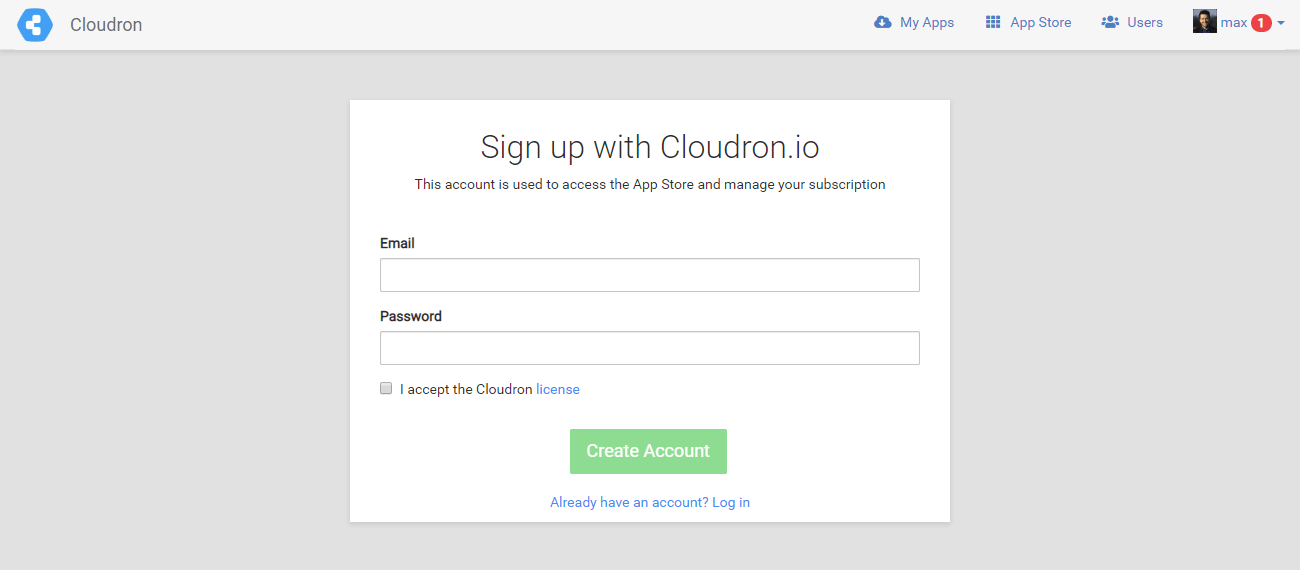
By signing up with Cloudron, the server will register itself and get a unique Cloudron ID.
Deploying your first app
With Cloudron, web apps can be installed quickly and easily straight from their App Store. It’s an app repository hosted by cloudron.io and provides app packages that can be installed on a Cloudron.
Pick an app to test your installation.
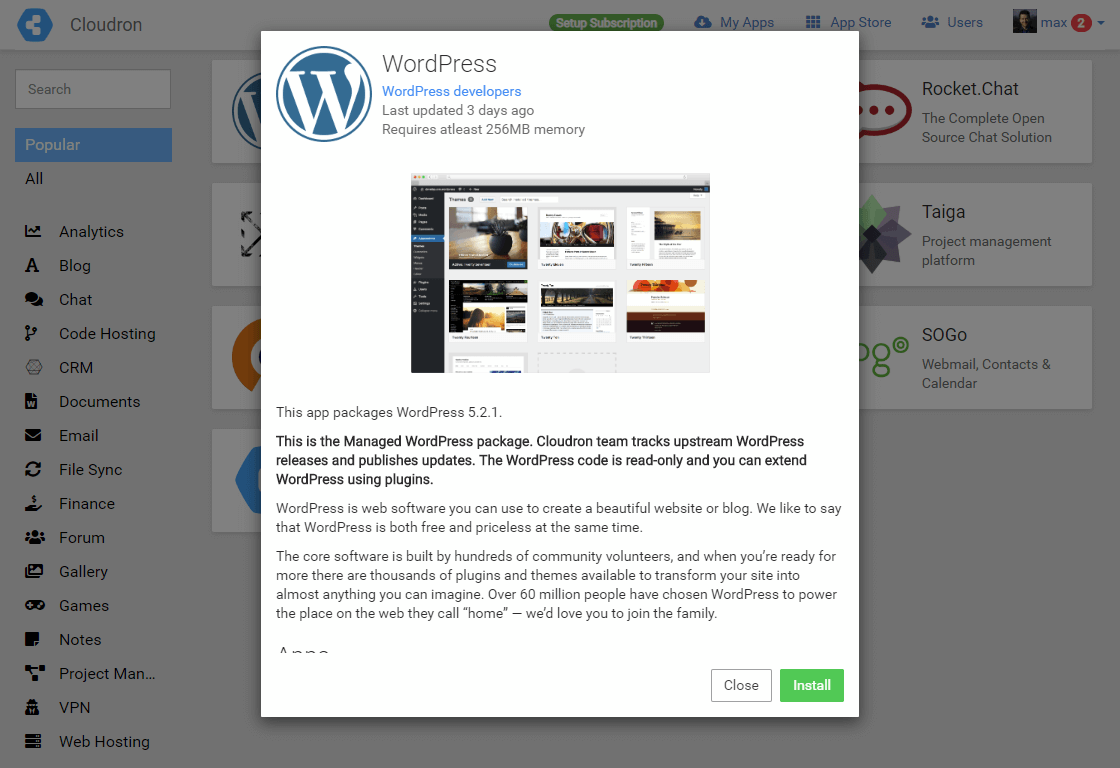
For this example, we are installing WordPress to test the platform.
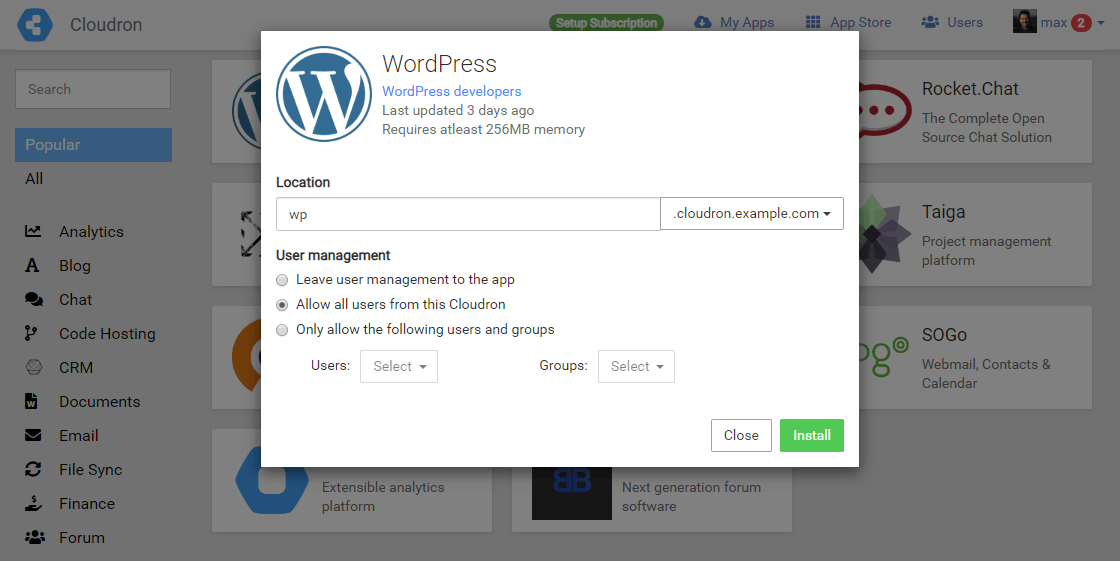
Make the necessary configurations to install WordPress. Enter a subdomain or leave the field empty to install it on the primary domain. Then select the users you want to be able to access the WP app. Once these are set, click the Install button to continue.
Cloudron will automatically configure user accounts on the WordPress site. Confirm that you’ve read the instructions and click the Open WordPress button.

Once WordPress has been installed, you can find it at your My Apps view and where it will show as Running. At the My Apps view, you can find all installed apps, as well as manage, configure, and uninstall them. It also periodically checks the app store for updates to any of your installed apps.
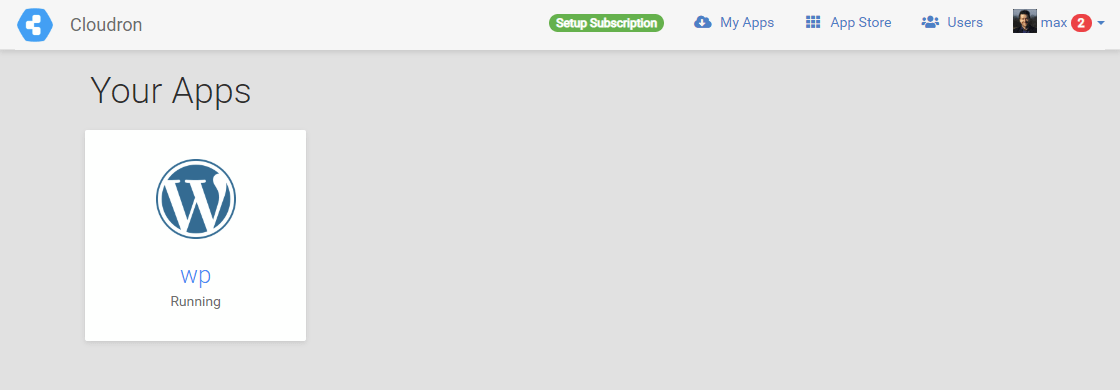
Check that WordPress is working by going to the default landing page at the subdomain you chose.
If you can reach the WP site, it was successfully deployed!
Conclusions
Congratulations! You have successfully installed and configured Cloudron along with the first web app. Make sure to check out all the apps available and learn more about managing apps.
Cloudron allows you to quickly and easily deploy web apps for a number of uses. It frees you from self-hosting web applications to avoid error-prone and time-consuming manual setups. One-click install all the web apps you need in a matter of seconds by automating all the background tasks without the need for technical know-how on every programming language and distribution platform.
Discussion