Developers need fast, secure, and efficient ways to build modern websites—whether it’s a personal blog, product landing page, or documentation site. A static site generator like Hugo is that’s fast, easy to use, and highly customizable is a great solution to deploy and pull content quickly. Unlike traditional CMSs that rely on databases and server-side rendering, Hugo generates pre-rendered static HTML files, making your site lightning-fast, secure, and easy to deploy.
But performance doesn’t stop at build time. To fully take advantage of Hugo’s speed, you need reliable hosting that can keep up. UpCloud offers just that—scalable, SSD-backed infrastructure, custom firewalls, and fast networking to ensure your site stays online and loads in seconds.
In this guide, we’ll walk you through everything you need to build a Hugo static site, configure it for optimal performance and SEO, and deploy it to UpCloud for fast delivery.
What is Hugo?
Hugo is an open-source static website framework designed for developers who prioritize speed, simplicity, and flexibility. As one of the most popular static site generators, Hugo empowers you to build high-performance websites without the overhead of traditional, database-driven CMS platforms like WordPress.
Built in Go (Golang), Hugo is exceptionally fast and capable of generating thousands of pages in seconds. This speed makes it ideal for developers who want a responsive workflow and quick deployment cycles. When you run a Hugo build, it converts your content (written in Markdown or other supported formats) into pre-rendered static HTML files, ready to be served by any web server or CDN. This approach results in fast page loads, minimal server-side dependencies, and fewer security vulnerabilities.
While Hugo is not a CMS in itself, it’s flexible enough to work seamlessly with headless CMSs like Netlify CMS, or Sanity. This allows teams to combine the performance of static sites with the convenience of visual content editing, making Hugo suitable for both solo developers and collaborative teams.
Why Use Hugo with UpCloud for Static Websites?
When it comes to building modern static websites that are fast, secure, and easy to manage, Hugo stands out as one of the best tools available. Here’s why:
- Fast Builds: Hugo can generate sites with thousands of pages in just seconds, making it perfect for large projects.
- Easy Content Management: All content is written in plain Markdown files, which are easy to write, edit, and version control—no special tools required.
- Enhanced Security: Since there’s no dynamic content generation on the server, Hugo sites are less vulnerable to common web attacks.
- Highly Customizable: With support for themes and flexible templating, Hugo lets you fully control your site’s design and structure.
- No Backend Needed: Hugo sites are completely static, so you don’t need databases, plugins, or complex back-end logic.
When you pair it with UpCloud’s high-performance hosting, you get a deployment setup that’s both powerful and efficient—ideal for everything from personal blogs to large documentation sites. UpCloud offers features that align perfectly with the way Hugo works like:
- SSD-Backed Performance: UpCloud uses high-speed MaxIOPS block storage, ensuring fast deployments and smooth content delivery.
- Global Infrastructure: With data centers around the world, you can deploy your site close to your users for faster load times and lower latency.
- Scalable and Cost-Efficient: Whether you’re starting small or running a high-traffic site, UpCloud offers flexible, scalable plans that fit your needs and budget.
Prerequisites for Deploying Hugo
Before you can deploy your Hugo static website to a host like UpCloud, make sure you have the right tools and access in place. Here’s what you’ll need:
Hugo Installed Locally
You’ll need to install Hugo on your development machine to build your site. To verify your Hugo installation, open a terminal and run: hugo version. This command will display your installed version if Hugo is properly set up. If it’s not installed yet, follow the official Hugo install guide for your operating system.
An UpCloud Server
To deploy your website, you’ll need access to a server or cloud instance on UpCloud. If you haven’t created one yet, you can sign up and spin up a cloud server in minutes.
Basic Command Line Knowledge
Familiarity with terminal commands is essential. You’ll be using the command line to build your site, configure SSH access, and push files to your UpCloud server.
Installing Hugo: A Step-by-Step Guide
Once you have confirmed that everything needed for this application is in place, let us get started.
First of all, let’s look at how to install Hugo on our computer(macOS, Windows, and Linux users):
Step 1
You can choose the method based on your operating system:
For macOS (using Homebrew):
bash

brew install hugo
For Windows (using Chocolatey):
powershell

choco install hugo -confirm
For Ubuntu/Debian-based Linux (using apt):
bash

sudo apt update
sudo apt install hugo
For RedHat/CentOS-based Linux (using yum):
bash

sudo yum install hugo
Step 2: Verify the Installation
To make sure Hugo is installed correctly, run:
bash

hugo version
Step 3: Create a New Hugo Site
Once installed, you can initialize a new Hugo project by running:
bash

hugo new site my-documentation
Replace my-documentation with your desired project name. This command creates the folder structure for your new Hugo site.
Once created, this is what the project structure will look like:
perl

my-documentation/
├── archetypes/     # Content templates
├── content/        # Your Markdown pages
├── layouts/        # Custom HTML templates
├── static/         # Static assets like images, CSS, JS
├── themes/         # Site themes
├── config.toml     # Main configuration file
Building and Testing a Static Website with Hugo
Once your Hugo project is set up, it’s time to start building content, applying a theme, and testing your site locally. The Hugo static site generator makes this process fast and efficient.
1. Create Pages Using Markdown
Hugo uses Markdown files for content, which makes writing and organizing pages easy. To create a new page or post:
bash

hugo new posts/blog.md
This creates a new Markdown file in the content/posts/ directory. Open the file and start writing your content using plain Markdown syntax.
Each content file starts with front matter (in YAML, TOML, or JSON), where you define metadata like title, date, and draft status. Once written, Hugo’s templating system will render this Markdown into a fully styled HTML page based on your chosen theme.

2. Configure a Theme
For the sake of this demo, we will be using an free theme from Hugos’s page for this documentation project. Hugo’s theming system allows you to quickly change the look and feel of your website.
You can configure your projects to use this theme using the following commands:
bash

cd my-documentation
git init
git submodule add https://github.com/alex-shpak/hugo-book themes/hugo-book
cp -R themes/hugo-book/exampleSite/content.en/* ./content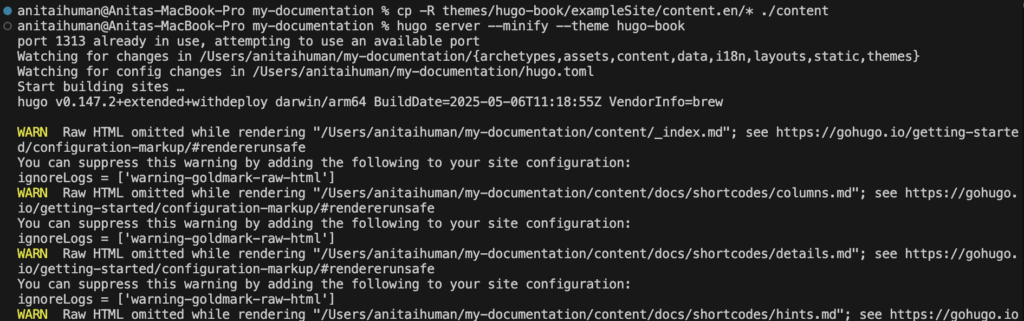
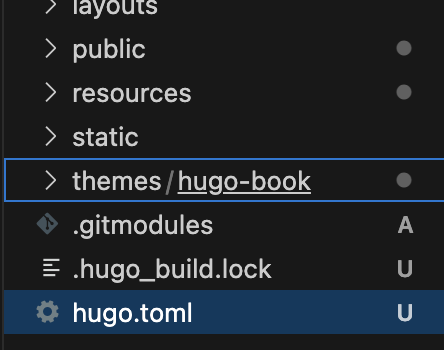
This command creates a folder called Themes in your project directory, which consists of all the components of the theme selected.
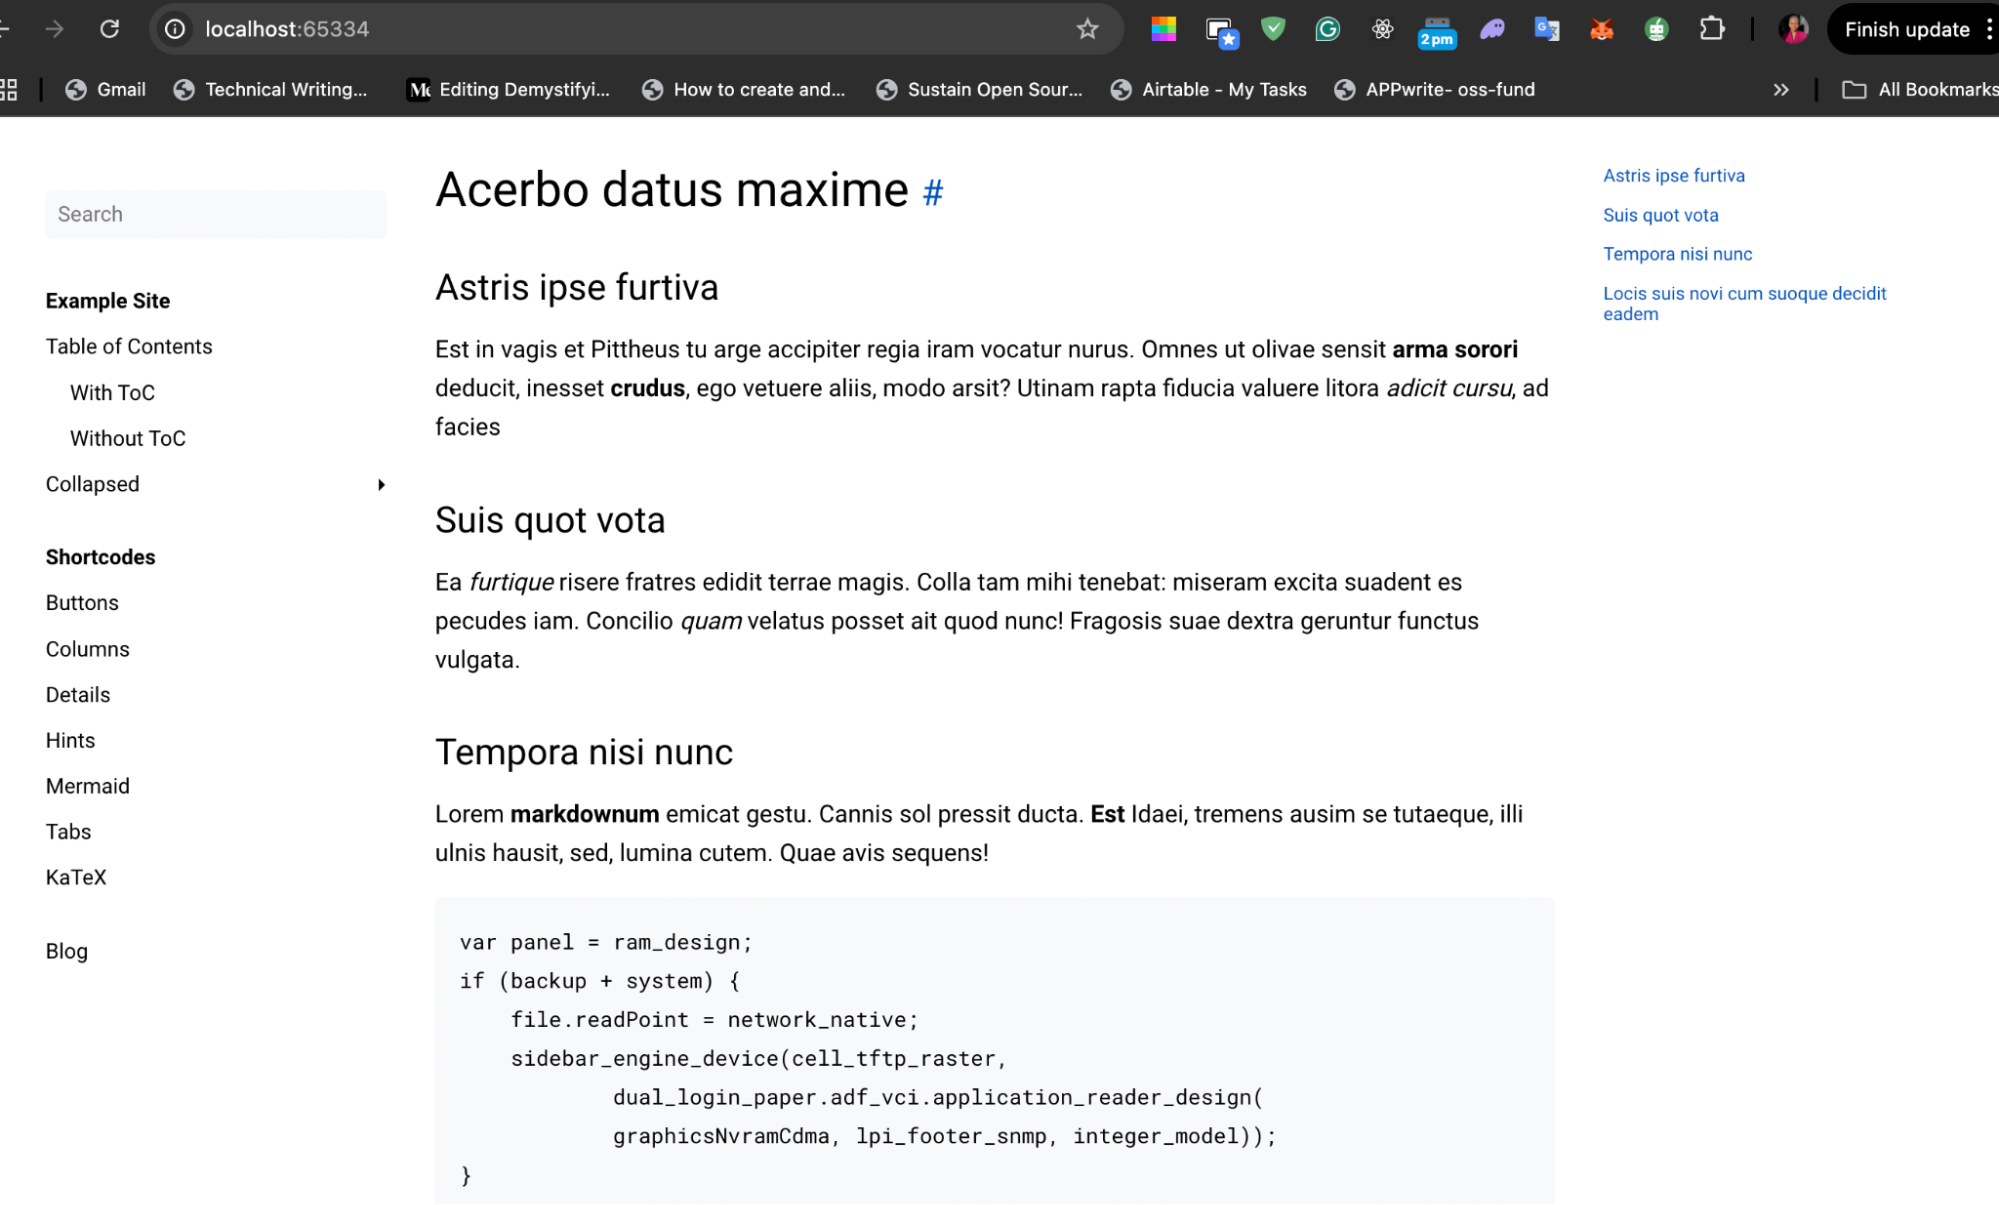
To preview your site locally to ensure everything looks and works as expected, run the following command in your in your terminal to start the Hugo development server.
bash
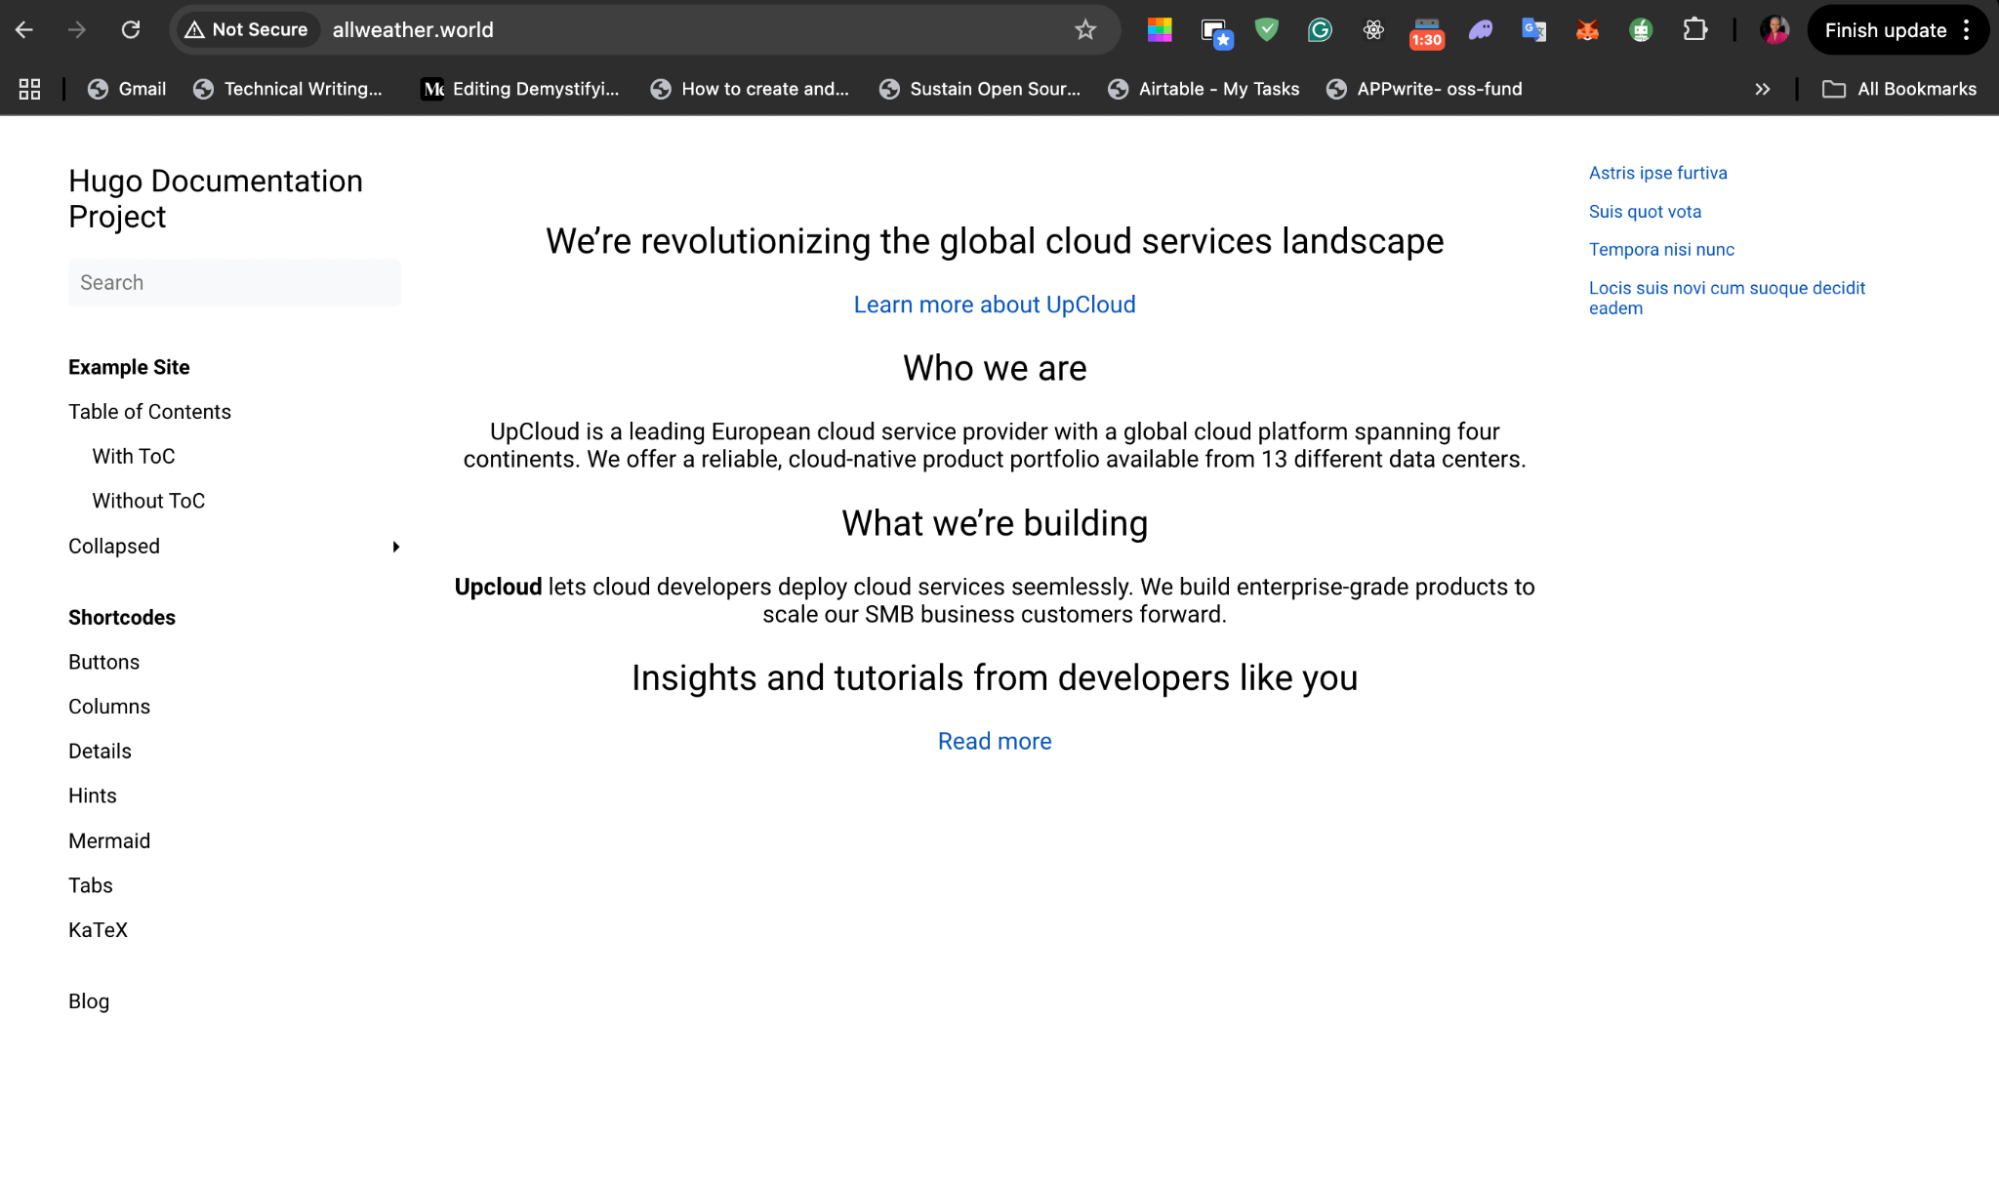
hugo serverThe theme we are working with should render like this in your browser. Since this is not exactly what we want in our documentation, you can go ahead and customize it to suite your desired needs.
3. Customize Your Theme
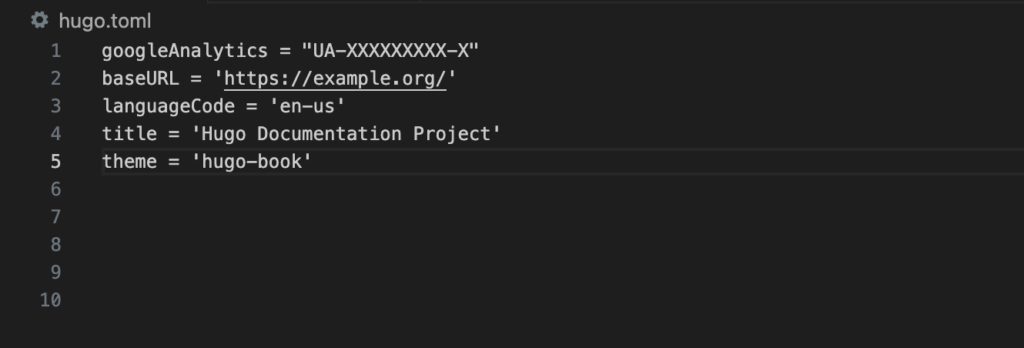
So since I need this theme for documentation, I will be customizing the project to suit my project documentation. I will change the title and indicate the name of the theme I am using for this article in the hugo.toml file(or config.toml file).
You can also add more files to your project to modify it with the same format as earlier. Using this command, create an html file inside your themes folder that will serve as the home page for our documentation.
bash

hugo new themes/hugo-book/layout/index.html
After customizing to your project’s needs, your output should look like this
Note: you can make a lot more changes to your project to fit your needs using the Hugo docs. Now that is working, let’s proceed to build the application.

4. Build Hugo App
Once you’re satisfied with your local preview, stop the Hugo server (press Ctrl + C in the terminal).
You need to build the static files that will be deployed to the cloud server. In your terminal, within your Hugo site directory, run:
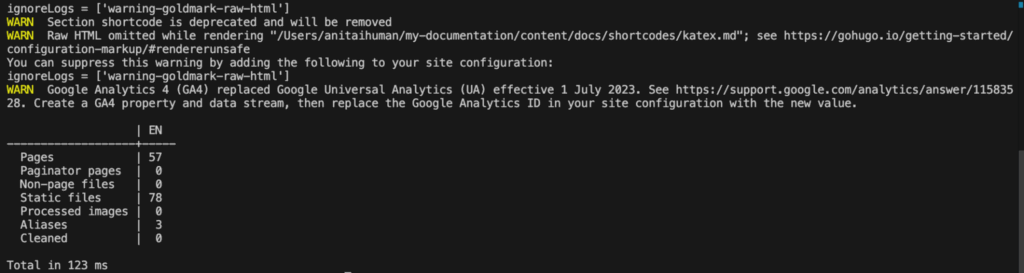
bash

hugo
This command generates the complete static website in a new directory named public at the root of your Hugo project.
Deploying a Hugo Website to UpCloud
Now that your Hugo site is built, it’s time to deploy it to a live server so it can be publicly available. Hosting it on an UpCloud server gives you full control, performance, and flexibility. Here is how you can deploy your Hugo app to UpCloud:
1. Create an UpCloud Server
To deploy your Hugo app, start by creating a new cloud server on UpCloud. During setup, connect your SSH keys to enable secure, password-less access. UpCloud’s user-friendly dashboard makes this process straightforward, even for first-time users. For step-by-step instructions, refer to UpCloud’s official documentation.
2. Connect to the UpCloud Server
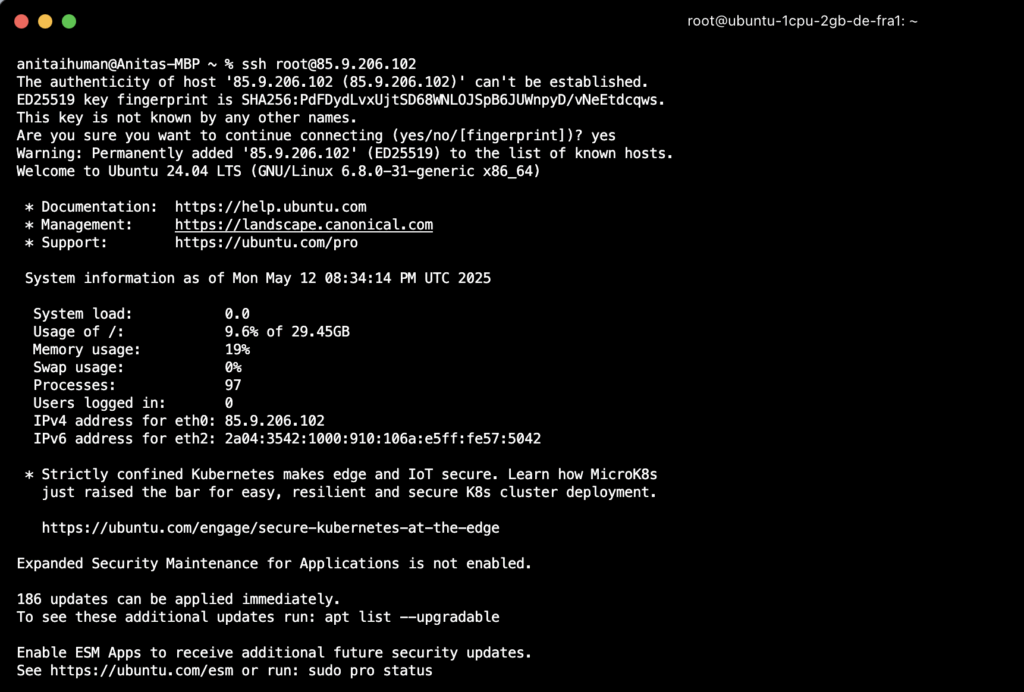
Now, access your UpCloud server using SSH by connecting with the server’s IP address and the SSH key you configured during setup. Note that UpCloud exclusively supports SSH key authentication for enhanced security. If you’re using a terminal on macOS, Linux, or Windows with WSL, run the following command:
Bash

ssh username@your_server_ip_address
3. Upload Static Files to UpCloud
With your UpCloud server running, the next step is to transfer the contents of your Hugo project’s public directory to the server. We’ll use scp (Secure Copy) for this, which is a secure way to transfer files over SSH.
You will need to create a directory manually into your UpCloud server using this command(replace with your preferred name).
Bash

sudo mkdir -p /var/www/myproject.com/html
Open your local terminal and navigate to the root directory of your Hugo project (the one containing the public folder) and run the following command. This takes the pre-built static files from your local Hugo project’s public directory and securely transfers them over the internet to a specific location on your remote UpCloud server.
Bash

scp -r public/* <your_username>@<your_server_ip>:<remote_path>/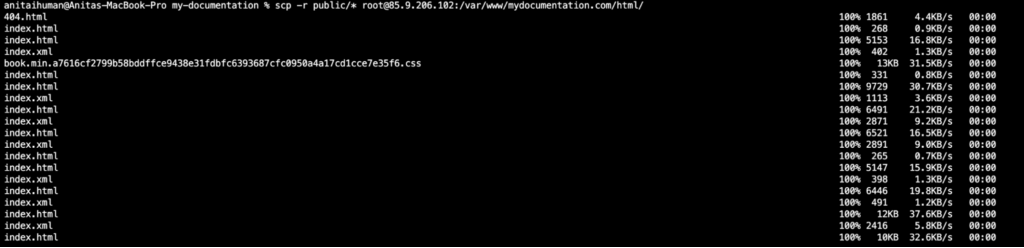
4. Install and Configure Nginx
To serve the static Hugo website to the public, you need a web server like Nginx installed on your UpCloud instance. Nginx is a lightweight, high-performance web server that is well-suited for serving static content like your project.
Within the UpCloud server, update the package list with the following command:
Bash

sudo apt update
Install Nginx with the following command:
Bash

sudo apt install nginx -y
Next, you will need to create an Nginx server block (virtual host) configuration. This tells Nginx how to handle requests for your domain.
Bash
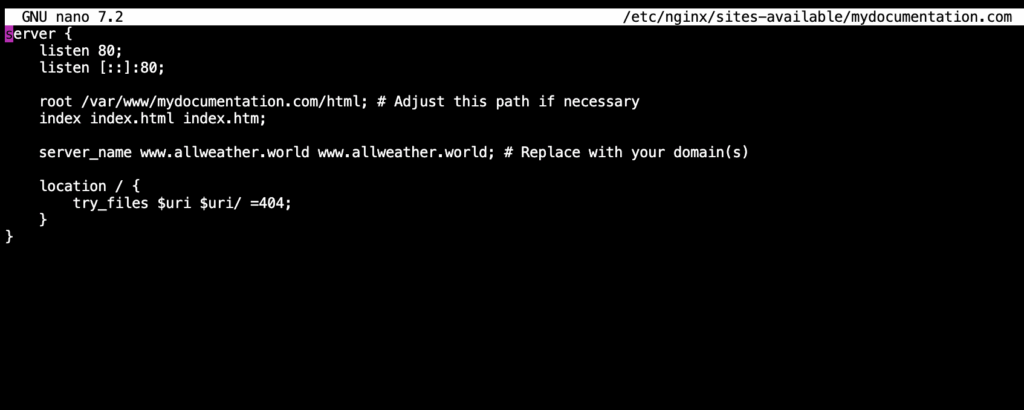
sudo nano /etc/nginx/sites-available/myproject.comIn the file created, input the following configurations and adjust the root directive to point to the directory where you uploaded your Hugo public files:
server {
    listen 80;
    listen [::]:80;

    root /var/www/myproject.com/html; # Adjust this path if necessary
    index index.html index.htm;

    server_name yourdomain.com www.yourdomain.com; # Replace with your domain(s)

    location / {
        try_files $uri $uri/ =404;
    }
}
5. Configure a custom domain and SSL
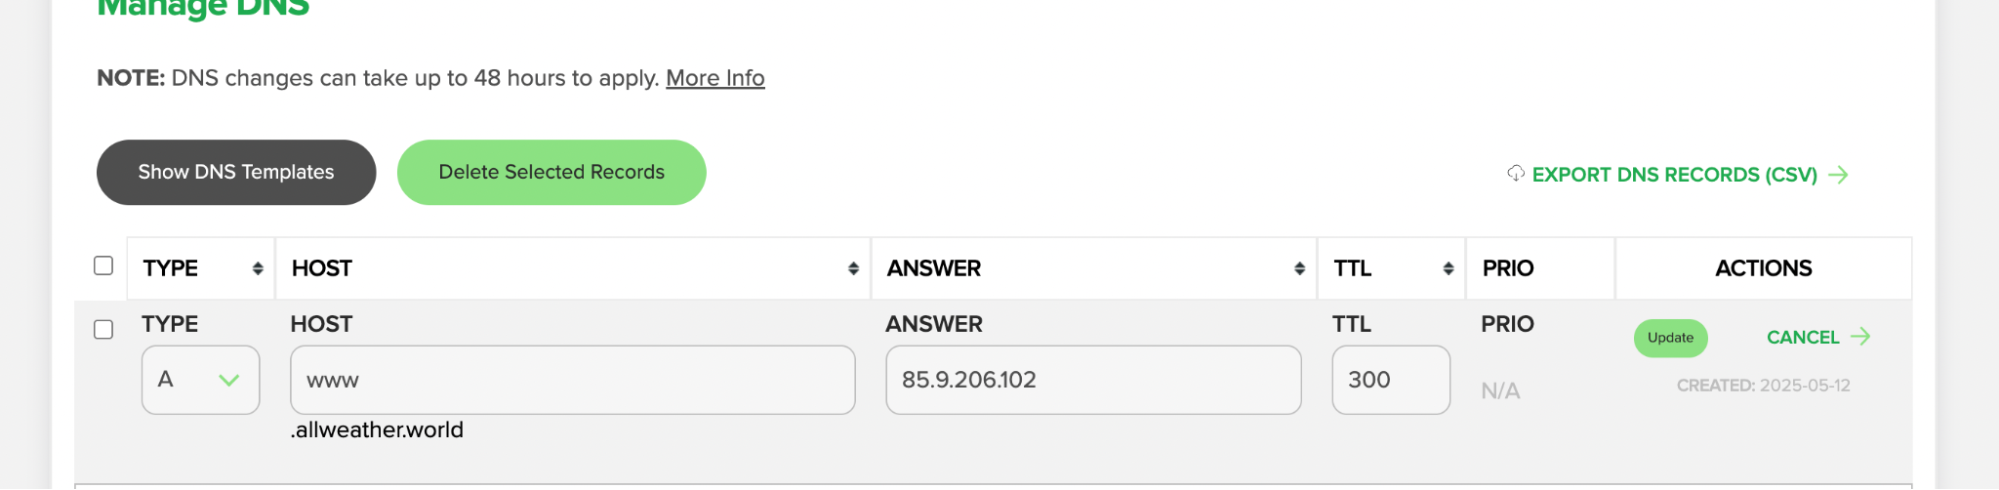
To make this static website accessible via an actual domain name (e.g., http://www.allweather.world/) you will need to set up the DNS records.
- Go to the DNS management settings in the specific domain registrar you are using (where you purchased your domain name). I am using name.com for this article.
- Create an A record for your root domain ( @ or leave the name field blank) pointing to your UpCloud server’s IP address.
- Copy the domain name and update your Nginx configurations according like this:
- Once that is done, save your file and enable the configuration by creating a symbolic link using this command
Bash

sudo ln -s /etc/nginx/sites-available/myproject.com /etc/nginx/sites-enabled/- Then make sure you test the Nginx configuration for errors with this command. Ensure that the output shows “syntax is ok” and “test is successful.”
Bash

sudo nginx -t- Now, restart the Nginx service
Bash

sudo systemctl restart nginx
- You should be able to access your static site using the domain name after a few minutes. This is what my Hugo documentation site looks like in the browser.
6. Optional: Pair with a CDN
To boost performance even further, you can pair your UpCloud-hosted Hugo static site with a Content Delivery Network (CDN) like Cloudflare. This will help to reduce the latency, improve load times globally, and add an extra layer of security to your static website.
Optimizing Hugo Websites for Performance
Hugo provides several built-in features to optimize your website’s assets directly during the build process. For instance:
Minify CSS and JavaScript: This can be used to reduce file sizes and improve loading times. Hugo can automatically minify your CSS and JavaScript files. Enable this in your config.toml (or config.yaml) under the [minify] section:
Ini, TOML

[minify]
  minifyOutput = true
  [minify.tdewolff.css]
    keepCSSDeclarationOrder = true
  [minify.tdewolff.js]
Setting minifyOutput = true activates minification for all applicable output formats.
Image Optimization Tools: Hugo’s image processing functionality allows you to resize, crop, and convert images during the build. This ensures that you serve appropriately sized images to different devices, reducing bandwidth consumption and improving load times. For example, in your content files or templates, you can use the resources.Get and .Resize methods:
Code snippet

{{ $image := resources.Get "images/my-image.jpg" }}
{{ $thumb := $image.Resize "300x webp" }}
<img src="{{ $thumb.Permalink }}" width="{{ $thumb.Width }}" height="{{ $thumb.Height }}" alt="My Image">
This example resizes my-image.jpg to a width of 300 pixels and converts it to the WebP format (which often offers better compression and quality).
Server-Side Optimizations with Nginx
You can also configure Nginx on your UpCloud server for faster delivery with:
Caching: Implementing browser caching instructs the visitors’ browsers to store static assets locally after the first visit. This significantly speeds up subsequent page loads. Add the following to your Nginx server block configuration (/etc/nginx/sites-available/yourdomain.com):
nginx

location ~* \.(js|css|png|jpg|jpeg|gif|ico|svg)$ {
    expires 30d;
    add_header Cache-Control "public";
}
Gzip Compression: Gzip compression reduces the size of text-based assets (HTML, CSS, JavaScript, XML) transmitted over the network. Enable it in your Nginx http block (usually in /etc/nginx/nginx.conf or /etc/nginx/conf.d/gzip.conf):
Nginx

gzip on;
gzip_types text/plain text/css application/json application/javascript text/xml application/xml application/xml+rss text/javascript;
After modifying the Nginx configuration, remember to test it with sudo nginx -t and restart Nginx with sudo systemctl restart nginx.
How UpCloud Enhances Performance
UpCloud’s infrastructure is designed for high performance, which directly benefits your Hugo static website. Its robust and low-latency network ensures fast data transfer between the server and your visitors, contributing to quicker page load times. UpCloud’s deployment of new servers featuring AMD EPYC Turin processors also significantly enhances performance for hosted Hugo websites.
These cutting-edge CPUs offer a 30-40% performance boost and faster DDR5 memory, leading to quicker processing and reduced latency for serving static files.
Another unique feature that improves application performance is the UpCloud CLI; deploying a new cloud server with UpCloud takes but a single command. This speed and efficiency in infrastructure provisioning perfectly complements Hugo’s rapid build times.
Conclusion
Hugo stands out as an excellent static website generator, offering remarkable speed in build times, inherent security due to the lack of dynamic content processing, and exceptional flexibility through its theming system and content organization. Pairing Hugo with UpCloud further amplifies these benefits for your static site.
UpCloud’s infrastructure delivers superior speed and performance, ensuring your site loads quickly for visitors worldwide. Its scalable architecture allows your hosting to grow seamlessly with your website’s traffic, providing a reliable and robust foundation.
To experience this scalability and speed firsthand, start your free trial with UpCloud.
FAQs
- What is Hugo, and why should I use it?
- Hugo is a fast and flexible static website framework for generating pre-rendered HTML files. It’s ideal for creating high-performance websites with minimal resources.
- How do I install Hugo?
- Install Hugo using package managers like Homebrew or Chocolatey, verify installation with hugo version, and initialize a project with hugo new site.
- How can I deploy a Hugo website on UpCloud?
- Use hugo build to generate static files, upload them to an UpCloud server, and serve them using Nginx.
- What makes Hugo fast for static websites?
- Hugo’s Go-based architecture allows rapid builds, and its pre-rendered HTML files reduce server processing time for faster delivery.
- Why choose UpCloud for hosting a Hugo site?
- UpCloud’s high-speed SSD storage, global network, and affordable scalability make it an ideal hosting solution for static websites.
Discussion