Introduction
Next.js is one of the most popular frameworks for building modern web applications, offering the flexibility of server-side rendering (SSR), static site generation (SSG), and an optimized developer experience on top of React. Whether you’re building a personal project, an internal tool, or a high-traffic production application, Next.js makes it easier to create fast, scalable, and SEO-friendly web experiences.
But building the app is only half the journey. Deploying your Next.js application to a cloud server is where the real magic happens. By hosting your project in the cloud, you unlock a range of benefits:
- Scalability: Cloud servers allow your application to handle increased traffic effortlessly. Whether you have 10 users or 10,000, your app can scale dynamically to meet demand.
- Performance: Running Next.js on a cloud provider with global distribution and edge computing capabilities can help ensure faster page loads and lower latency for users across different regions. While UpCloud does not provide these features out of the box, users can implement them using a CDN or other optimizations to enhance performance.
- Reliability: Cloud servers provide redundancy, automated backups, and load balancing to keep your application available and resilient.
In this guide, we’ll walk you through deploying a Next.js application on a cloud server step by step. Whether you’re new to deployment or looking to refine your cloud setup, you’ll learn how to:
- Install and configure Next.js for production use
- Set up a cloud server to host your application
- Deploy your app using industry best practices
By the end of this guide, you’ll have a fully functional Next.js application running on a cloud environment, ready to serve users with speed and reliability. So, let’s dive in!
Prerequisites
Before we jump into deploying your Next.js application to the cloud, ensure you have the following set up:
- Node.js and npm/yarn installed: Next.js can run on Node.js, Bun, or Yarn. However, this tutorial uses npm to install and run Next.js, but you can also use yarn or bun if you prefer. However, our examples will focus on npm(npm is usually bundled with Node.js).
- A basic Next.js app: You should have a working Next.js project ready for deployment.
- Access to a cloud server: You’ll need a cloud hosting provider to deploy your Next.js application. I recommend UpCloud as a high-performance cloud provider known for its speed and reliability. Follow these steps to set up an UpCloud server.
- Basic command line knowledge: Since deployment involves working with the terminal, you should be comfortable running commands, navigating directories, and using tools like SSH.
Step 1: Setting Up the Environment
First, we need to create a new server on UpCloud and connect your SSH keys to it. UpCloud’s intuitive interface makes it easy to do this, even if you’re new to cloud servers. See the documentation for a detailed workflow on how to create and deploy a new server.
Install Node.js and npm on the Cloud Server
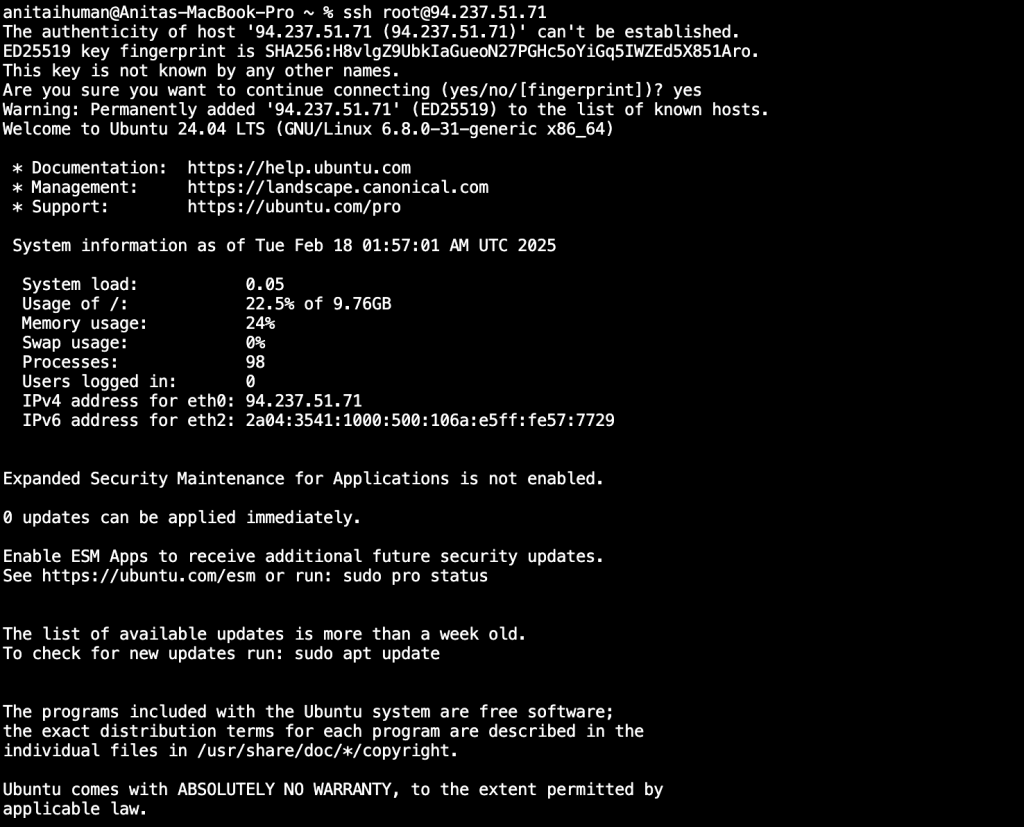
Next, connect to the UpCloud server via SSH using your server’s IP address and the SSH key you set up during server creation. UpCloud supports only SSH key authentication, ensuring secure access. If you’re using a terminal on your local machine (Mac, Linux, or WSL on Windows), the command will look something like this:
ssh username@your_server_ip_address(Don’t forget to replace username and your_server_ip_address with your actual credentials!)

Once connected, let’s install Node.js and npm (npm is usually bundled with Node.js). We’ll use the Node Version Manager (nvm) for easier Node.js version management. This is highly recommended, as it allows you to easily switch between Node.js versions if needed.
curl -o- https://raw.githubusercontent.com/nvm-sh/nvm/v0.40.1/install.sh | bash
source ~/.bashrc
Then, install the latest LTS version of Node.js using the command: nvm install --lts
- After the installation is completed, verify the installation by checking the versions. The version numbers should be displayed as in the image below:
node-v&npm-v

- If you prefer yarn, you can install it using npm:
npm install -g yarn
yarn -v # check version
Uploading Your Next.js Project:
Now, it’s time to get your Next.js project onto the server. There are a couple of ways to do this:
SSH (for smaller projects): You can use scp (secure copy) to transfer your project. From your local machine:
- Navigate to a working directory and run the following command:
cd /var/www - Create a folder where our project will exist using the following command:
mkdir my-nextjs-projects - Return to the home directory and run the following command:
scp -r your_project_directory username@your_server_ip_address:/path/to/destination/
Clone your Next.js project from the Git repository: Since our project is in a Git repository, let’s clone the repository on the server.
- Navigate into the project folder created:
cd my-nextjs-projects - Clone the project into the folder using the following commands:
git clone https://github.com/Anita-ihuman/nextjs-blog.git

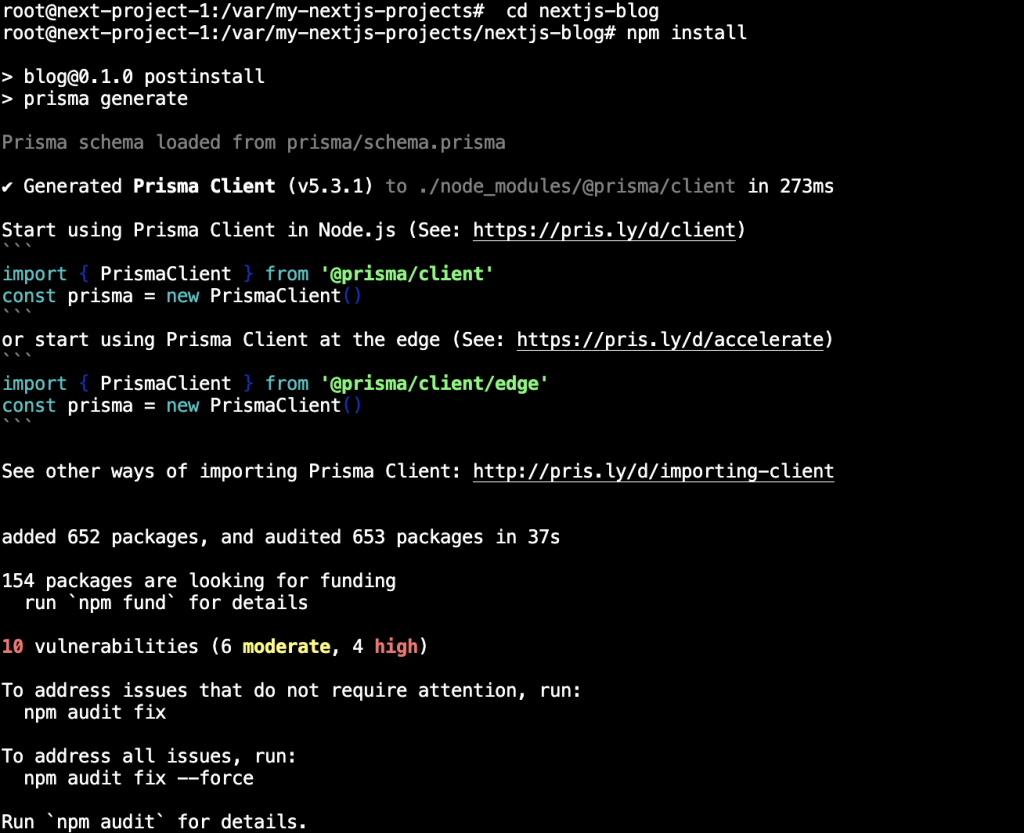
Install dependencies
Next, we will install all the necessary packages for our project on the server. Simply run the following command to read the package.json file and provide all necessary dependencies our app needs.cd nextjs-blog
npm install # Or yarn install if you're using yarn
Step 2: Building the Next.js App
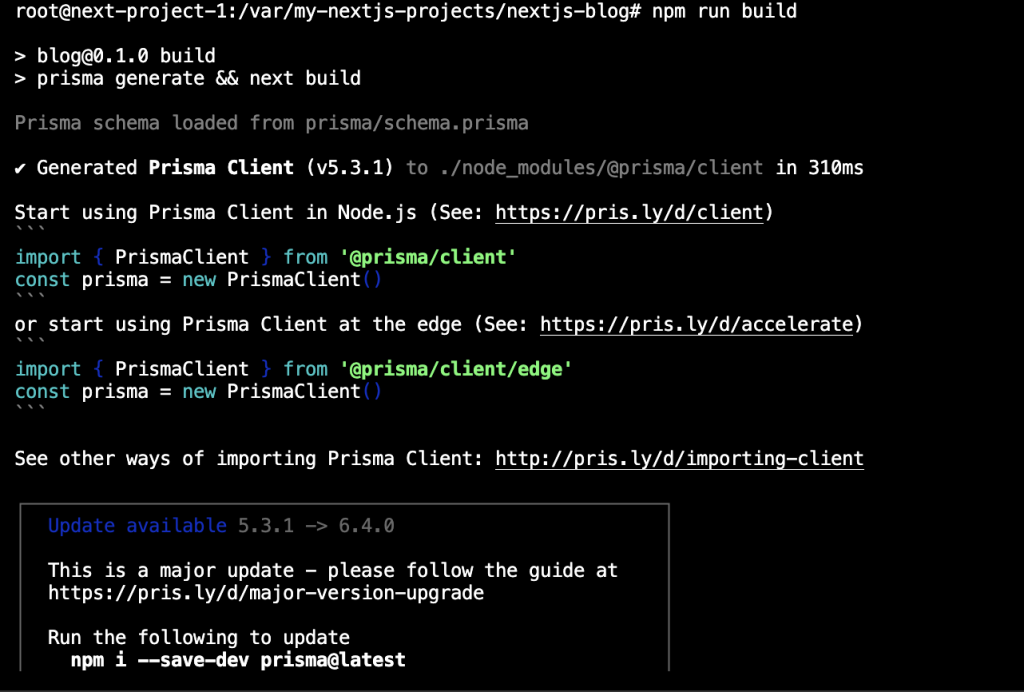
With the environment set up and our project in place, we’re ready to build our Next.js application for production. This process optimizes our code for performance and prepares it for deployment.
How to build Next.js app
Build the Next.js app using the following command: npm run build # Or yarn build
This command will compile your Next.js application, optimize images, create static assets, and generate everything needed to run your app efficiently. The output will be placed in a .next directory within your project folder.
Optimization Features:
Next.js comes packed with optimizations that are automatically applied during the build process. These optimizations are crucial for ensuring the Next.js application performs well in a production environment. The npm run build command takes care of the following behind the scenes so we can focus on building the application’s features:
- Code Splitting: Next.js automatically splits our code into smaller chunks, so only the necessary JavaScript is loaded for each page. This significantly improves initial load times.
- Image Optimization: Next.js provides an
<Image>component that optimizes images for different devices and screen sizes, improving performance and user experience. During thebuildprocess, these images are optimized. - Static Site Generation (SSG) and Server-Side Rendering (SSR): Next.js offers both SSG and SSR, allowing us to choose the best approach for each page based on its content and requirements. These techniques improve SEO and performance. SSG happens during the build process.
- Minification: The JavaScript and CSS files are minified during the build process, reducing their size and improving load times.
After a successful build, we are ready to deploy!
Step 3: Configuring a Production Server
Now that we’ve built our optimized Next.js application, it’s time to set up a production server to launch our app to the world. Think of this as building the control room for our Next.js deployment. We’ll explore different server options and walk through setting up a reverse proxy with Nginx, a popular choice for Next.js hosting.
Choosing Your Next.js Server:
You have several options when it comes to serving your Next.js app:
- Nginx: This is a high-performance web server and reverse proxy. It is excellent for serving static files, handling SSL certificates, and acting as a gateway to the Next.js application. Highly recommended for production deployments.
- Apache: Another popular web server, but generally, Nginx is preferred for modern setups due to its performance characteristics, especially with Node.js applications.
- Node.js Standalone Server (using
next start): While we can use the built-in Next.js server on its own without any other server, it’s best to place a more performant serve like Nginx as a reverse proxy in front of it for improved robustness and feature support.
So, for this tutorial, we’ll focus on setting up Nginx as a reverse proxy, as it’s the most common and robust approach for Next.js hosting.
Setting Up Nginx as a Reverse Proxy:
We need Nginx to act as a front-facing server, handling incoming requests and forwarding them to our Next.js application. This setup offers several advantages, including improved performance, security, and the ability to serve static files efficiently.
- Navigate into the home directory in order to install Nginx
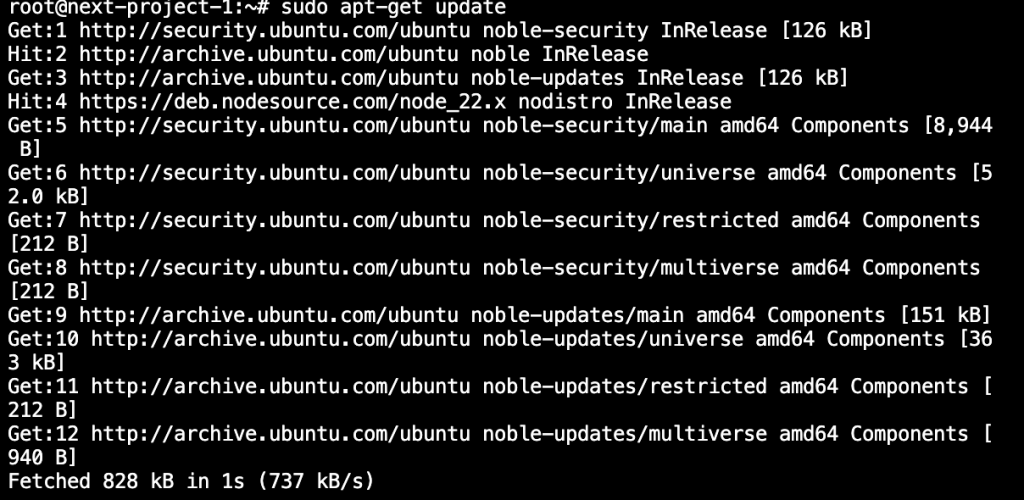
- Install Nginx: Run the following command to update the package list, then proceed to install Nginx
sudo apt-get update # Update package lists (if on Debian/Ubuntu)
sudo apt-get install nginx

- Configure Nginx: Create a new Nginx configuration file for your Next.js app:
sudo nano /etc/nginx/sites-available/next-js-app # Replace with your project name!
Paste the following configuration into the file, adjusting the paths and ports with the Server name and IP (I am using my domain main in this instance). If you do not have a domain name, you can use the server IP we got from UpCloud accordingly.
server {
listen 80;
server_name your_domain_or_ip; # Replace with your domain or server IP
location / {
    proxy_pass http://localhost:3000;  # Replace with your port number to Forward requests to Next.js server
    proxy_http_version 1.1;
    proxy_set_header Upgrade $http_upgrade;
    proxy_set_header Connection 'upgrade';
    proxy_set_header Host $host;
    proxy_cache_bypass $http_upgrade;
}
location /_next/static/ {
    alias /var/www/my-nextjs-projects/nextjs-blog/.next/static/; # Change to your file path
    access_log off;
    expires 1y;
    add_header Cache-Control "public, max-age=31536000, immutable";
}
}
In my case, I have a domain name I have previously created on name.com. I updated the DNS details with the server IP from UpCloud. Then, I updated my Nginx config file accordingly.
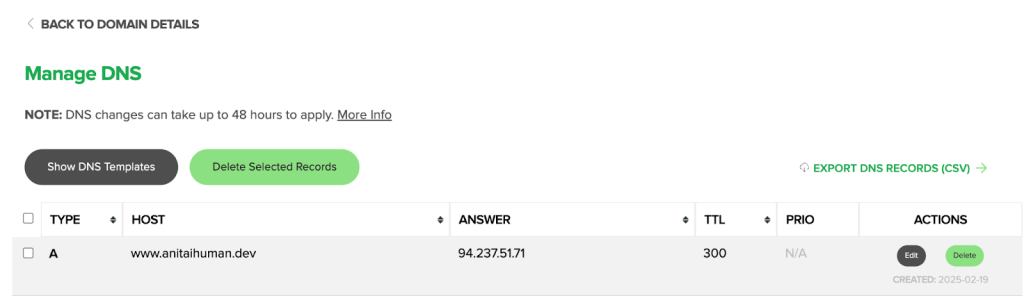

- Enable the Configuration by running the following command.
sudo ln -s /etc/nginx/sites-available/nextjs-blog /etc/nginx/sites-enabled/
sudo systemctl restart nginx- Environment Variables and
.envFiles:
Next.js supports environment variables, which are essential for storing sensitive data like API keys, database credentials, and other configuration values. Create a .env.local file in the root of the project and add the following variables:
MONGO_URI:
JWT_SECRET:
CLOUDINARY_URL:
Next.js will automatically load these environment variables during the build process.
Step 4: Deploying Next.js – Launching Your Cloud App
With your server configured, it’s time to deploy your Next.js application and make it accessible publicly. We’ll explore two primary deployment strategies: using a process manager like PM2 and leveraging the streamlined one-click deployment options offered by UpCloud
Deploying with PM2 (Process Manager):
PM2 is a production process manager for Node.js applications that comes with a built-in load balancer. Think of it as the conductor of your Next.js orchestra, ensuring the app runs smoothly and continuously. It handles restarts in case of errors, monitors performance, and simplifies deployment management.
- Installing PM2: Connect to your UpCloud server via SSH and install PM2 globally using the following command:
npm install -g pm2 - Starting Your Next.js App with PM2: Navigate to the directory where your project exists on the server. Before starting with PM2, ensure your Next.js app is built. If you haven’t already, run:
npm run build
Start your application using PM2 with the following command:
pm2 start npm --name "nextjs-blog" -- start #Ensure your package.json contains "start": "next start"

curl -I http://127.0.0.1:3000- If there’s no “start” script in your package.json, you’ll have to find where your next app is started. It might be in a separate file. Use that file to start the app. For example, if the app is started with
node server.js, then run:pm2 start "node server.js" --name "nextjs-blog"

- Making PM2 Start on Boot: If you want your Next.js app to restart automatically when your server reboots, use PM2’s startup command:
pm2 startup # Generates a startup script
pm2 save # Saves the current process list so PM2 can restore it on boot
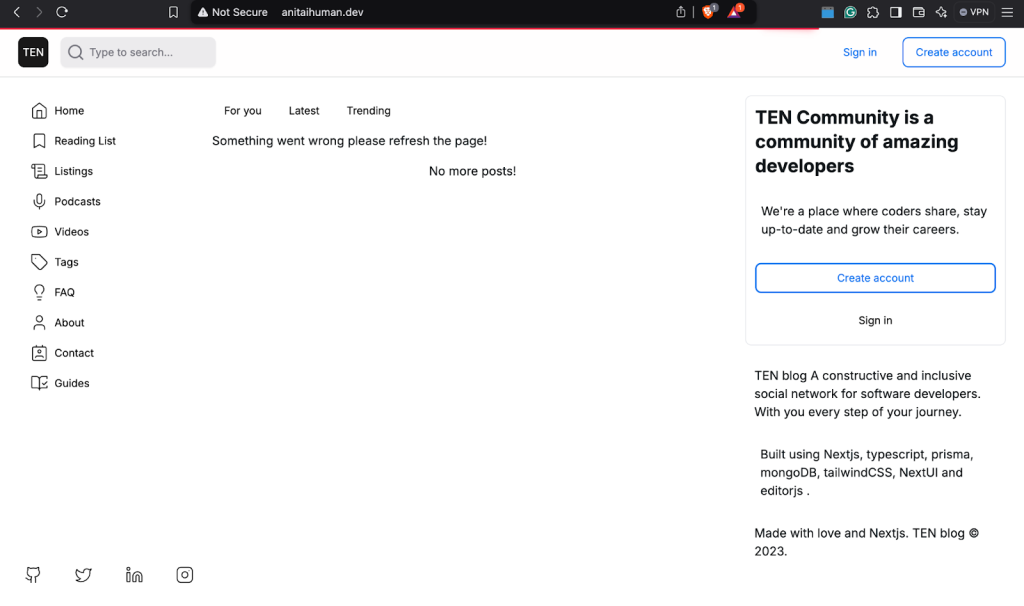
pm2 delete <process_name_or_id> # Removes a process (or application) that is being managed by PM2At this point, our Next.js deployment should be publicly accessible and available via URL using the domain name specified in the Nginx configuration or the server IP.
Step 5: Testing the Deployment
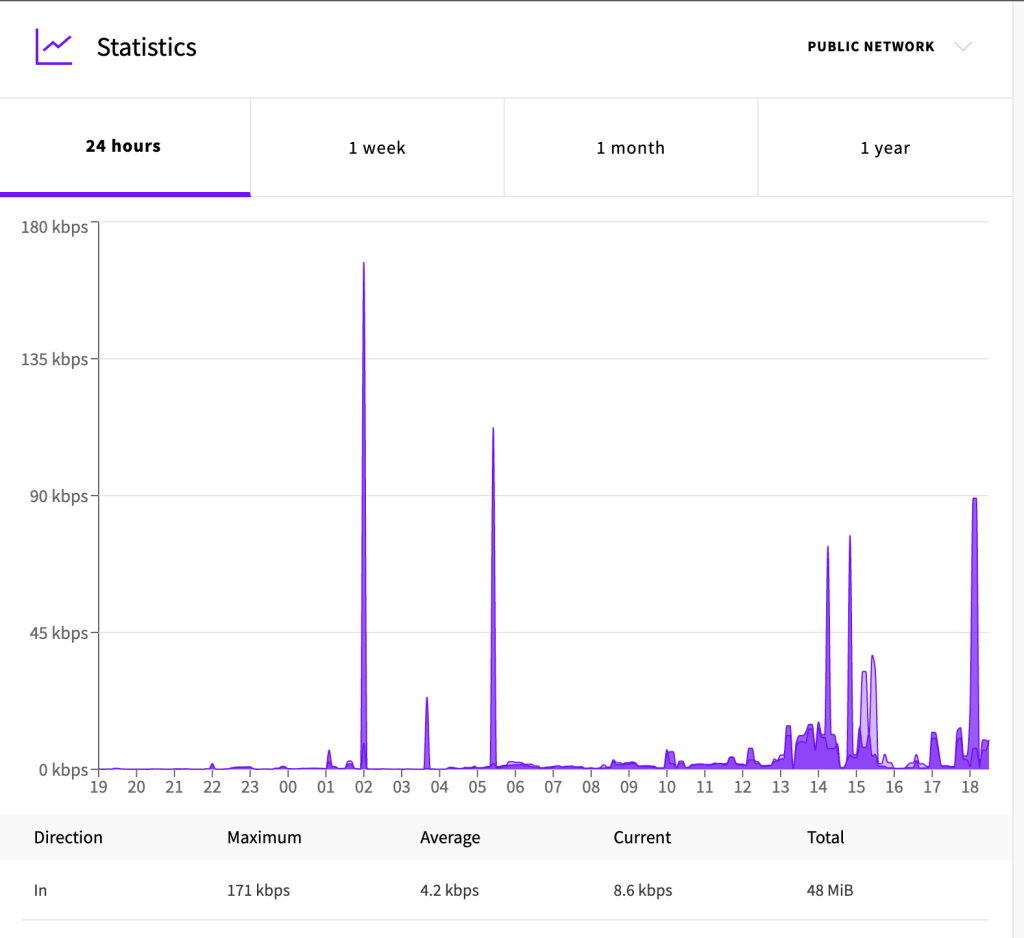
With our Next.js application live on the UpCloud server, the critical next step is thorough testing to evaluate its performance and reliability and ensure it runs optimally in production. UpCloud provides monitoring and troubleshooting services that can help with this process.
You can use UpCloud’s built-in monitoring tools to track CPU, memory, disk I/O, and network usage and identify potential bottlenecks. UpCloud’s Layer 3 (L3) firewall provides a powerful way to control server traffic by filtering connections based on IP address and port, adding an extra layer of protection before traffic reaches your application. You can also review logs in your UpCloud server by connecting with monitoring and logging tools like Prometheus + Grafana to diagnose issues.
Troubleshooting Common Deployment Issues in your App:
- 502 Bad Gateway: This is a common Nginx error that often means there’s a problem with the connection between Nginx and your Next.js application. On UpCloud, double-check your Nginx configuration file (
/etc/nginx/sites-available/your_project_name), ensuring the proxy_pass directive points to the correct port (usuallyhttp://localhost:3000). Also, verify that your Next.js application is running correctly usingpm2 list(if you’re using PM2). - Reached heap limit allocation failed: This is a common issue that occurs when your Node.js process runs out of memory. It could mean your VM has limited RAM space, or you are building large Next.js applications or dealing with memory-intensive tasks. In my case, I had to allocate extra swap memory using the following commands
sudo fallocate -l 2G /swapfile or sudo dd if=/dev/zero of=/swapfile bs=1M count=2048. Then, I increased the amount of memory available to Node.js using the commandNODE_OPTIONS="--max_old_space_size=512" npm run build. However, if you’re encountering memory issues even with smaller projects, there might be a memory leak in your code - Connection Refused: If you encounter a permission denial error, this could mean your Next.js application isn’t running on the port Nginx is trying to connect to. Check if Nginx has access to it. In most cases, you might have to use the change ownership command on the file path of your code using the command
sudo chown -R www-data:www-data. Also, verify the port configuration in your Nginx configuration and confirm that your Next.js app is listening on that port. - 500 Internal Server Error: This error usually indicates a problem within your Next.js application code. Examine your server logs (e.g.,
/var/log/nginx/error.logand the logs from your Next.js app itself) for specific error messages. UpCloud’s logging system can be very helpful here.
UpCloud-Specific Issues: If you encounter issues related to your UpCloud server itself (e.g., network connectivity, server instability), consult UpCloud’s documentation or contact support. They offer excellent resources and assistance 😀
Best Practices for Next.js Deployment
Deploying a Next.js application efficiently requires a combination of performance optimizations, SEO considerations, security measures, and balance cost-effectiveness. The best way to deploy a Next.js app and ensure it runs smoothly in production while maintaining speed, security, and search engine visibility is to:
- Optimize Performance for Faster Load Times: Deploying your app at the edge leverages a global Content Delivery Network (CDN) to reduce latency and significantly improve performance by caching static assets closer to users. This results in faster responses and mitigates cold starts by reducing server load. Next.js provides next/image, which supports automatic image optimization, lazy loading, and modern formats like WebP. Properly configuring next/image minimizes bandwidth usage and improves rendering times. Implementing the IRS will also enable dynamic content updates on pre-rendered sites, eliminating the need for full site rebuilds.
- Leveraging Server-Side Rendering for SEO: SSR ensures that search engines can fully index your pages, leading to better rankings and discoverability. When using SSR, data fetching happens on the server before rendering the page. This ensures that search engines see fully populated pages rather than waiting for JavaScript execution.
- Take proper security measures: Security is a major concern when deploying a Next.js app to production. Hence, you should never expose sensitive API keys or credentials in the front end. Instead, use environment variables stored in .env.local, .env.production, or your cloud provider’s secret management system. Add strict security headers using middleware or a custom Next.js server to prevent XSS (Cross-Site Scripting), Clickjacking, and other vulnerabilities.
- Choosing the Best Hosting Platform for Next.js: Choosing the right hosting platform is crucial for maximizing the performance and scalability of your Next.js application. The right platform will significantly impact everything from page load times and SEO to developer experience and cost-effectiveness. While numerous options exist, UpCloud stands out as a preferred platform for Next.js deployments, offering a compelling combination of performance, flexibility, and ease of use.
Conclusion
In this guide, we’ve walked through the essential steps of deploying your Next.js application on an UpCloud server. We began by setting up the development environment, installing Node.js and npm/yarn, and uploading your project. We then covered building your Next.js app, highlighting the built-in optimization features. Next, we delved into configuring a production-ready server, discussing various options and focusing on setting up Nginx as a reverse proxy. We also explored how to manage environment variables securely. We then moved on to deploying your application using PM2 and using the domain name, we also made our app publicly accessible over the web.
By following these steps, you can confidently deploy and manage your Next.js applications on UpCloud, taking advantage of its powerful features and flexible infrastructure.
Ready to launch your Next.js project on UpCloud? Try UpCloud today!
FAQs
What is the best way to deploy a Next.js app?
There are several ways to deploy a Next.js app, depending on your needs:
- Vercel – Built by the creators of Next.js, Vercel offers the most seamless deployment experience with automatic optimizations, edge functions, and a developer-friendly workflow.
- Netlify – Known for its simplicity, Netlify makes deploying Next.js apps easy with built-in CI/CD, serverless functions, and global CDN distribution.
- Cloud Servers (like UpCloud) – Ideal if you need full control, scalability, and high performance. UpCloud provides fast NVMe storage, a global network, and an easy setup process for running Next.js apps on your own infrastructure.
For most production use cases, deploying on a cloud server (or a managed platform like Vercel) offers the best balance of flexibility and reliability.
How do I install Next.js on a cloud server?
Installing Next.js on a cloud server like UpCloud is straightforward. You just need to:
- Spin up a cloud server (e.g., on UpCloud).
- Install Node.js and npm/yarn.
- Run npx create-next-app@latest to scaffold your project.
- Configure your environment and deploy.
What is the difference between building and deploying a Next.js app?
- Building – This is the process of preparing your Next.js app for production (next build). It optimizes assets, pre-renders pages, and compiles everything for deployment.
- Deploying – This is where you take the built app and make it accessible to users. It involves hosting, setting up a server, and running
next start(or using a platform that does this for you).
Can I host Next.js apps for free?
Yes, platforms like Vercel and Netlify offer free hosting for Next.js apps, which is great for small projects and prototypes. However, free plans often have limitations like cold starts, bandwidth restrictions, and lack of full server control.
For serious production apps, a cloud provider like UpCloud gives you more flexibility, better performance, and full control over your setup.
What are common deployment errors in Next.js?
Some common issues and fixes include:
- Missing dependencies – Ensure npm install or yarn install is run before deployment.
- Incorrect build command – Always use
next buildbefore running - Environment variables not loading – Double-check your .env setup and make sure they are properly set in the hosting platform.
- File system differences – If you’re deploying to a Linux-based server, watch out for case-sensitive file paths.
If something breaks, check your logs—Next.js usually gives useful error messages to help debug issues.
Discussion