What is pgvector?
Pgvector is a PostgreSQL extension that allows us to use relational databases as vector databases. This means that we are able to use AI applications like RAGs, recommendation systems, and so on with traditional, well-known databases, without adding another piece into our architecture and without adding more cognitive load to the teams – they already know how to work with PostgreSQL.
We covered the basics of pgvector and its benefits in our article about using pgvectors for AI search on PostgreSQL.
Installing pgvector extension
In this tutorial, we will install pgvector on UpCloud’s Managed PostgreSQL database and confirm that our extension works. To go forward and see how vectors work with this extension, follow this tutorial.
Prerequisites
To install this extension on a PostgreSQL database, we need a database. This tutorial requires that you already have one up and running. If you are new to this field, we have you covered. Follow the tutorial on how to deploy Managed Databases at UpCloud.
PostgreSQL extensions
UpCloud’s DBaaS for PostgreSQL offers many extensions we can easily use with our database. These extensions add new capabilities to the database, but don’t change the engine itself. It is still PostgreSQL.
How to install the pgvector extension in UpCloud’s managed database?
The process is very easy and straightforward. We will go through the Hub to check whether the extension exists and which versions are available, then we will log in to the database and enable the extension. Finally, we will check whether the extension is ready to use.
Checking extensions through UpCloud’s Hub
In the image below, we can see a running database seen in UpCloud’s Hub.
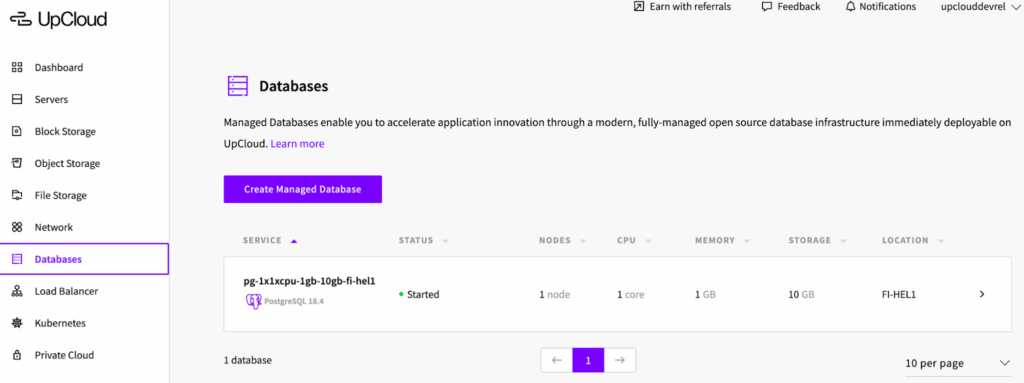
After we click the database tile, we go to the details for this database instance. For us, the interesting section is at the bottom of the page, under the button shown in the image.

Under this button, we can see all the extensions prepared by UpCloud’s team, which we can easily install.
The list is quite large and contains extensions for many use cases we might have installed to enable our workloads.
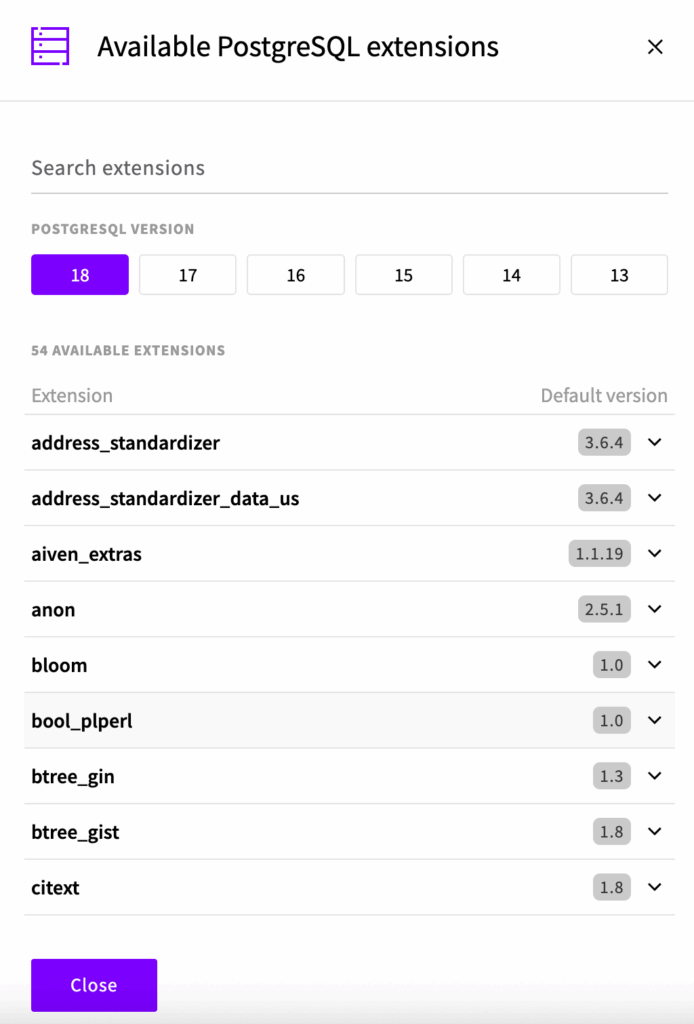
The list can be limited to specific extensions using the “search” field. Every extension shows its available version. In most cases, there will be only one version, but extensions allow us to select different versions. This might be important for us when we have architectural needs that require pinning specific software versions.
UpCloud offers many versions of the PostgreSQL engine. That is why we can search extensions by engine version.
As the list is alphabetical, our extension will be somewhere at the bottom. We need to search for the vector extension.
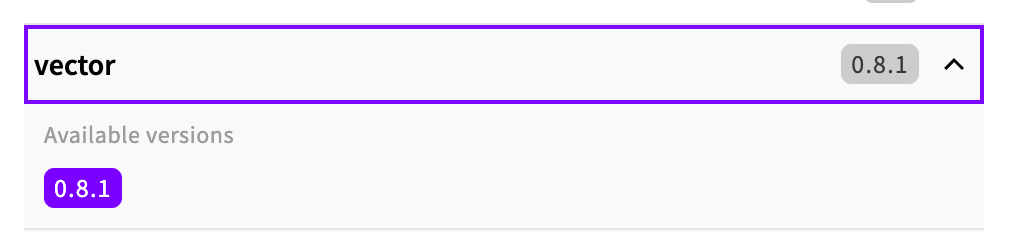
Now that we know that the extension is available, it is time to log in to the database and enable it!
Enabling the extension
Before we log in to the database, we need to have a tool installed that supports it. This tool is pgsql, and it is widely used across platforms.
We use a Ubuntu machine in this tutorial, running on UpCloud. To install the extension, we need to run:
sudo apt install postgresql-client -yAfter this, we are ready to connect to the database. In the hub, we can find the connection string for private connection under the Connections section. We select the Private tab if it is not selected.
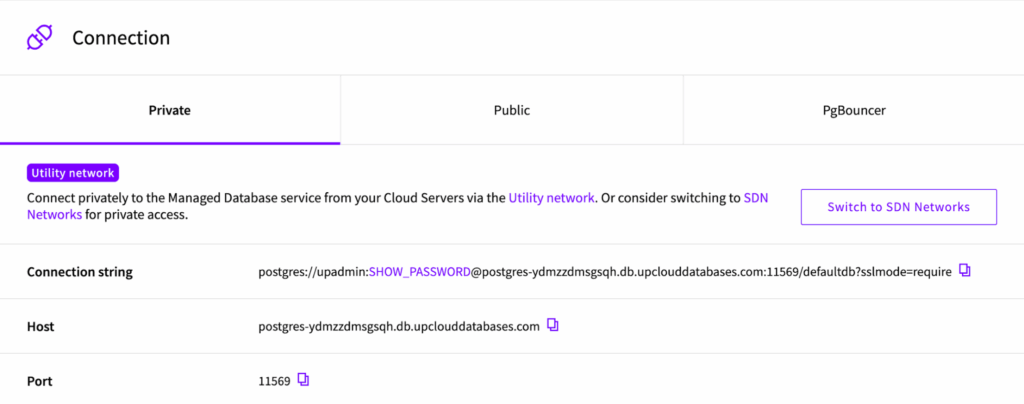
A utility network lets us connect to internal resources on our account, but for better security, we can segregate these by configuring SDN Connections.
We copy the string and enter it in the console:
psql postgres://upadmin:AVNS_5iR9rkGHu3JQI9SisZi@postgres-ydmzzdmsgsqh.db.upclouddatabases.com:11569/defaultdb?sslmode=requireWe should notice the user and the randomized password provided in the connection string.
If we were successful, the image shows the state we should see:

From the level of the database, we can check if the extension is available, using
defaultdb=> SELECT * FROM pg_available_extensions WHERE name = ‘vector’;If the extension is available, this is what we will see:

Confirmed, an extension is available. Now it is time to confirm if the extension is enabled:
defaultdb=> SELECT * FROM pg_extension WHERE extname = ‘vector’;If the response is empty, the extension is not enabled. The image shows exactly this situation:

Ok, we are ready to enable the extension.
This command will enable pgvector in our PostgreSQL database:
defaultdb=> CREATE EXTENSION IF NOT EXISTS vector;This will enable the extension, and once that’s done, we can start building our vector database!

To be 100% sure that the extension is enabled and works, we can run this command again:
defaultdb=> SELECT * FROM pg_extension WHERE extname = ‘vector’;
Next steps
We enabled the pgvector extension in PostgreSQL and are ready to run our vector workloads. To very quickly check if pgvector is enabled, we can run the command
defaultdb=> SELECT ‘[1,2,3]’::vector;The correct response is shown in the image below. If the extension is not working, we will receive an error in the response.

To disable the extension, we need to run the command:
defaultdb=> DROP EXTENSION vector;Conclusion
UpCloud offers us a very easy and almost instant way to install the pgvector extension. In a few minutes, we can convert well-known, established databases like PostgreSQL into vector databases suitable for AI workloads such as RAG, knowledge bases, and recommendation systems. And all without any additional costs!
Are you ready to test this yourself? Register the account on UpCloud or log in to Hub and follow this tutorial!
Do you have questions? Our team is happy to chat!
Discussion