Coolify is an open-source and self-hostable alternative for managed services like Heroku, Netlify, or Vercel. It helps you manage your servers, applications and databases running in containers on your chosen hardware; you only need an SSH connection.
In this tutorial, we’ll show how to deploy your own Coolify development environment using UpCloud’s Developer Cloud Servers. We’ll also explain the Coolify server setup and its strengths in performance and flexibility. But first, let’s see what Coolify is exactly and why you should use it.
What is Coolify
Coolify is a modern, self-hostable, open-source solution for deploying and managing databases and applications utilising Docker. It is designed for developers and businesses who want to manage their applications and services without complications. It is a simple yet powerful tool and makes an excellent choice for any developer. Following are some of the reasons why you should use Coolify.
Compatibility with multiple languages
Coolify is compatible with a wide range of programming frameworks and languages. It enables developers to quickly and efficiently launch websites, databases, backends, APIs, and other applications.
Compatibility with cloud servers
It is popular in self-hosted environments but is also commonly used with cloud services, offering greater flexibility. Coolify can help seamlessly deploy resources onto services like UpCloud Cloud Servers with just an SSH connection.
Push to deploy
GitHub integration has become important in the current technological landscape. Coolify integrates with GitHub to facilitate team collaboration by making project sharing easier.
Free SSL certificates
Coolify also automates the setup of SSL certificates for custom domains to simplify operations and prevent manual certificate setup.
Setting up a Developer Cloud Server
To run Coolify on UpCloud, you must first set up a Cloud Server. We have an in-depth, step-by-step guide on how to deploy Cloud Servers, but here’s a quick summary.
- 1. Sign up with UpCloud: First things first! If you haven’t registered with UpCloud, click here to start your free trial.
- 2. Navigate the Dashboard: After creating the account and logging into your UpCloud Control Panel, click the “Deploy” button in the top right corner of your UpCloud dashboard, then select “Server”.
- 3. Select Location: In the server configuration view, select the location of your new server. Generally, the closer the location is to you, the less latency you will experience managing your Coolify install.
- 4. Server Plans: The next step is choosing a server plan. Coolify recommends a minimum of 2 CPU cores, 2 GB of memory, and at least 30 GB of storage. UpCloud offers a Developer plan at just €8/mo that satisfies the requirements and works well for getting started. Also, thanks to our Hot Resize feature, you can always upgrade your plan with zero downtime.
- 5. Automated Backups: You can enable automated backups by clicking the toggle button. It is not necessary for testing purposes but essential for production use. Choose from the daily, weekly, monthly, and yearly plans according to your requirements.
- 6. Operating System: Once the Cloud Server configuration is set, you must choose the operating system. Coolify is compatible with most Debian, Redhat and SUSE-based Linux distributions so feel free to pick your preferred OS from the selection of public templates. For this tutorial, we are using Ubuntu 24.04.
- 7. Network: The last step is to configure the network settings. By default, all UpCloud’s servers include IPv4 and IPv6 connections, but you can also create SDN Private Networks. In this tutorial, we don’t need to change these settings.
When you have finished configuring your Developer Cloud Server, click the Deploy button to launch the new server instance.
Preparing your Cloud Server
Before installing Coolify, you will need to prepare your Cloud Server. Coolify doesn’t have many prerequisites but automatically installs the necessary tools and software when using their quick installation method. However, before starting, follow the steps below to ensure your server is ready.
Once your Developer Cloud Server is up and running, log in using SSH or our VLC connection.
- 1. Update your Cloud Server: First, ensure your server is current. If you are using Ubuntu or another Debian-based OS, run the following commands to update the installed software. Other Linux systems should refer to the manual for their distribution package manager.
sudo apt updatesudo apt upgrade -y
- 2. Install Curl Command: Ensure your Cloud Server has the curl utility installed.
sudo apt install curl
- 3. Required network ports: If you have enabled the UpCloud Firewall, you need to allow the following ports for Coolify to operate successfully.
- 8000 for HTTP
- 6001 for WebSocket
- 6002 used by the terminal
- 22 for SSH or use a custom port
You must also allow TCP port 80 or 443 if you wish to use GitHub webhooks.
With these checks done, you can now move to installing Coolify.
Recommended: Installing Coolify automatically
The next step is installing and configuring Coolify.
Using the install script: Install Coolify automatically using their installation script is quick and easy. Simply run the following command on your Cloud Server’s terminal.
curl -fsSL https://cdn.coollabs.io/coolify/install.sh | sudo bash
When the installation finishes successfully, you should see an output like below.
 - Coolify installed successfully.
 - Waiting for 20 seconds for Coolify (database migrations) to be ready.
 - Until then, here's a joke for you:

There are only 10 kinds of people in this world: those who know binary and those who don't.


   ____                            _         _       _   _                 _
  / ___|___  _ __   __ _ _ __ __ _| |_ _   _| | __ _| |_(_) ___  _ __  ___| |
 | |   / _ \| '_ \ / _` | '__/ _` | __| | | | |/ _` | __| |/ _ \| '_ \/ __| |
 | |__| (_) | | | | (_| | | | (_| | |_| |_| | | (_| | |_| | (_) | | | \__ \_|
  \____\___/|_| |_|\__, |_|  \__,_|\__|\__,_|_|\__,_|\__|_|\___/|_| |_|___(_)
                   |___/


Your instance is ready to use.
Please visit http://{your-server-ip-address}:8000 to get started.
If the script finishes without showing you the above output, run it again to continue the installation from where it might have left off.
Alternative: Manually installing Coolify
Coolify recommends using the automated script for easier installation. However, if you wish to install Coolify manually, follow the steps below.
- 1. Create Directories: Under /data/coolify, create the base configuration directories.
mkdir -p /data/coolify/{source,ssh,applications,databases,backups,services,proxy,webhooks-during-maintenance}
mkdir -p /data/coolify/ssh/{keys,mux}
mkdir -p /data/coolify/proxy/dynamic
- 2. Generate SSH Key: Now, for Coolify to manage the server, generate an SSH key.
ssh-keygen -f /data/coolify/ssh/keys/[email protected] -t ed25519 -N '' -C root@coolify
- 3. Setup SSH Key: Once the SSH key is generated, set it up by adding it to ~/.ssh/authorized_keys. Coolify will be able to connect to the server now.
cat /data/coolify/ssh/keys/[email protected] >>~/.ssh/authorized_keys
chmod 600 ~/.ssh/authorized_keys
- 4. Setup Configuration Files: After setting up the SSH key, configure Coolify by copying docker-compose.yml, docker-compose.prod.yml, .env.production & upgrade.sh files from Coolify’s CDN to /data/coolify/source.
curl -fsSL https://cdn.coollabs.io/coolify/docker-compose.yml -o /data/coolify/source/docker-compose.yml
curl -fsSL https://cdn.coollabs.io/coolify/docker-compose.prod.yml -o /data/coolify/source/docker-compose.prod.yml
curl -fsSL https://cdn.coollabs.io/coolify/.env.production -o /data/coolify/source/.env
curl -fsSL https://cdn.coollabs.io/coolify/upgrade.sh -o /data/coolify/source/upgrade.sh
- 5. Set Permissions: Run the following command to set permissions.
chown -R 9999:root /data/coolify
chmod -R 700 /data/coolify
- 6. Generate Values: Set the following variables in /data/coolify/source/.env, and generate values.
sed -i "s|APP_ID=.*|APP_ID=$(openssl rand -hex 16)|g" /data/coolify/source/.env
sed -i "s|APP_KEY=.*|APP_KEY=base64:$(openssl rand -base64 32)|g" /data/coolify/source/.env
sed -i "s|DB_PASSWORD=.*|DB_PASSWORD=$(openssl rand -base64 32)|g" /data/coolify/source/.env
sed -i "s|REDIS_PASSWORD=.*|REDIS_PASSWORD=$(openssl rand -base64 32)|g" /data/coolify/source/.env
sed -i "s|PUSHER_APP_ID=.*|PUSHER_APP_ID=$(openssl rand -hex 32)|g" /data/coolify/source/.env
sed -i "s|PUSHER_APP_KEY=.*|PUSHER_APP_KEY=$(openssl rand -hex 32)|g" /data/coolify/source/.env
sed -i "s|PUSHER_APP_SECRET=.*|PUSHER_APP_SECRET=$(openssl rand -hex 32)|g" /data/coolify/source/.env
- 7. Install Docker: Follow the Docker installation guide to get their container engine installed. Below are quick instructions for installing Docker on Ubuntu or other Debian-based.
# Add Docker's official GPG key:
sudo apt-get update
sudo apt-get install ca-certificates curl
sudo install -m 0755 -d /etc/apt/keyrings
sudo curl -fsSL https://download.docker.com/linux/ubuntu/gpg -o /etc/apt/keyrings/docker.asc
sudo chmod a+r /etc/apt/keyrings/docker.asc

# Add the repository to Apt sources:
echo \
  "deb [arch=$(dpkg --print-architecture) signed-by=/etc/apt/keyrings/docker.asc] https://download.docker.com/linux/ubuntu \
  $(. /etc/os-release && echo "$VERSION_CODENAME") stable" | \
  sudo tee /etc/apt/sources.list.d/docker.list > /dev/null
sudo apt-get update
sudo apt-get install docker-ce docker-ce-cli containerd.io docker-buildx-plugin docker-compose-plugin
- 8. Default Docker Network: After generating values, default coolify Docker network.
docker network create --attachable coolify
- 9. Start Coolify and open the dashboard: The last step in installing and configuring Coolify is to open Coolify’s dashboard at http://{your-server-ip-address}:8000 to configure the installation. Start the Coolify containers with the commands below:
docker compose --env-file /data/coolify/source/.env -f /data/coolify/source/docker-compose.yml -f /data/coolify/source/docker-compose.prod.yml up -d --pull always --remove-orphans --force-recreate
Deploying your first app using Coolify
Once installed, Coolify starts a web server that will provide you with a dashboard. Here is how you can deploy your first app using Coolify:
1. Access your Coolify dashboard: Open the Coolify dashboard in your web browser by going to the address at the end of the installation output, http://{your-server-ip-address}:8000 port on your Cloud Server.
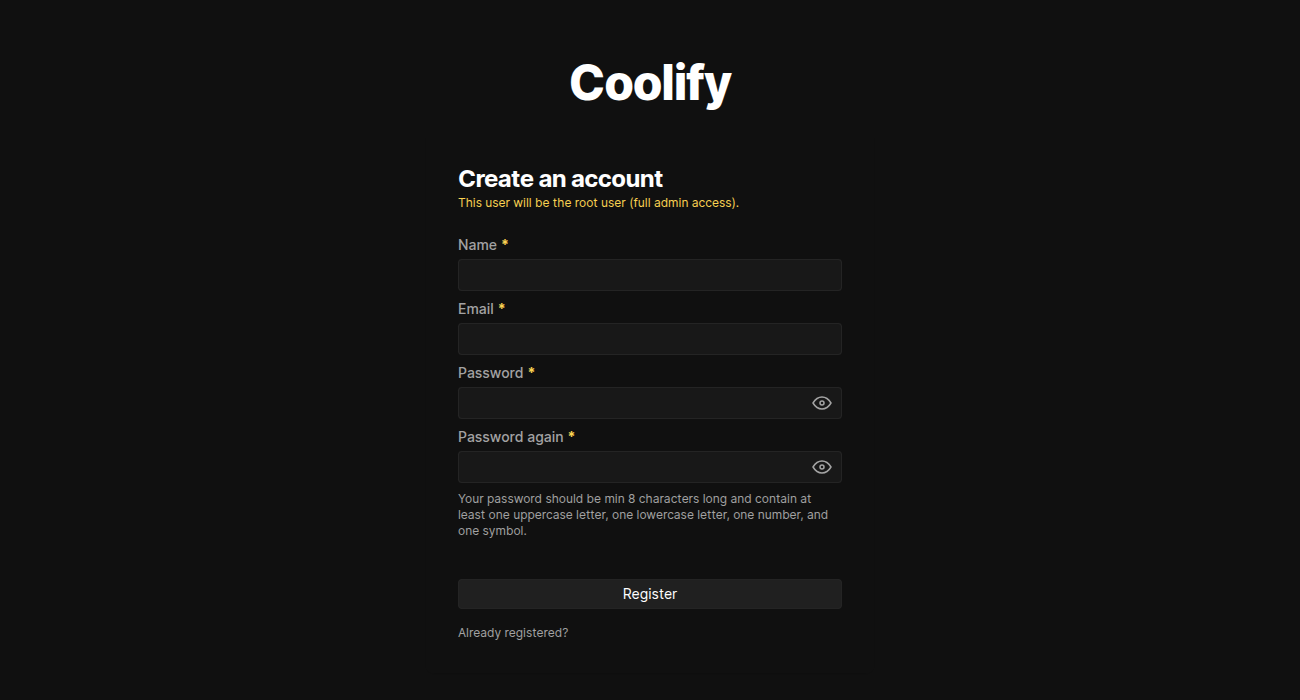
The first time opening the Coolify dashboard, you will be presented with an account creation page. Register to your Coolify dashboard to secure your installation.
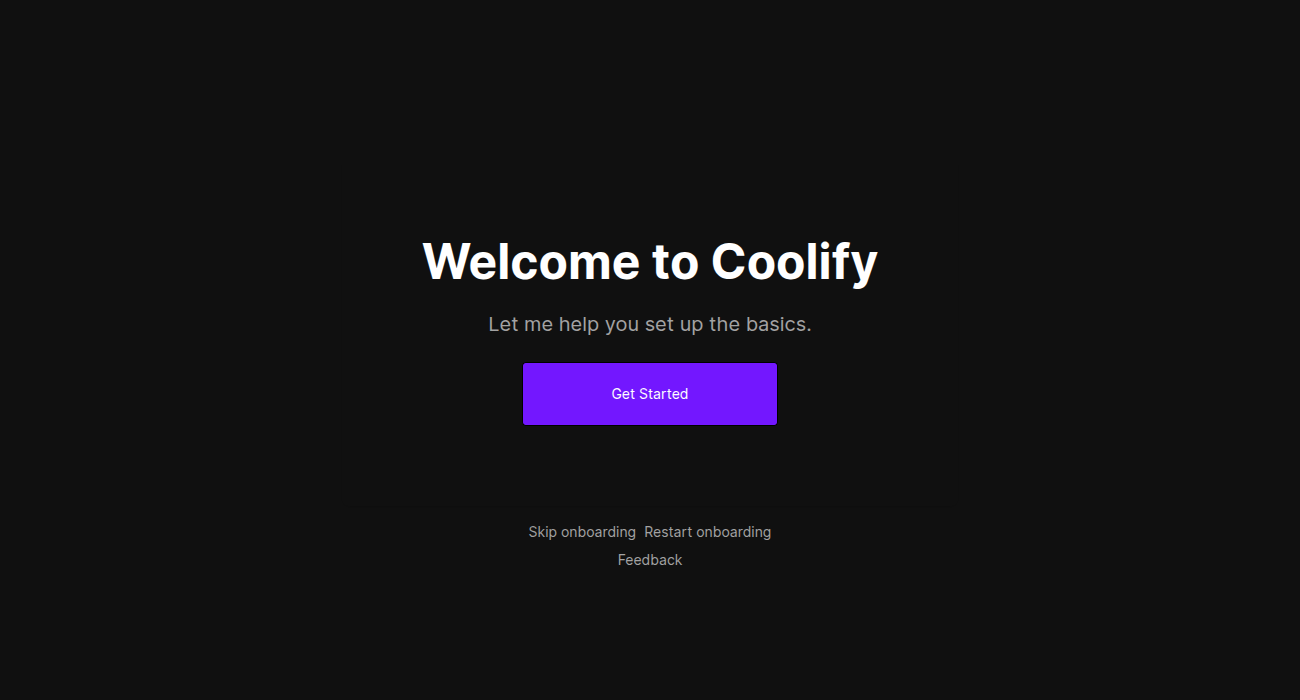
Once registered, you will be guided through the initial setup process. Press the Get Started button to begin.
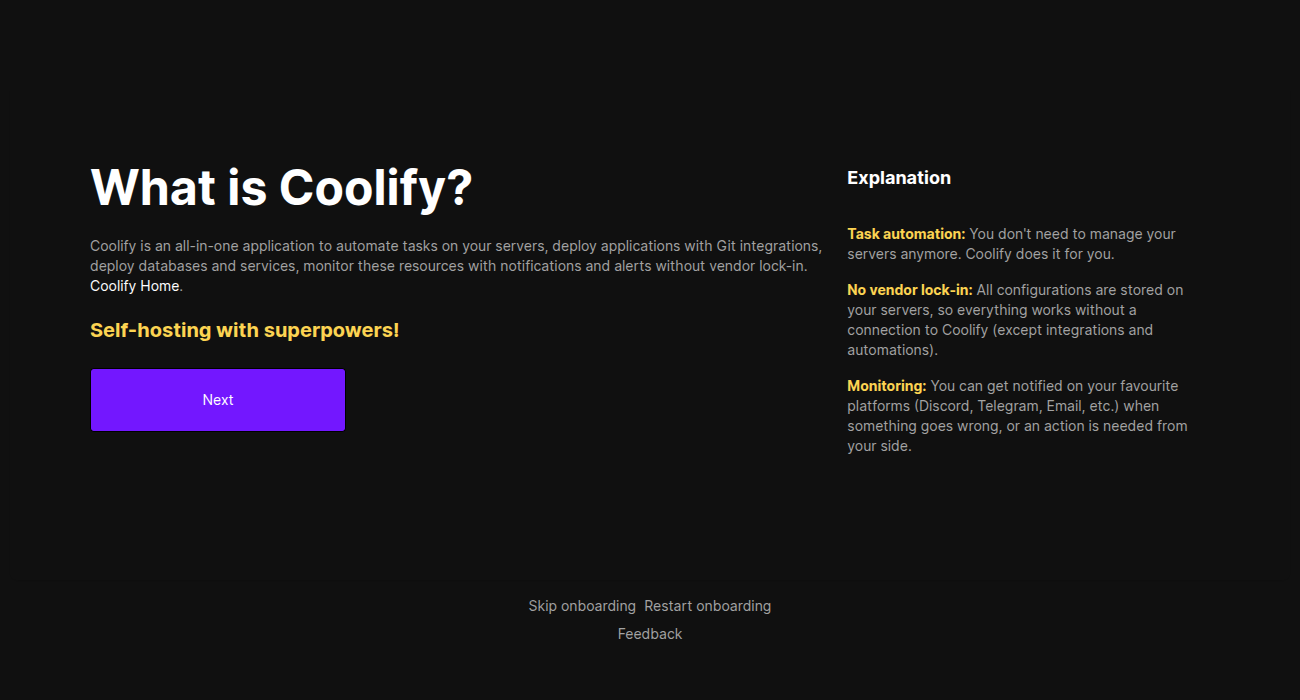
You will then get a short introduction to Coolify. Simply click the Next button to proceed.
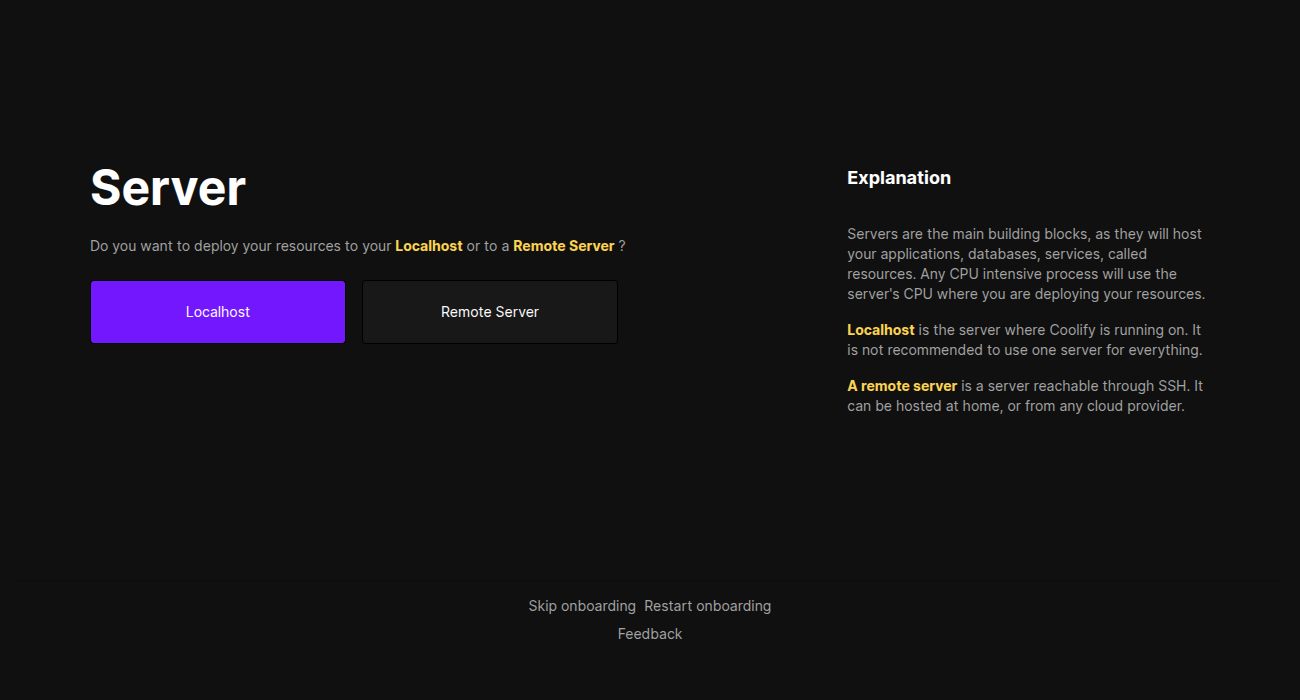
2. Set up your Coolify installation: To set up your project on Coolify, you must first tell Coolify how and where to install your projects. In this example, we are using the same Cloud Server to run our test applications as Coolify itself by choosing the Localhost option.
Next, create your first project.
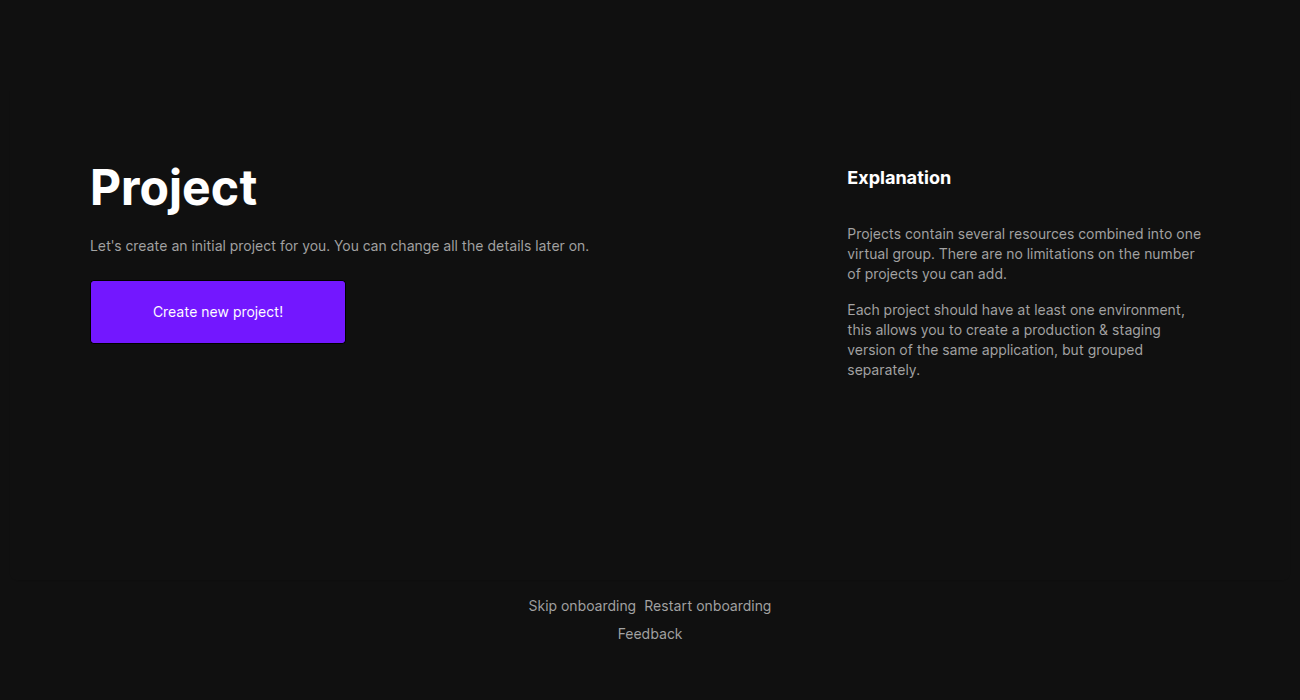
Then choose the resources by clicking the Let’s do it button.
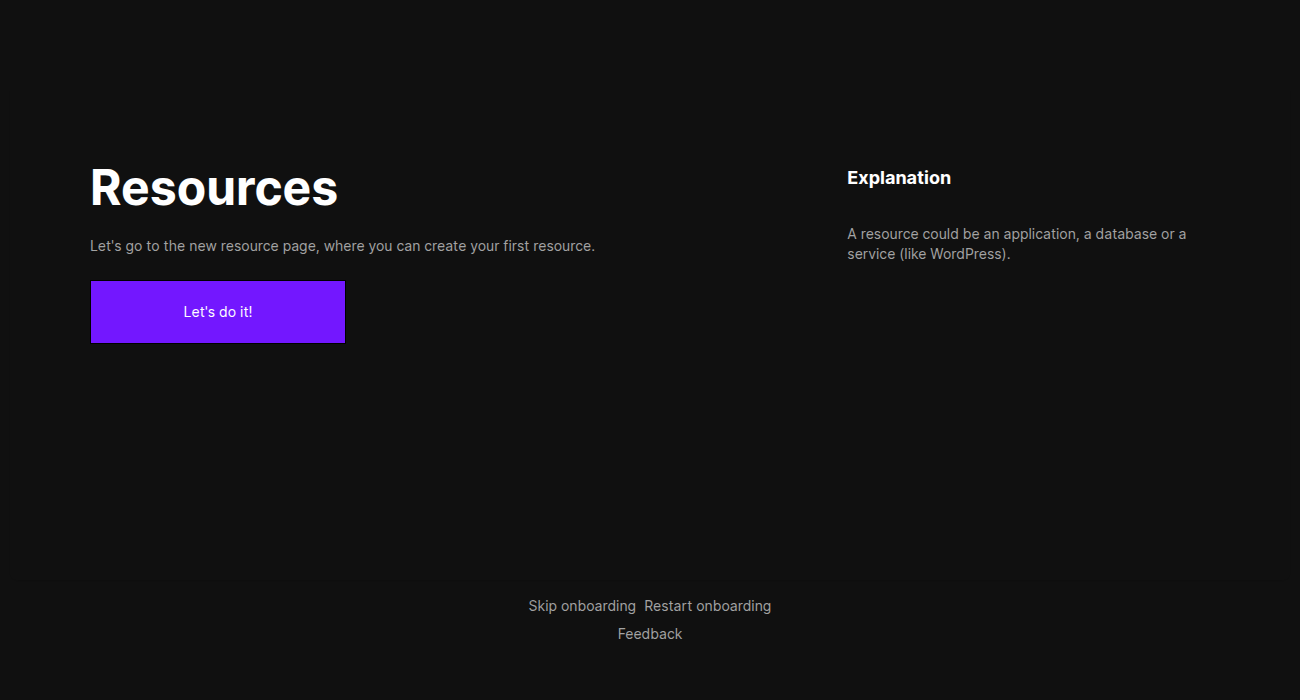
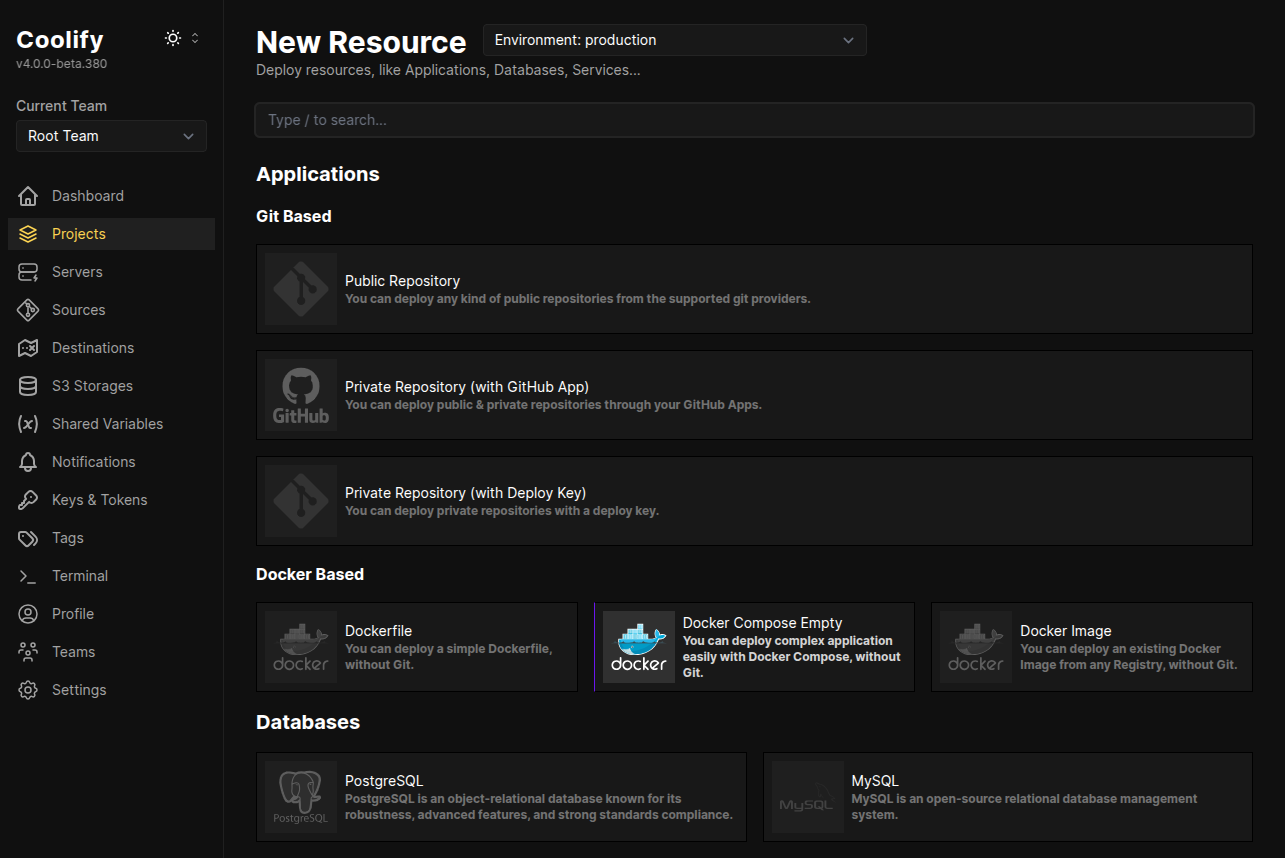
3. Deploying your first Project: The Projects menu contains a long list of applications, databases, and services you can deploy.
For this example, we will choose the empty Docker Compose container. Click on the icon to open the configuration view.
Next, input the Docker Compose configuration you want to deploy. In this example, we’ve picked a simple Docker test image.
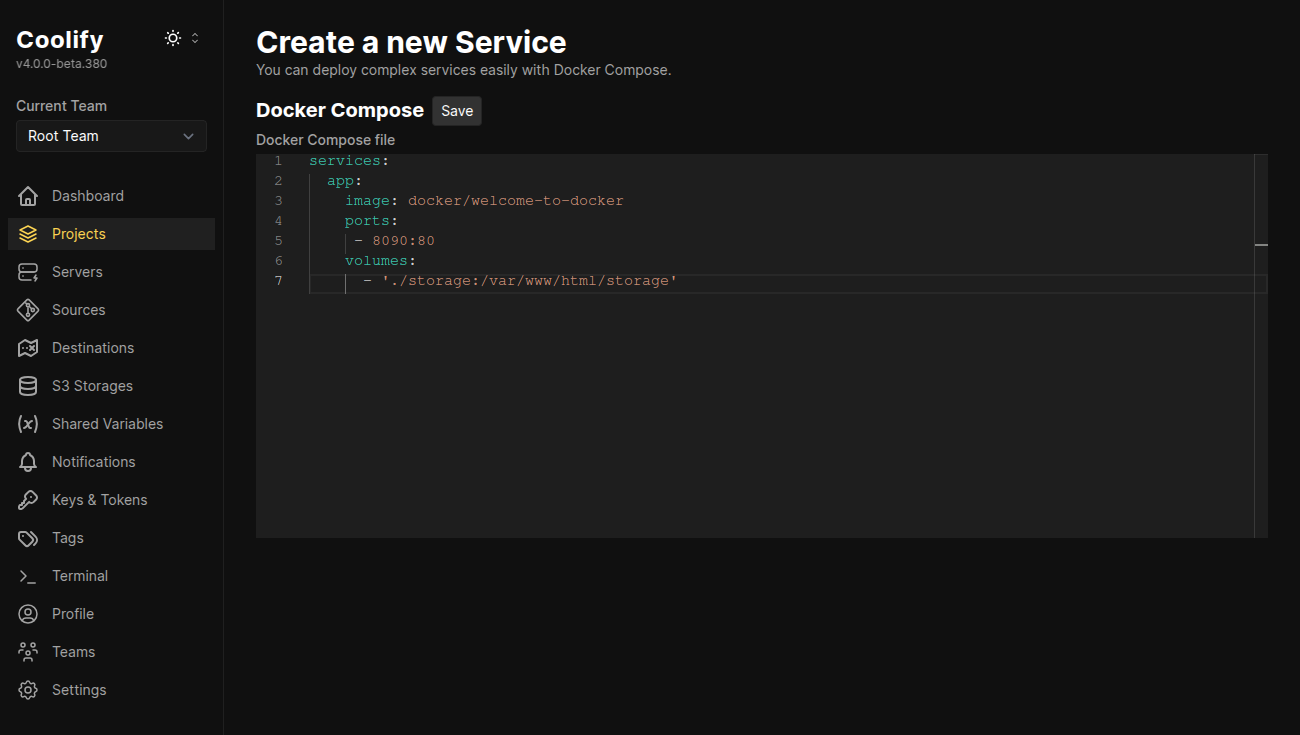
Copy the following Docker compose configurations into your Coolify project.
services:
  app:
    image: docker/welcome-to-docker
    ports:
     - 8090:80
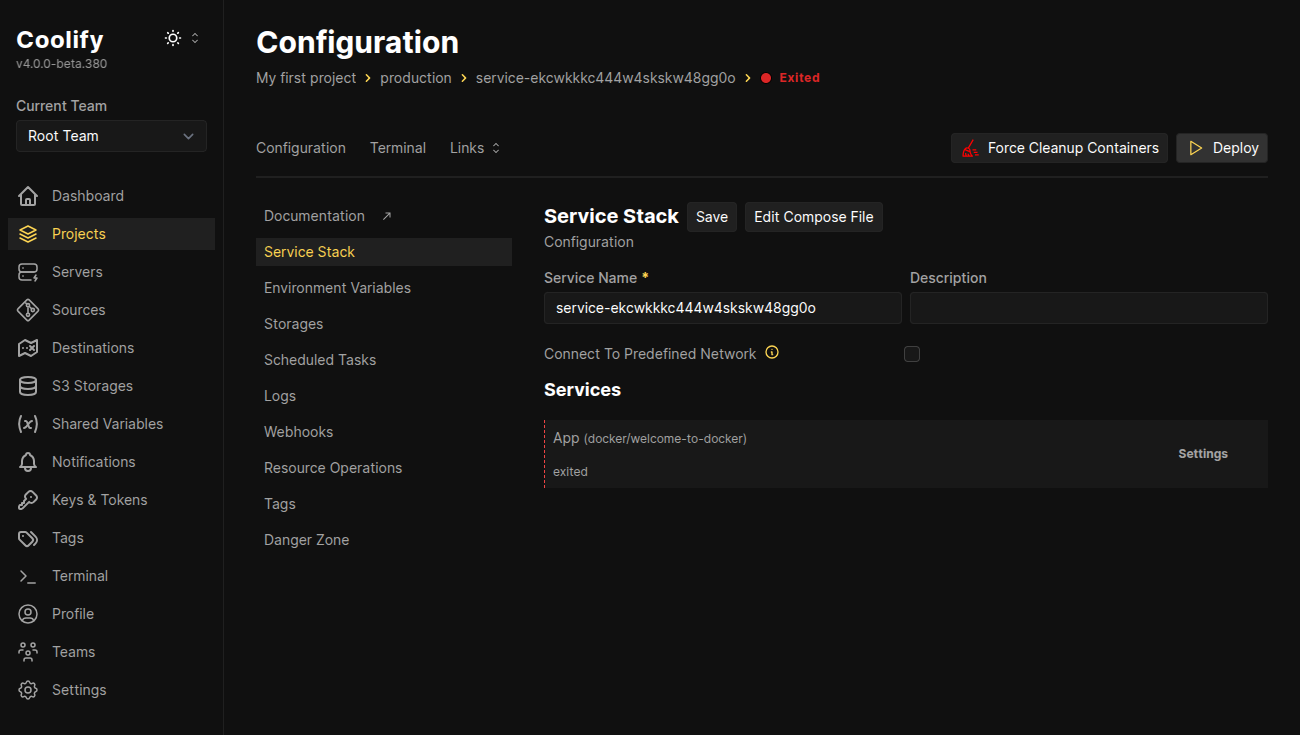
Then click the Save button and return to the project configuration view.
Next, click the Deploy button.
Then sit back and watch the magic happen!
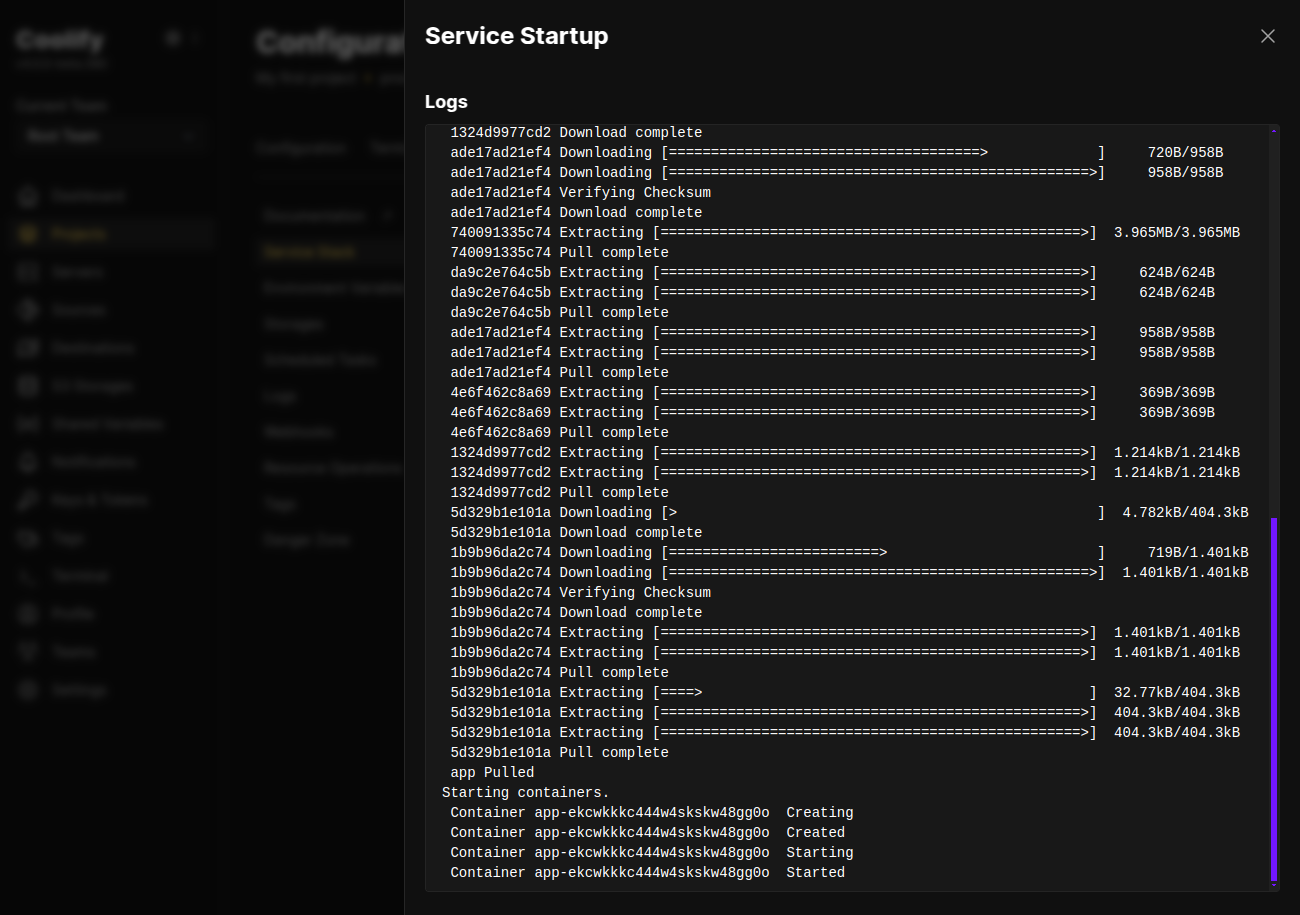
Once your Docker containers’ status shows “Started,” you can verify it by opening your Coolify server IP address at the port selected in the compose file.
http://{your-server-ip-address}:8090
Congratulations! If everything goes correctly, you should see the celebration screen.

Managing your Coolify server on UpCloud
Setting up Coolify and deploying your first application is an important part of this tutorial. However, you should also know how to manage and maintain your UpCloud server to ensure optimal performance.
Routine Maintenance
Routine maintenance should include the following:
- Monitor Resources: Monitor CPU, disk usage, and memory through your UpCloud Control Panel and upgrade your app accordingly.
- Backups: Establish a proper backup schedule to prevent the loss of important data.
- Scaling: Adjust the resources of your app by scaling your Cloud Server.
Security
The security of your server is also important to ensure it performs per your expectations.
- Firewall: If you haven’t done so at the setup stage, you should set up a firewall on your server to allow only necessary traffic and prevent irrelevant data. The preparations section above provides a list of the required network ports.
- Regular Updates: To eliminate bugs and glitches, update your Cloud Server regularly to stay secure with the latest versions.
Conclusion
Coolify installation offers a simple but powerful solution for deploying and managing applications. This makes it easy for developers and small teams to collaborate and get their work done efficiently and quickly.
Coolify lets users deploy their apps with just a few clicks by seamlessly integrating with GitHub, GitLab, and Docker. Coolify, paired with the UpCloud Developer plan Cloud Servers, provides a great developer environment for building, scaling, and managing applications.
Learn more about Cloud application management tools by signing up for UpCloud now!
FAQ
- What is Coolify, and why should I use it?
- Coolify is a self-hosted platform for managing Docker containers, applications, and services. It’s ideal for developers seeking control, privacy, and cost savings.
- How do I install Coolify on Debian?
- Update your server, install Docker and Docker Compose, and follow Coolify’s installation instructions. This guide provides step-by-step commands.
- How do I connect a URL to my Coolify server?
- Point your domain’s DNS to the server IP, configure it in the Coolify dashboard, and enable SSL using Coolify’s built-in options.
- Can Coolify manage Docker Compose files?
- Yes, Coolify allows you to upload or configure Docker Compose files directly and deploy services seamlessly.
- Why should I host Coolify on UpCloud servers?
- UpCloud offers high-performance compute, storage, scalability, and low-latency servers, making it ideal for hosting applications like Coolify.
Discussion