If you are a developer, especially running a small business and delivering applications to your customers alone, you don’t have time and you don’t want to care about “everything DevOps”. You don’t want to care about pipelines, about deployments, and especially about infrastructure. You simply don’t have time to learn it deeply and later manage it. There are many platforms and tools to help you with it and take this burden from you.
Partnership with Heim
We at UpCloud are very happy to help you too! With our Partner – heim.dev, we take this part from you, and now you can easily focus on coding, and run your applications without anything else than one command in the CLI!
What is Heim?
Heim is a PaaS service, which allows you to deploy your code to infrastructure managed by them. With the whole ecosystem around – self-hosted server (no, don’t worry! Running it is hilariously simple!) and Platform-as-a-Service offering, where your applications live.
Scaling, maintaining the application? Forget it, Heim does it for you.
Heim uses UpCloud as underlying infrastructure, which gives you a very powerful, performant and reliable base for your applications. What is equally important is infrastructure that is run by a European company, which means that your data is not only secured, but also is under European law.
By this cooperation, we give you easy to use tool, run on first class cloud vendor.
Video tutorial
Start with Heim
In this tutorial we go through the first steps with Heim, what is needed to start, explore the GUI and deploy template application. And all can be done in a few minutes!
Installation
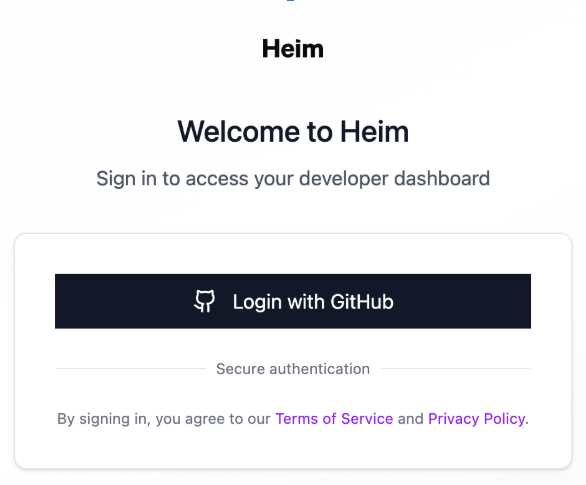
To start using Heim you have to register at heim.dev, using your GitHub user.
After login we land on the portal where we see our deployed applications.
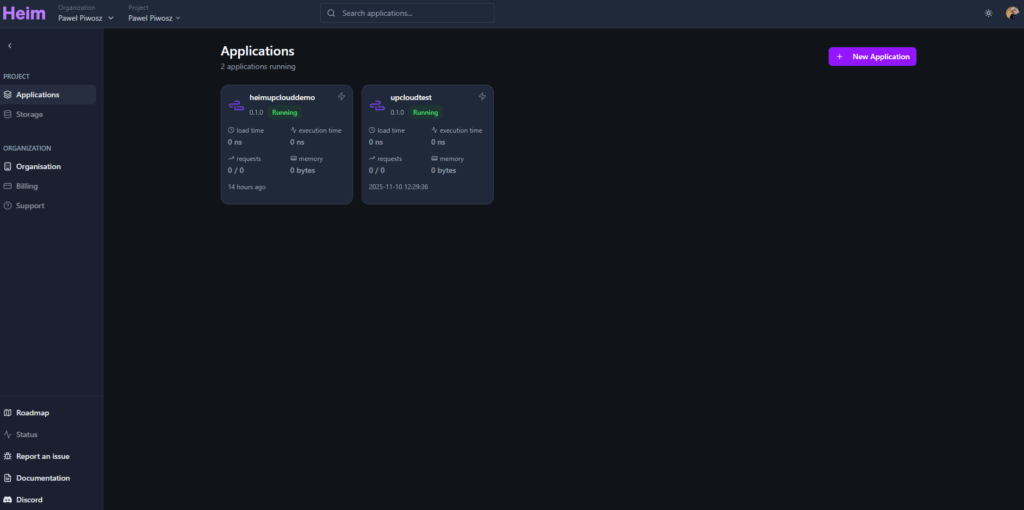
When we log in for the first time, the dashboard will be empty. Let’s change it!
CLI installation
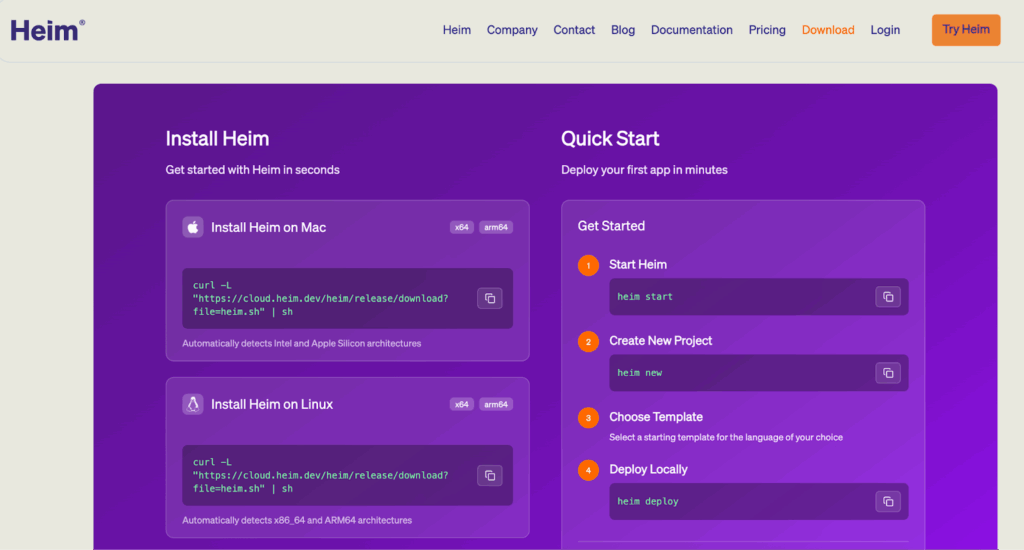
The heart of Heim is its CLI tools. To install it, we need to install the proper package from https://heim.dev/releases/
After successful installation, we can check it by typing in our CLI:
$> heim –version
heim-cli 1.2.0
Congratulations! All the infrastructure related work is done! Now time to play!
Start local server
Heim offers you the development environment, which you can run locally. It will act and behave exactly in the same way as cloud environments. It is very useful for the development process and to check if your application is ready to be deployed.
To run this environment, use the command:
$> heim start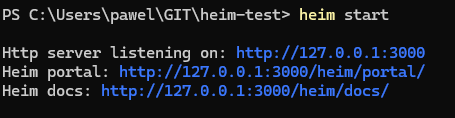
The portal is now available on your local machine, under the address http://127.0.0.1:3000/heim/portal and it is ready to accept local deployments!
So easy, isn’t it? It is much more powerful than npm start for example, as it offers the whole management portal and server all your applications out-of-the-box.
Create a new project
Ok, we started a server, now it is time to create our first application.
Heim offers many templates and boilerplates for programming languages. Python, TypeScript, Rust, Go, C, C#, all are available and handled properly by underlying service.
In this tutorial we create a simple TypeScript https application and deploy it to the cloud. Turn on your stopwatch. It will take less than a few minutes!
To generate the project, we run:
$> heim newAfter it, Heim is asking a few questions, which we need to answer.
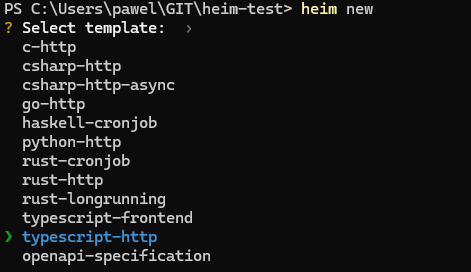
After framework selection, we provide package name (another words, name of our application), trigger path (API endpoint), endpoint’s method, and that’s it!

On the screen above we can see all parameters we need to provide with example values. Then we have the information from Heim about rendering the template.
Let’s explore our project.
$> cd heimtutorial
$> ls -l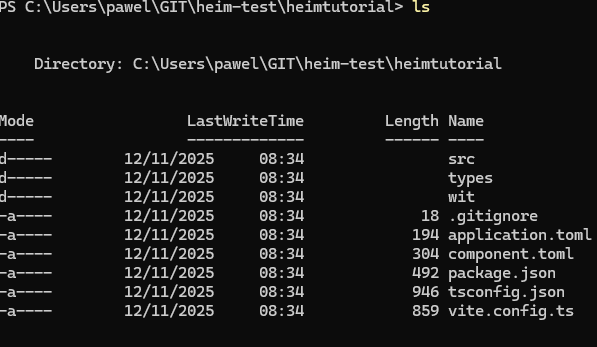
Everything is prepared. Two files here are important for Heim: component.toml and application.toml. These files are responsible for configuration and behaviour of Heim execution for our application.
Add region configuration
Heim can deploy your application to different cloud providers and different regions within these providers. In our case, we want to use UpCloud and as of today we have one region available, Sweden one. Let’s configure it in the application.toml by adding:
[scaling]
region = [“upcloud-se-1”]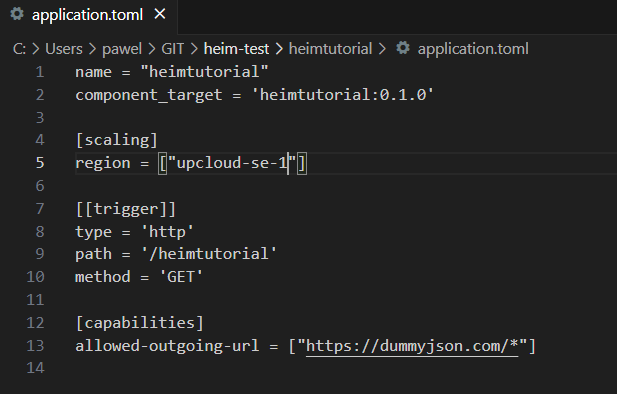
As we use TypeScript here in the example, we have to prepare it to be ready to deploy. For this, we run standard command:
$> npm installAfter successful installation of npm packages we are ready to deploy our template application!
Deploy to local server
Ensure that our local server is still up and running, and deploy the application, by typing:
$> heim deployIf this deployment can’t be run due to region configuration, simply comment the section in application.toml file.
Deploy to cloud
After successful deployment we can test our application. If everything is ok and you are ready to deploy to UpCloud, run:
$> heim deploy --cloudThis command will deploy the application to the cloud, defined in application.toml.
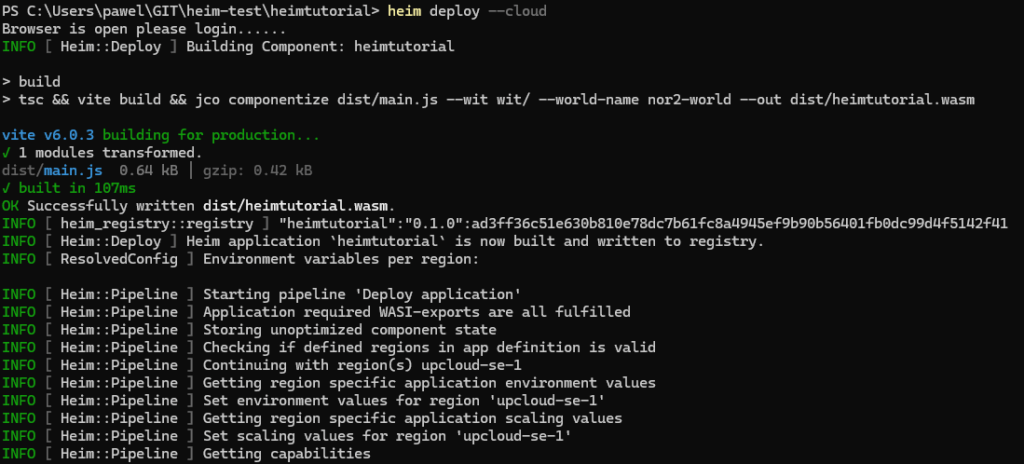
The deployment pipeline started, all components were created. Let’s check our cloud portal under https://cloud.heim.dev
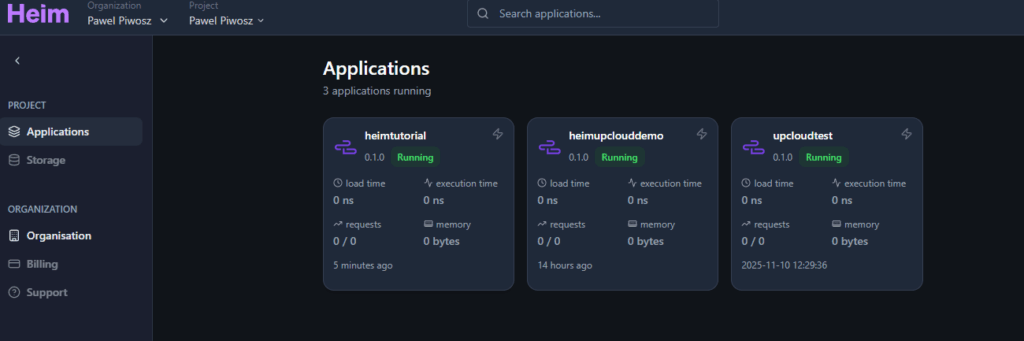
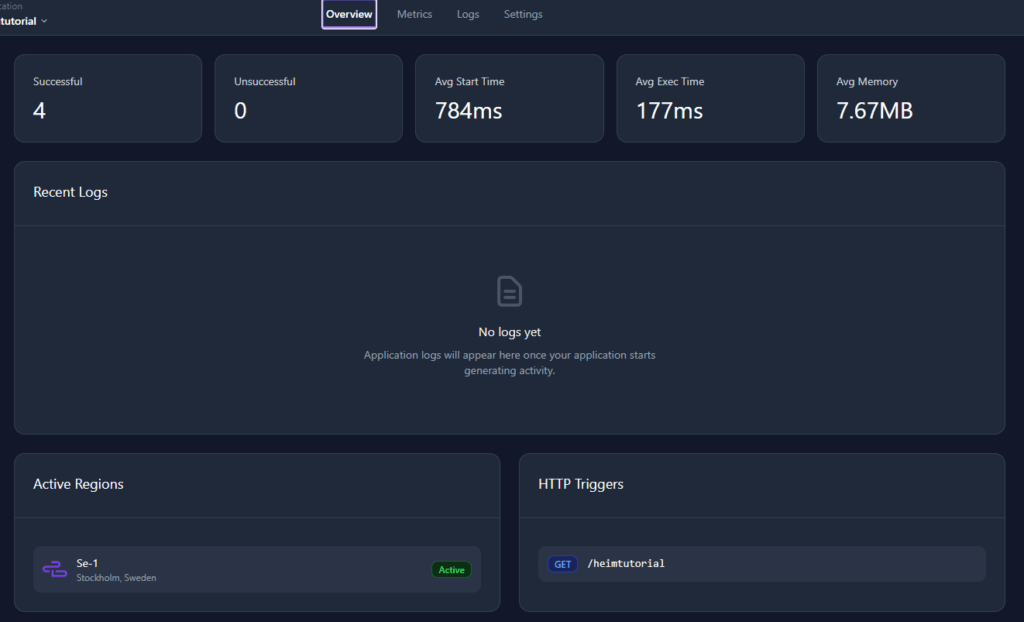
We can navigate through different organizations and projects and we can see that our application heimtutorial is deployed. What do we see there?
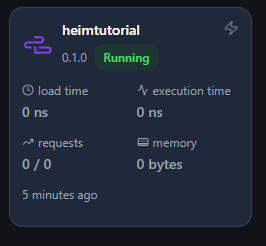
This tile provides the most important information about our application. The heath, status, and recent metrics.
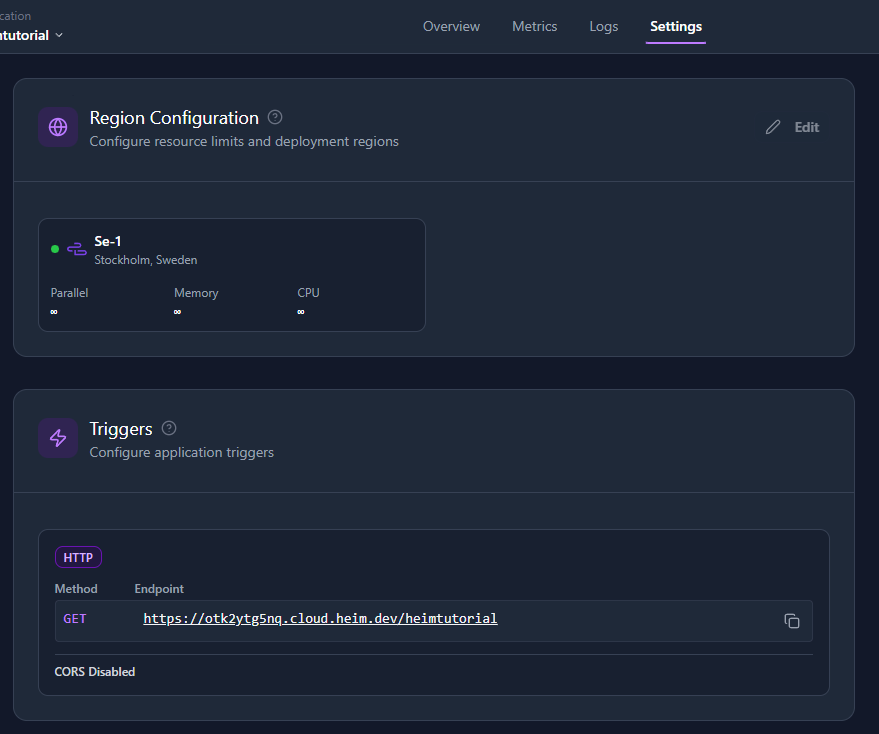
Check the trigger
What is the endpoint to run? We can find it in a few places (for example in the tile we have a little icon on top right corner, we have thunderbolt, which we can click. But if we click the whole tile, we go inside our application. On top we have a menu, let’s click Settings. We have configuration of our application, together with trigger to copy.
Let’s run this app a few times. It is a template, using some dummy data, but this is more than enough to confirm if everything works.
Now we can explore the Heim portal.
Overview tab gives us general information about performance and usage. Also, we can notice the UpCloud’s infrastructure in the “Active Regions” tile. Of course, it is a “black box” to us. This is what we want, we don’t want to know how it is run under the hood!
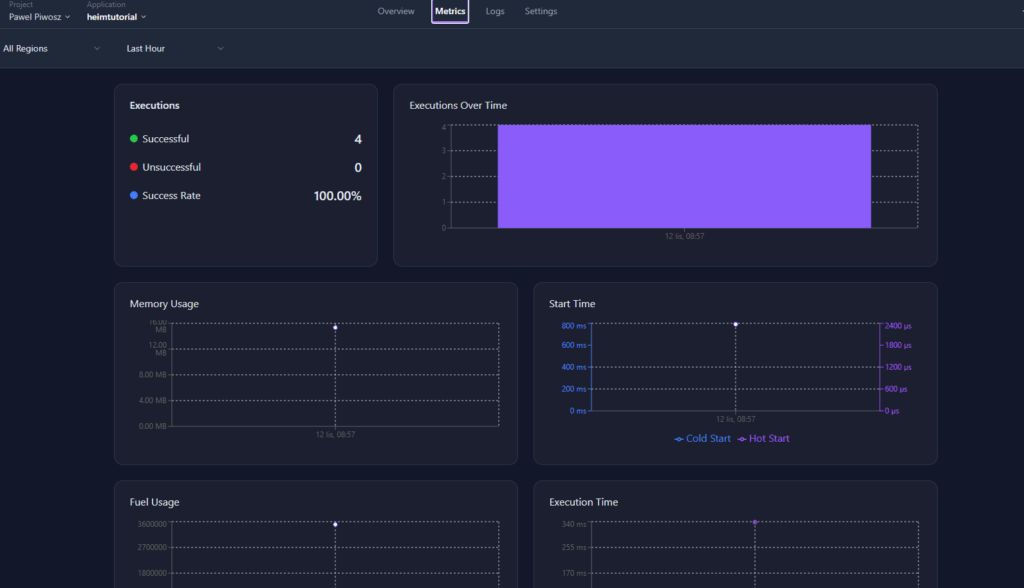
Metrics and Logs give us insights about the performance of the application. And it is very clean and simple, but also informative!
Summary
At UpCloud we believe that developer productivity is an important factor to make your work easier and more efficient. That is why we love to partner with platforms like Heim. Together, Heim and UpCloud, we give you a powerful tool to manage your applications in easy way and host it on modern, European and sovereign Cloud. All you need to care now is your code.
So, happy deploying!
Let us know how this cooperation helps you! We’d love to hear your stories and feedback! If you wish to contact our teams, we are happy to discuss your use cases!
Discussion