OpenLiteSpeed is an easy-to-use, open-source web server. It offers unbeatable features and performance to your sites along with top-notch security.
The server understands all the Apache rewrite rules and has intelligent cache acceleration features that let you implement the fastest caching on your server. Apart from all these, you get to install a customized PHP processor that is optimized for the OpenLiteSpeed server.
In this tutorial, we will install the OpenLiteSpeed server on a simple cloud server running Ubuntu 20.04 or CentOS 8.
- Deploying Cloud Server
- Configuring firewall rules
- Installing OpenLiteSpeed server
- Setting the admin password
- Configuring the domain name
- Obtaining SSL certificates
- Enabling HTTPS for the admin panel
- Enabling HTTPS on the frontend
1. Deploying Cloud Server
Go ahead and deploy a new UpCloud server with Ubuntu 20.04 or CentOS 8 by logging in to your UpCloud Control Panel and clicking Deploy server. If you are new to UpCloud, you can get started with the free trial by signing up.
Once you’ve deployed a cloud server, connect to your cloud server using your preferred SSH client.
2. Configuring firewall rules
OpenLiteSpeed uses a couple of non-standard ports which means you need to accept incoming traffic to port 8088 and port 7080 to be able to access the admin panel and the default page of the server.
If you are running Ubuntu, you won’t have a firewall enabled by default but you should set up one for security purposes.
Check that the ufw firewall is installed with the command below.
sudo apt install ufw
Then allow the following ports, set default rule to reject other connections and enable the firewall.
sudo ufw allow 22,53,80,443,7080,8088/tcp
sudo ufw default reject
sudo ufw enable
CentOS servers come with firewalld enabled out of the box which requires configuration before OpenLiteSpeed can be installed.
Allow HTTP and HTTPS access as well as the custom ports used by OpenLiteSpeed with the commands below. Then reload the firewall rules to enable the changes.
sudo firewall-cmd --add-service={http,https} --permanent
sudo firewall-cmd --add-port={8088/tcp,7080/tcp} --permanent
sudo firewall-cmd --reload
Once you’ve configured your firewall to allow the necessary ports and services, continue on with the OpenLiteSpeed install itself.
3. Installing OpenLiteSpeed server
Since the OpenLiteSpeed project maintains repositories for both CentOS and Ubuntu, we need not compile it ourselves. Simply add the repository on the server using the commands below.
On Ubuntu, use the script provided by OpenLiteSpeed to add the correct repository to your OS version. Afterwards, update the repo lists.
wget -O - http://rpms.litespeedtech.com/debian/enable_lst_debian_repo.sh | sudo bash
sudo apt update
On CentOS, download the repository configuration file. Also, install the extra packages repository and update the repo lists.
sudo rpm -Uvh http://rpms.litespeedtech.com/centos/litespeed-repo-1.1-1.el8.noarch.rpm
sudo dnf install epel-release
sudo dnf update
Once the repository has been added, the OpenLitespeed server is available for installation using the commands below. In OpenLiteSpeed, we have customized PHP processors. For this tutorial, we will use the latest version of it – lsphp74
For Ubuntu
sudo apt install openlitespeed lsphp74
For CentOS
sudo dnf install openlitespeed lsphp74
We have then installed OpenLiteSpeed and a PHP processor for that. However, we still need to let our server know which PHP processor it should be utilized for normal operations. To do that, create a soft link to the PHP processor we have just installed.
sudo ln -sf /usr/local/lsws/lsphp74/bin/lsphp /usr/local/lsws/fcgi-bin/lsphp5
That’s it! OpenLiteSpeed should now be up and running. However, there are still a few things we need to configure to secure the site.
4. Setting admin password
Just like any other web hosting control panel, the OpenLiteSpeed server has an admin dashboard. To access it securely, create an admin account and set a password using the following command.
sudo /usr/local/lsws/admin/misc/admpass.sh
Once you run the above script, you will be prompted to input the admin username. If you do not type in a username, the system will use the default admin as a username.
A password follows the username input. It will then ask you to confirm the password by retyping it. Retype the password and hit enter.
Voila. If the passwords match, you’ll get a confirmation like the output below.
Administrator's username/password is updated successfully!
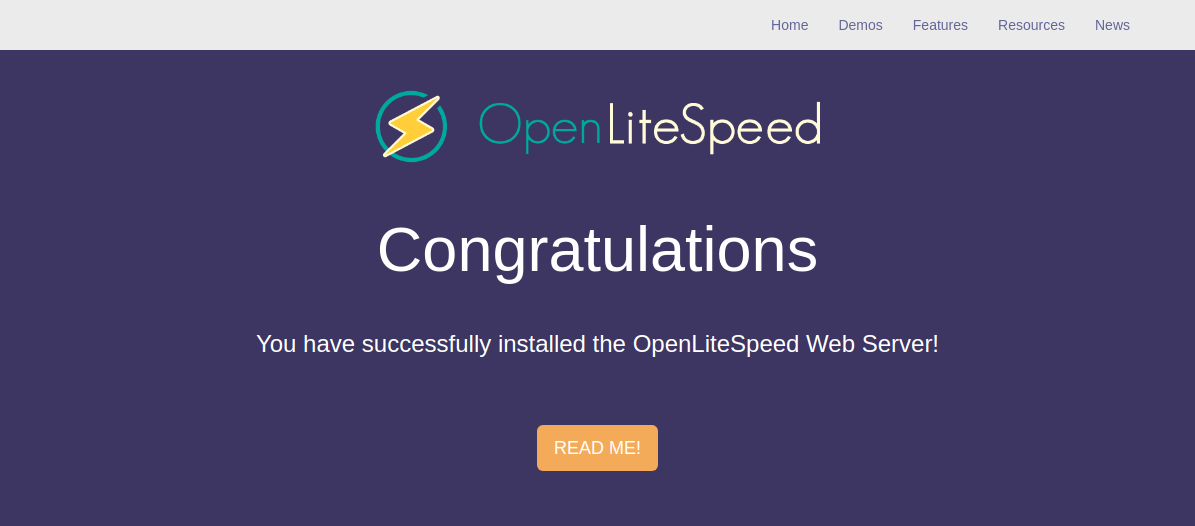
At this stage, you can visit your server’s default frontend and the admin control panel in your web browser going to the public IP address of your server followed by the port number.
The Frontend (default page)
http://<your-server-public-IP>:8088
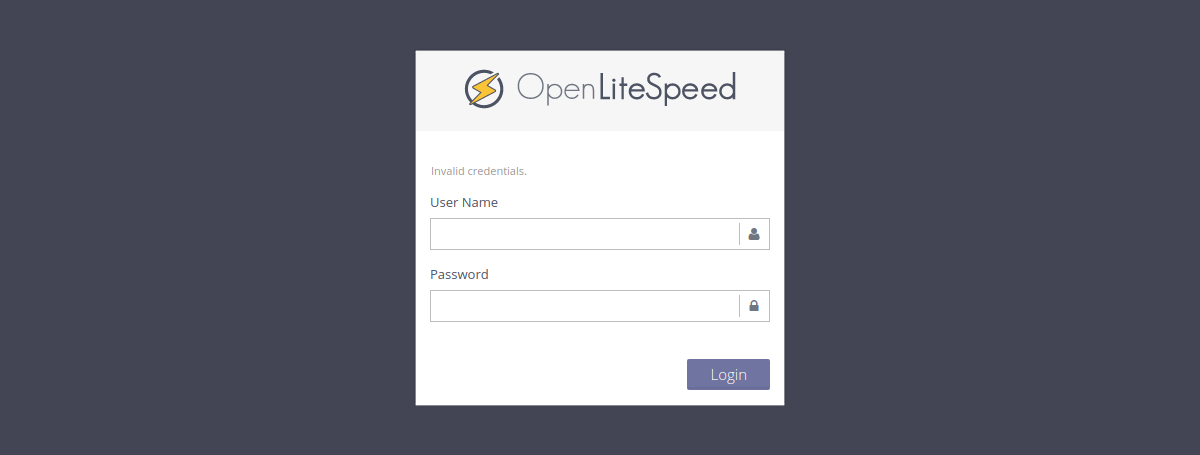
The backend (admin console)
https://<your-server-public-IP>:7080
Log in to the Admin panel of your OpenLiteSpeed server. In the login screen, simply enter the username and password you created in the previous step and hit the Login button.
You’ll then be greeted by the OpenLiteSpeed dashboard view.
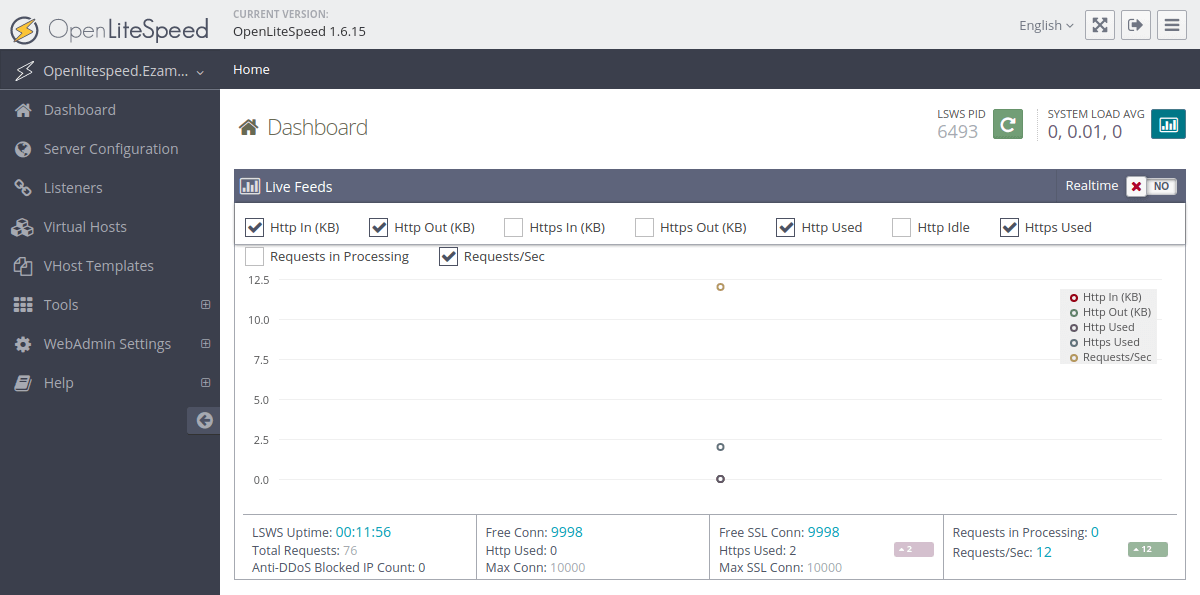
Once logged into the admin dashboard, continue to the next section for further configurations.
5. Configuring the domain name
At this stage, your server resolves and serves the site for any domain that has your server’s IP in its DNS records. You may want your server to resolve only for your domain and return a 404 error page for any other domain.
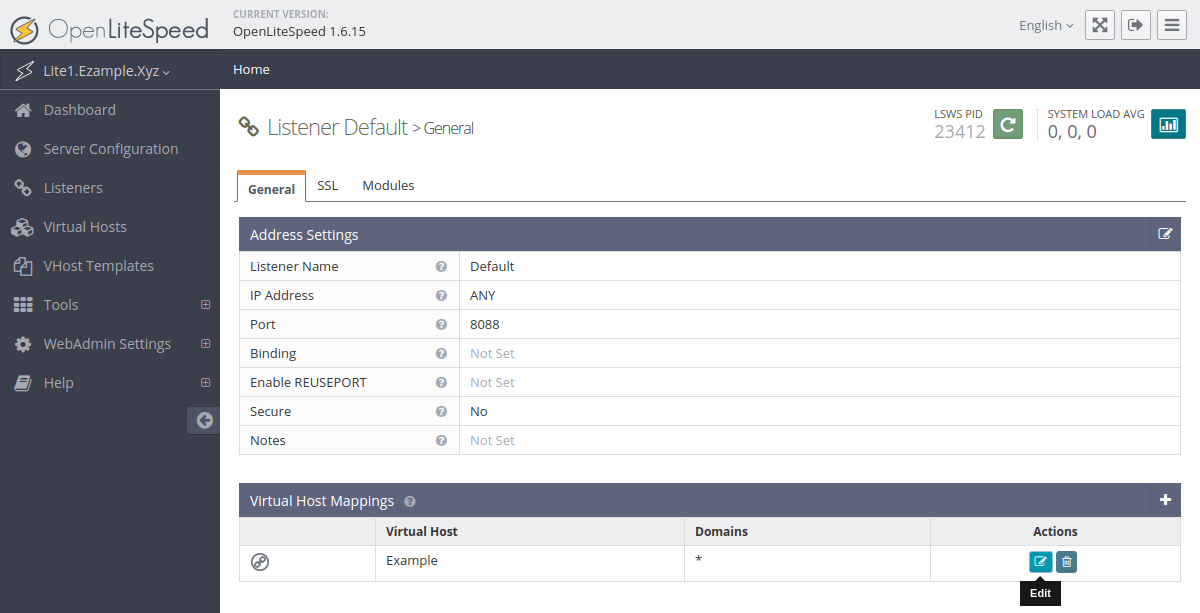
To accomplish this, navigate to the Listeners in your left sidebar menu and click the View icon on the right under Actions.

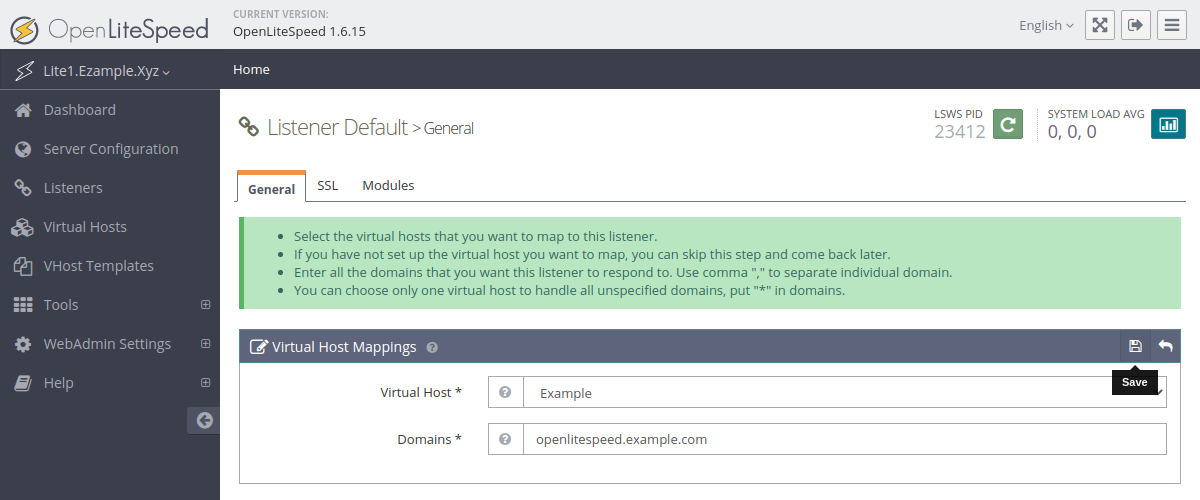
On the default listener’s configuration, open the Example Virtual Host Mapping settings by clicking the Edit button.
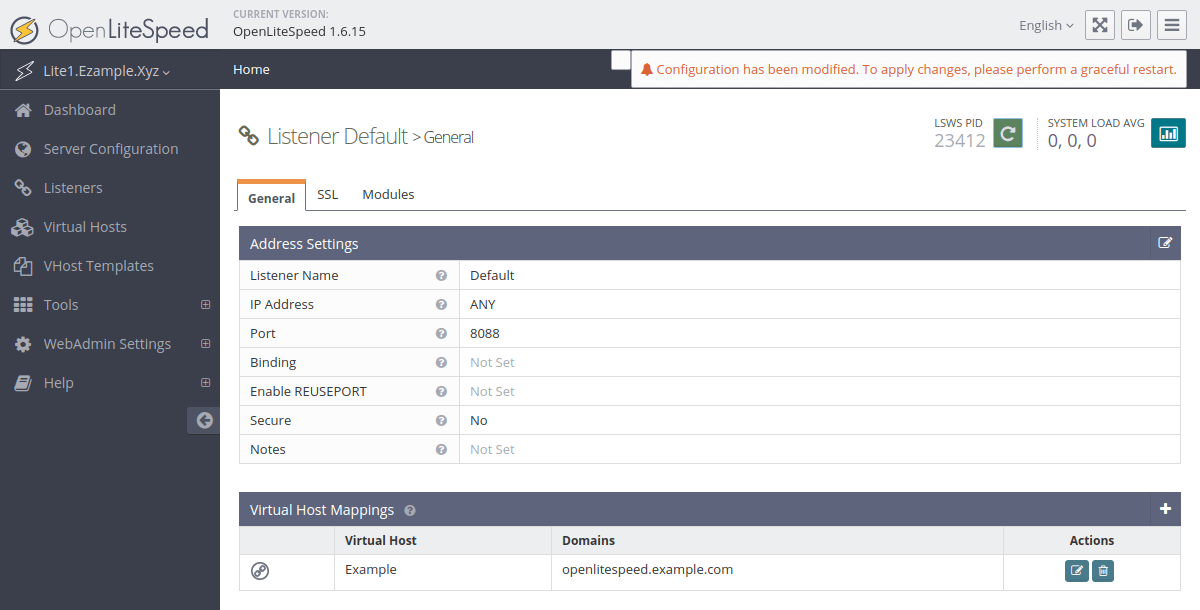
In the domains field, type your domain name and click on the Save icon at the top right corner.
Once you hit the save button, the OpenLiteSpeed server will notify you to gracefully restart your server to apply the changes. Click the green Graceful Restart button to enable the new settings.
At this point, we have installed the OpenLiteSpeed server on a cloud server. But the site is still served at port 8088 and uses simple HTTP. Continue on with obtaining SSL certificates and enabling HTTPS.
6. Obtaining SSL certificates
SSL certificates allow your website to the authenticated by a known trusted Certificate Authority such as Let’s Encrypt. They provide free certificates via an easy-to-use client called Certbot.
Note that obtaining certificates requires a valid domain name. You can find out more about how to create domain name records in its guide.
To obtain trusted certificates, install the Let’s Encrypt Certbot using one of the following commands depending on your operating system.
Ubuntu
sudo apt install certbot
CentOS
sudo dnf install certbot
Then obtain certificates using the command below. Replace the <your-domain> with a valid domain name pointing to your OpenLiteSpeed server.
sudo certbot certonly --standalone -d <your-domain>
The command starts an interactive installation script which will ask a few questions to help you set up the certificate.
- On the first installation on any specific host, you will need to enter a contact email.
- Next, go through the Let’s Encrypt Terms of Service and select Agree if you accept the terms and wish to use the service.
- Then, select whether you want to share your email address with the Electronic Frontier Foundation, a founding partner of Let’s Encrypt and the non-profit developers of Certbot.
After you’ve entered all the necessary details, Certbot will perform several challenges to confirm the authority for the domain. If Certbot is successful, you’ll see an output similar to the example below.
IMPORTANT NOTES:
 - Congratulations! Your certificate and chain have been saved at:
   /etc/letsencrypt/live/openlitespeed.example.com/fullchain.pem
   Your key file has been saved at:
   /etc/letsencrypt/live/openlitespeed.example.com/privkey.pem
   Your cert will expire on 2020-11-24. To obtain a new or tweaked
   version of this certificate in the future, simply run certbot
   again. To non-interactively renew *all* of your certificates, run
   "certbot renew"
Now that we have valid certificates, we can set the admin panel and frontend to use them.
7. Enabling HTTPS for the admin panel
Once you have obtained trusted SSL certificates from Let’s Encrypt, you can use them to enable HTTPS access to the admin dashboard.
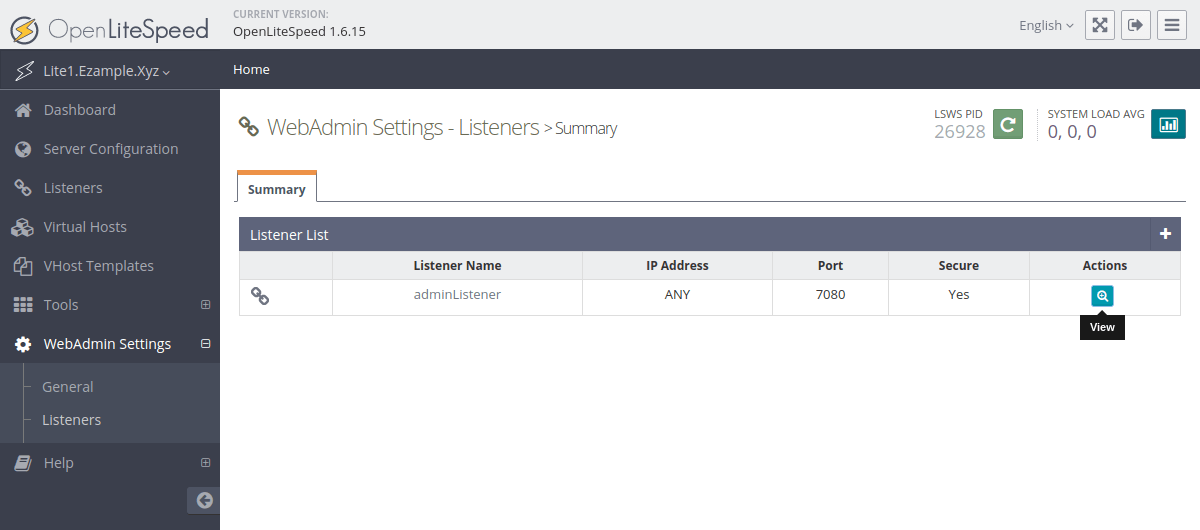
First, go to the WebAdmin Settings and Listeners, then click the View icon under Actions.
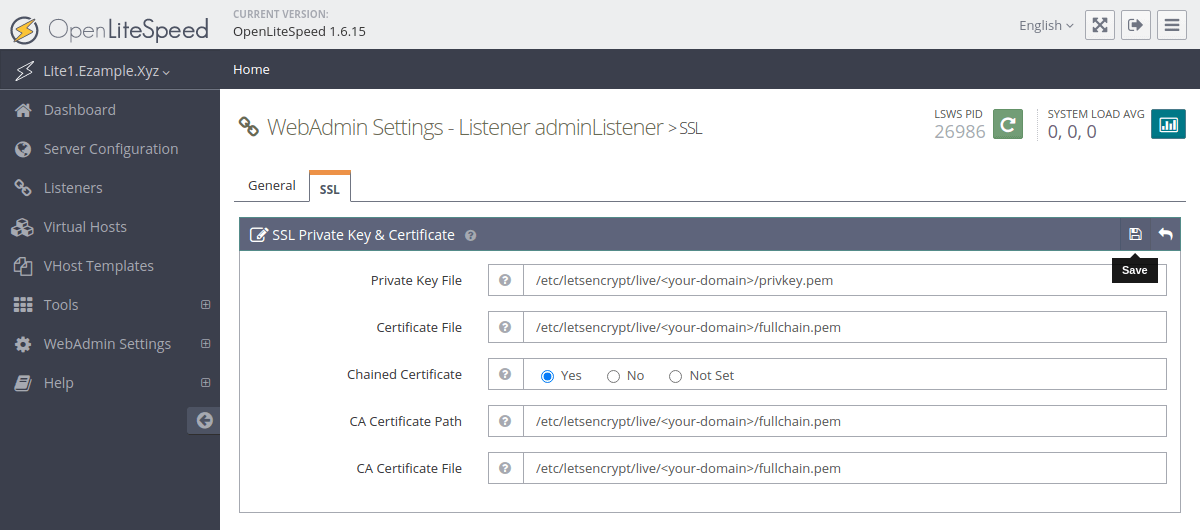
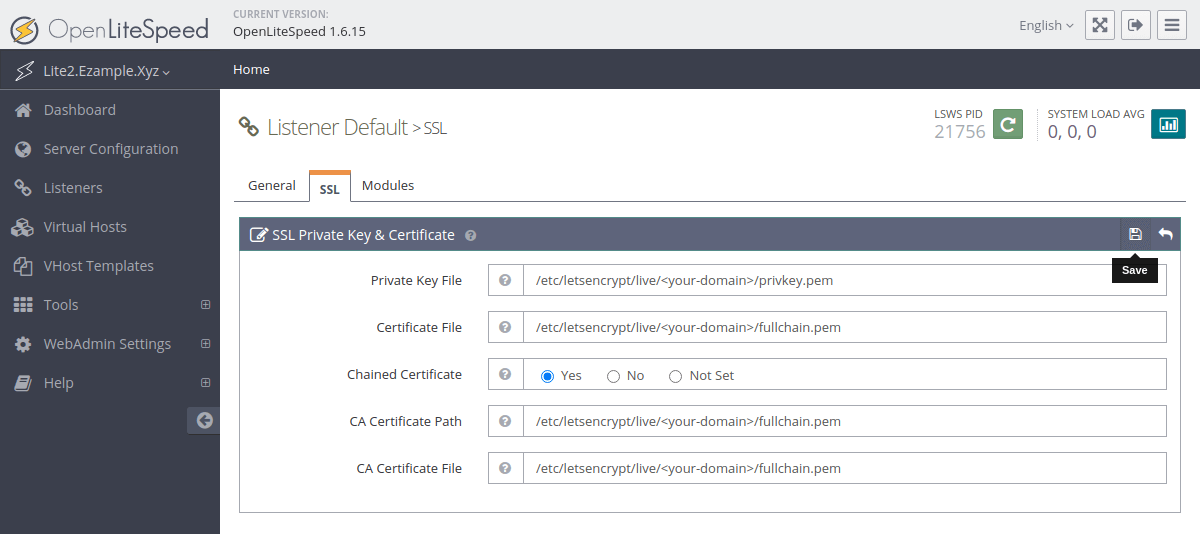
Then, go to the SSL tab while still in the admin listener settings and open the SSL Private Key & Certificate section by clicking the edit icon on the same row.
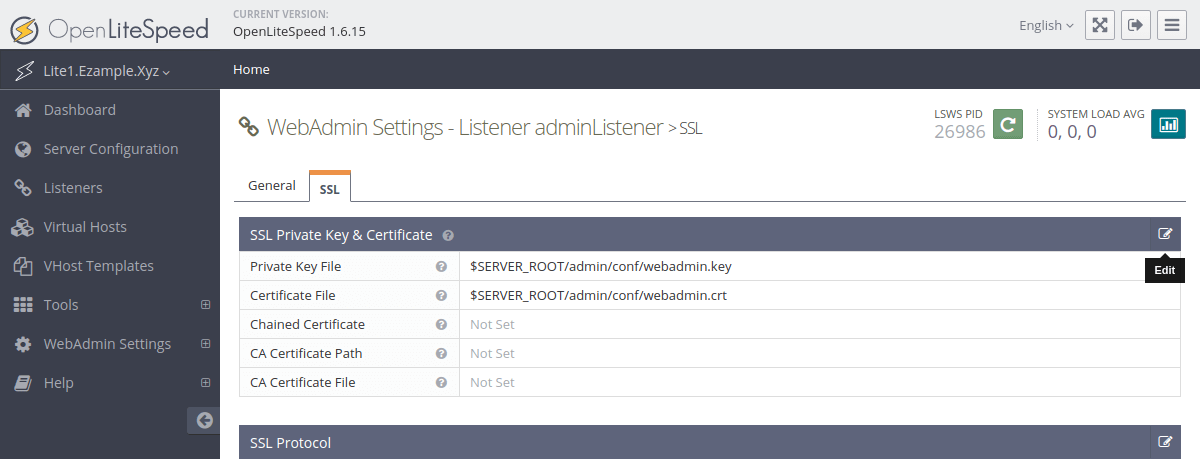
Let’s Encrypt saved the newly obtained certificates in /etc/letsencrypt/live/<your-domain>/ where <your-domain> is the domain name you used to obtain the certificates. Set the key and certificate files as follows. Replace <your-domain> on each row with your OpenLiteSpeed server’s domain.
- Private Key File: /etc/letsencrypt/live/<your-domain>/privkey.pem
- Certificate File: /etc/letsencrypt/live/<your-domain>/fullchain.pem
- Chained Certificate: Yes
- CA Certificate Path: /etc/letsencrypt/live/<your-domain>/fullchain.pem
- CA Certificate File: /etc/letsencrypt/live/<your-domain>/fullchain.pem
Once all set, save the new settings by clicking the Save icon on the right.
With the admin panel settings configured, apply the changes by clicking the Graceful Restart button.
Afterwards, confirm that the changes were successfully applied by re-opening the admin panel domain in a new browser tab.
https://<your-domain>:7080
Your web browser should then show the appropriate icon to indicate that the website is using valid certificates and the connection is secure.
8. Enabling HTTPS at the frontend
By default, the OpenLiteSpeed front listens to port 8088. Since we’ve got valid SSL certificates, we can change it to use port 443 instead which is the default port for HTTPS requests.
To do this, log in to your OpenLiteSpeed admin panel and click on Listeners from the left sidebar menu. Then on the right under Actions, click on the View icon.
It will land you on the page where you can further configure the listener with your custom values. In the next default listener general settings, click the Edit icon on the Address Settings.
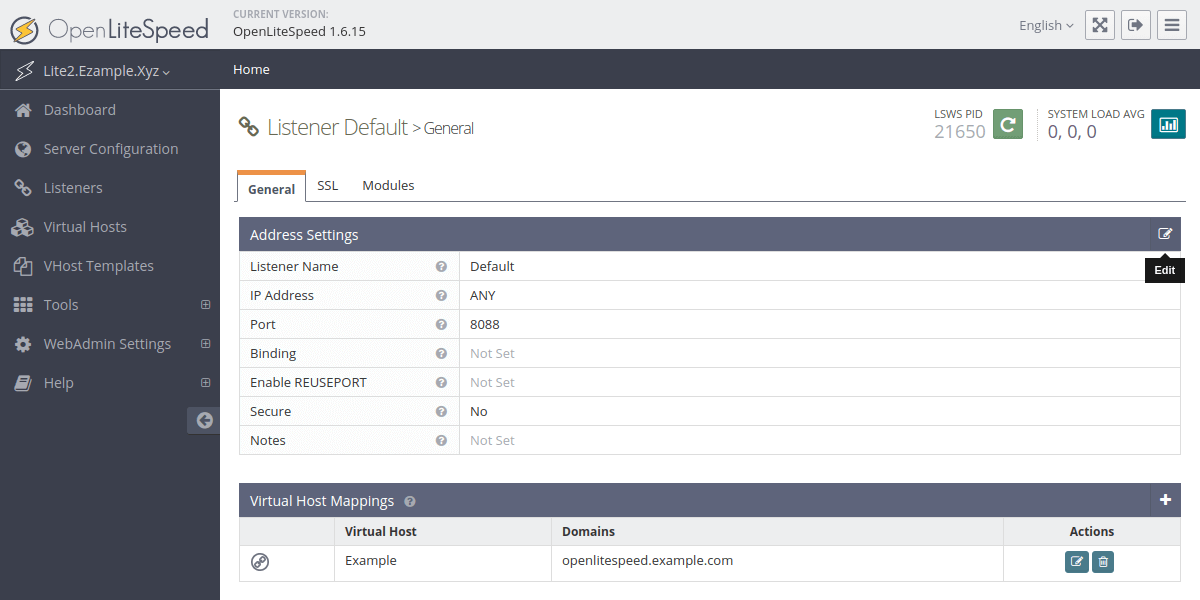
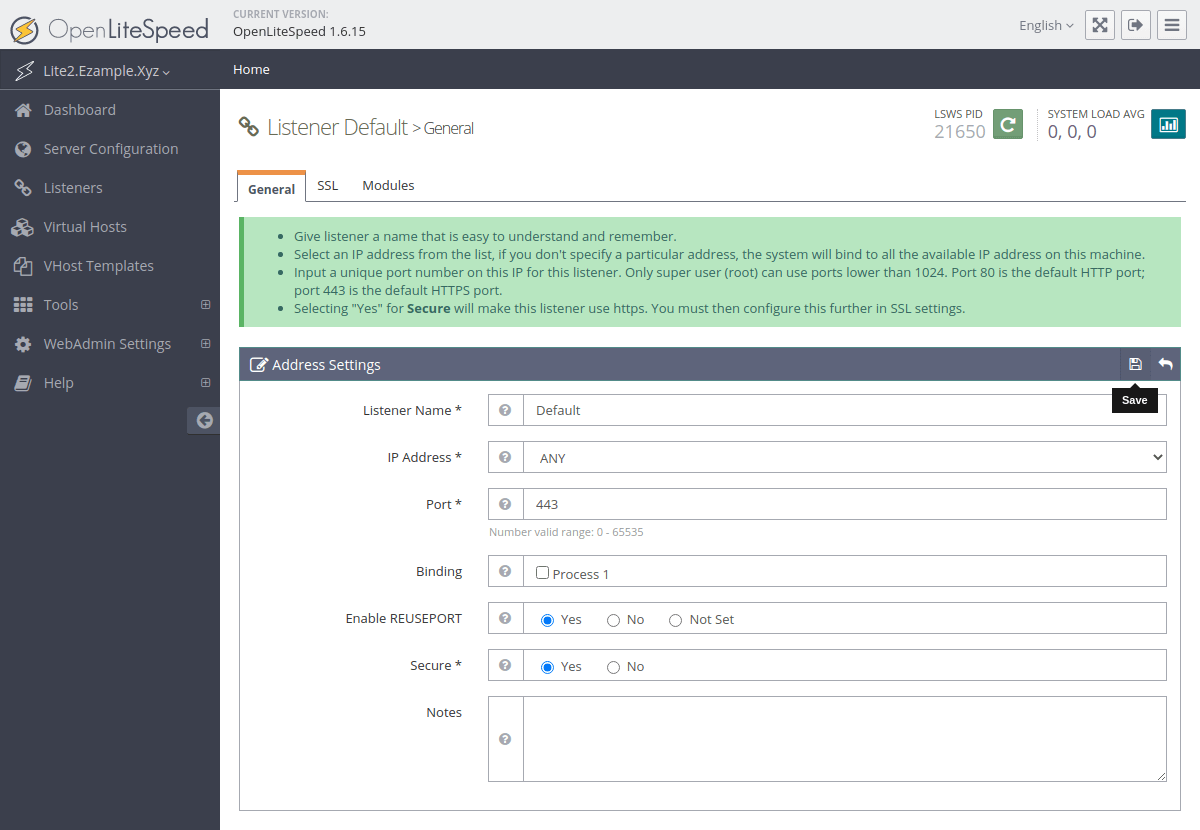
In the default listener address settings, make the following two changes:
- Replace the port 8088 with 443
- Select Secure: Yes
Then click the Save icon on the right of the Address Settings row.
Next, go to the SSL tab in the default listener settings and open the SSL Private Key & Certificate configuration by clicking the Edit icon on the right.
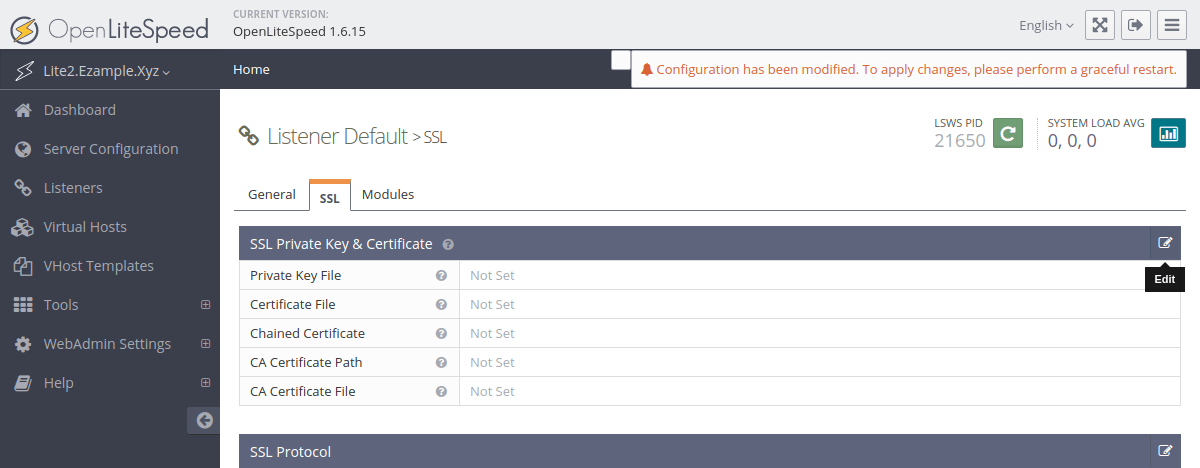
Use the same certificates saved in /etc/letsencrypt/live/<your-domain>/ by setting the key and certificate files as follows. Replace <your-domain> on each row with your OpenLiteSpeed server’s domain.
- Private Key File: /etc/letsencrypt/live/<your-domain>/privkey.pem
- Certificate File: /etc/letsencrypt/live/<your-domain>/fullchain.pem
- Chained Certificate: Yes
- CA Certificate Path: /etc/letsencrypt/live/<your-domain>/fullchain.pem
- CA Certificate File: /etc/letsencrypt/live/<your-domain>/fullchain.pem
When you are all set, click the Save icon on the right of the SSL Private Key & Certificate row to store the new settings.
Again after making changes to the server configuration in the admin panel, you need to restart the OpenLiteSpeed server to reflect the change live. Click the Graceful Restart icon to apply the changes.
If everything was done correctly, you should now be able to open your OpenLiteSpeed frontend by going to your domain without specifying a port and be redirected to the secure HTTPS version.
Conclusions
OpenLiteSpeed is one of the fastest web servers available for Linux servers. On any hardware, the performance of the OpenLitespeed server is unbeatable. You are then ready to start hosting websites and here are a few tidbits to help you get started:
- OpenLiteSpeed server is installed in /usr/local/lsws that is also set as the $SERVER_ROOT environmental variable
- The server has a default virtual host block – For example. The document root of this virtual host is /usr/local/lsws/Example/html/
- You can add more virtual hosts to accommodate additional domains on this server. Note that you will need to create the virtual host directories manually before you add new virtual hosts, e.g.
sudo mkdir -p /usr/local/lsws/NewSite/html/
Discussion