Managing network settings
You can manage your cloud server network settings by adding and removing IP addresses or setting reverse DNS names. UpCloud does not currently offer hosted DNS services for your domain but you can find out more about our DNS settings in its own support article.
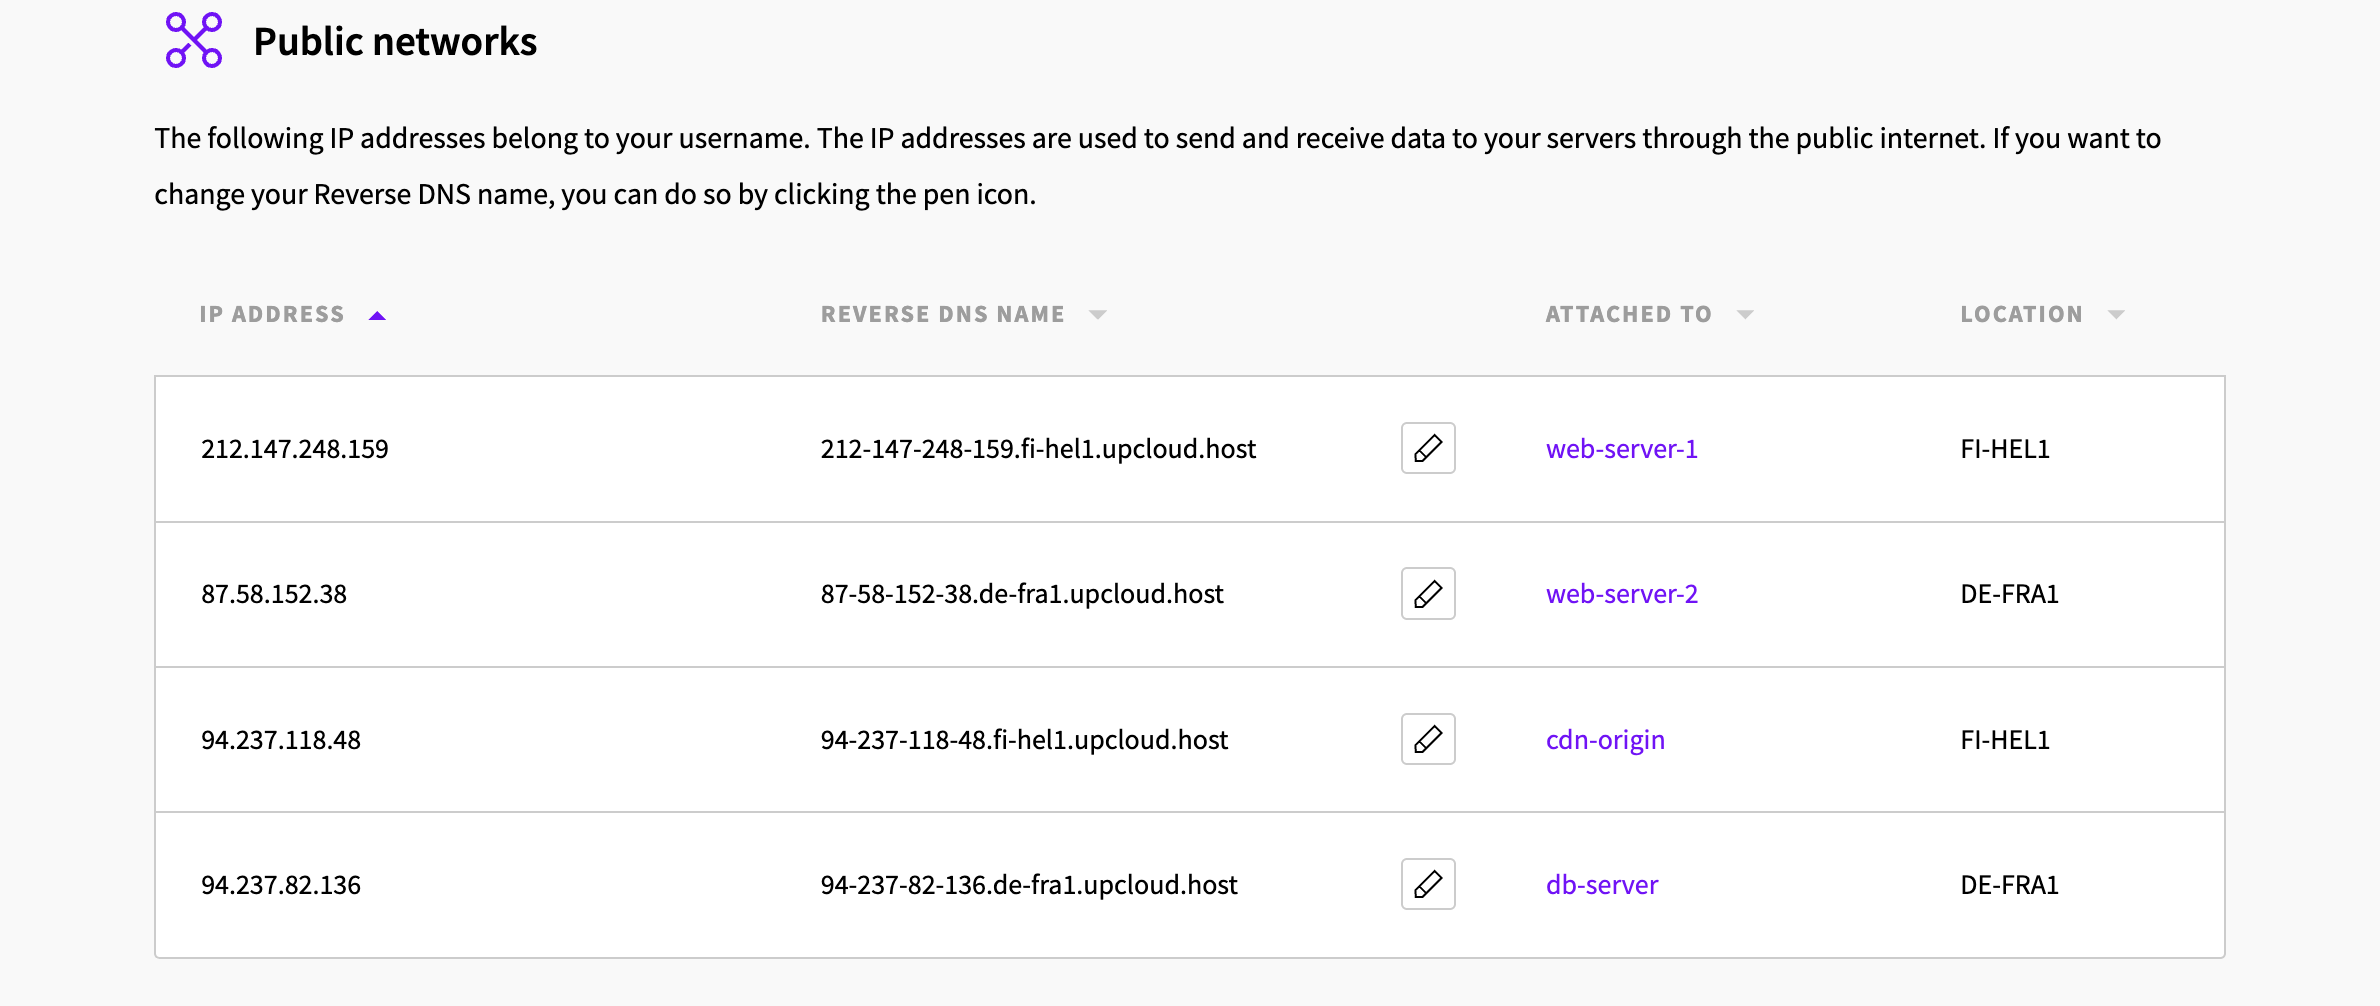
Public network
Public networks define the public IP addresses of your cloud servers. Every server can have 0-5 public IPv4 and IPv6 addresses. Removing all public addresses will make a server accessible only in your private network.
Adding new public IP addresses reserves the connections for your account but you’ll also need to configure the network interfaces in your operating system. Follow our guide to complete attaching new IP addresses with the steps appropriate for your server.
Private network
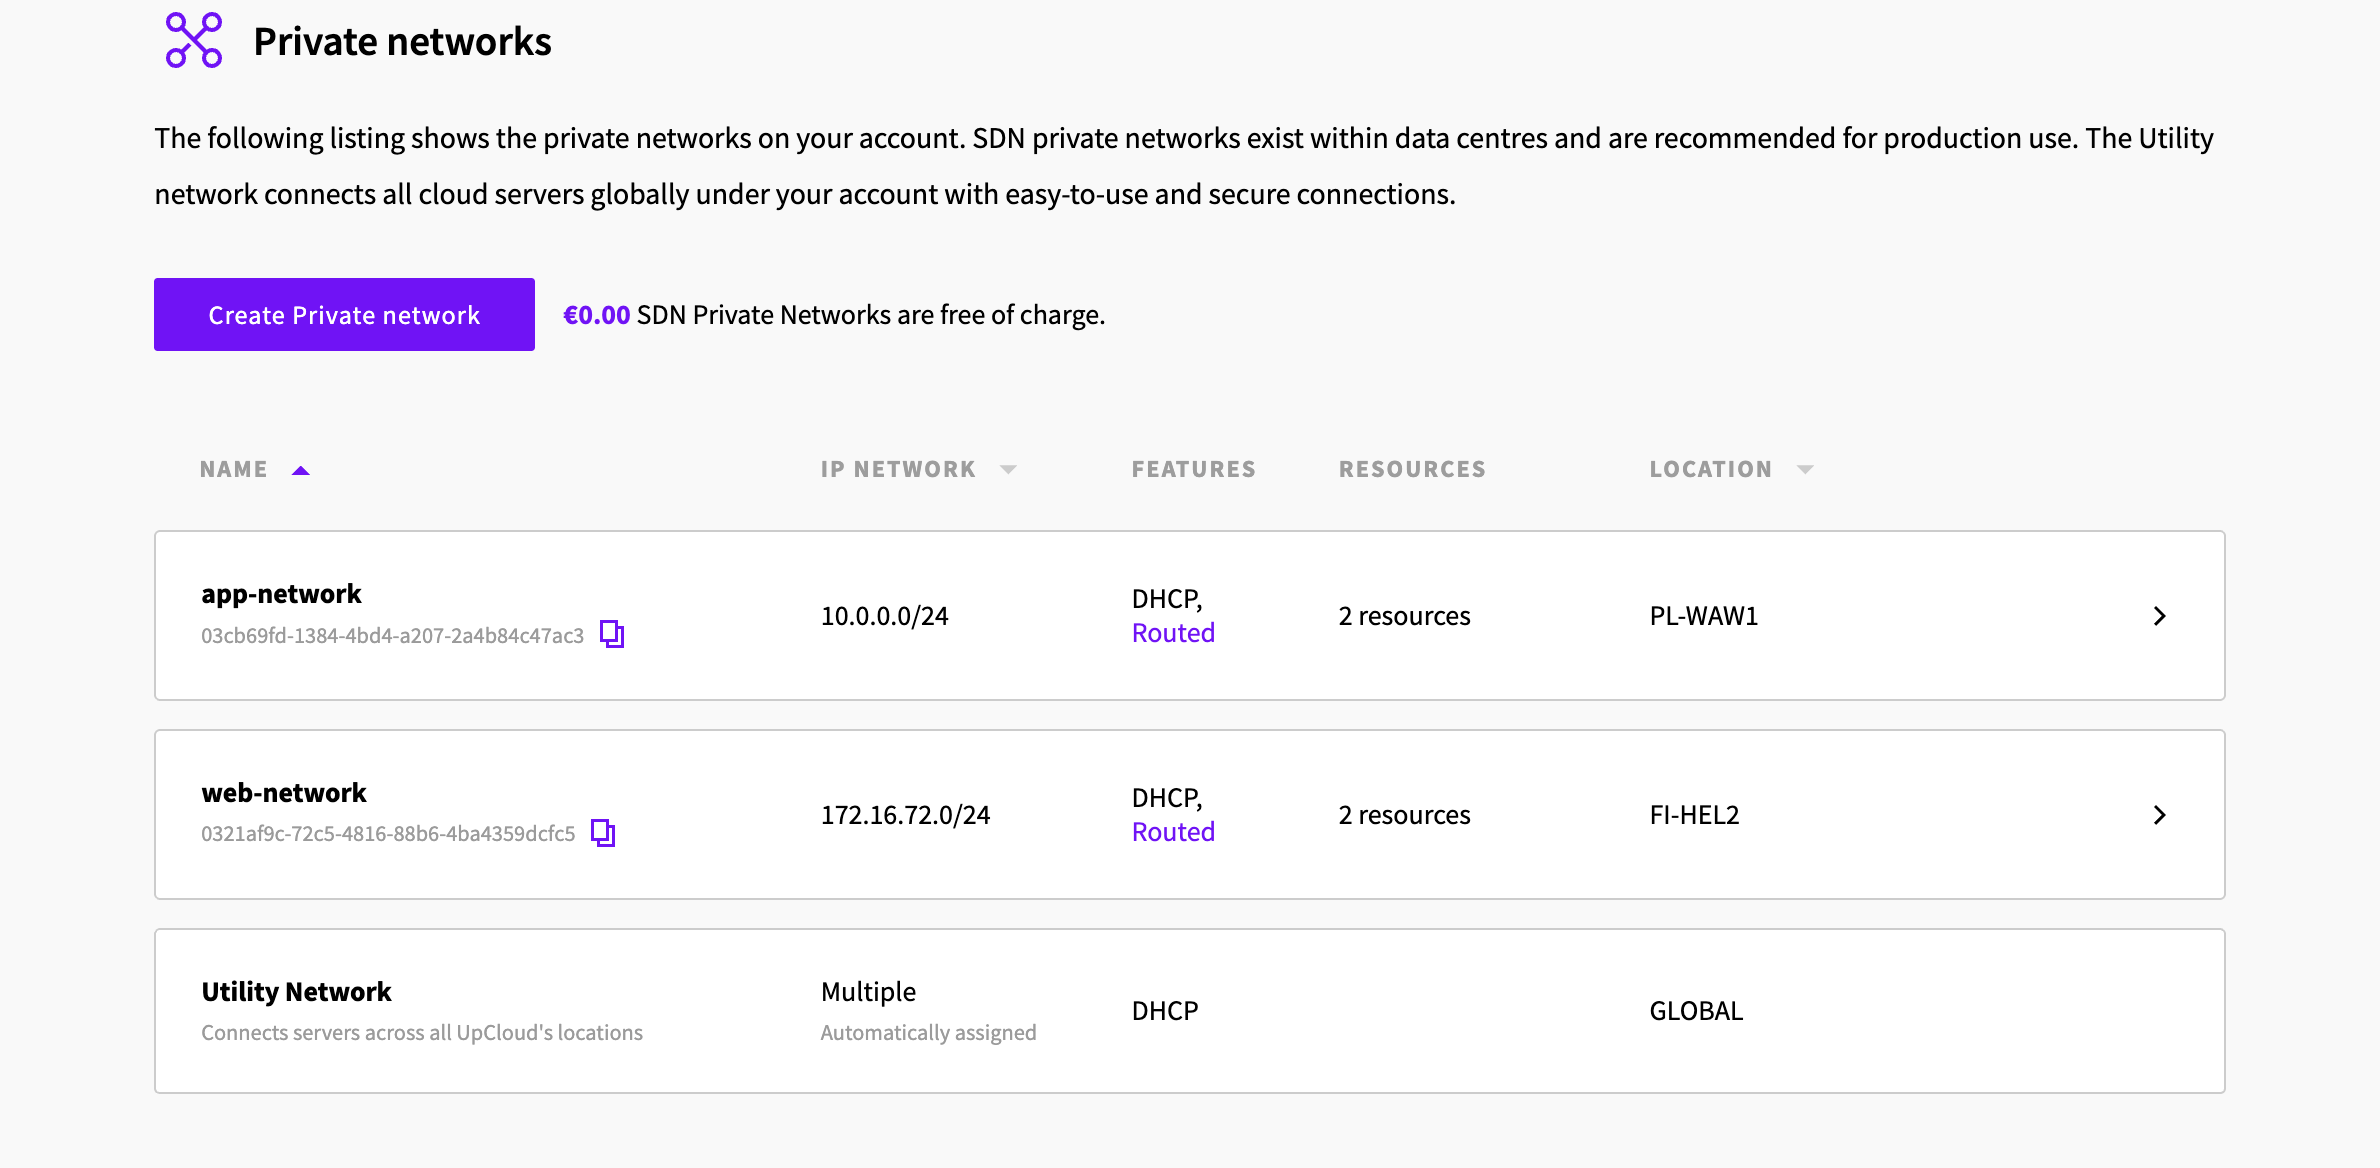
Your private networks are listed under Network > Private networks in the Control Panel. The list shows your SDN Private Networks and the Utility network.
The Utility network connects the Cloud Servers on your account across all UpCloud locations. It's private: it doesn't allow access from the internet or from other UpCloud accounts. The private IP addresses are useful for load balancing and securely communicating between your servers.
SDN Private Networks are networks you create in one location and attach to the servers that need them. Find out more in How to configure SDN Private Networks.
Setting a reverse DNS name
Each public IP address on UpCloud has a generated default reverse DNS name. If you are intending to have a domain name point to your cloud server, it is also a good idea to set the reverse name accordingly.
The reverse DNS name can be edited either at your public network list or at the Network tab in your server settings. Changing the reverse DNS name does not require your server to be shut down so go ahead and get started.
In the public network list, click the pencil icon next to the reverse DNS name you want to change, edit it, and click the check mark to save it. On the server's Network tab, click Edit IP address on the public IP address instead, change the Reverse DNS name and click Save.
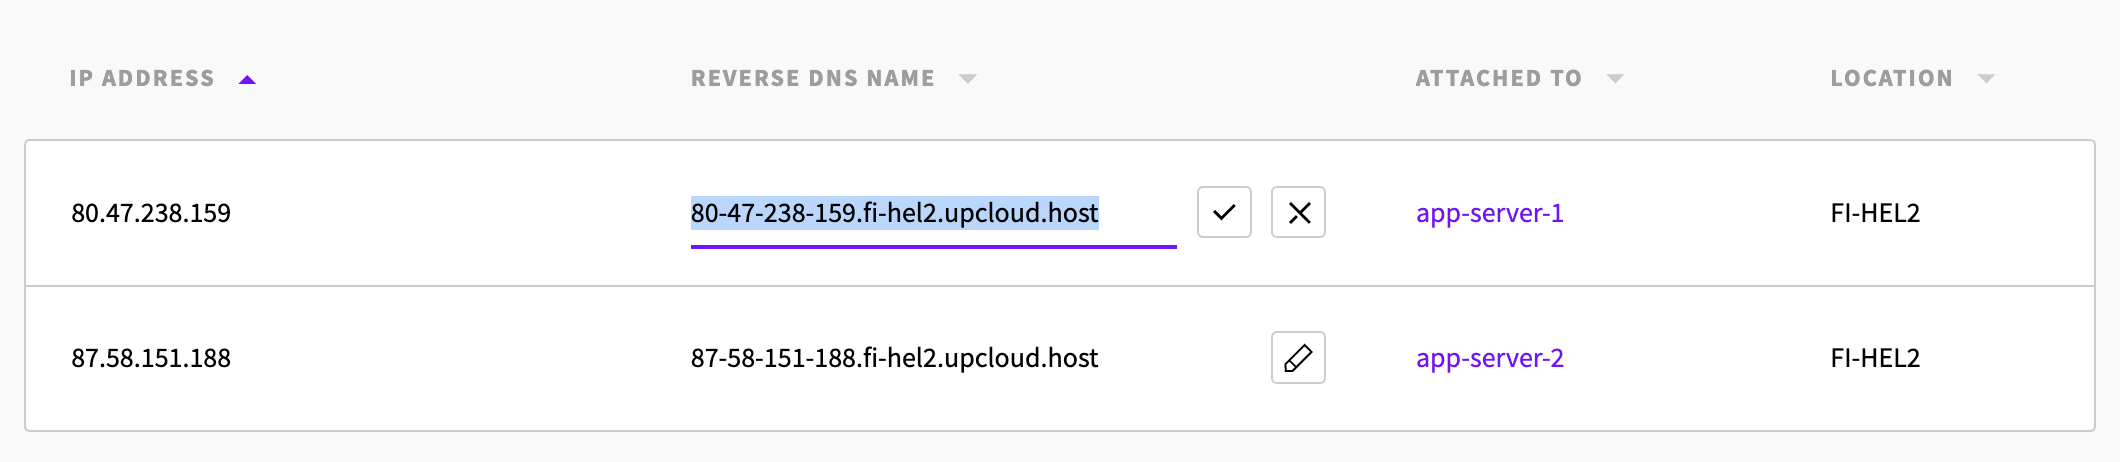
That is all. Your server IP should now report the new reverse DNS name when queried by other services. Do not worry if you still initially get the old name as the changes might take a moment to propagate through the network.